Howdy U Create readers! It’s Courtney here, from Crafts by Courtney and I have a great makeover craft for you today.
Before I get to the details, I just wanted to say thanks to Kari and Becky for having me. These chicas are SUPER creative and I’m happy to have the chance to share some of my crafting ideas with their readers (you guys)!
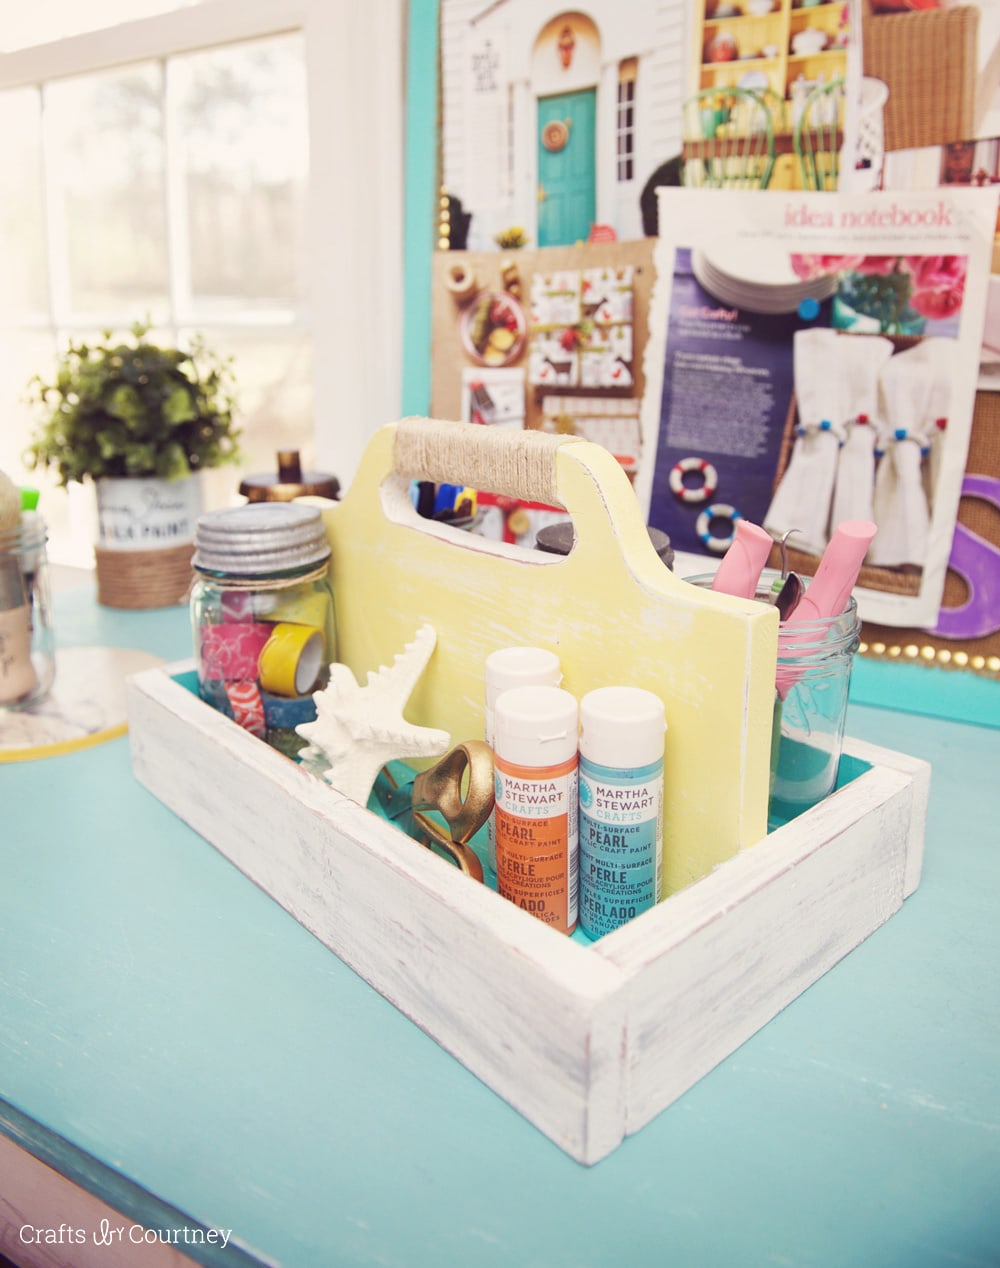
Okay, now back to the project. Here’s what we’re making!
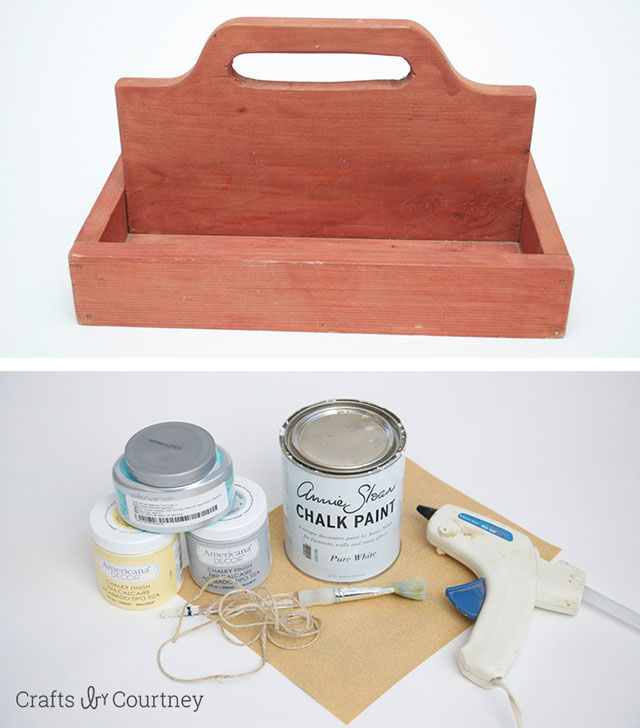
So…on a recent trip to my local thrift store, I found this awesome caddy/organizer for $2.00 (I know total bargain).
I would have been crazy NOT to get it right?! I knew exactly what I wanted to do with it. I’ve been working on my craft area at home and I thought this would be a great addition.
I’m TOTALLY into a beachy/coastal decorating theme right now, and I knew I wanted to give it a makeover to match my decor.
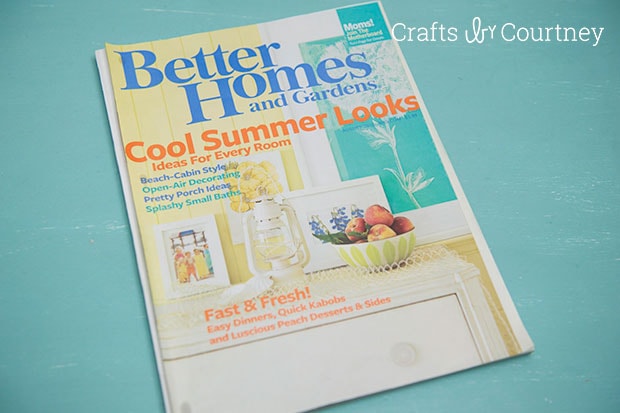
As always, I start looking through my magazines for inspiration. I came across a Better Home and Gardens from 2010 (I know I’m a magazine hoarder). I just loved all the colors and knew that would be a perfect color combination for my caddy.
Turquoise, yellow and white. You can’t go wrong!
Now let’s get our supplies in order. To complete this caddy makeover, here’s what you are gonna’ need:
Supplies
- Wooden caddy/organizer
- Chalk paint
- Paint brush
- Sand paper
- Decorative rope
- Hot glue and gun
- Painter’s tape
- Finishing wax
Getting Started
I started looking through my paint and was happy to know I already had all the colors from the magazine! How perfect was that!?
With everything in order, time to start our craft. Let’s do this!
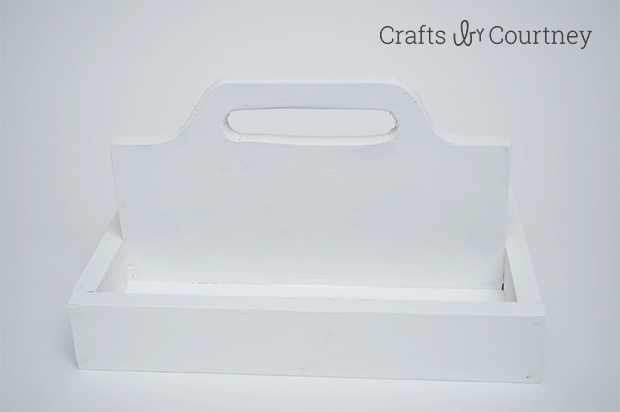
Step 1 – Paint First Coat
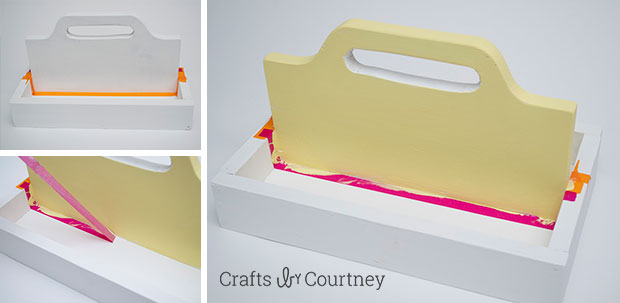
To ensure that all the colors show how you want, make sure to paint a white base coat. Let dry 15 minutes.
Step 2 – Tape Off and Paint Handle
I wanted the handle to be a different color than the sides and bottom of the tray, so I taped off the handle. Then, I painted a single coat of light yellow chalk paint. I let it dry 15 minutes.
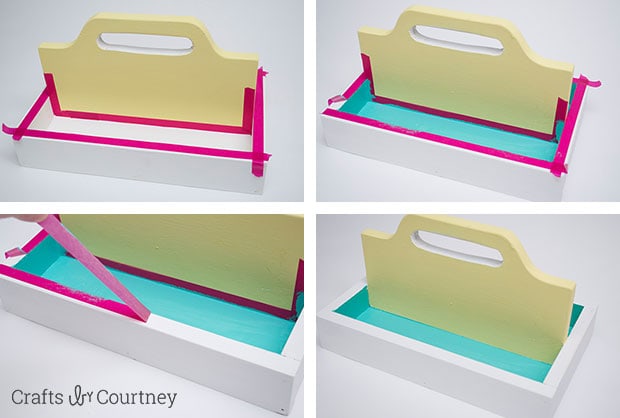
Step 3 – Add Your Pop of Color
To give this caddy some POW, I taped off the handle and outside of the tray. Next, I painted a punchy turquoise to the bottom of my caddy. Let dry another 15 minutes.
Step 4 – Distress Craft Caddy to Taste
I just had to give this project some character, but I kinda’ had to STRESS it out. Sorry about that Mr. Craft Caddy.
If you’re with me, grab a sheet of sandpaper and distress the edges (and anywhere else you like)…it’s really up to you!
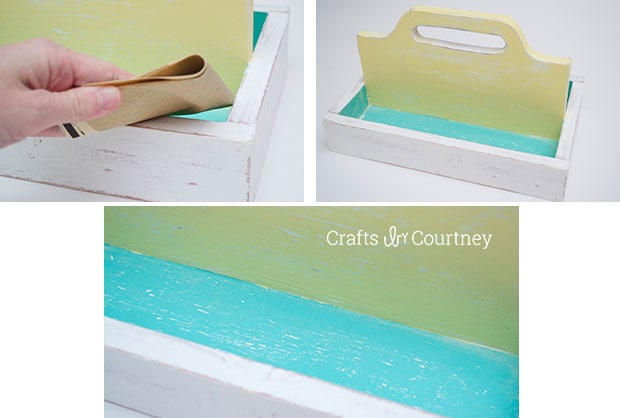
Quick Tip: To keep the distressing consistent, I suggest sanding WITH the grain of the wood. It turns out real nice!
Step 5 – Dry Brush Outer Tray
I wanted to add a final touch of gray paint to the caddy (to give it even more of an aged look) so I dry brushed on my gray paint.
To dry brush, dip your brush in paint and wipe off most of the paint. Then lightly brush on your paint. Let dry 15 minutes.
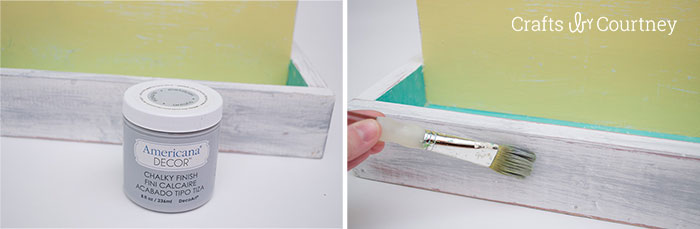
Quick Tip: Dry brush in layers. That way you can build up your paint so it looks more natural.
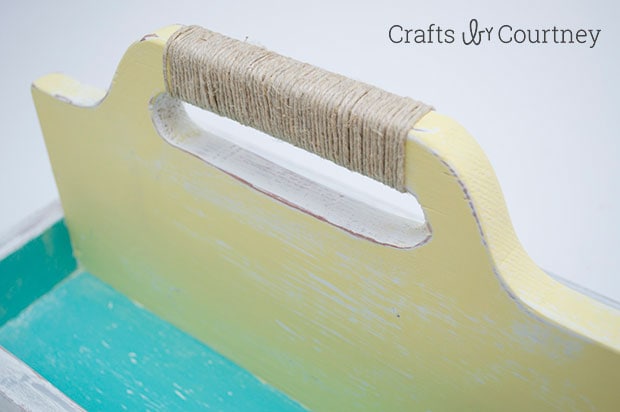
Step 6 – Add Decorative Rope to Handle
I really wanted that coastal feel and thought adding decorative rope would give my caddy just that! To complete the look, I wrapped my rope around the center of the handle. Then, hot glued the ends to the handle.
Step 7 – Finishing Touches
To prevent unwanted scratches, you can add a final coat of finishing wax to seal your chalk paint in. Once you’ve done that…this project is complete!
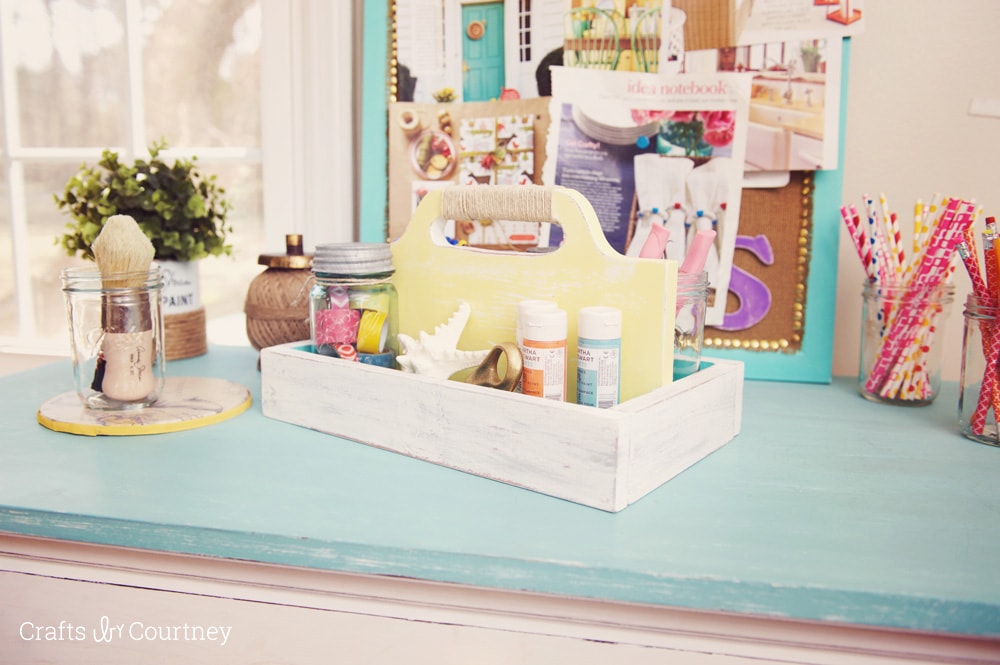
Since we’re done with our craft caddy, now it’s time to use it.
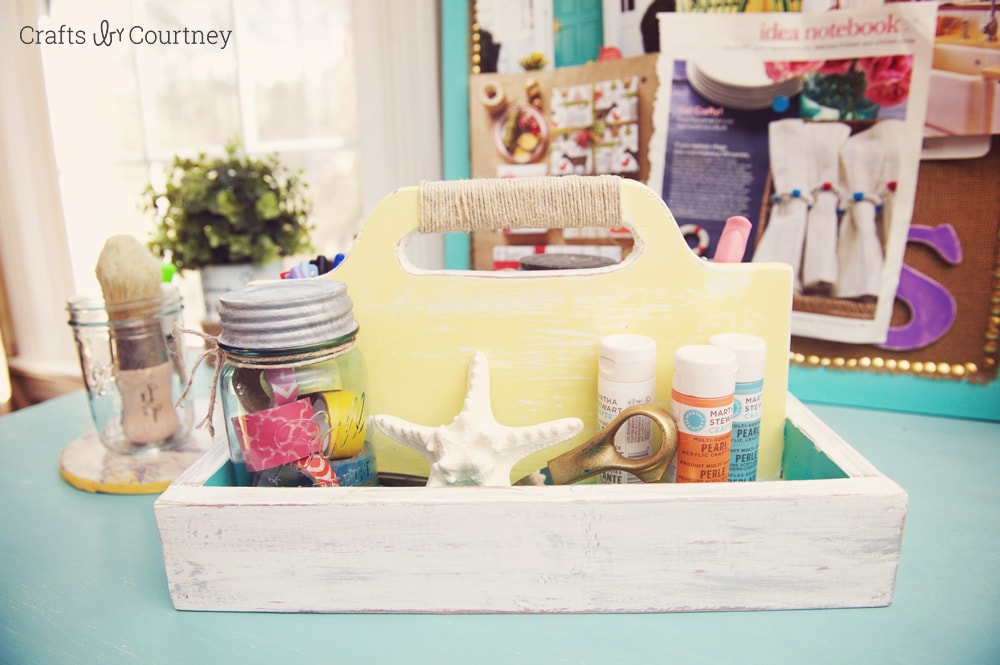
It’s perfect for storing craft paints and scissors. Even washi tape…just grab a Mason jar and you’re set!
I hope you enjoyed my craft caddy makeover. If you want more coastal themed makeover inspiration, here’s two projects that will tickle your fancy!
Nautical Style Thrift Store Chair Upcycle
Want to see a major makeover to a cheap $5 chair? Take a look at this nautical themed thrift store chair makeover! Be sure to check out my before photo.

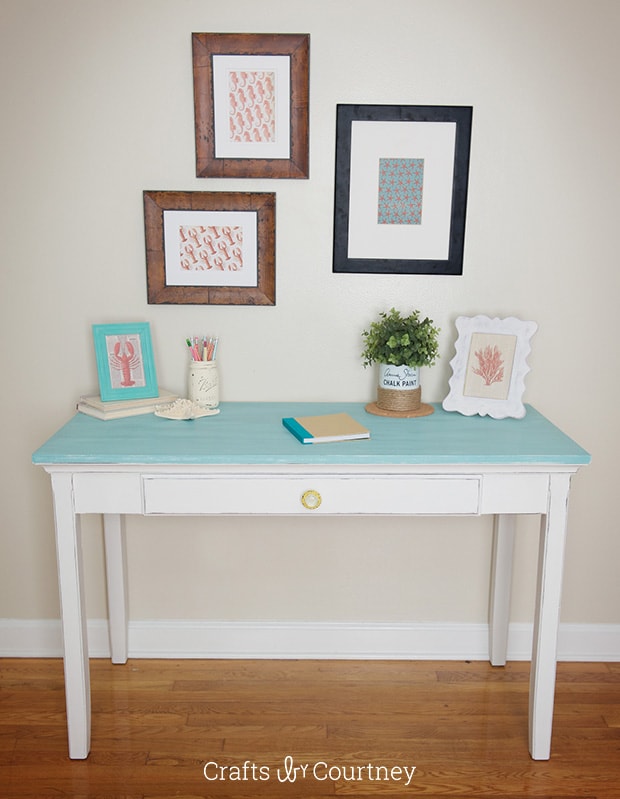
Coastal Desk Makeover Using Chalk Paint® by Annie Sloan
I took my dark and ugly (blah!) computer desk and completely transformed it. I absolutely love how my chalk painted coastal desk makeover turned out! I hope you do too!!!
Thanks again to Kari and Becky for having me, I had so much fun! If you want to get even more crafting inspiration, be sure to sign up for my newsletter!

Wanna’ keep up with all my craftiness, follow me!
Facebook | Pinterest | Google+ | Twitter | Newsletter


Love this! I really like the rope-wrapped handle and the dry brush paint technique. Great job!
I am a total sucker for $2 wooden carry-all tote crates. I have at least a half-dozen. Sounds like I need to take some photos and share. They’re great for organizing all sorts of things!
My favorite is a vintage wooden toy tool box. I don’t plan to paint it, but it could stand a good cleaning and maybe a coat of wax. It sits in the corner on my kitchen counter and is just the right size for bottles of flavored vinegars. I keep it handy for my obsession with homemade viniagrettes.
Jan
I appreciate the sweet comment Jan. I loved the handle and the dry brushed gray too! Yeah, you can’t go wrong on a wooden caddy for $2…they’re just begging for a makeover 🙂
As for photos, I’d LOVE to see ’em. You can share your pics on my Facebook Page. And that vintage wooden toy tool box sounds amazing. You MUST show me!
Thanks again for sharing Jan,
Courtney
Great job, love the different colors.