Hi everyone! My name is Kristi, I am a stay-at-home mom of two beautiful kids. We live in Rochester, MN where my husband is completing a medical residency.
We bought our first home in June 2011, and we had lots on our to-do list. Since my husband is typically very busy with work, most of the Honey-do list has been left to me.
In order to document the changes we’ve made to our home, I created my blog KrisKraft.
A few years ago I bought a large mirror that was a great price, but unfortunately pretty average in the looks department. I used it in our old apartment; however, after we moved, I decided the mirror needed a makeover before I could get excited about displaying it again. Using Restoration Hardware’s salvaged boat mirror as my inspiration, I was able to replace a so-so mirror with something that I love.
Materials
Liquid Nails
press board cut a few inches larger than your mirror on all sides
1″ x 6″ boards (I used maple wood because I knew it would take stain better than pine or poplar and I like the grain better than oak)
1″ x 2″ boards (again maple)
wood glue
nails
finishing supplies (stain, wax)
wooden dowel
Instructions
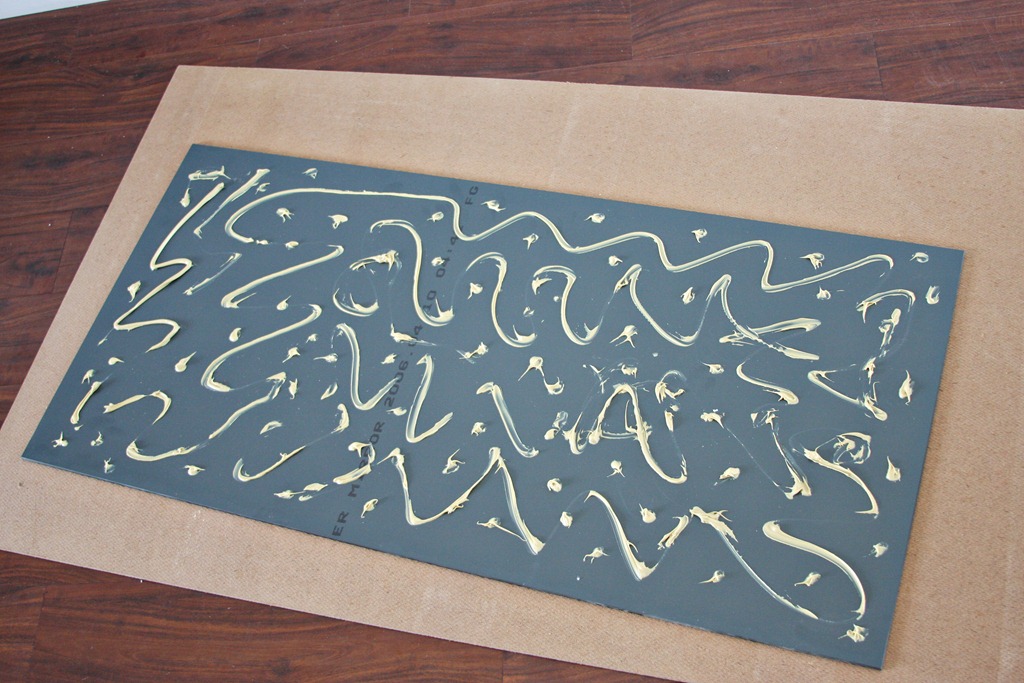
1) Place Liquid Nails on the back of the mirror. Center and attach the mirror to the press board and let it set for the recommended amount of time.
2) Cut the 1″ x 6″ boards to size, as shown below.
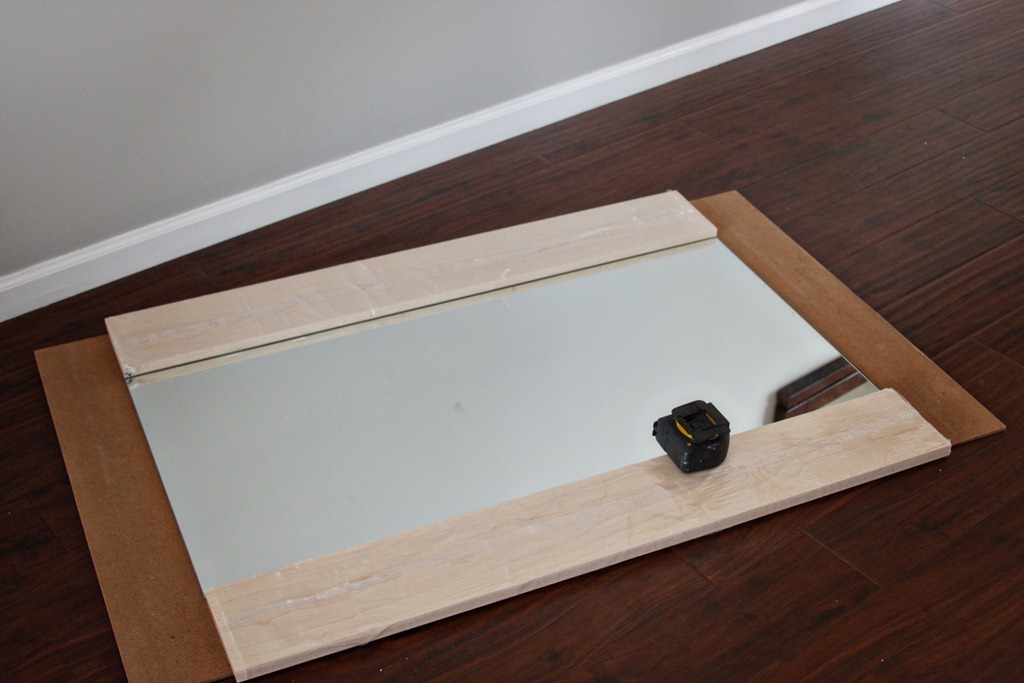
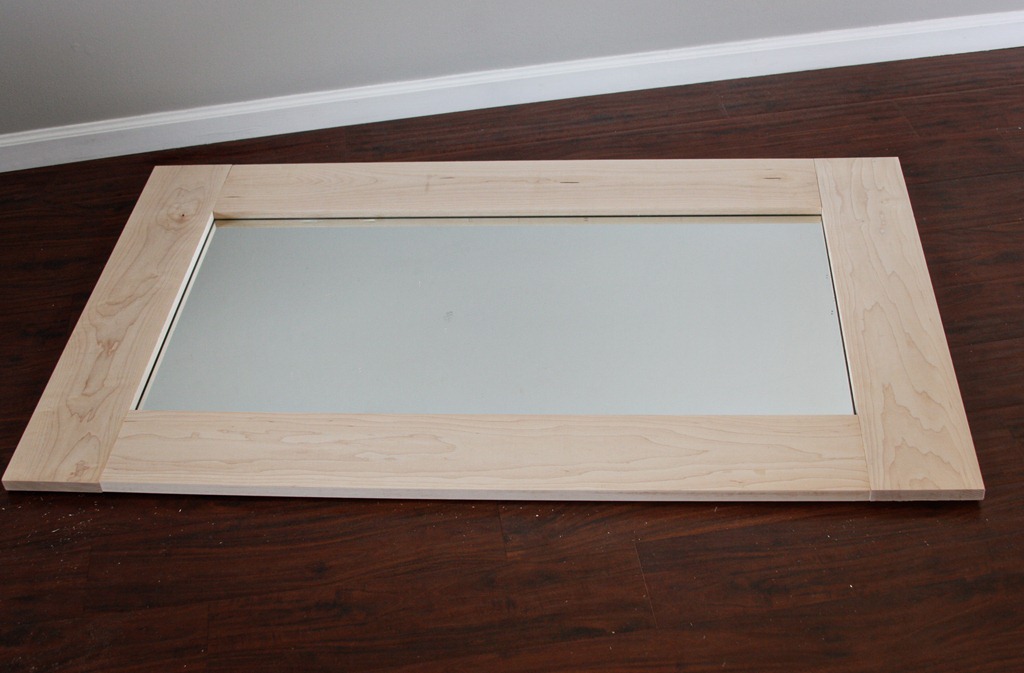
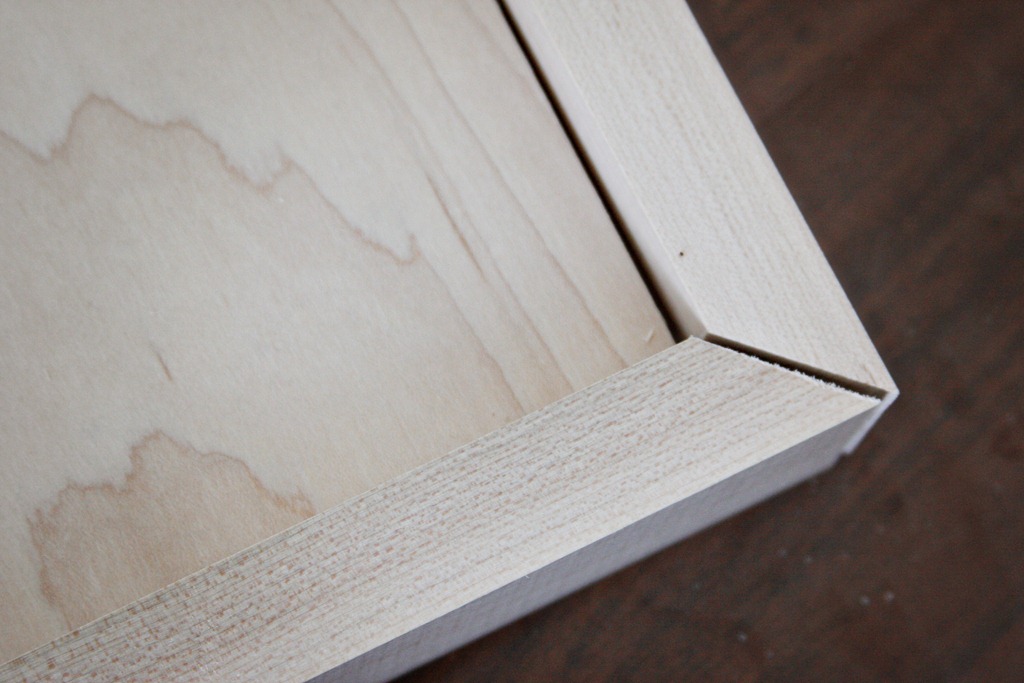
3) Cut the 1″ x 2″ boards to size. As shown below, you’ll need to cut each end at a 45-degree angle in order to frame the 1″ x 6″ boards.
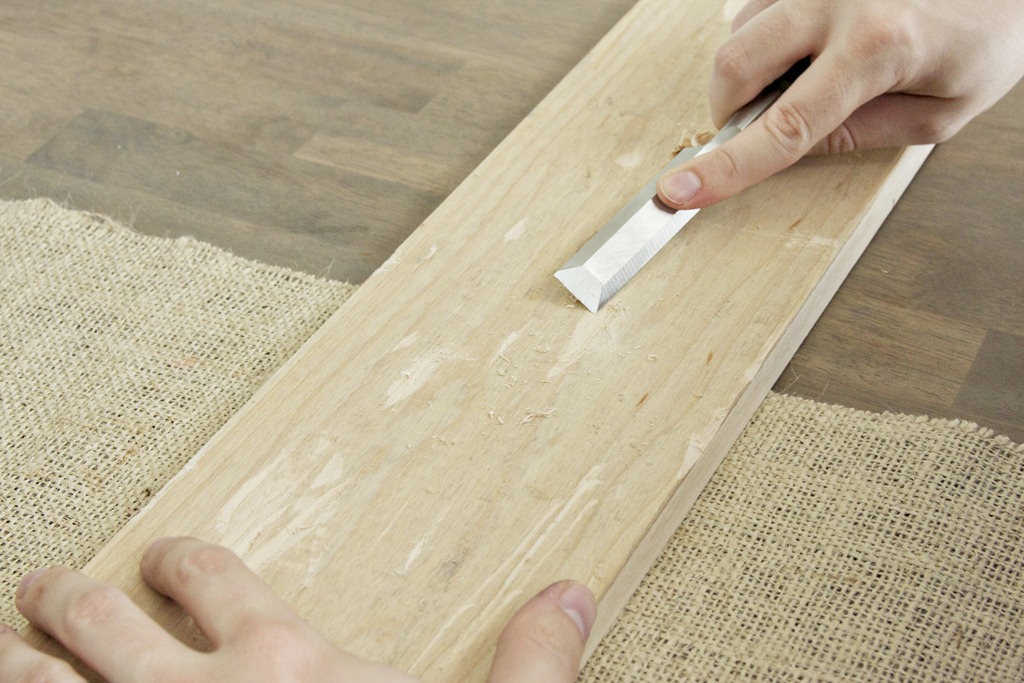
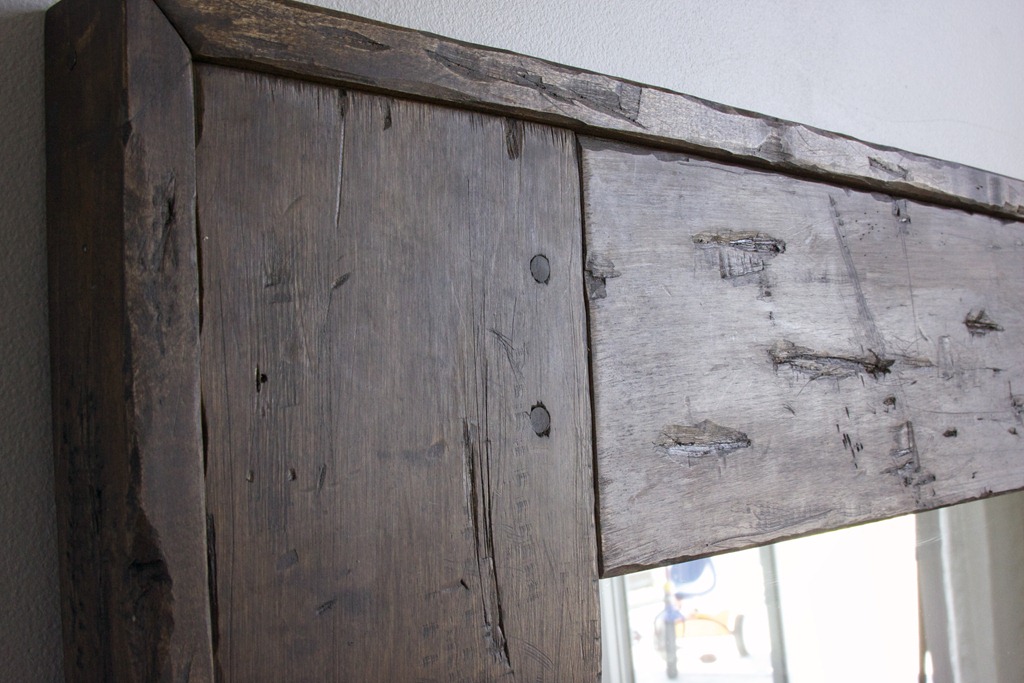
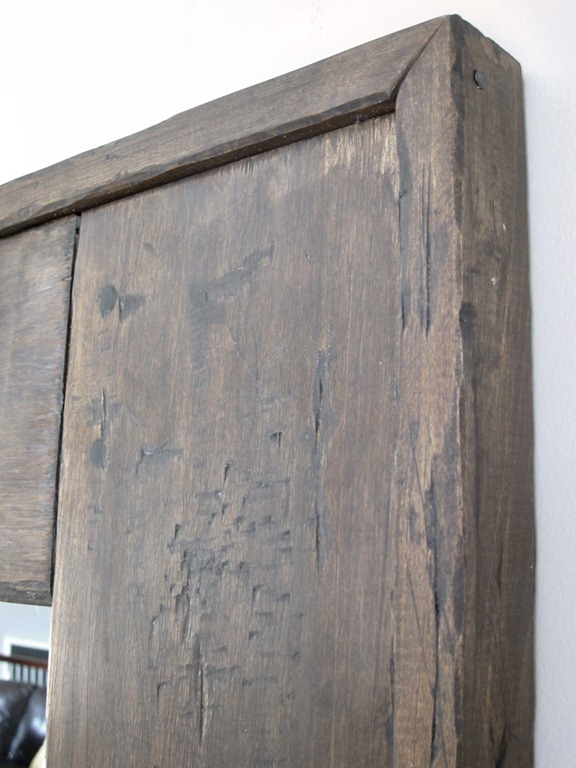
4) Once the boards are cut, it’s time to distress. My husband and I used a few different techniques including dragging the boards across our driveway and using a chisel to gouge and scrape the wood.
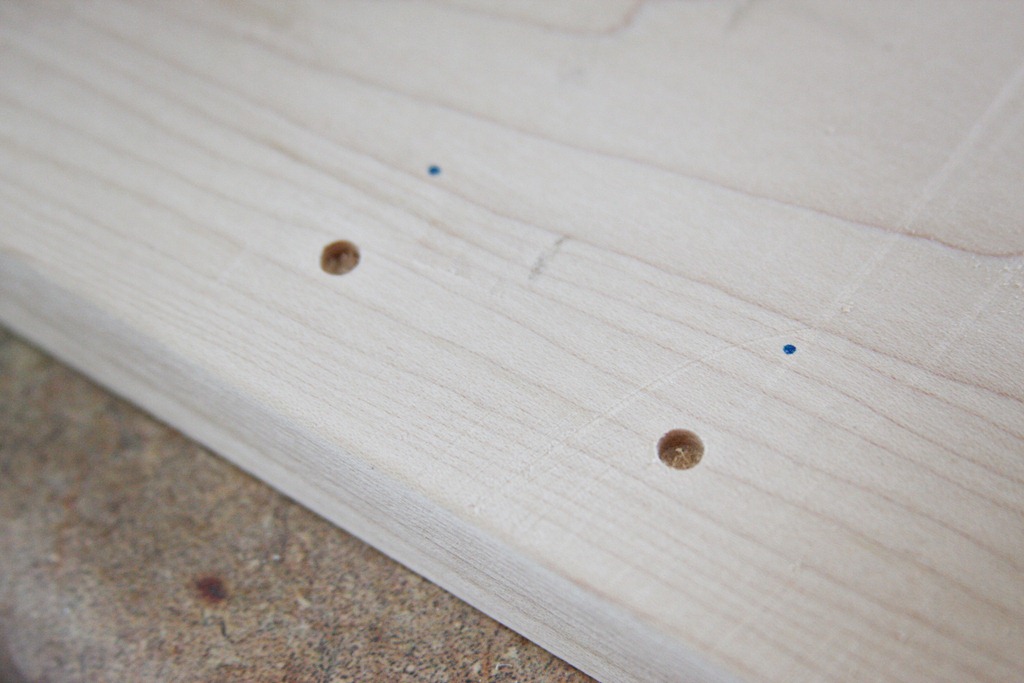
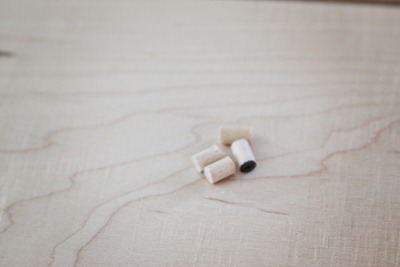
5) Next I drilled a couple holes on each end of two of the boards and filled them with pieces of dowel.
6) Once distressed, you can of course finish the wood with any stain or paint you like. As I mentioned earlier, I was trying to achieve a weathered look similar to Restoration Hardware’s mirror, which required some experimentation. In the end, I used two coats of Minwax Jacobean stain and two coats of Minwax Classic Grey stain. After staining, I also applied one coat of Fiddes & Sons’ wax.
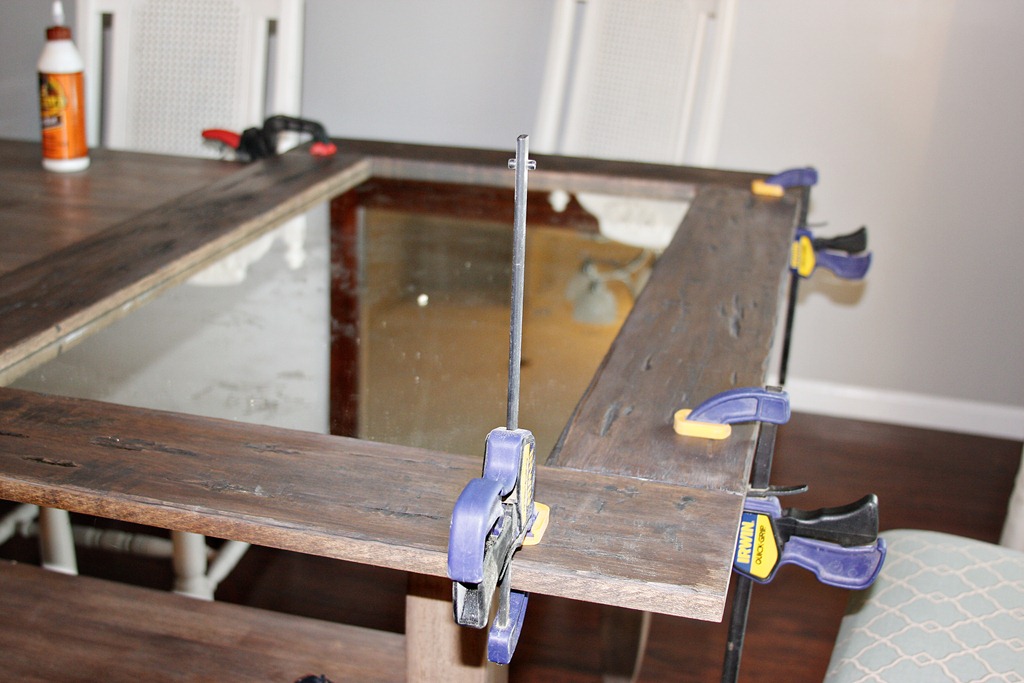
7) Attach each 1″ x 6″ to the press board with wood glue then clamp to dry. I then placed a few short finishing nails from the back side so they’d be hidden.
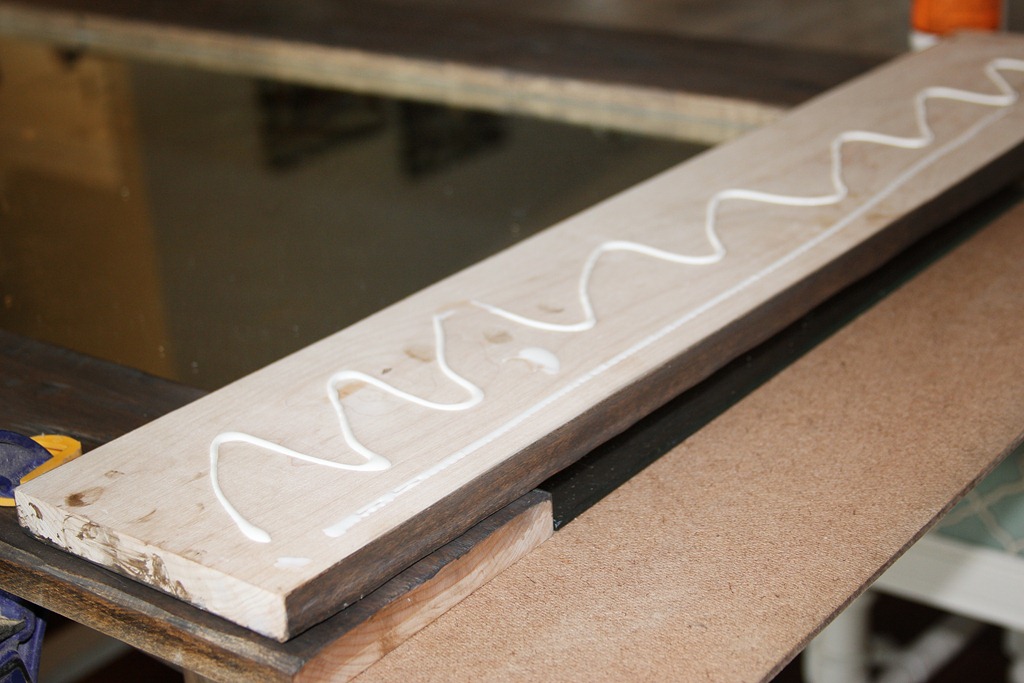
8) Once the 1″ x 6″ boards are set, you can then attach the 1″ x 2″ trim pieces with glue and nails. I again used my 18-gauge finish nailer and you can hardly notice the nail holes, particularly with all the other holes and gouges we intentionally made.
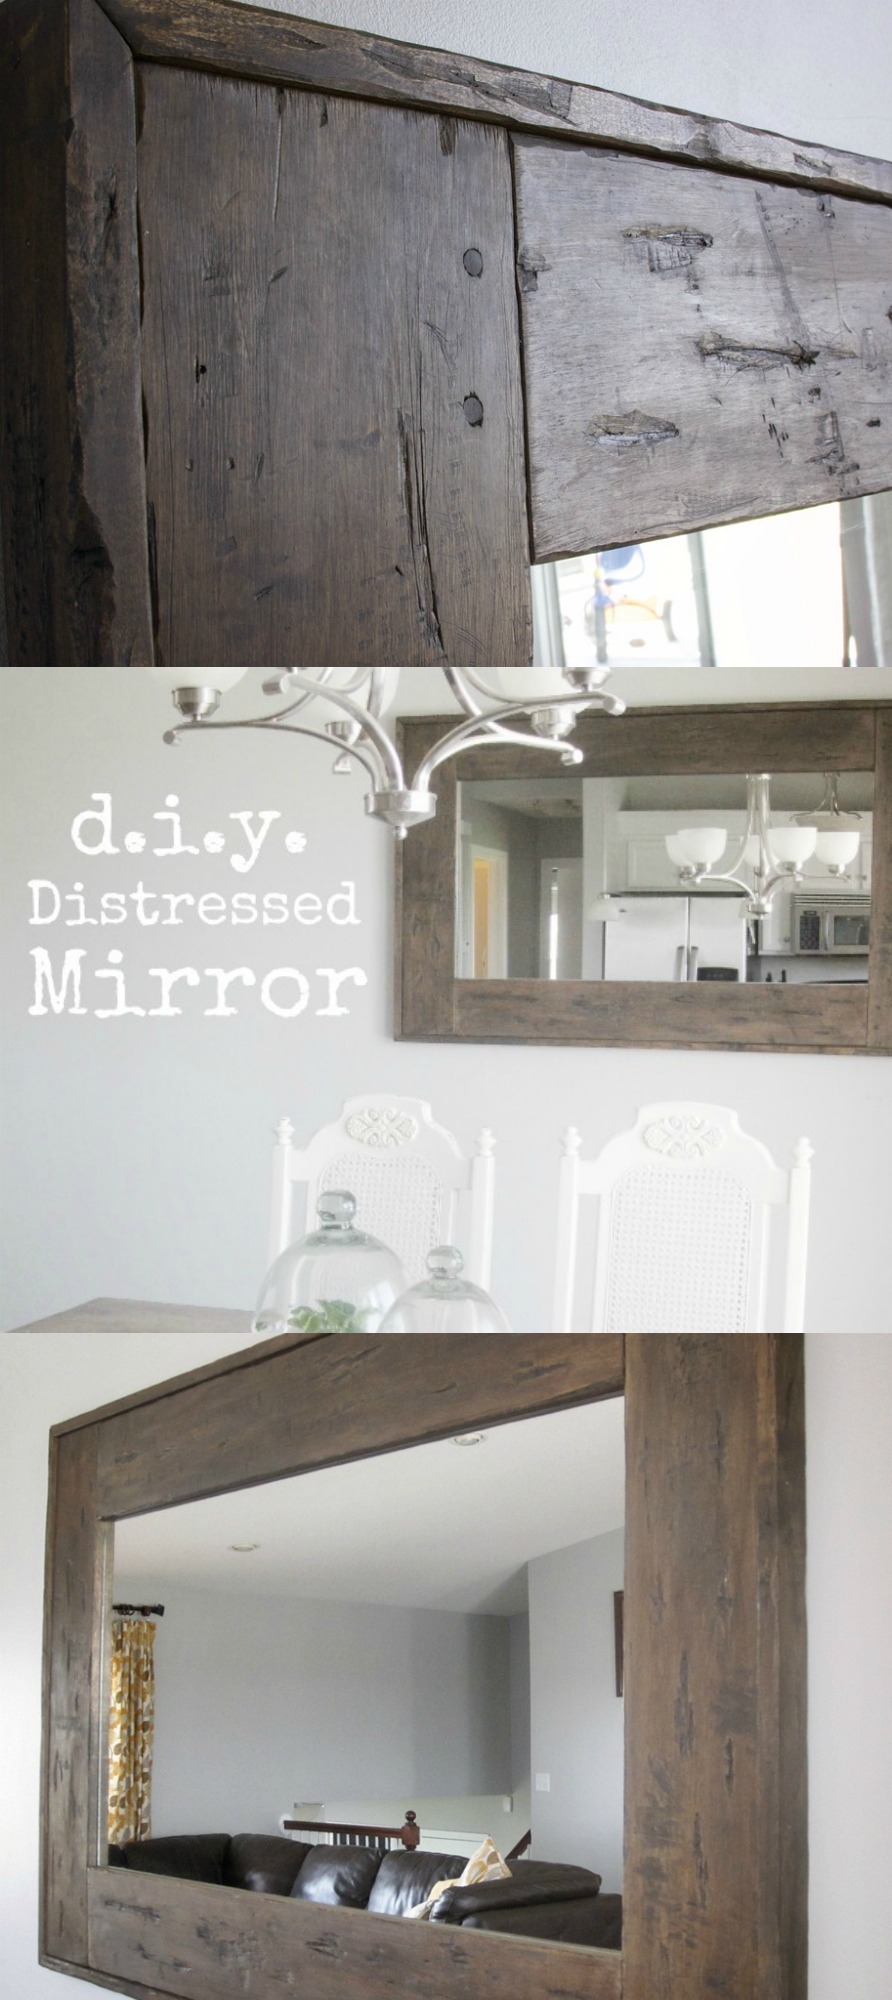
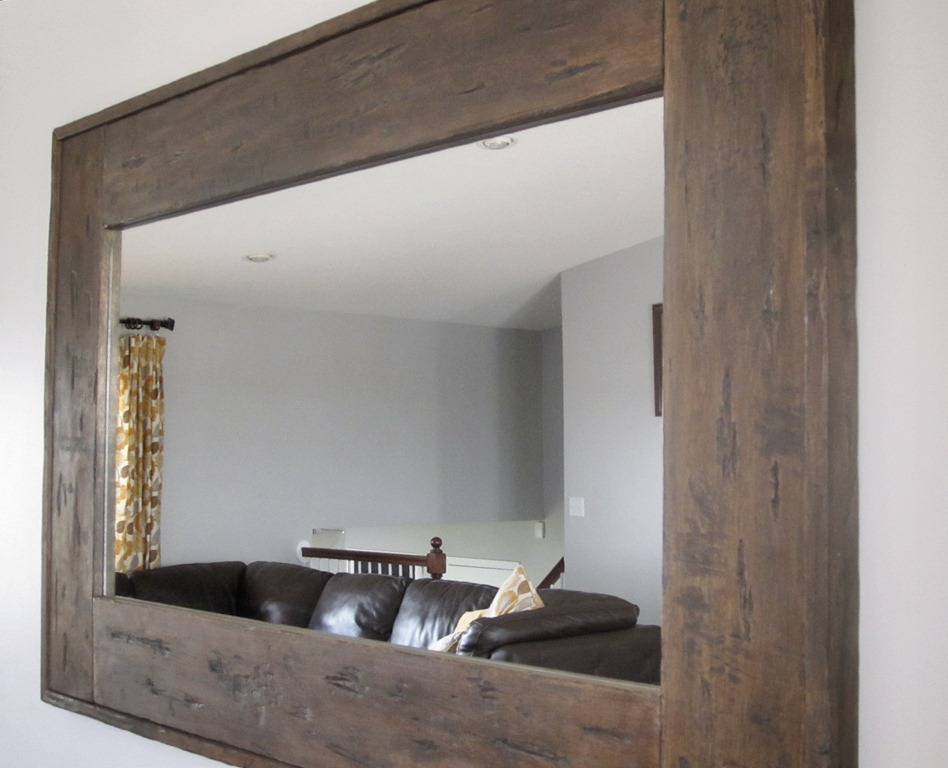
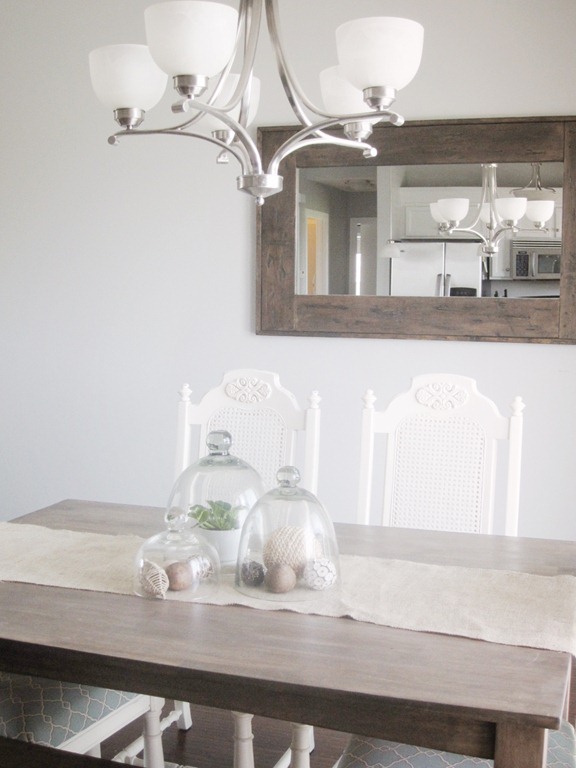
Here is the mirror all finished.
Thank you Kari for having me as a creative guest! I feel so lucky to be featured here at Ucreate.
I hope you all will stop by, say hello and check out my other projects at KrisKraft.

This is fantastic, so gorgeous and elegant! I am in love!
That mirror is awesome, well done you!I would love to have the same thing in my new bedroom!
Thanks again Kari! I just noticed something I forgot to mention…make sure you use liquid nails for *mirrors. 🙂
Thank YOU Kristi! I’ll go ahead and edit the liquid nailes for mirrors on this post. You’re amazing.
OhMyGosh, it’s absolutely beautiful! One of the best DIY mirrors I have seen! Thanks for sharing. I’m inspired!
Laurie @ House of 34
http://www.odetomyabode.com
absolutely gorgeous results and great tutorial!!!
Thank you so much for this post. I want to let you know that I posted a link to your blog in Creative Busy Bee Craft Inspirations, under the Page 1 post on Oct. 03, 2012. Thanks again.
Hello! I found your mirror tutorial on Pinterest and I have finally made one! I love it and I get a lot of compliments on it so thank you!!!
Found on Pinterest & LOVE!!! I have been looking for this distressed style for awhile and am so grateful you posted this. I am going to make the mirror and refinish my coffee table. Could you please clarify what shade of Fiddes and Sons Wax? My guess is either clear or Jacobean but I want to get this exact result! Thank you again
What color wax did you use? Wanting to create this look on my new raw wood coffee table top!