Hello Everyone! I am so excited to be visiting Ucreate today! It is such a huge honor to be here and have the opportunity to share one of my Holiday crafts with each of you.
In case we’ve never met, I’m Taryn from Design, Dining + Diapers. A place where I share a little bit of everything but mainly DIY home decor, seasonal crafts, lots of tutorials and allergy friendly recipes! I live in the Pacific Northwest with my hubby, 20 month old Baby Girl and our spunky Golden Retriever! I love a good DIY challenge, the outdoors, coffee, baking, spending time with friends and family and watching Reality TV. Can anyone relate? 🙂
OK enough about me… let’s dive into today’s craft.
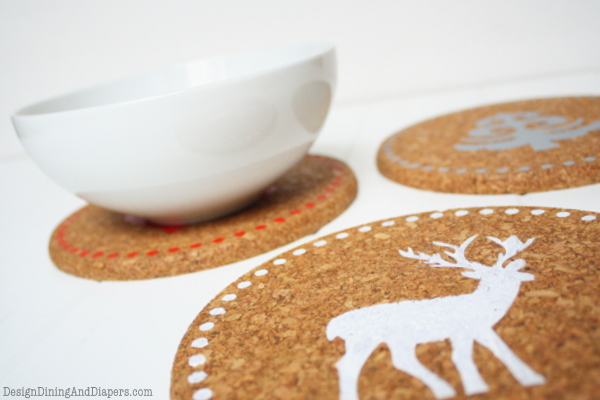
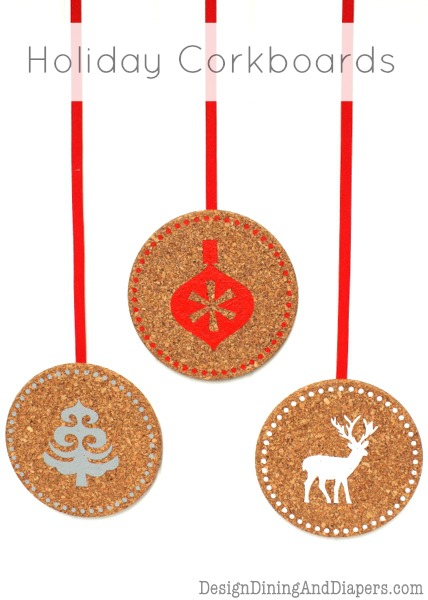
Ever since the weather started changing I’ve been brainstorming different ideas for the Holidays. There is so much to think about like handmade gifts, new Holiday decor, hostess gifts… oh, my list is growing! Well, I was at IKEA the other day and I came across a pack of 3 round cork trivets. At $2.99 for all 3, I grabbed them and knew I wanted to use them in my Holiday decor this year. Using my Silhouette and a little paint, I turned these into a simple Holiday decoration for my home. They are a great way to add a festive touch to a wall, door, mantel, or even in a window.
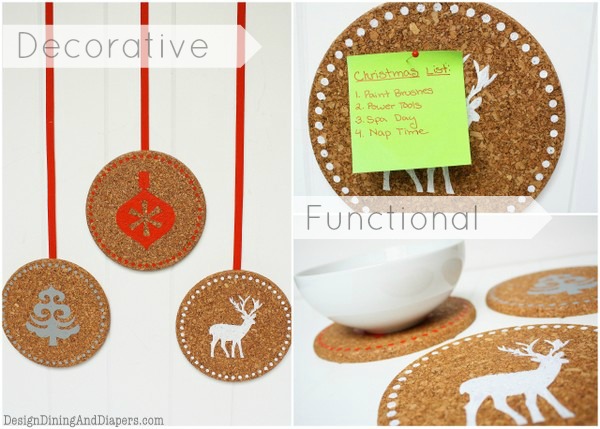
But wait, there is more! This project can actually serve three functions 1) wall art, 2) a cute holiday cork board and 3) heat trivets for your Holiday tablescape. Talk about a functional gift, can’t beat 3-in-1!
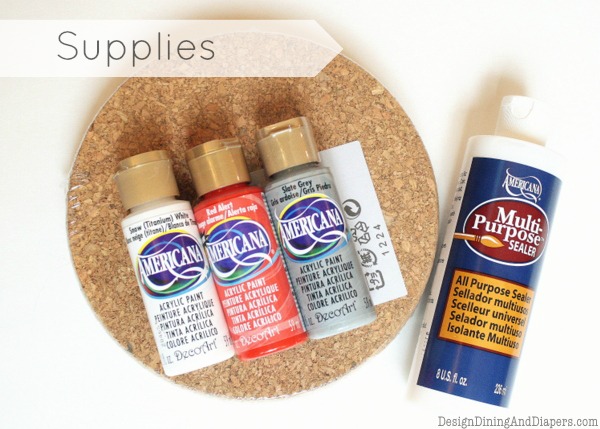
Supply List:
– 3 Round Cork Trivets – Acrylic Paints and brush ( I used Americana Snow White, Red Alert and Slate Gray) – Multi-Purpose Sealer – Stencil – Mod Podge (Optional)
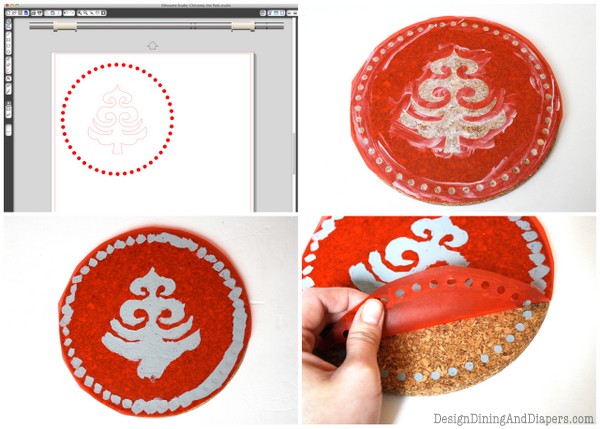
1. Start by creating your stencil. I used my Silhouette to create my graphic. I downloaded this set of graphics for the tree and ornament and this one for the reindeer. I first drew a circle at 6.5″ and then changed the line style to dotted. Then I added in my image to the center. I cut the image onto vinyl.
2. Prepare your cork boards. Because cork is a natural material and full of texture, I gave the cork a coat of Multi-Purpose Sealer to prepare the surface. This will help the paint go on smoother and not absorb as much, but it is not required.
3 . Place the stencil onto the cork. Smooth out the vinyl so there are no bubbles.
4. Place a thin layer of Mod Podge or other clear adhesive over the stencil to help the paint from bleeding through. Let it dry. This step is completely optional. I have found that the layer of glue helps my stencils have a really crisp line, but you don’t have to use it if you are happy with how your stencils generally turn out.
5. Paint over the stencil. Be careful not to apply too much paint at once. Once the first layer dries, apply a second if needed.
6. Carefully pull back the vinyl to reveal your design.
7. Apply a top coat of Mutli-Purpose Sealer. If you plan on using them as heat trivets, this will help seal the paint and make them a little more durable.
I hope you all enjoyed this Holiday craft today. Thanks for letting me be part of your day.
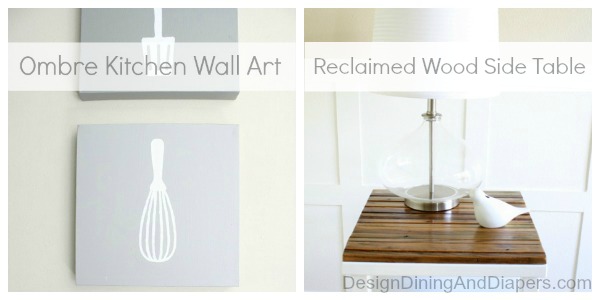
Here are a few other projects you can find on my blog:
Ombre Kitchen Art and Reclaimed Wood Side Table
To view more projects, or if you just wanted to say hi, you can find me on my blog, Facebook, Pinterest, Google + and Twitter!
A huge thanks to Kari for having me over today! And so great to ‘meet’ all of you 🙂



Thank you so much for having me over today, Kari!
LOVE this Taryn – super cute and functional!
I am new to stenciling from a computer. I am confused as to how to cut out the inside of a print? How did you make prefect circles and cut the tree/reindeer our perfectly?
Hi Rob and Deanna- If you use a Silhouette or A Cricut cutting machine, the software program and cutting machine will help you cut the areas out perfectly. 🙂
I have never done a craft with cork. Can you tell me what you used to cut the cork and if the edges were smooth? I’m curious if something needs to be done to make sure it’s has smooth edges. Thanks!
The trivets were purchased pre-cut so all you need to do is paint and decorate 🙂
Thanks for this, i also stopped in my tracks at IKEA and purchased these. I did not know exactly what i was going to do with them but they had DIY written all over them. Making Trivets tonight with my Kiddos for gifts!
Good morning. I tried sealing my trivet after painting and put something hot on it. It smelt awful! What kind of sealer did you use? Thanks in advance. Tina