Hello U-create Readers! I’m Angel with FleeceFun.com! Fleece Fun features free sewing patterns, video and picture tutorials that are easy enough for beginners and simple enough for experienced sewers to add their own twist.
Some of my most popular free patterns and tutorials are the Cowl Capelet, Fleece hat with ribbon, Saturday Morning Scarf and the Fleece Baby Car Seat Cover.

Today I am going to show you how to make a simple scarf with pockets trimmed with fur.
Scarf with Pockets Tutorial

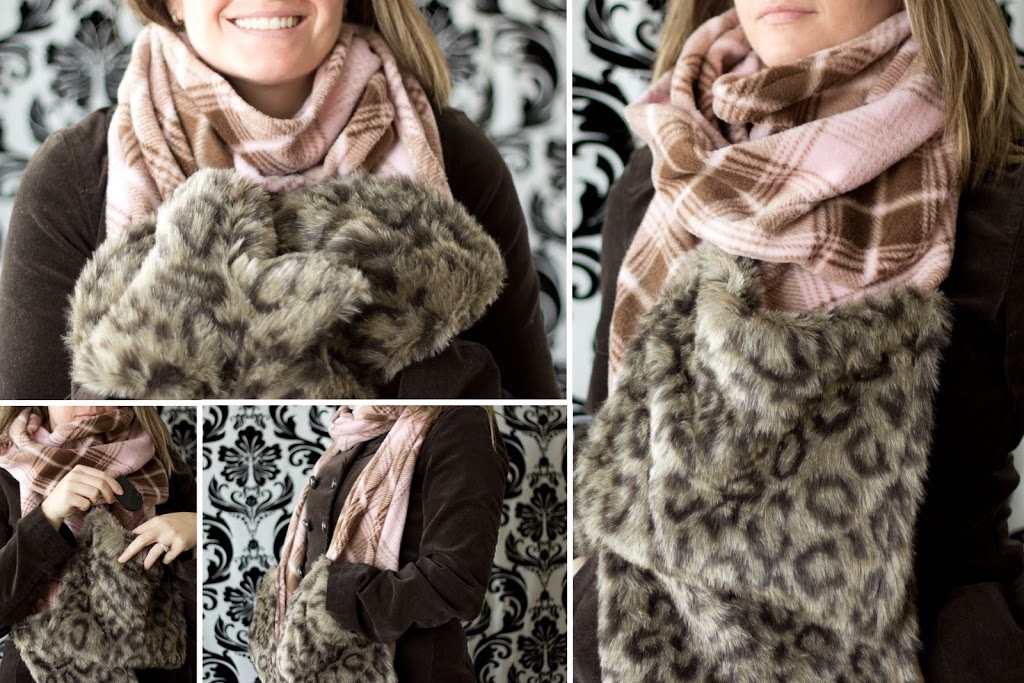
This scarf is great for keep your hands warm or holding your cell phone if your coat doesn’t have any pockets. While working with faux fur sounds daunting I’m going to show you that it’s easy to work with and great for upping the drama of a piece.
SUPPLIES
- 2/3 yard of fleece
- 1/3 yard faux fur
- Thread
- Sewing machine
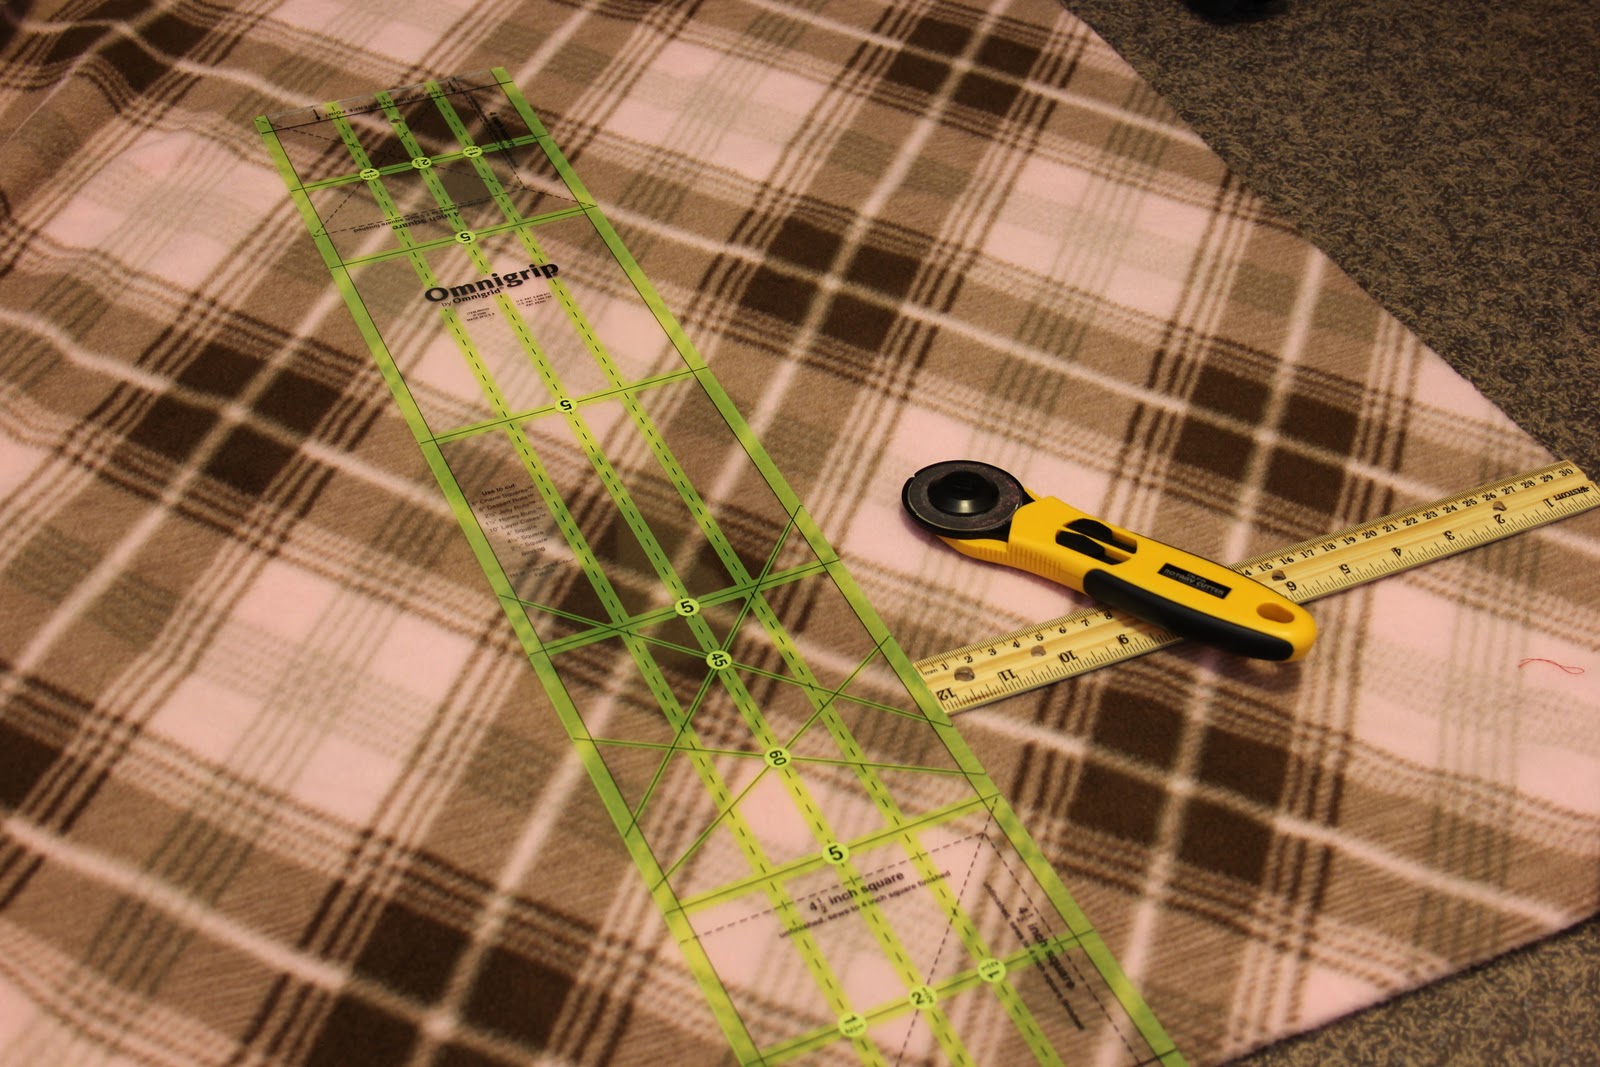
- Rotary cutter
- Mat Ruler
Step 1 Cut two 12 inch wide , 60 inch strips of fleece. (I like long scarves you might want to shorten this if you prefer them shorter.)
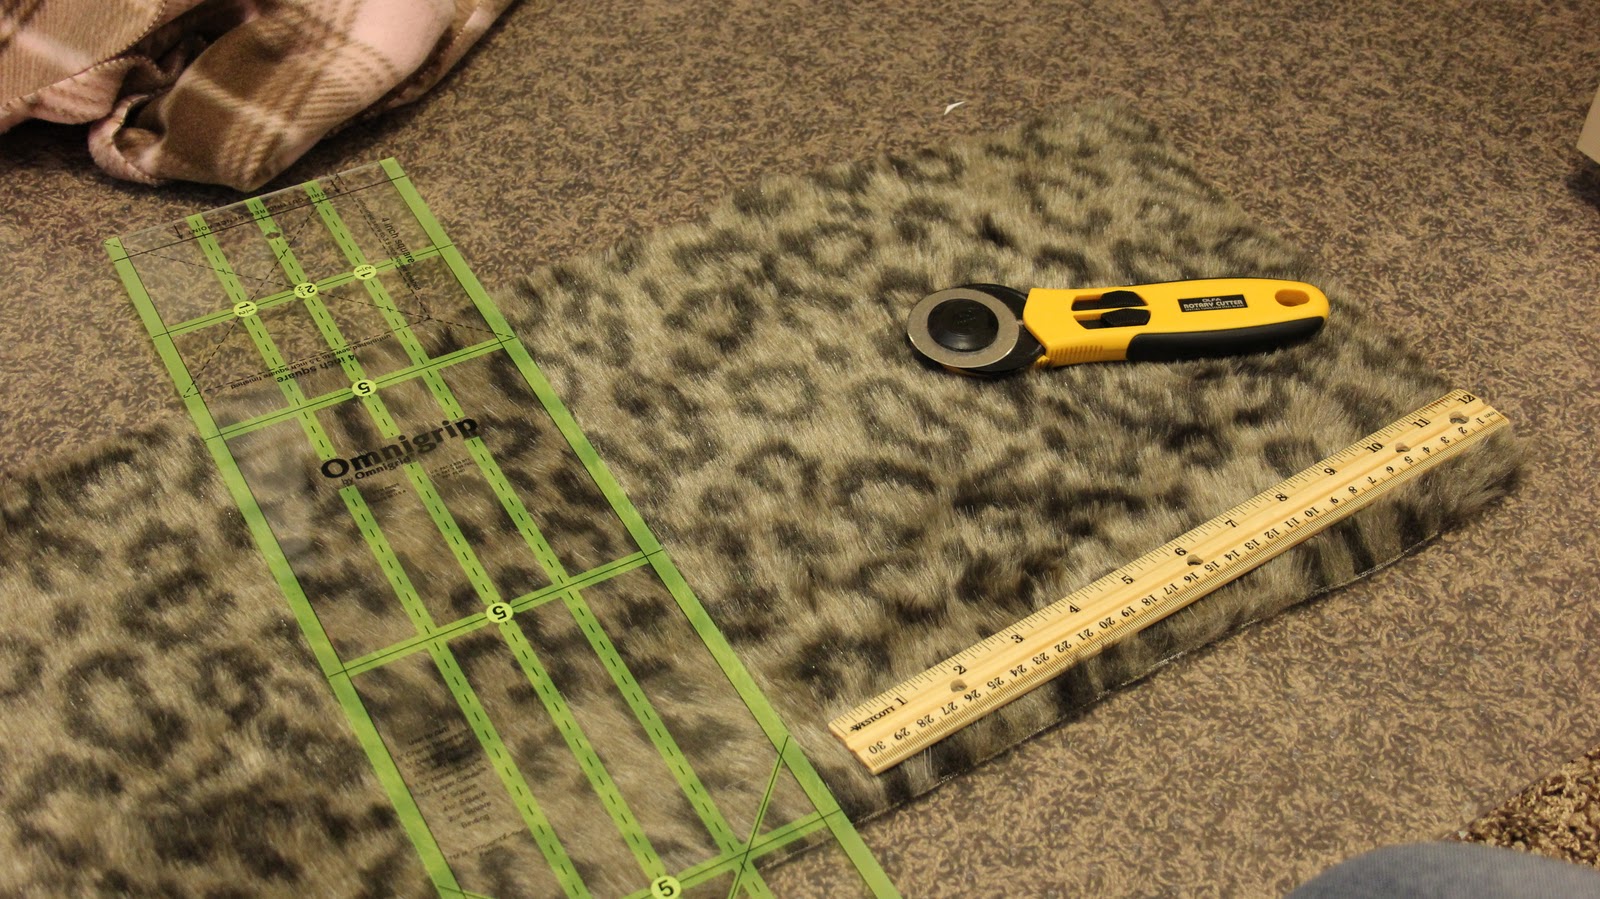
Cut two pieces of faux fur that are 12 inches wide and 12 inches long. Once you cut the fur, be sure to shake the fur outside to avoid a mess. (you also might want a lint roller handy)
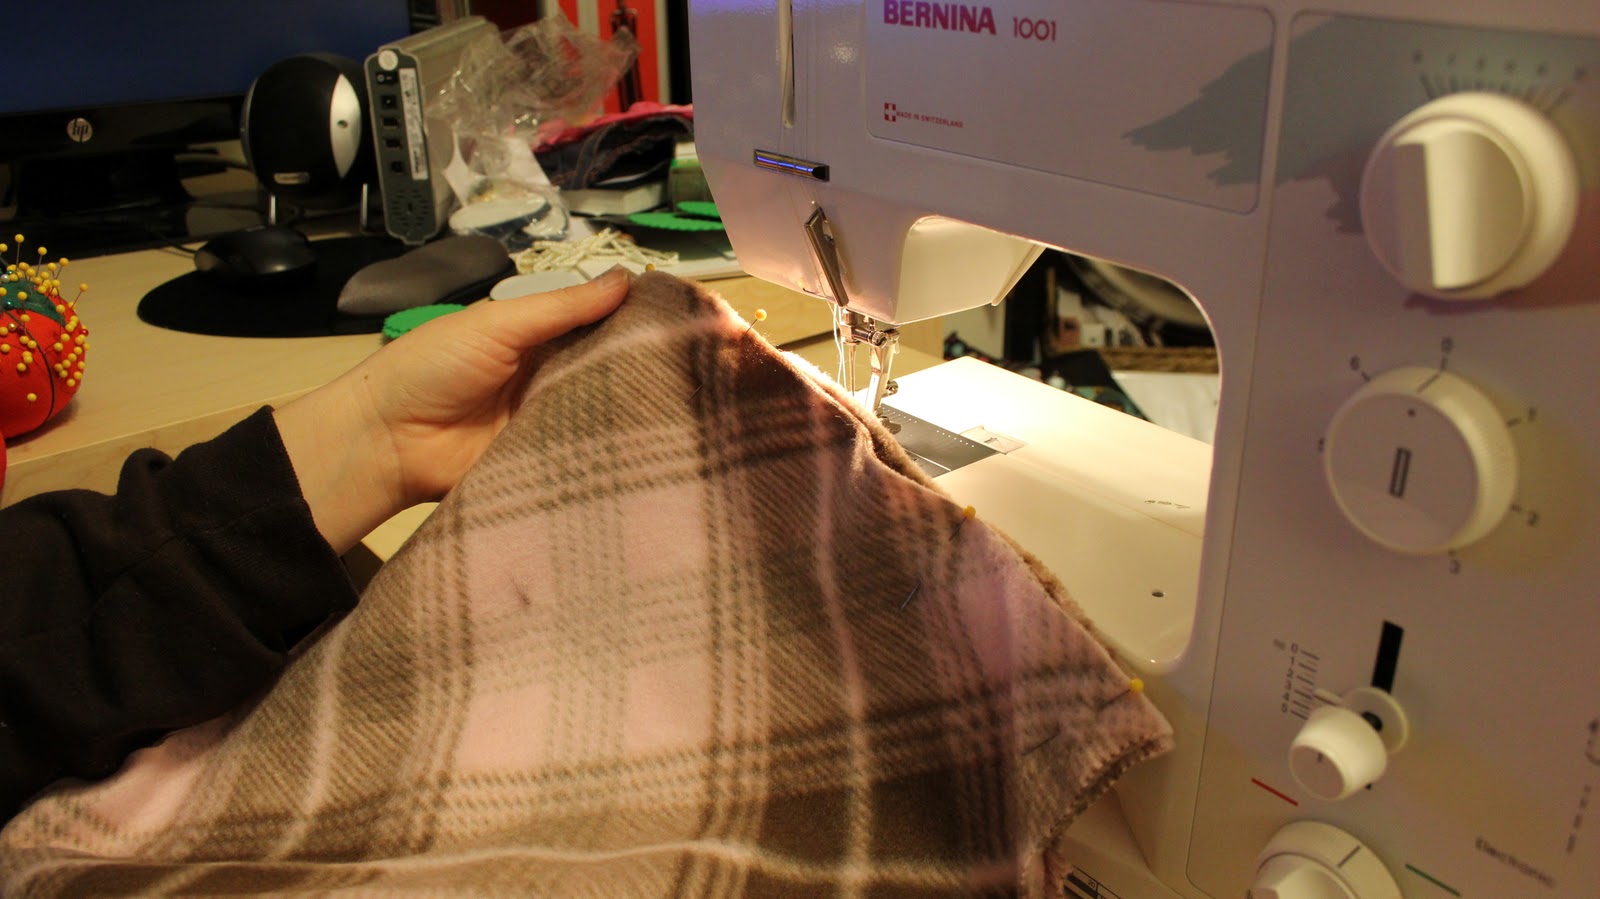
Step 2 With right sides together pin the two pieces of the fleece stripes together and sew, using a .5 seam allowance.
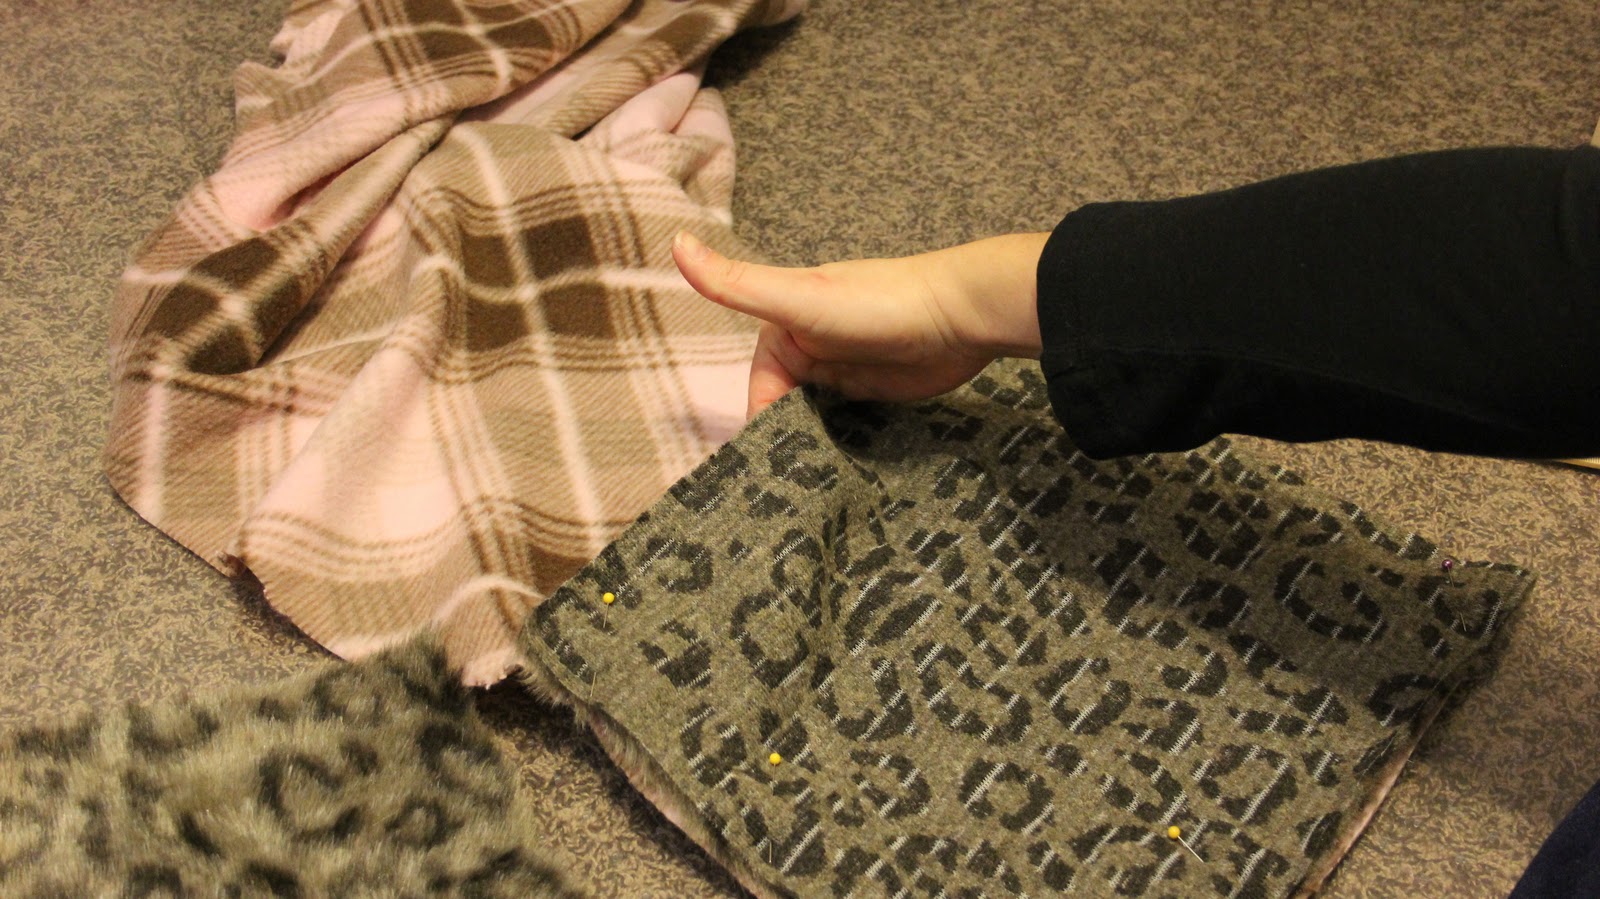
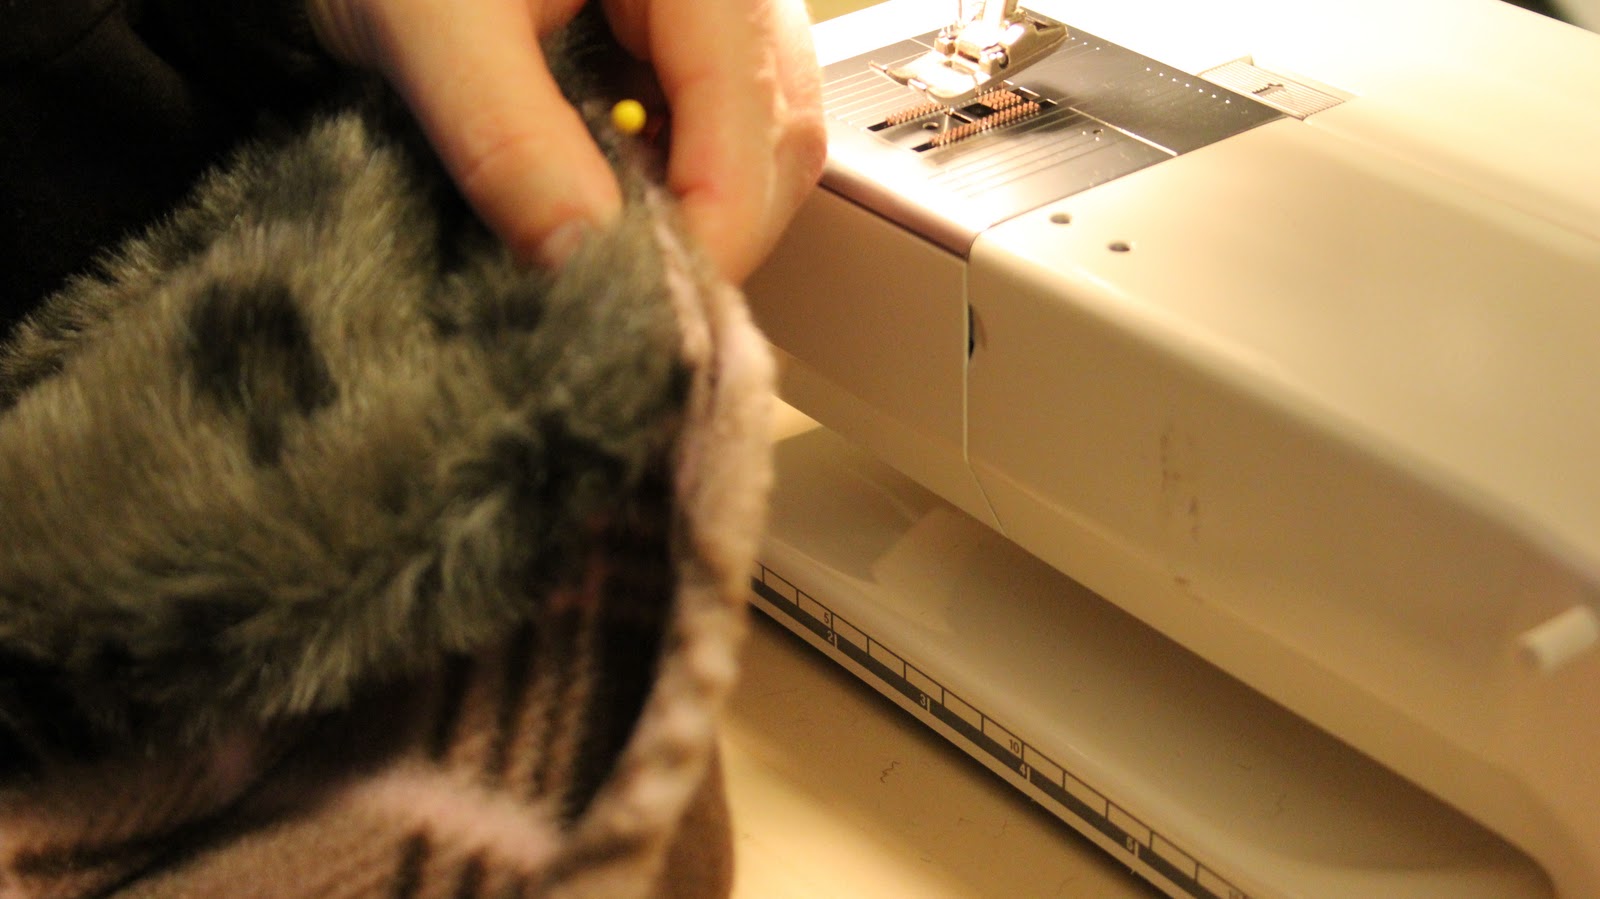
Step 3 At one end of the scarf, pin the fur right side to right side of the fleece, being sure that you leave the the top open for turning. Note: Be sure that the nap (direction the fur lies) is going in the same direction on both ends of the scarf. It will look funny if one side is up and other side is down. Just pet the fur to determine the nap. Does petting it make the fur stick up more or lay down flat and smooth?
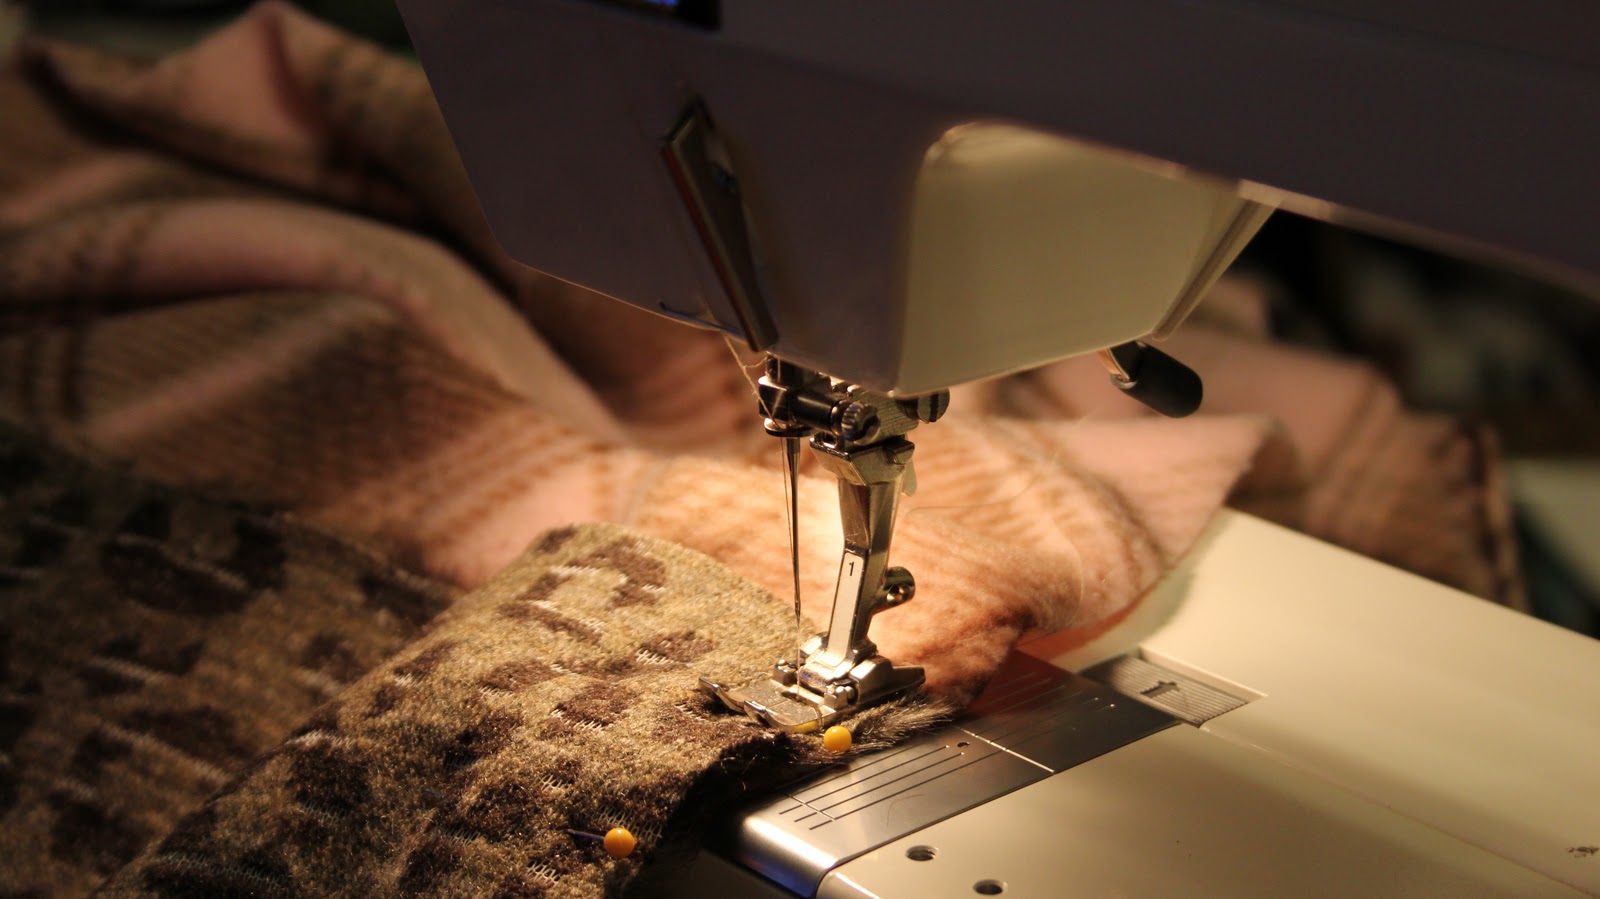
Then sew all the way around (again leaving the top open) using a .5 seam allowance. On the side seams be sure to start .5 inches down from the open top.
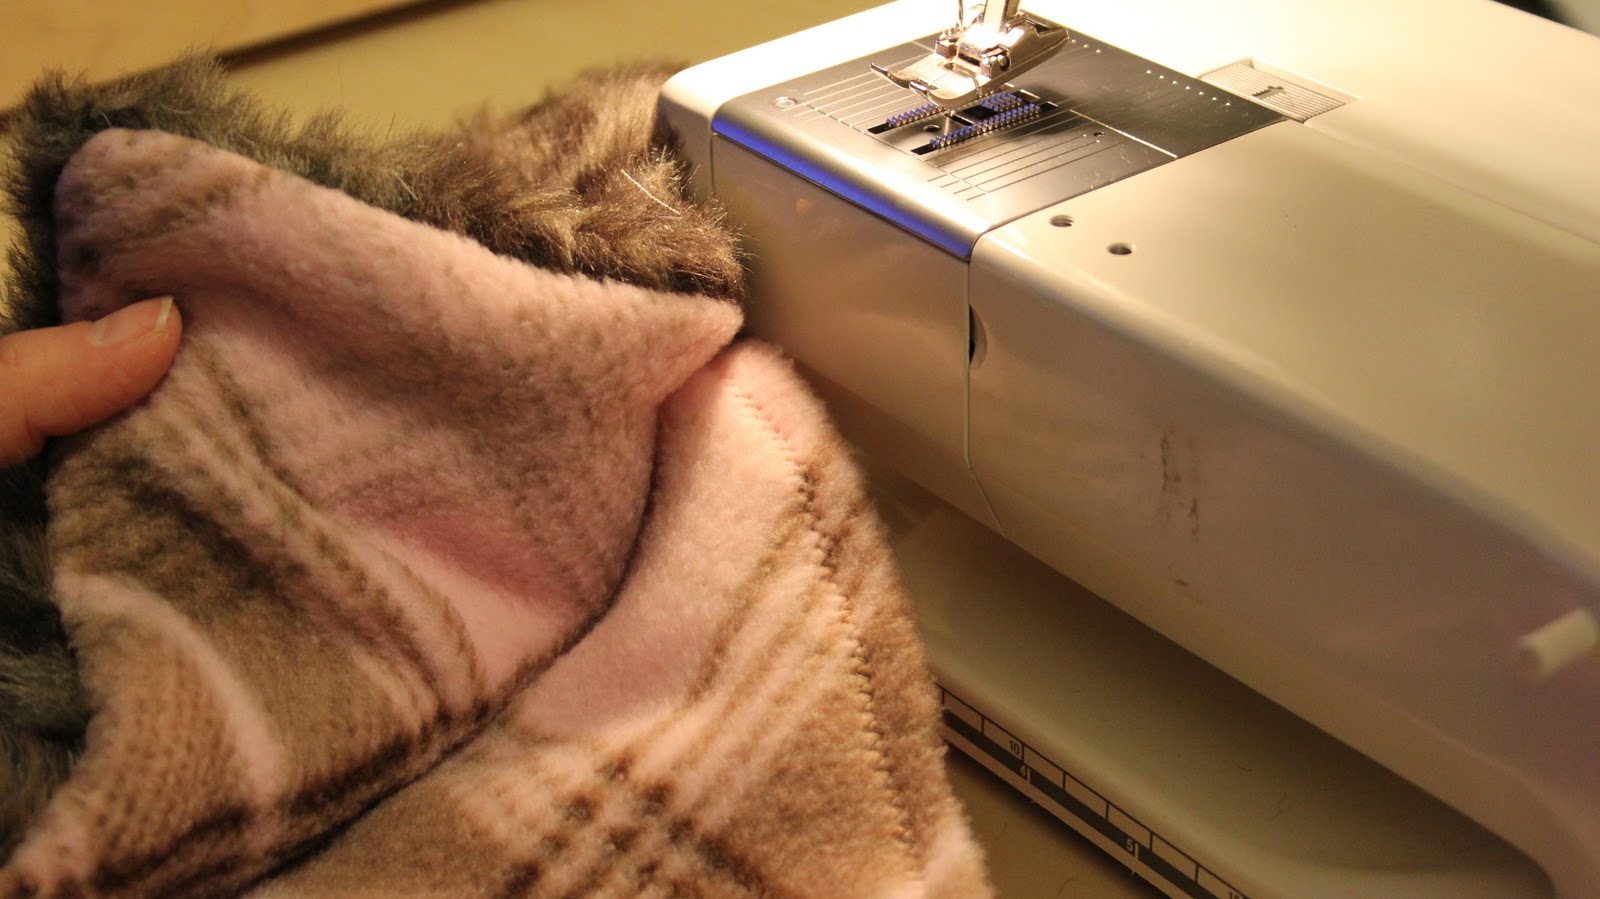
Trim corners and turn right side out. Turn top under .5 inches and top stitch the gap shut. (you can do this with a machine as the fur hides the stitches Repeat on the other end of the scarf.
Step 4 Once you have turned both ends right side out – you will notice that sides of the scarf just above the fur will fold in because the seam allowance used when we added the fur. Turn it under .5 inches and using a zig zag stitch sew along the edges all the way down the scarf on both sides to give it a nice finished look

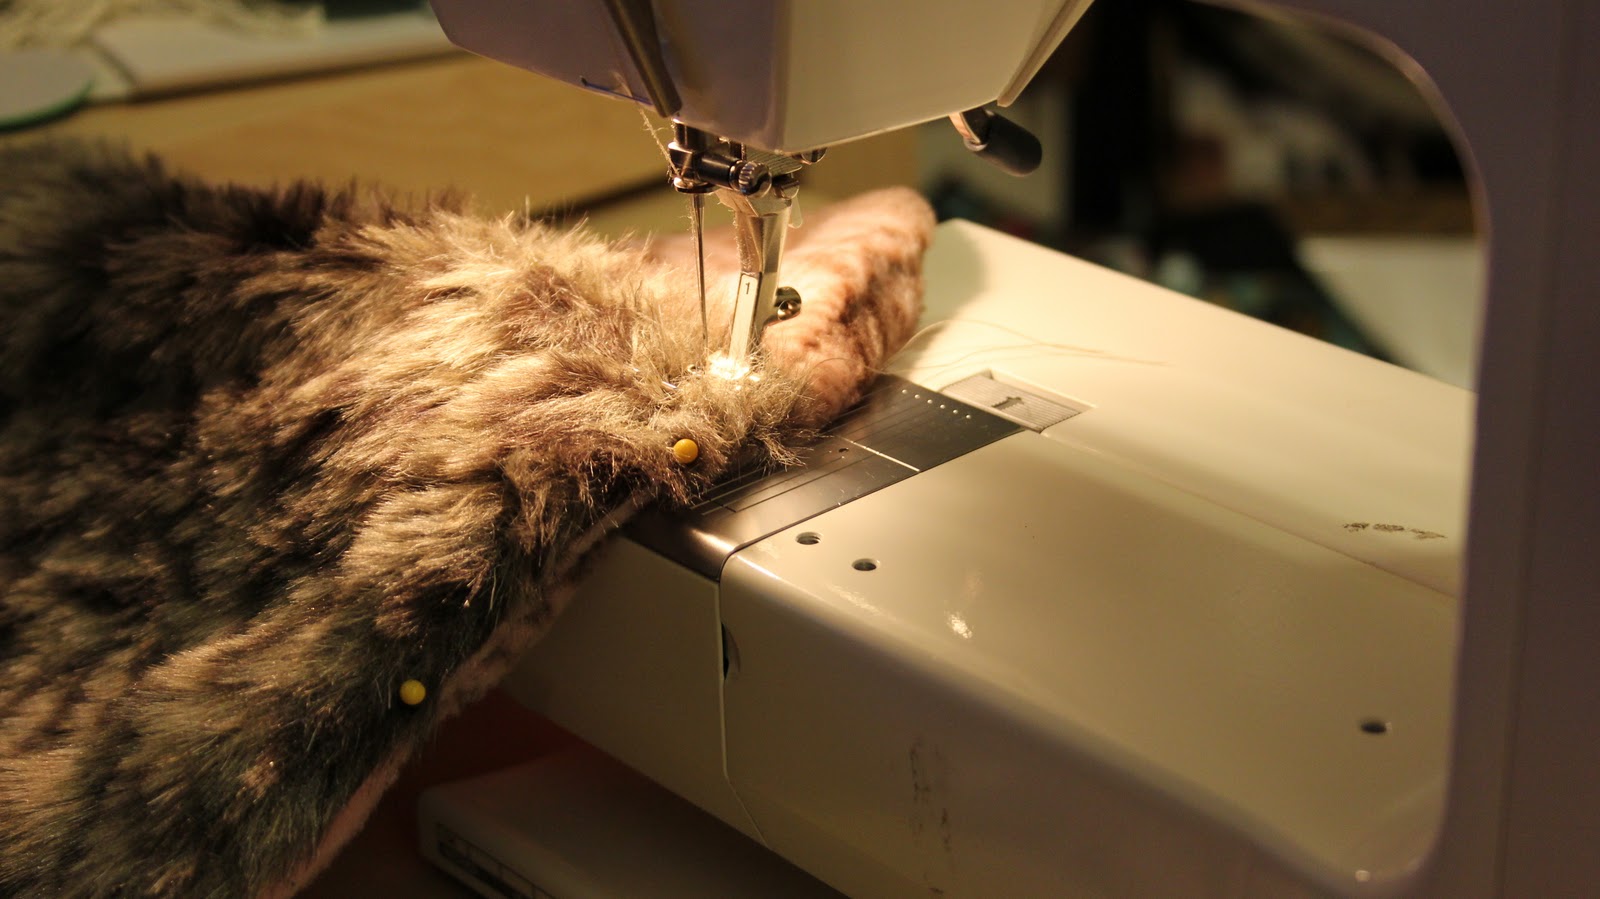
Step 5 Now it’s time to make the pocket. Flip the fur end of the scarf so the fur is on the outside and the right side of fleece is touching the right side of fleece. Pin.
Top-stitch through all the layers, using a .5 seam allowance. Take your time as you are dealing with a lot of material. Repeat on other end of scarf.
Trim your threads. Using a needle pull the fur out of the seam to hide your stitches (depending on the the length of the fur you might need to pull it out of the side seams too.)
You’re finished!

Ways to switch up and modify this pattern:
Change the width of the scarf. Make it wider to make it more “wrap” like, make it skinnier to make it less bulky.
Make it shorter. This scarf is on the long side, make it shorter to change it’s look.


This is a very easy but useful idea! Thanks for sharing 🙂
Cecilia
what a great idea!!
This is so cute!!! Would love to share it with my readers with a link back to you.
bee blessed
mary
thanks for the awesome tutorial xxx
Cute! I’m a terrible at sewing, but even I could probably manage to make something like that!