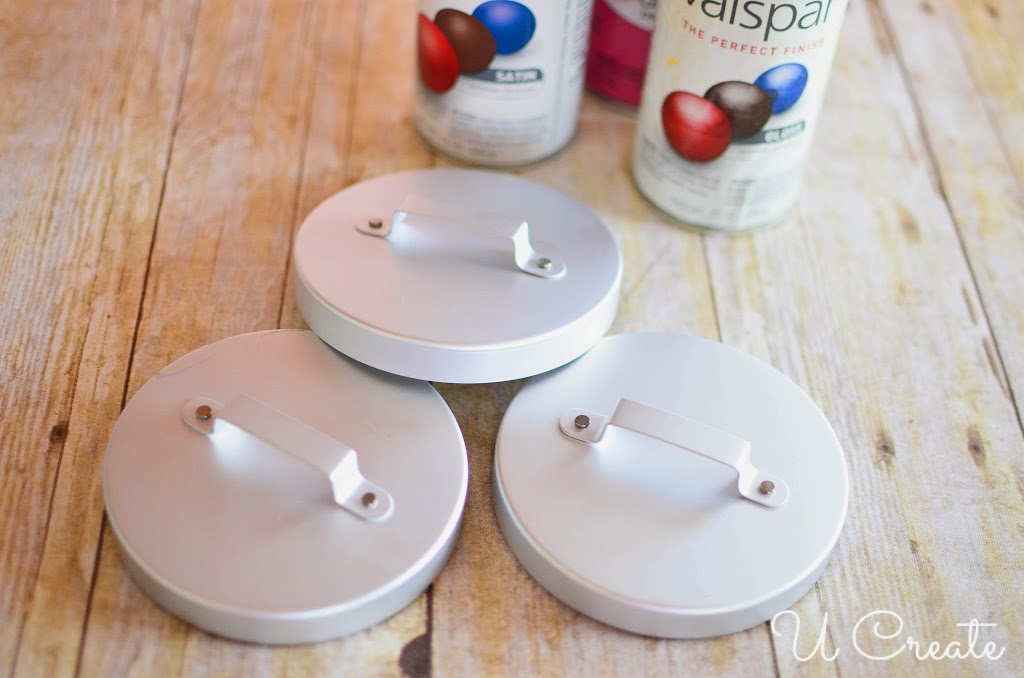
First, take the lids off and head outside with your favorite Valspar spray paint (found at Lowes). Spray paint the lids and let them dry fully.
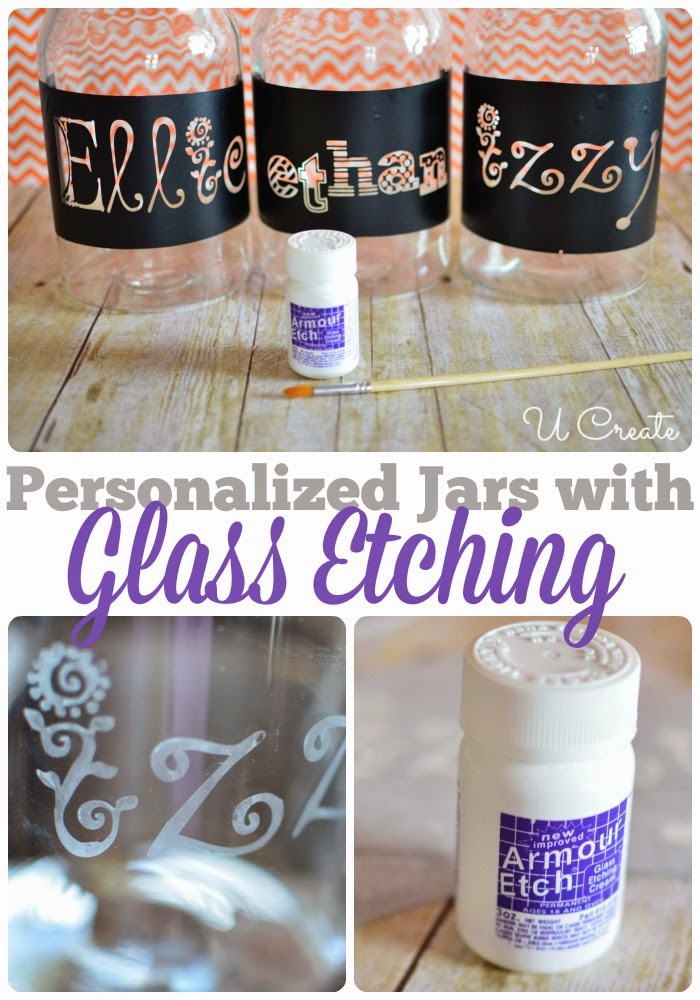
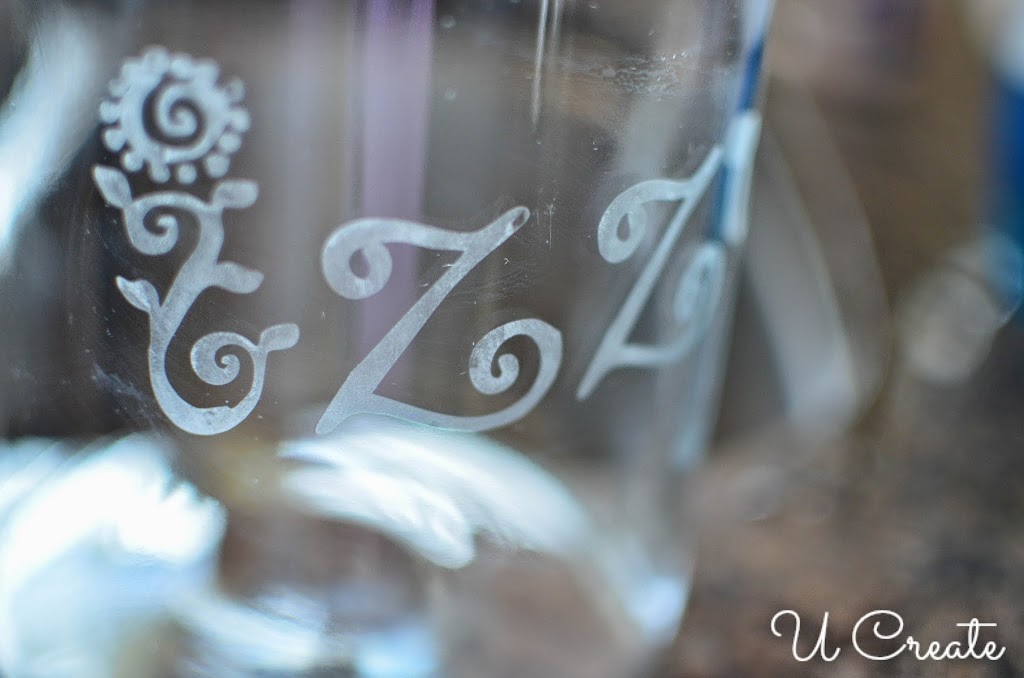
While the lids are drying let’s do some glass etching. If you haven’t done this before, you will love it. Glass Etching is a great way to personalize or transform jars, glasses, votives, mirrors, plates, etc. Especially if you have a Cricut or Silhouette. Vinyl makes the best stencils
HOW TO DO GLASS ETCHING:

1. Remove the backing from the personalized vinyl.
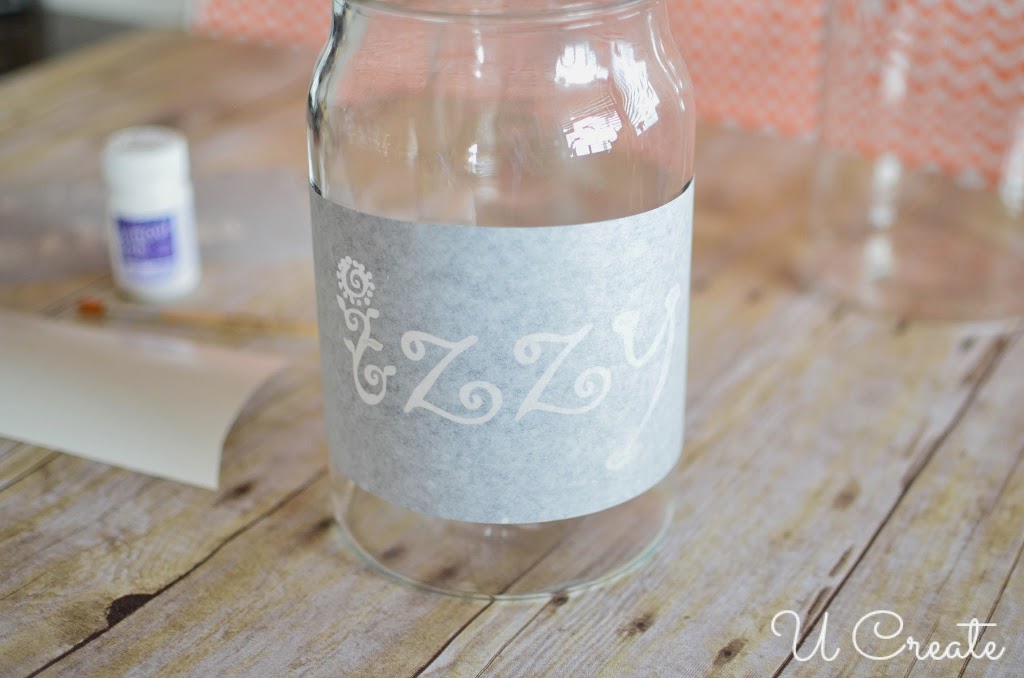
2. Put the vinyl sticker on the jar and rub all the bubbles out.

3. Remove the transfer paper from the top of the vinyl. The best way to do this is to roll it back on itself rather than lifting it straight up.
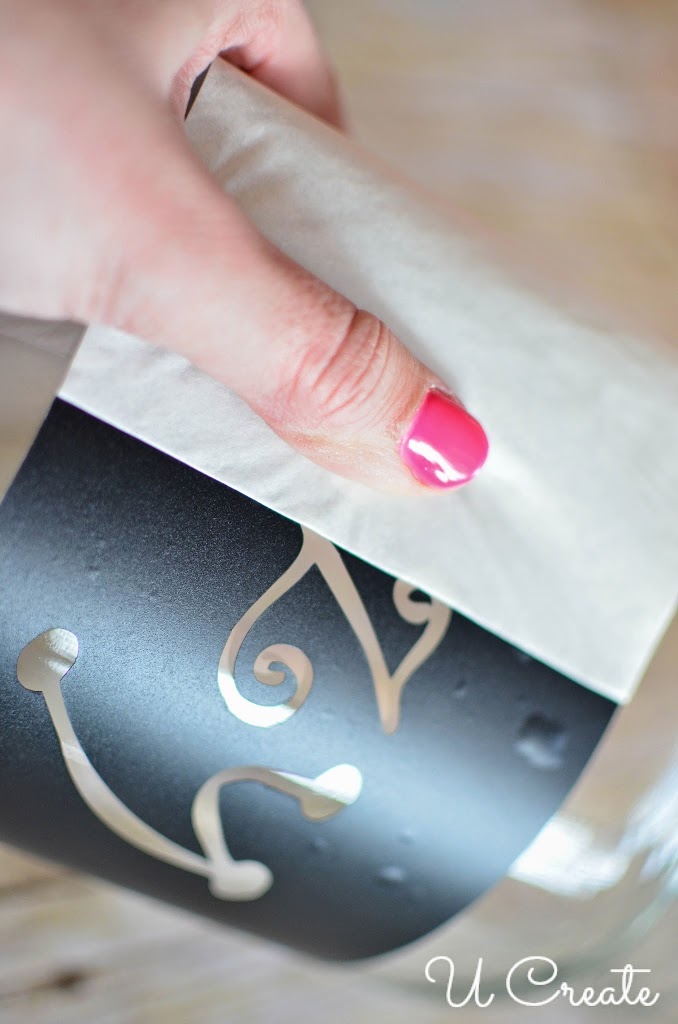
Side note: You see the bubbles in the vinyl pictured above? Those bubbles don’t matter when you are glass etching. You just don’t want bubbles near the letters where the glass etching cream can seep in.
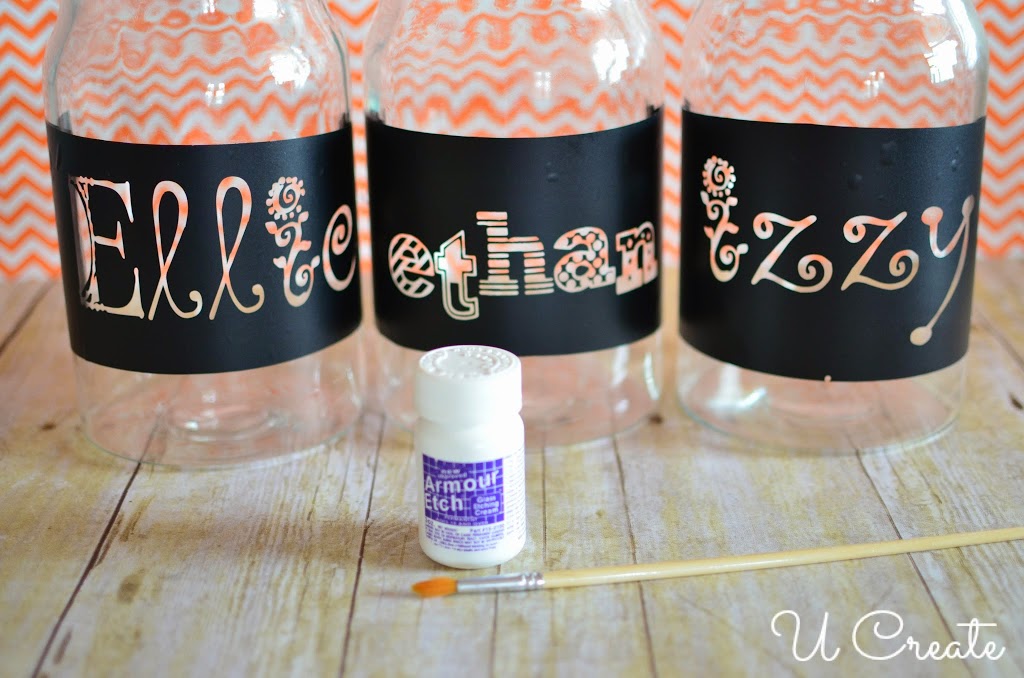
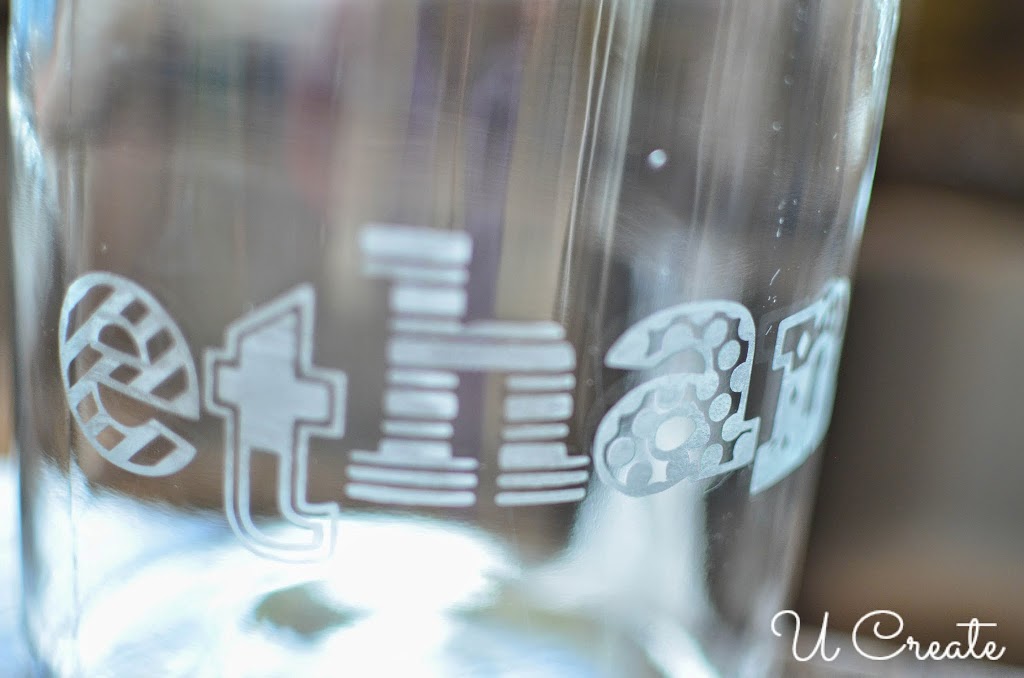
4. Grab your Armour Etch Cream and a paint brush. This little 3 oz. bottle has lasted me about 6 months. I have done at least 10 projects with it and still had enough to do these 3 jars. Basically, a little goes along way. 🙂

5. Cake on the Armour Etch with a paint brush, making sure to cover the entire name. However, be careful to only get the letters and make sure it doesn’t go off the vinyl onto the glass…where you don’t want it!

6. Wait 5 – 7 minutes while the etching cream works its magic.
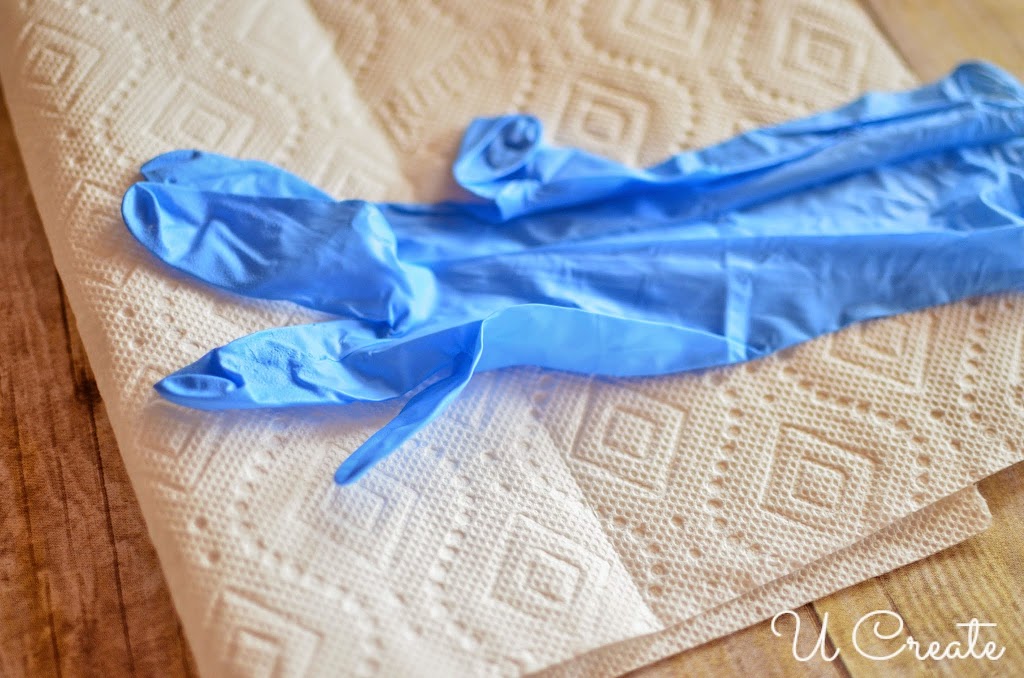
7. Grab some rubber gloves and paper towels. Make sure to use rubber gloves…you are working with acid here and you DO NOT want it on your skin! It BURNS! I use paper towels to wipe off the etching cream because I can throw them right in the garbage; unlike a rag that I have to make sure gets right into the washer and out of harms way of tiny hands.

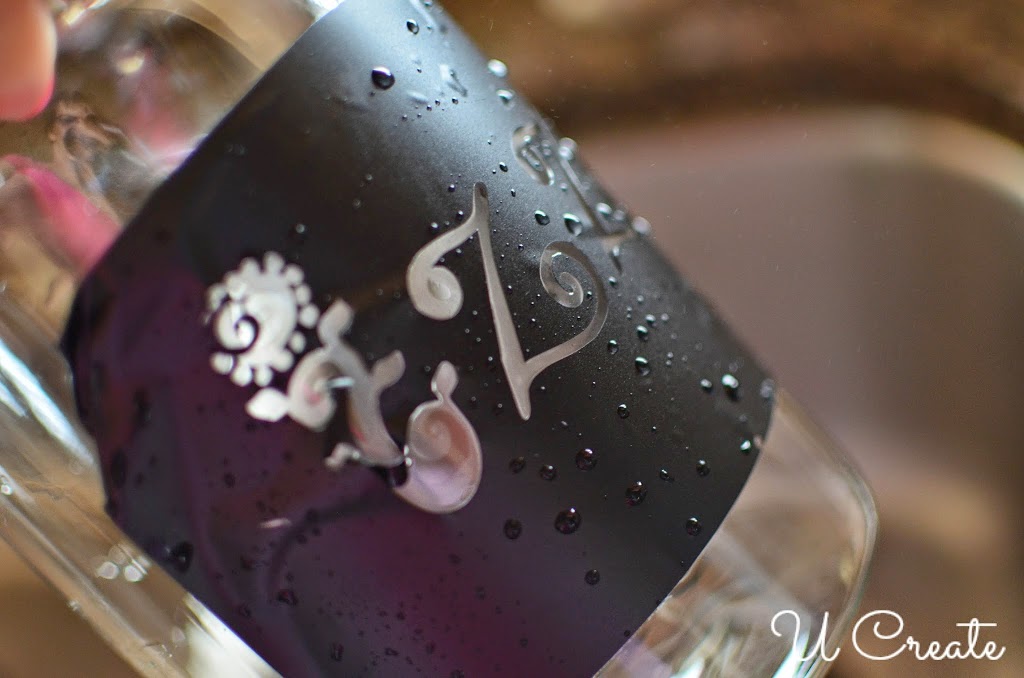
8. Run the jar under warm water.

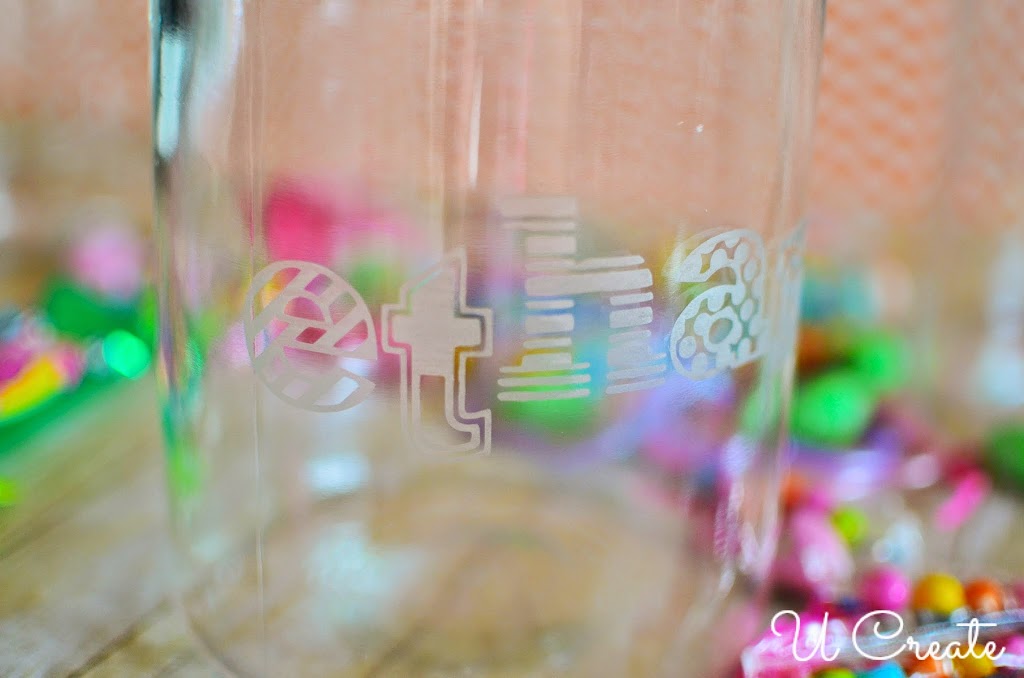
9. Wipe off the Armour Etch with the paper towel. The jar will look as though you hadn’t done anything to it. The etching doesn’t really show up well until it’s dry.
10. If the vinyl hasn’t come off in the water, take it off at this point and wash the outside of the jar. This just makes sure there is no acid sitting on the jar somewhere.
 11. Lastly, I wash the outside of the jar with glass cleaner to remove my fingerprints and lint from the paper towel.
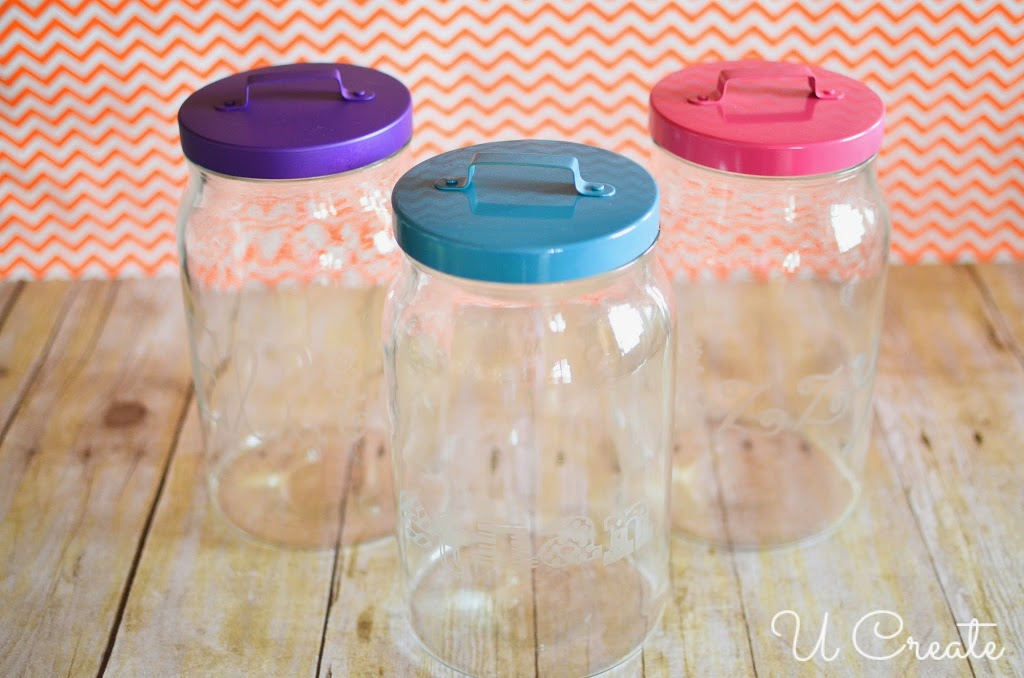
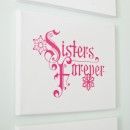
Here is the finished product! The lids are perfected painted and the names are etched beautifully. Ready to be filled by the Easter Bunny…and later with coins for Disneyland!
Those are so cool! I love all the texture in the letters.
I am so glad you like it. I loved the end result!
can you free paint with the etch cream. I wanted to do like ocean waves
What fonts did you use? So cute!
I used a mixture of two fonts.
Janda Fabulous —> http://www.dafont.com/janda-fabulous.font?back=theme
What font did you use for Ethan?
Hi there,
I have looked through the fonts on my current computer and cannot find the font anywhere. I am sorry about that…however, you might want to try DAFONT.com They have some great fonts with similar looks to the one I used. Good luck!
Becky these are DARLING!!!
Where can I find a place to get the vinyl made personalized for my event? Having a hard time
Hi there.
We currently do NOT sell the personalized vinyl. You can find some people who do it on Etsy.
Where did you get the vinyl that had the sticker backing AND the transfer paper together??? That would make my crafting life a WHOLE LOT EASIER!
Hi Kimberly,
I am not sure if you are asking for the completed vinyl names or about the vinyl itself.
But once the vinyl is cut, I added the transfer paper on top.
G’Day from Down Under,
I am a total newbie to the world of personalized vinyl, etching etc. I know that this post is a little out-dated being that it was done in 2014 and it is now 2018 but it is still very relevant. I would like to thank you for your clear and simple instructions, I now have the confidence to try this myself, just as soon as I learn how to use my new, preloved Cricut machine!!!
No one ever says where do you get the etching patterns from?? I am interested in etching and have been to various sites but still don’t know( I don’t like the stuff on amazon) where to get quality beginners kits or etching patterns to put on the glass
Hi Lawrence,
You can actually take any vinyl design and use it as an etching pattern. If you don’t have a vinyl cutting machine you can buy designs or order custom vinyl designs from many sellers on Etsy. Hope that helps!
You can draw or print your own design on regular paper, tape it to contact paper. I then taped the set to a stack of about 8 cheap paper plates and used an exact-o knife and made my own design.
I love these! I’m now inspired to try something new for my cheer squad!