Hello everyone! I am Sachiko from over at Tea Rose Home where I share my love of designing, sewing/crafting, and a little bit about my life. This fat quarter series is such a great idea for someone like me to get neat ideas from other creative bloggers as well. I have to admit, I have lots of fat quarters (way more than I need) for future projects. Are you in the same boat? Well then, I hope my tutorial can spark some ideas for you today! The fat quarters I decided to use are “Timber and Leaf”, designed by Sarah Watts. I totally love the uniqueness of it.
I wanted a whimsical and pretty skirt for my daughter to wear for the summer. When I was trying to come up with a design, I thought it would be awesome to create a skirt with easy steps for pockets, at the same time showcase the design of the fabric. That is how the “Instapocket Skirt” was born.

{You will need}
5 fat quarters
Thread
3/4″ elastic Pom-pom trim (about 2 yards, depending on the size of the skirt you are making)
Buttons for decoration (optional)
{How to}
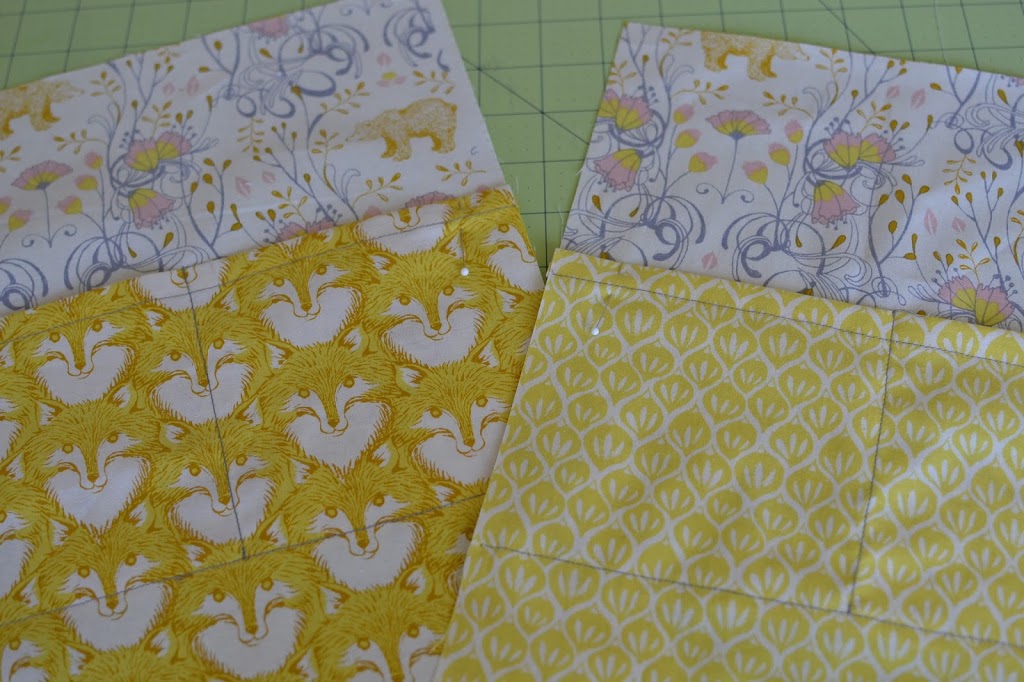
1. Cut out the parts you need to construct the skirt. My daughter is almost 8 but she is a little small for her age. The great thing about this skirt is that you can always add or subtract 1/2″ or 1″ to the measurements to create the best fit for your little ones. Ok, You need:
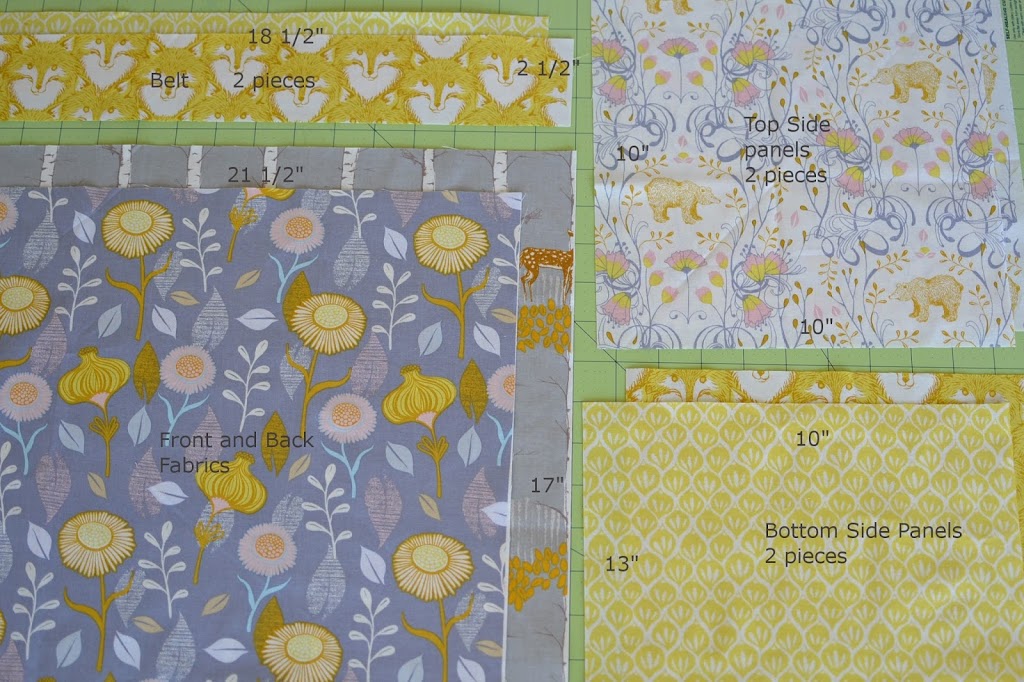
1- 17″x 21 1/2″ front panel, 1- 17″x 21 1/2″ back panel, 2- 10″x10″ top side panels, 2- 10x 13″ bottom side panels, 2- 2 1/2″x 18″ 1/2″ belt.
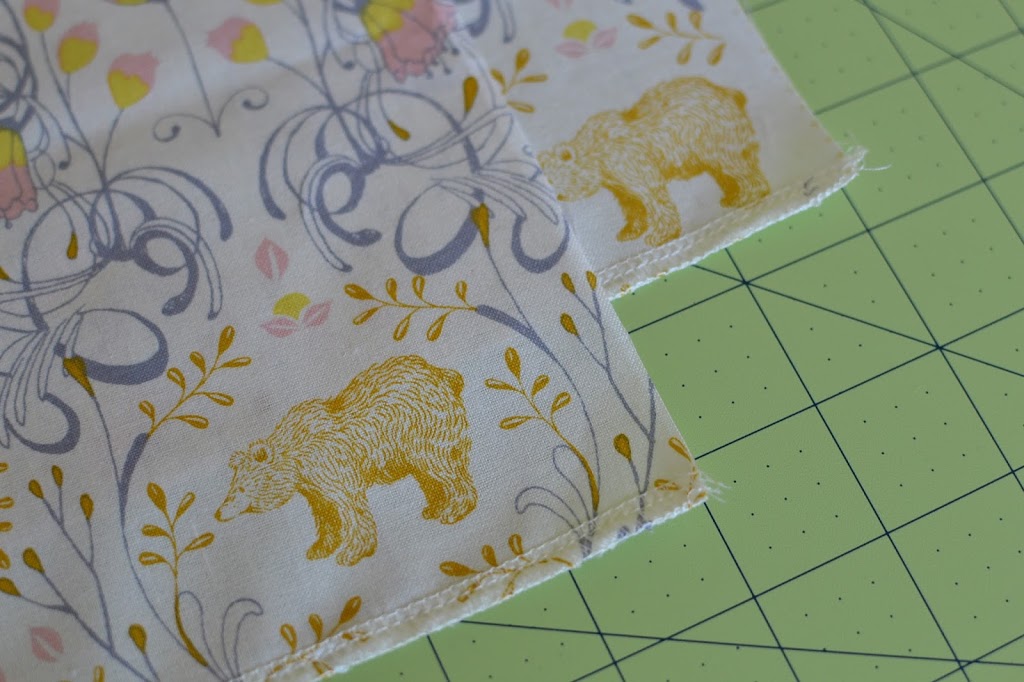
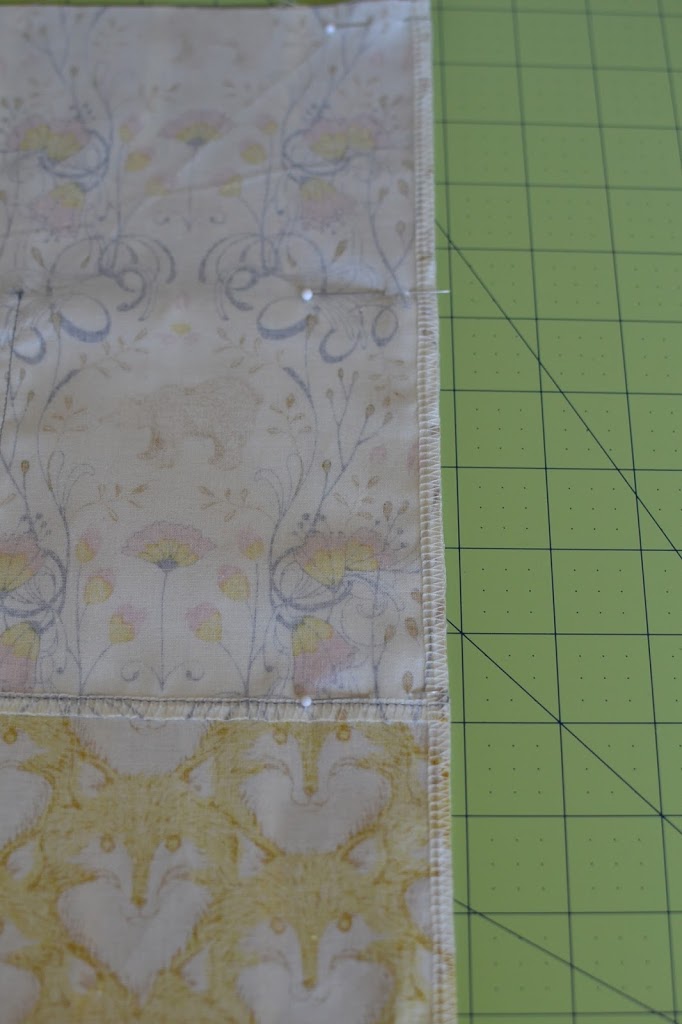
2. Treat the edge of the bottom edge of the top side panels. I used my serger, but you can use the zigzag stitch on your sewing machine too.
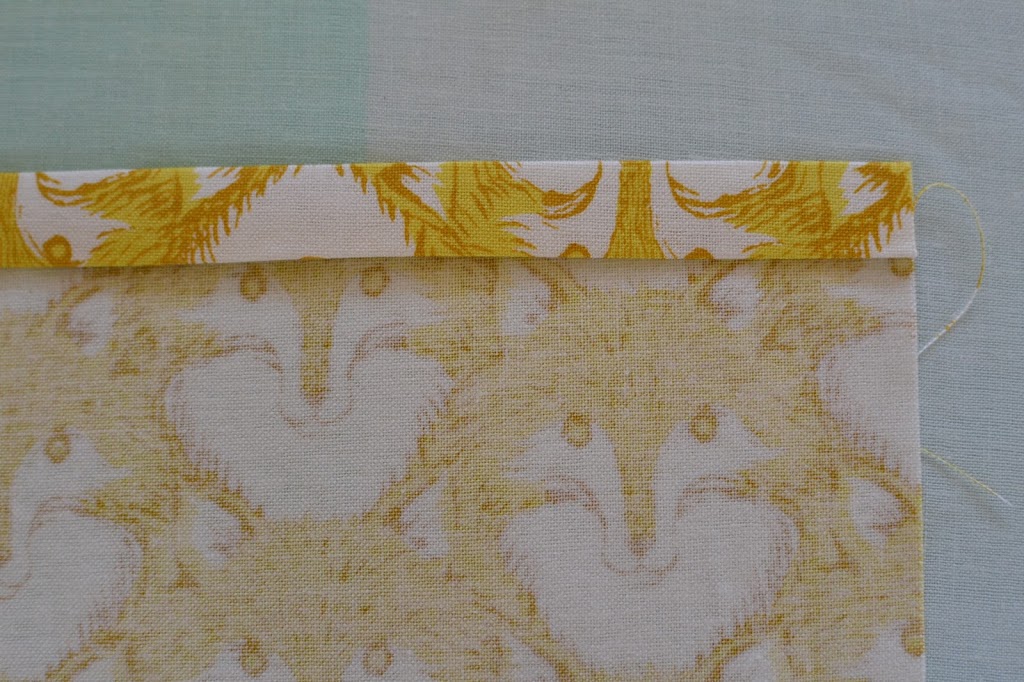
3. To make the pocket entrance, fold the top edge of the bottom side panels twice; (first 1/4″, then 1/2″). Press with an iron and sew.
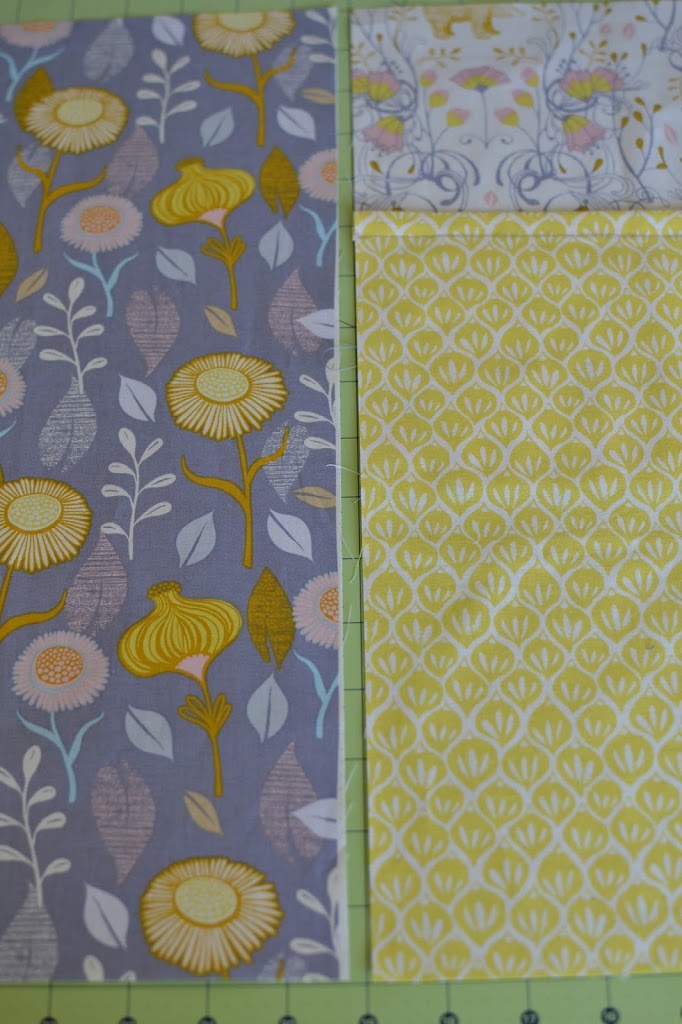
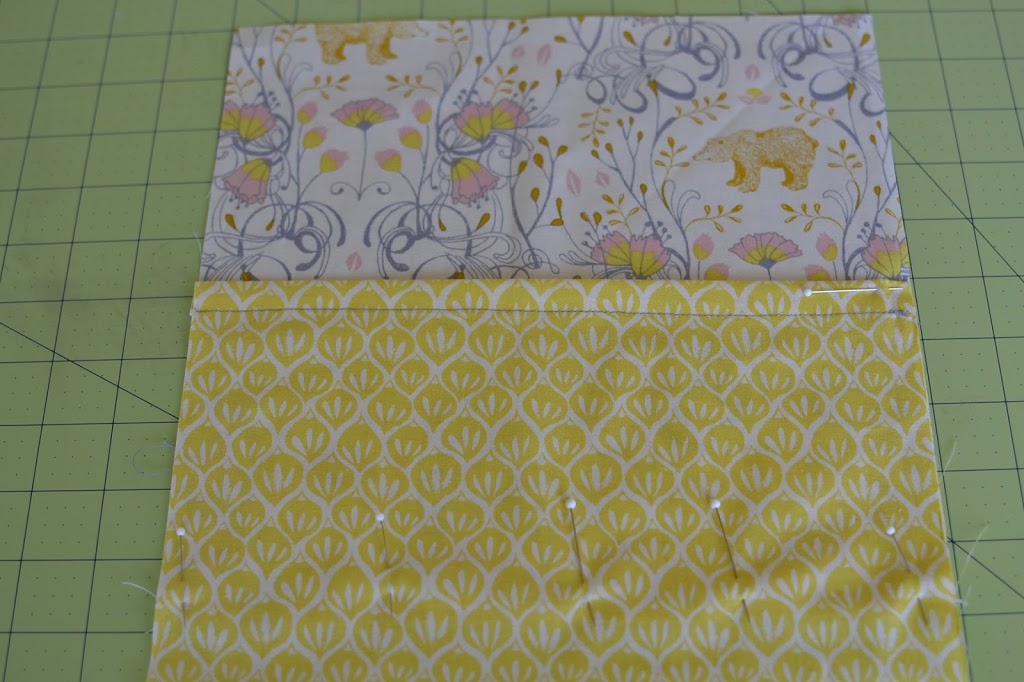
4. Over wrap the bottom of the side top panel, and top of the side bottom panel pieces together. Make the total length 17″, so it will match the front and back panels. Pin.
5. Sew a line 1/4″ above the seam line of the top side panel to create the bottom of the pocket first. Then, sew a line in the middle to create two separate pockets on each side.
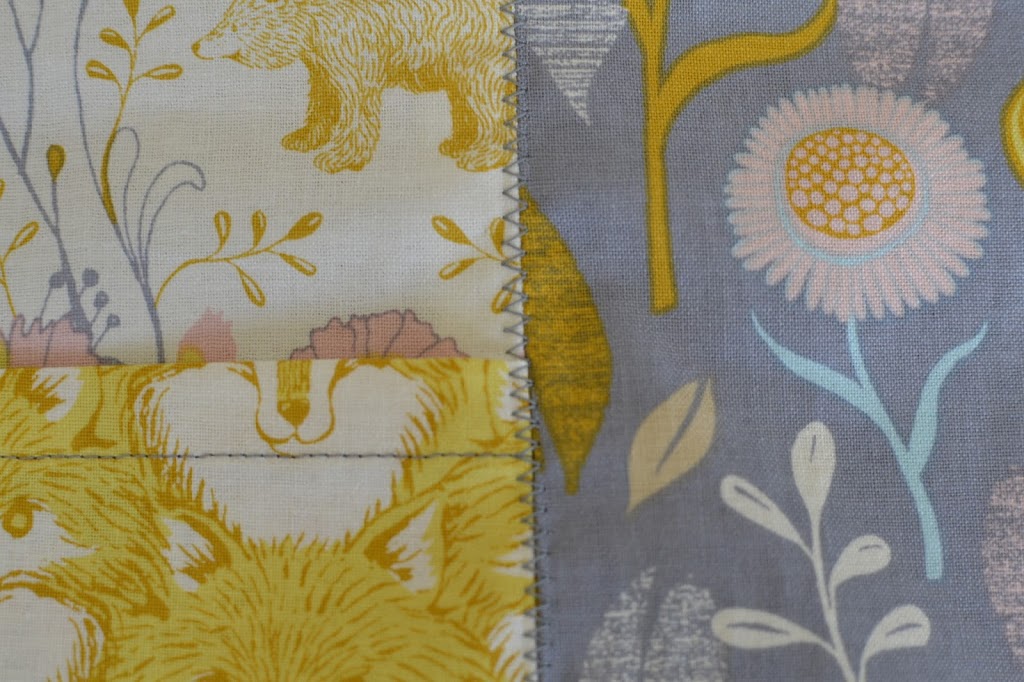
6. Treat the sides of each panel with your preferred method, and then sew them together. Open the seam and press with the iron.
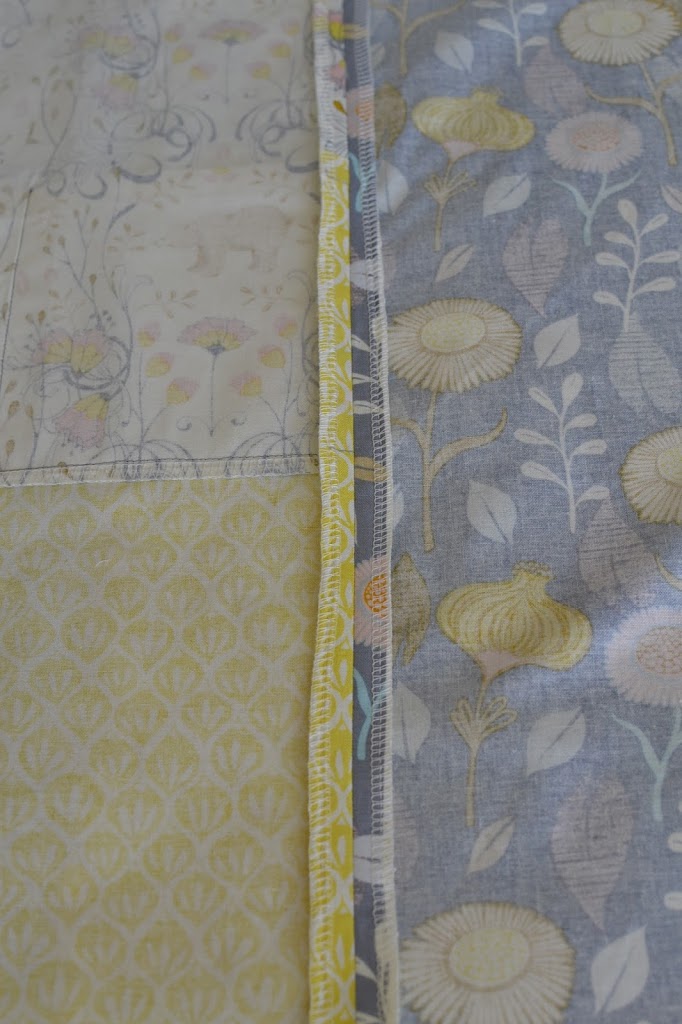
7. Zigzag stitch on top of the seam line for a decorative effect.
8. Sew both ends of the belt together to make a loop. Open the seam, fold and press 1/4″ from the top.

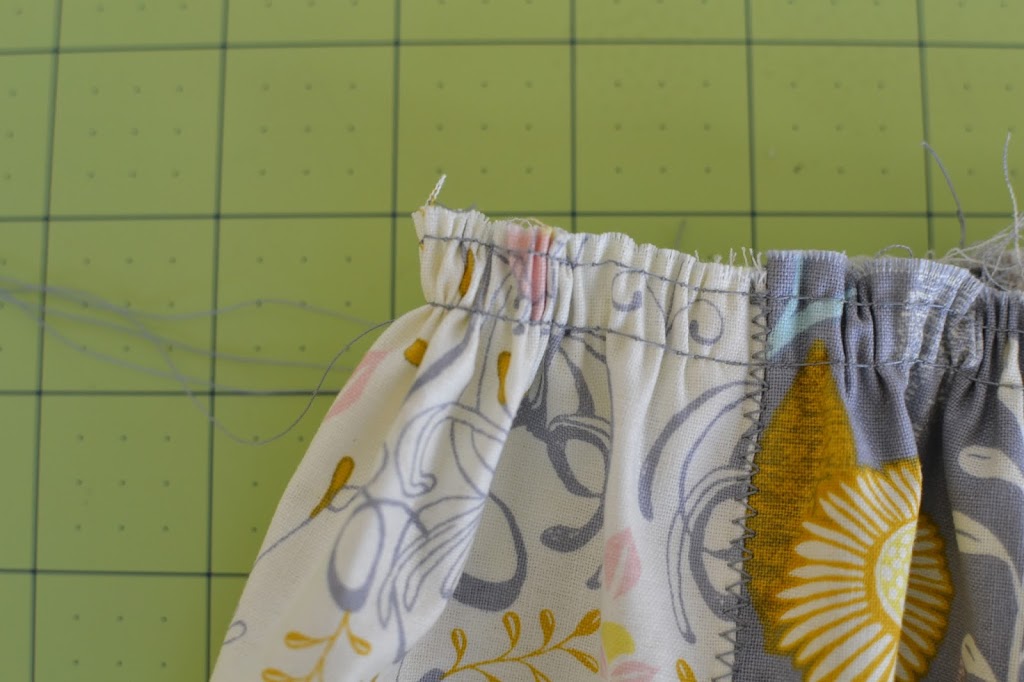
9. With the largest stitch setting on your sewing machine, sew 1/8″ and 3/4″ from the top edge of the skirt. Pull one thread from both to gather the fabric.
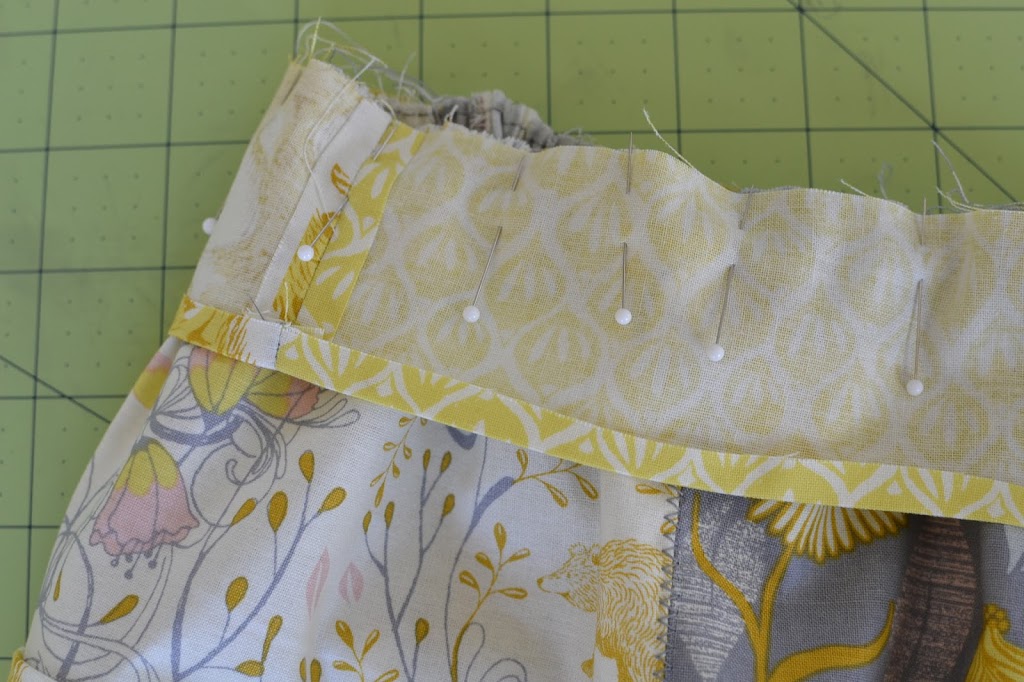
10. Pin the belt you have created on step 8 to the skirt, and sew.

11. Press the seam of the belt piece with the iron, then, fold it to the other side. Press with the iron again.

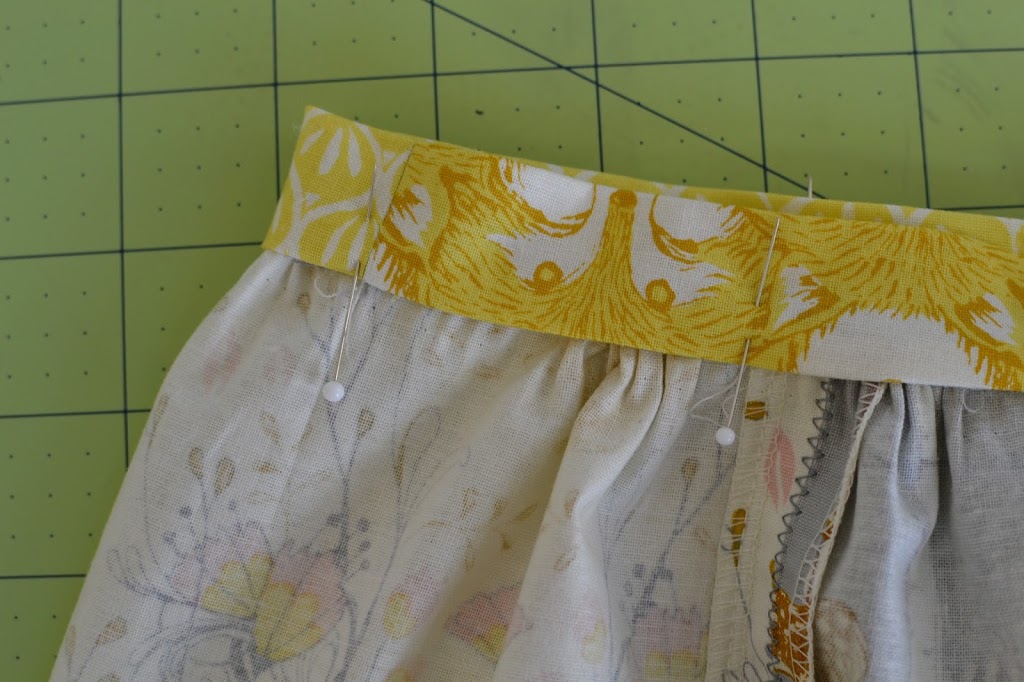
12. Using 1/8″ seam, sew the seam of the belt. Put elastic through, and sew the ends together.


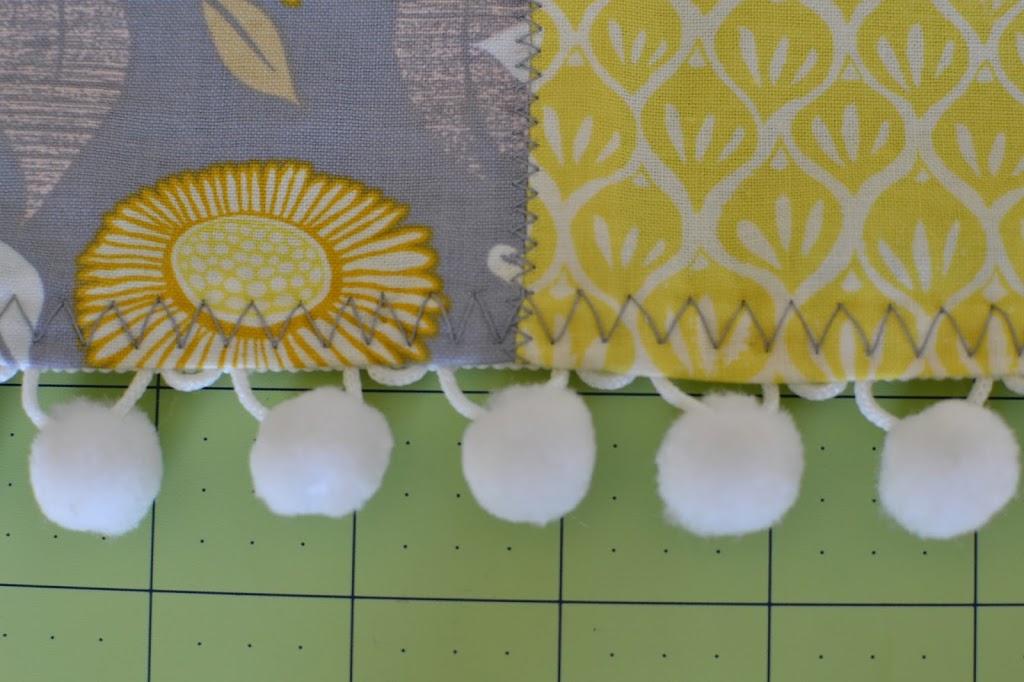
13. Fold the bottom seam of the skirt twice (1/4″, 1/4″) and press with the iron. Pin the pom-poms and sew with using a zigzag stitch.

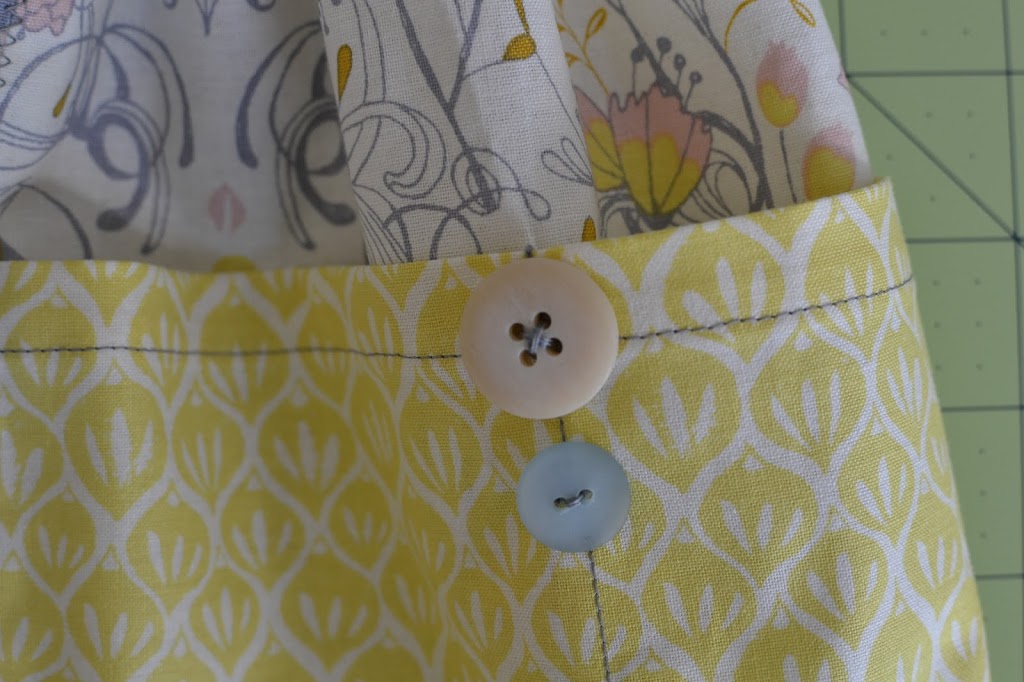
14. Sew the buttons on the edge of the middle of the pockets on both sides.
15. It is ready to wear! Rachel loves the skirt (yea!), I asked her what she liked about the skirt; her response? “The fox and the pockets”. That’s what I wanted to hear. This skirt has 4 pockets. That is enough to carry candies around, or for some precious finds during a family walk.


I hope you enjoyed my post. Thank you Kari & Becky for having me here today!


Sachiko, you’ve done it again! I absolutely adore the fabrics you chose. I’m loving the pockets too. I could totally picture my little girl stuffing them full of sticks, leaves, and rocks on a family walk 🙂
I love all the fabrics and the pockets. The fox fabric is my favourite too.
Wow this skirt looks so lovely and practical! Love your details – zig zag stitch, pom pom trims, buttons on the pockets! The beautiful fabrics goes perfectly with the skirt design!!
Super cute! The fabric is awesome!
I am loving this series! All the ideas are fabulous. This skirt is darling!
Adorable! I love this Sachiko…great use of some fat quarters 🙂 Great series Kari!!
What a great idea to create pockets. No more fidgeting and frustration in determining the right sides of the pockets!
Thank you everyone for your kind comments! Rachel loves the skirt so much that she has worn it many times already which is the best compliment I can get as a mom/designer. 🙂
What a great idea and such a fun skirt! Love your fabric choices too.
How adorable is this skirt Sachiko!!?
I’m crazy about those pockets and the trim. Thank you so much for sharing!
Lovely skirt for a little girl – one needs big pockets for adventure outings! I (a big girl) would love a skirt like this – you have inspired me again! I follow you on Tea Rose Home. You have such an imagination for pretty, practical things. Loved your “she wears flowers”!
Darling Sachiko as always!
Great job, Sachiko! What a great and wonderfully simple idea!
Some of you had question about where I found the fabric. I found them at a local quilt shop. When I looked up online, I found some online stores who sale them. Here is one;
http://blendfabrics.com/gallery/timber-leaf
I hope this helps. 🙂
I have never ever commented on a blog before, but I love love love your skirt, which solves my ‘to many scraps of beautiful fabric’ problem instantly!
Thank you sooo much!
I love this. I am going to attempt to make it in a grown up size. Just found the same fabric in a 1/2 yard bundle set. Thank you for posting!
I love this! Thank you for posting. I am going to make it but adjusting it for a grown up size. I found the same fabrics in 1/2 yard bundle.
Would love to see the adult version for those of you who are attempting it. I am going to attempt it for myself. My daughter loves the 2 I have made for her. She has worn them many times in the last week.