Hi there, I’m Michelle from the blog A Little Tipsy where I share creative tips and ideas for moms on a budget and on the go. I love to share fast and easy DIY projects, home decor, kids activities, holiday ideas and more. Today I’ll be sharing a super fun sparkle snowflake ornament tutorial.

At my house I am the only girl, so I love the chance to add in some glitter where appropriate and Christmas time is the perfect time to sparkle it up. I love those big statement ornaments they sell in the stores, but they usually come with a big price tag so I set out to create some of my own.
SUPPLIES:
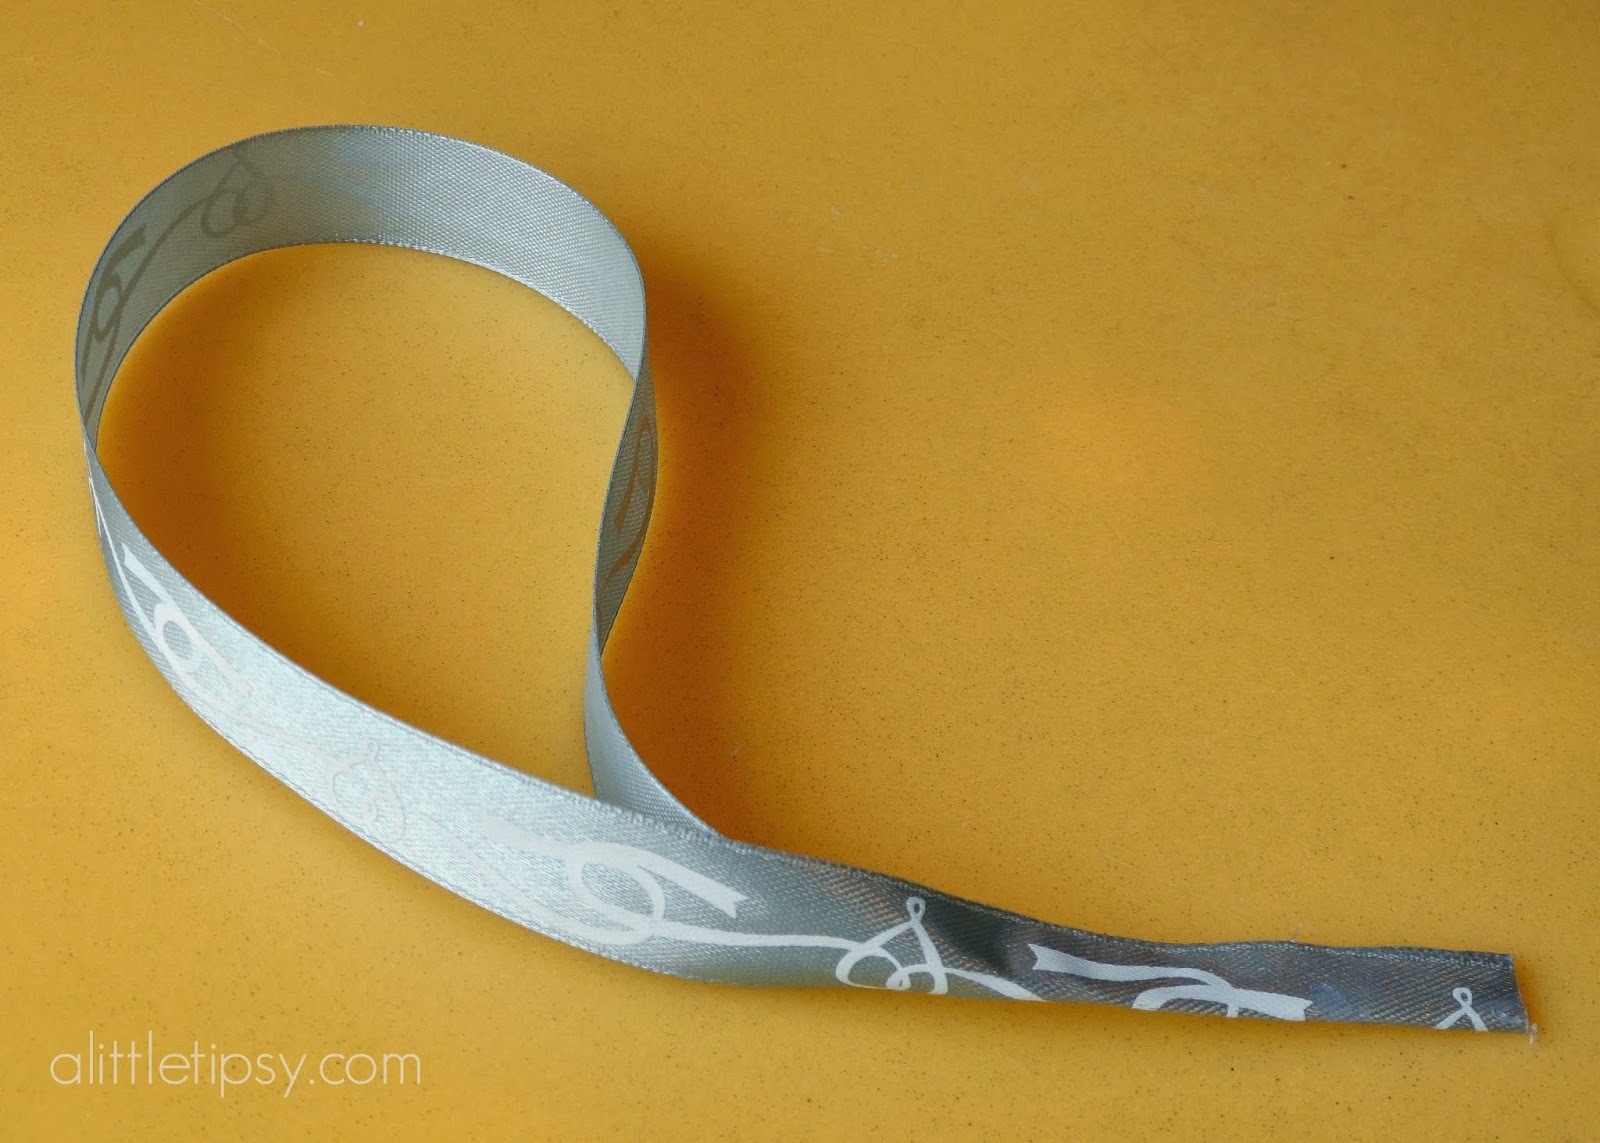
- Ribbon
- White Cardstock*
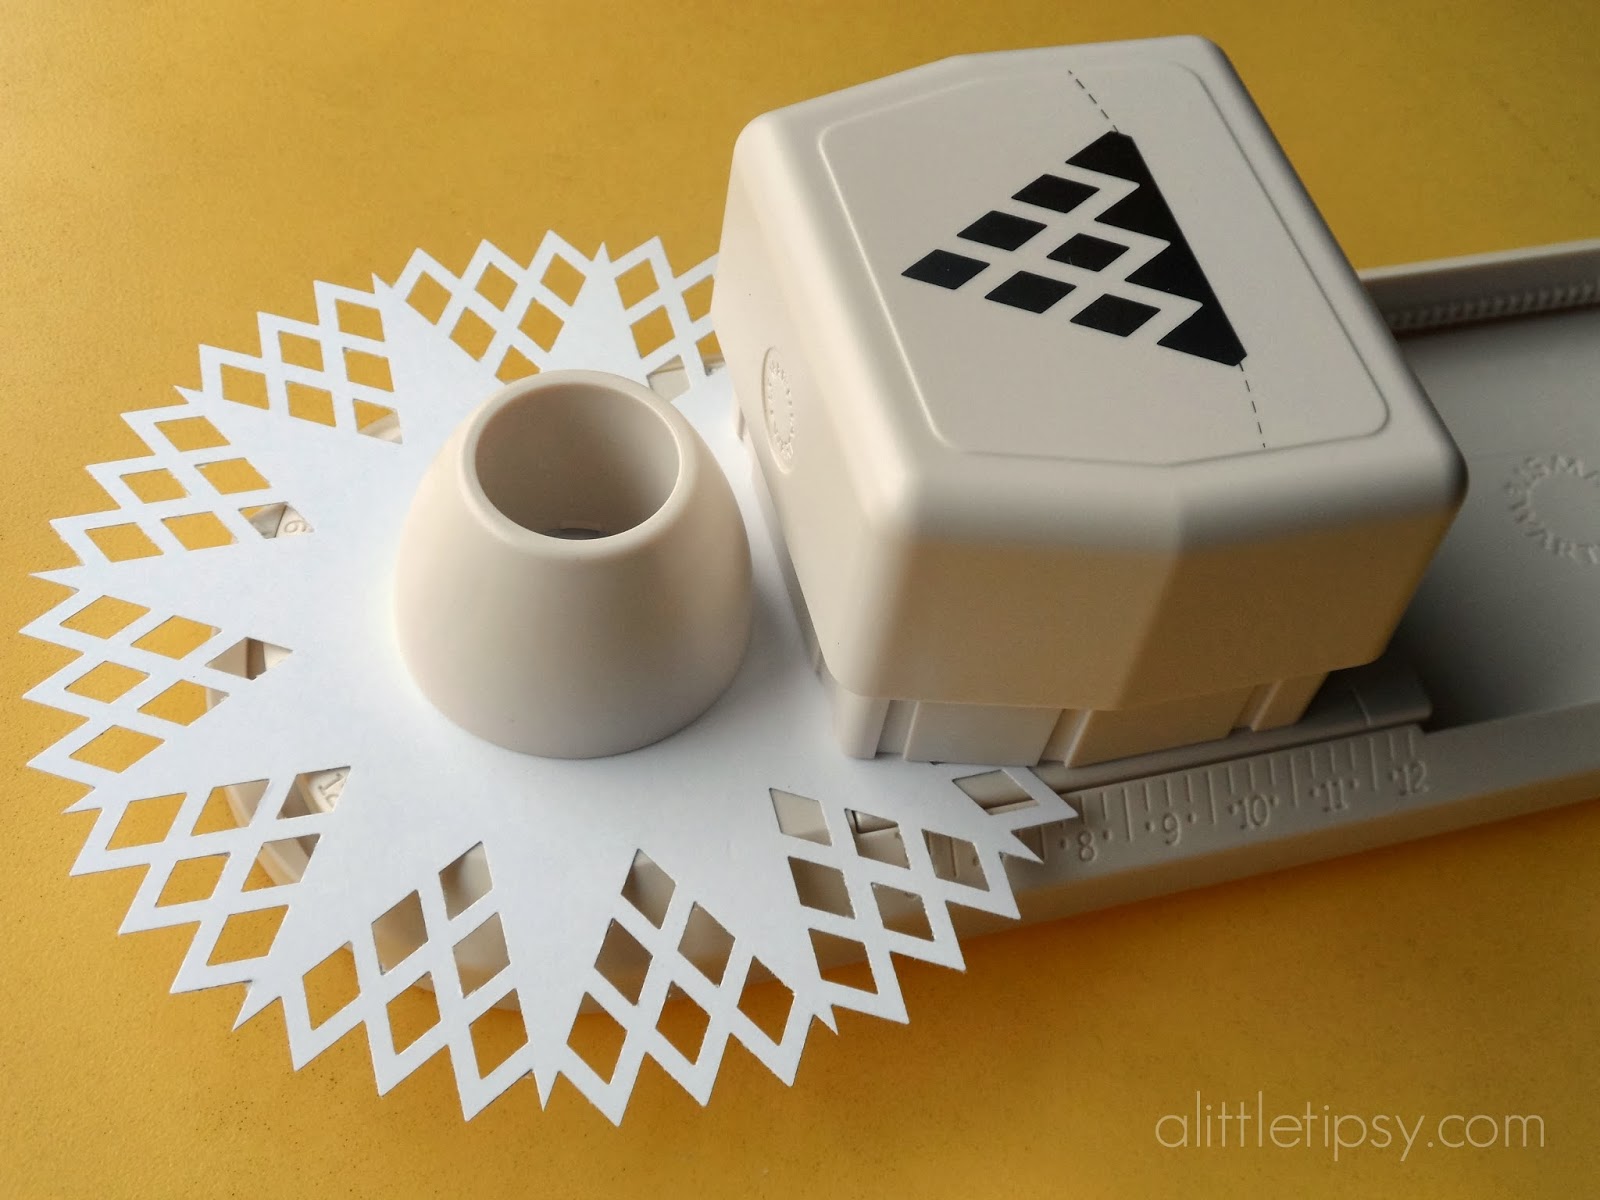
- Circle Edge Punch Starter Set*
- Circle Edge Punch in Diamond Lace*
- Glue Gun
- Krylon Glitter Blast Glitter Spray in Silver Flash
*could be replaced by purchased doilies
INSTRUCTIONS:
First, cut 6 inch squares out of the cardstock. Place the square on the Circle Edge punch set to six inches and punch all around. Repeat until you have four snowflakes.
Fold the snowflakes in half.

Take a piece of ribbon and loop and then fold the end in half and glue the ends together.
Glue the folds of the snowflakes together with the ribbon in the center so the pointy parts fan out equally.

Hold the ornament hanging from the ribbon in one hand and spray with the glitter blast from the side holding it about 10 inches away. The force of the spray will spin the ornament making it easy to coat it evenly.

Hang to dry for a few hours.

That’s it! So simple right?! I love how they make a big statement without denting your budget. The glitter looks amazing reflecting the lights on the tree!

For more fun holiday ideas (like our DIY Green Sprig Ornaments) be sure to catch us on FB, Pinterest, Twitter or Instagram. Big thanks to Kari for inviting me and happy holidays to all of you!
POST BY:

That’s lovely – and the doily idea is good too!
Michelle thank you so much for sharing your gorgeous ornament with us today!!!
Great idea! This would make a fun gift for friends or coworkers. I’ve never used spray glitter before, and this looks like a perfect project to try it out on. Thanks for sharing!