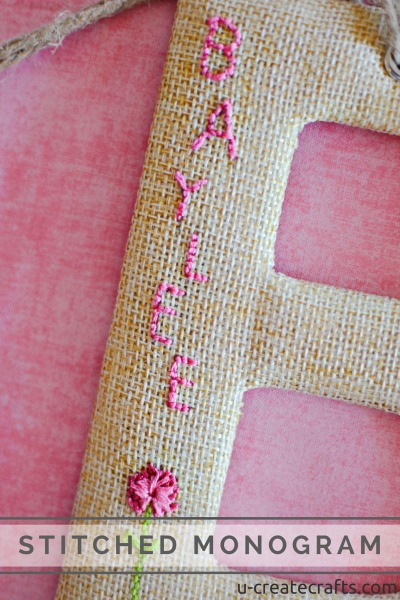
You guys! Run to Target right now and get these adorable burlap monograms in the dollar spot…then come back and read how I stitched on them! I bought a ton so I could personalize them as gifts. I knew right when I saw them that I wanted to stitch something awesome on them. Burlap looks pretty plain by itself, so I wanted to add a little personalization and a pop of color. So, here is the stitched monogram tutorial.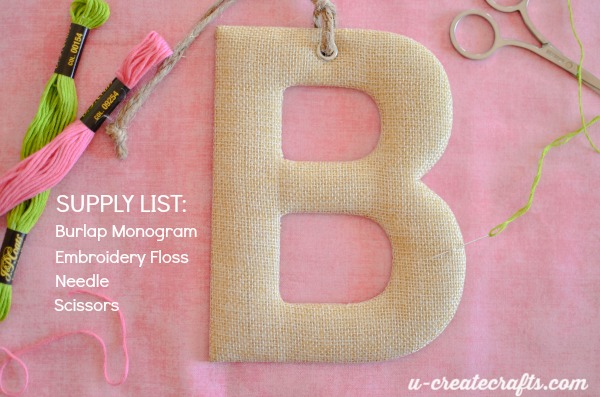
I haven’t stitched on something since the whole counted cross-stitch trend back in the 90’s…okay, that might be a bit of an exaggeration, but it has been a long time since I broke out the DMC floss. That being said, I knew I should keep this project pretty simple since it’s mostly free-hand drawing, but with floss. I choose a simple flower and just kind of created it as I went.
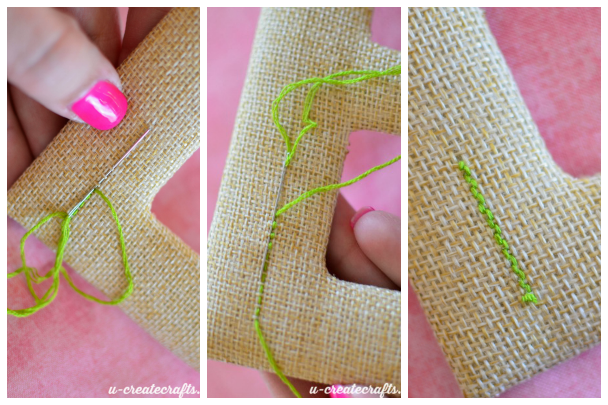
Start with the stem.
There is a hard cardboard back on these monograms, so I knew I wouldn’t be able to go straight through and back up again with the needle. I weaved my green floss (3 strands) through the burlap and then weaved it back down and tied a tiny knot to make the stem. 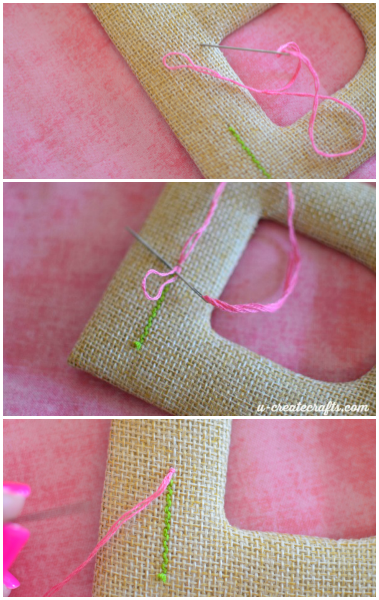
Start the little pink flower.
For this part, I took 2 strands of pink floss and folded it in half, creating 4 strands. Thread the needle and find where you want the middle of your flower. Start your flower there by pulling the thread part way through until you have a loop at the end. Put the needle through the loop (image 2 above) and pull tight. This creates a knot and hides the “end” of the thread. {Shout out to Aunt Penny, the Master of Cross-stitch, for teaching me that technique.}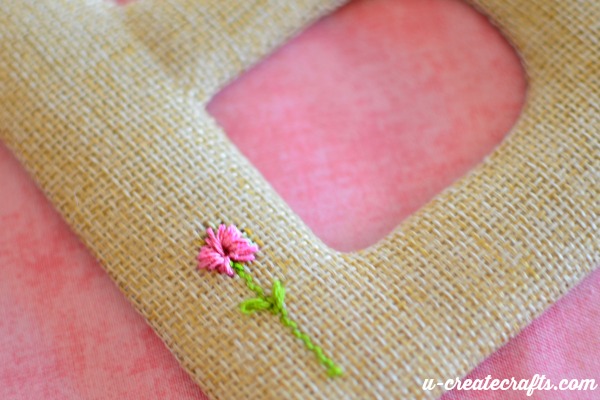
Continue making the little pink flower.
To create the flower, I just counted about 4 little burlap squares out from the center and put the needle in and threaded it back up the middle (where I started my knot). Repeat all the way around the center until you like what you see. Then, thread the needle under the pink flower and come up in through the middle and cut the thread close to the flower. It will hide in the middle of your flower. 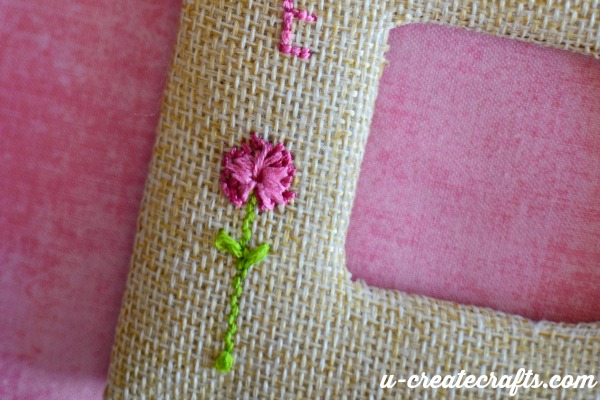
I added a darker pink around the edges to create a bit more dimension.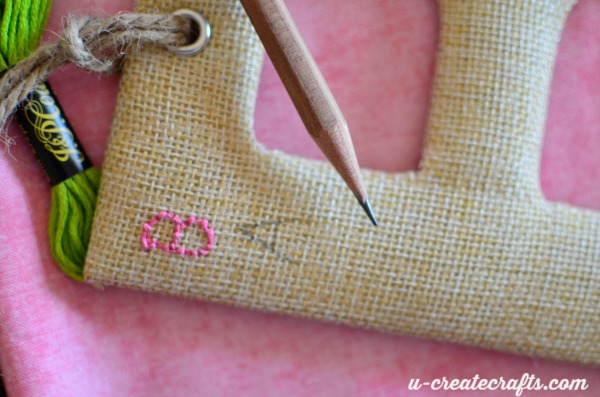
Stitching the name.
I penciled each letter before I stitched it. However. the burlap isn’t perfect so you have to finagle the floss a bit. When I start the letters, I use the same technique as described above: start with 2 pieces of floss folded in half, etc. I ended each letter by threading the floss behind the foam under the burlap and cutting the thread close to the letter I just created. I don’t anticipate these letters getting a lot of wear and tear, so ending the letters that way should be fine.
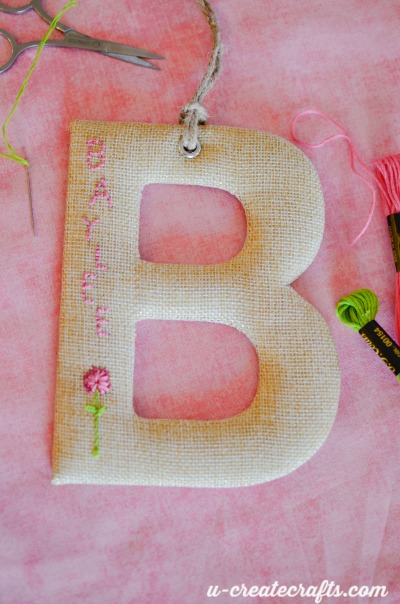
Turned out pretty cute, right? I think I will replace the jute with ribbon and give it to my sweet 11-year-old friend can hang it in her room.
Seriously, if you haven’t already, get to Target ASAP and grab these burlap monograms…like, now!


Leave a Comment