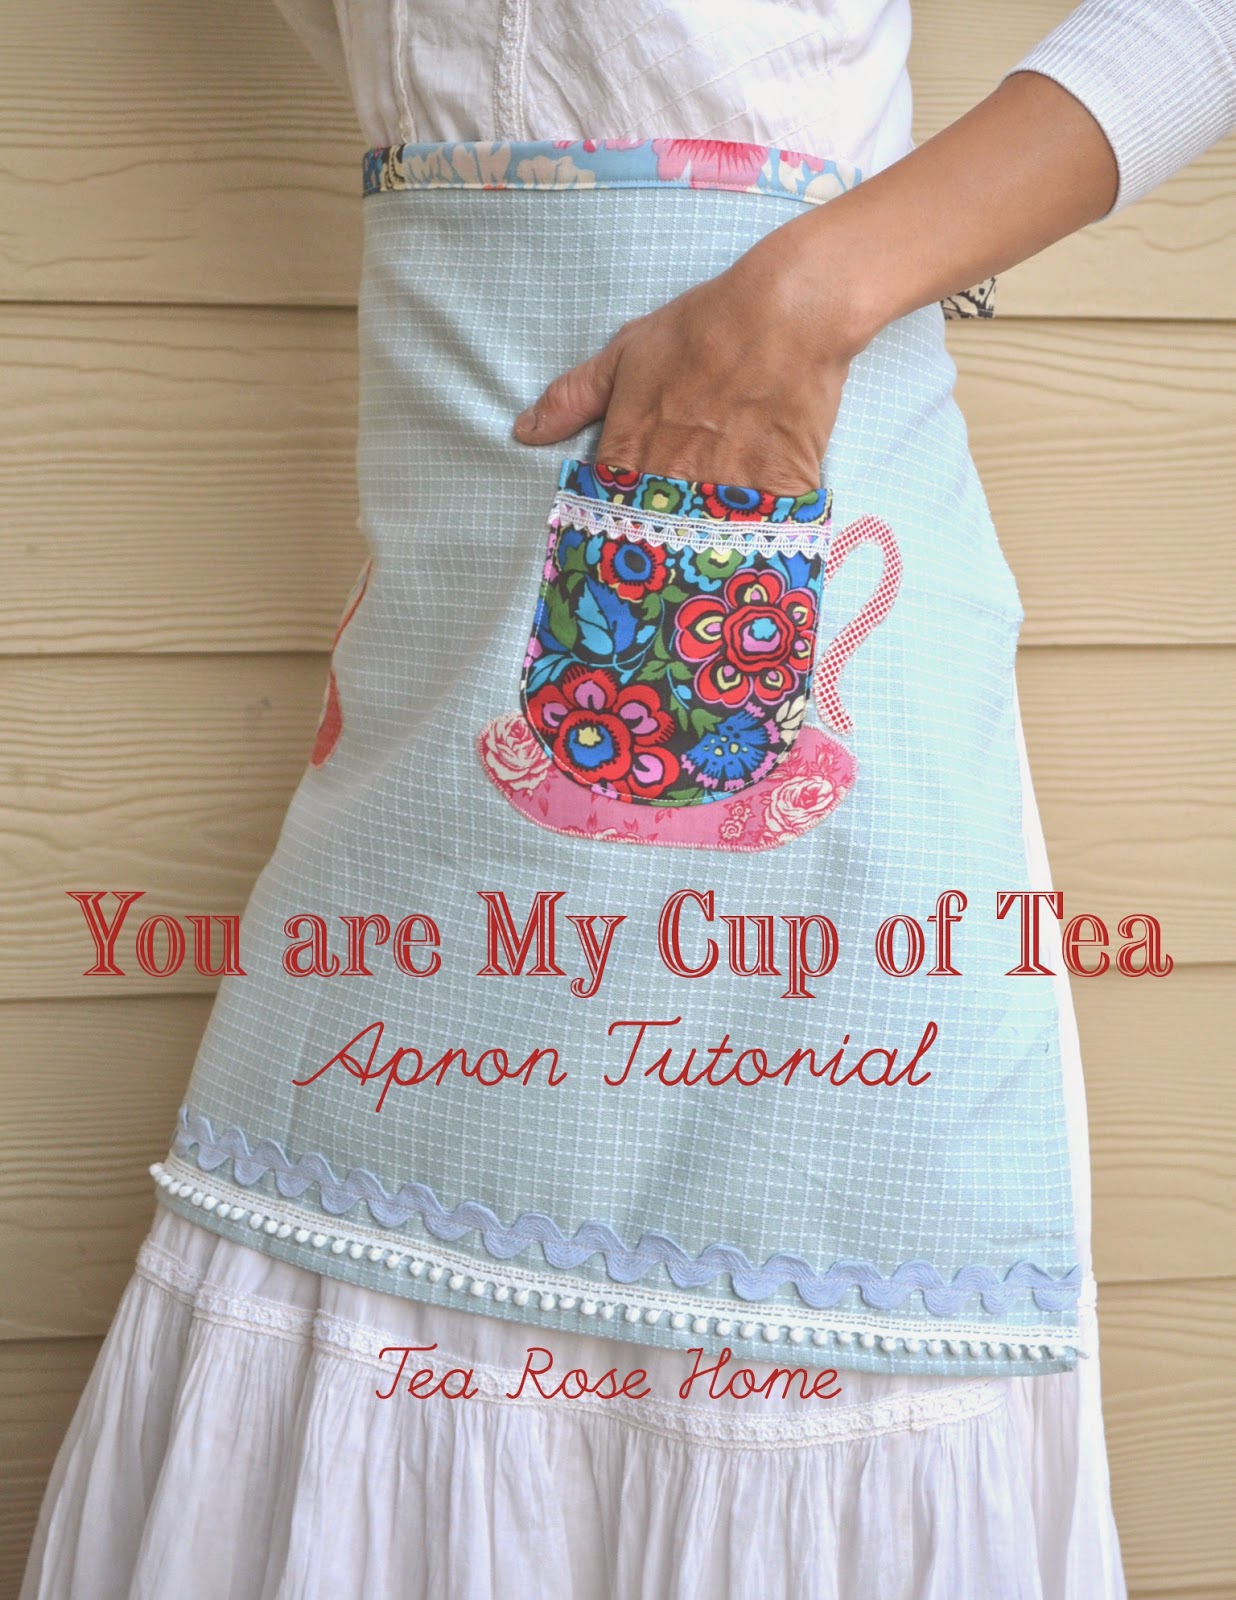
Hello there! I am Sachiko from over at Tea Rose Home, and I am here to share this “You are My Cup of Tea apron” tutorial today. It is a challenge to find a pretty, unique, and functional gift for under $5, but I thought this apron could be just that. I used a kitchen towel I found at Target when it was on sale for around $3. If you are a sewer, I assume you already have some fabric scraps, heat & bond and some trims & pom-poms laying around… that is pretty much all you need to make this apron.
Are you ready to start?
{You will need}
Kitchen towel (mine is 18″ x 28″)
Fabric scraps (I used 6 different fabrics. Dig through your scraps, it is fun to mix and match!)
Heat & Bond
Trims and pom-poms (you only need 6 1/2″ of trims for a cup. For the bottom of the apron, you need the width of the towel + 2″ of two kinds of trims)
{How to}
1. Print out the PDF I created for the Tea cup and saucer. Cut them out.
2. Decide the fabric combinations for the cups, handles and saucers.
3. Follow the manufacture’s instruction for handling the heat & bond. Fuse the fabric scraps for handles and saucers. Then, trace the pattern on the paper side. Remember to trace one of the handles in reverse for the other cup. Cut them out.
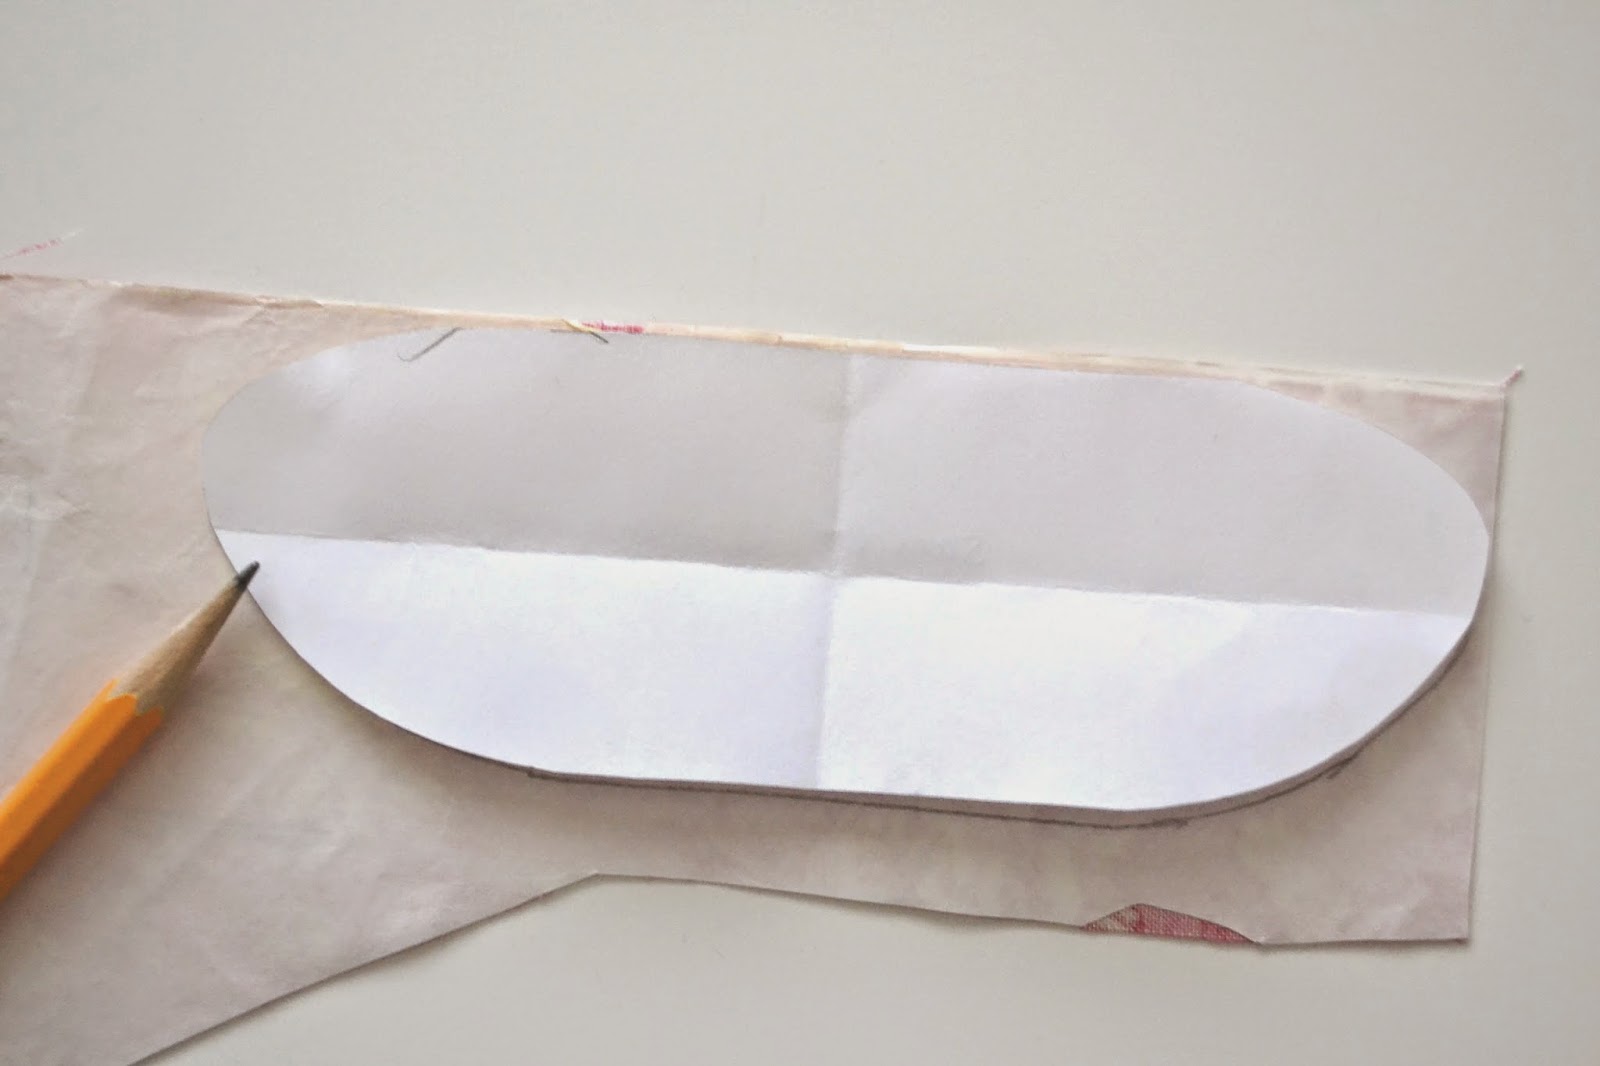
4. Trace the pattern of a cup/pocket on the wrong side of the fabric. Add seam allowance and cut it out. Repeat the process for the other cup.
.JPG)
Done cutting…
.JPG)
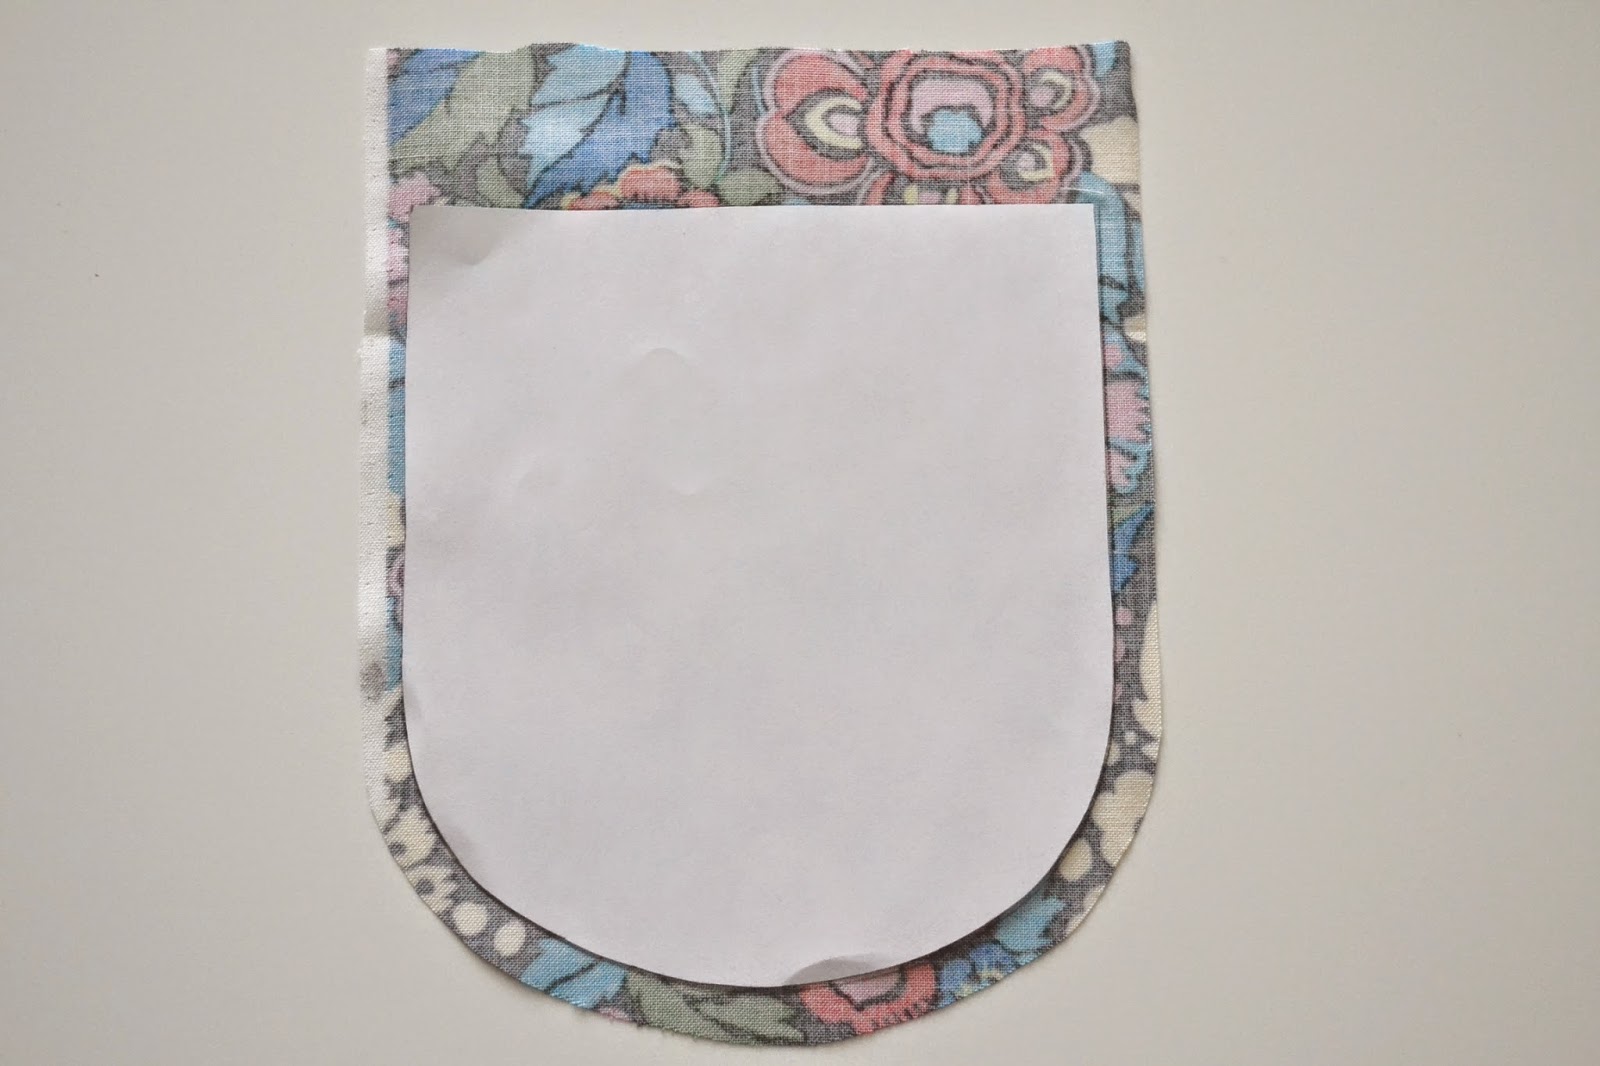
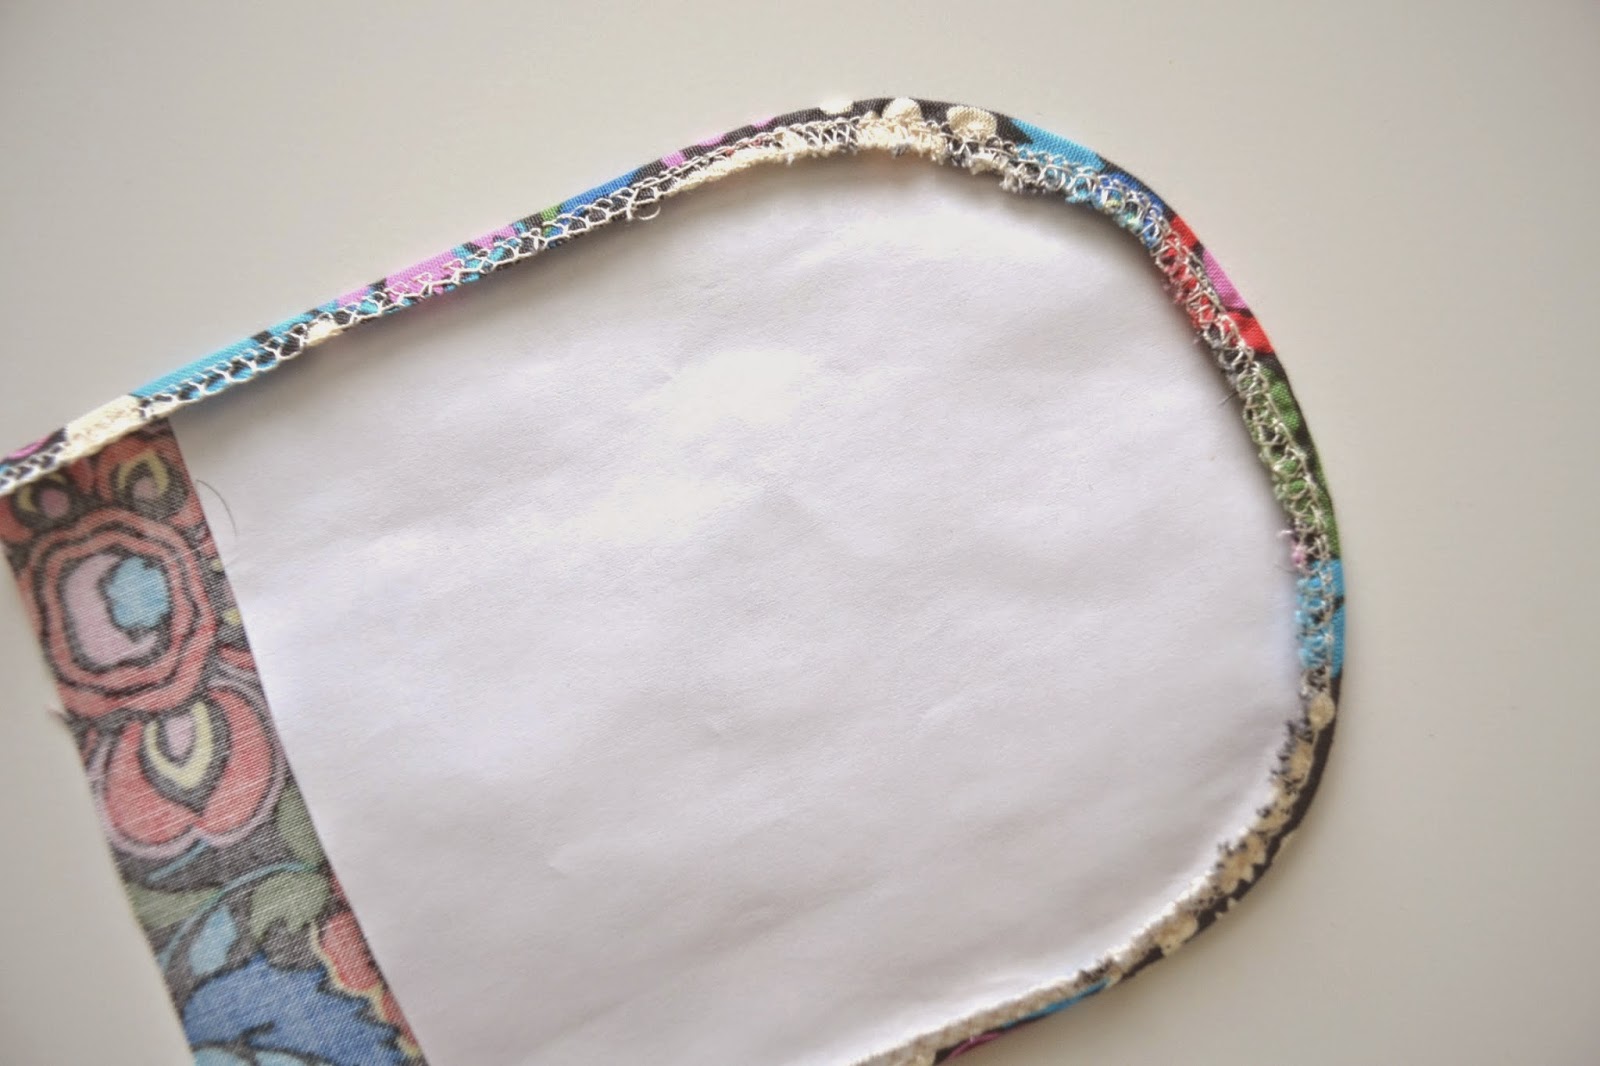
5. Treat the edge of the cup and sew close to the edge with big stitches. Lay down the cup/pocket pattern onto the fabric and gather the fabric around the edge of the paper. Press with iron.
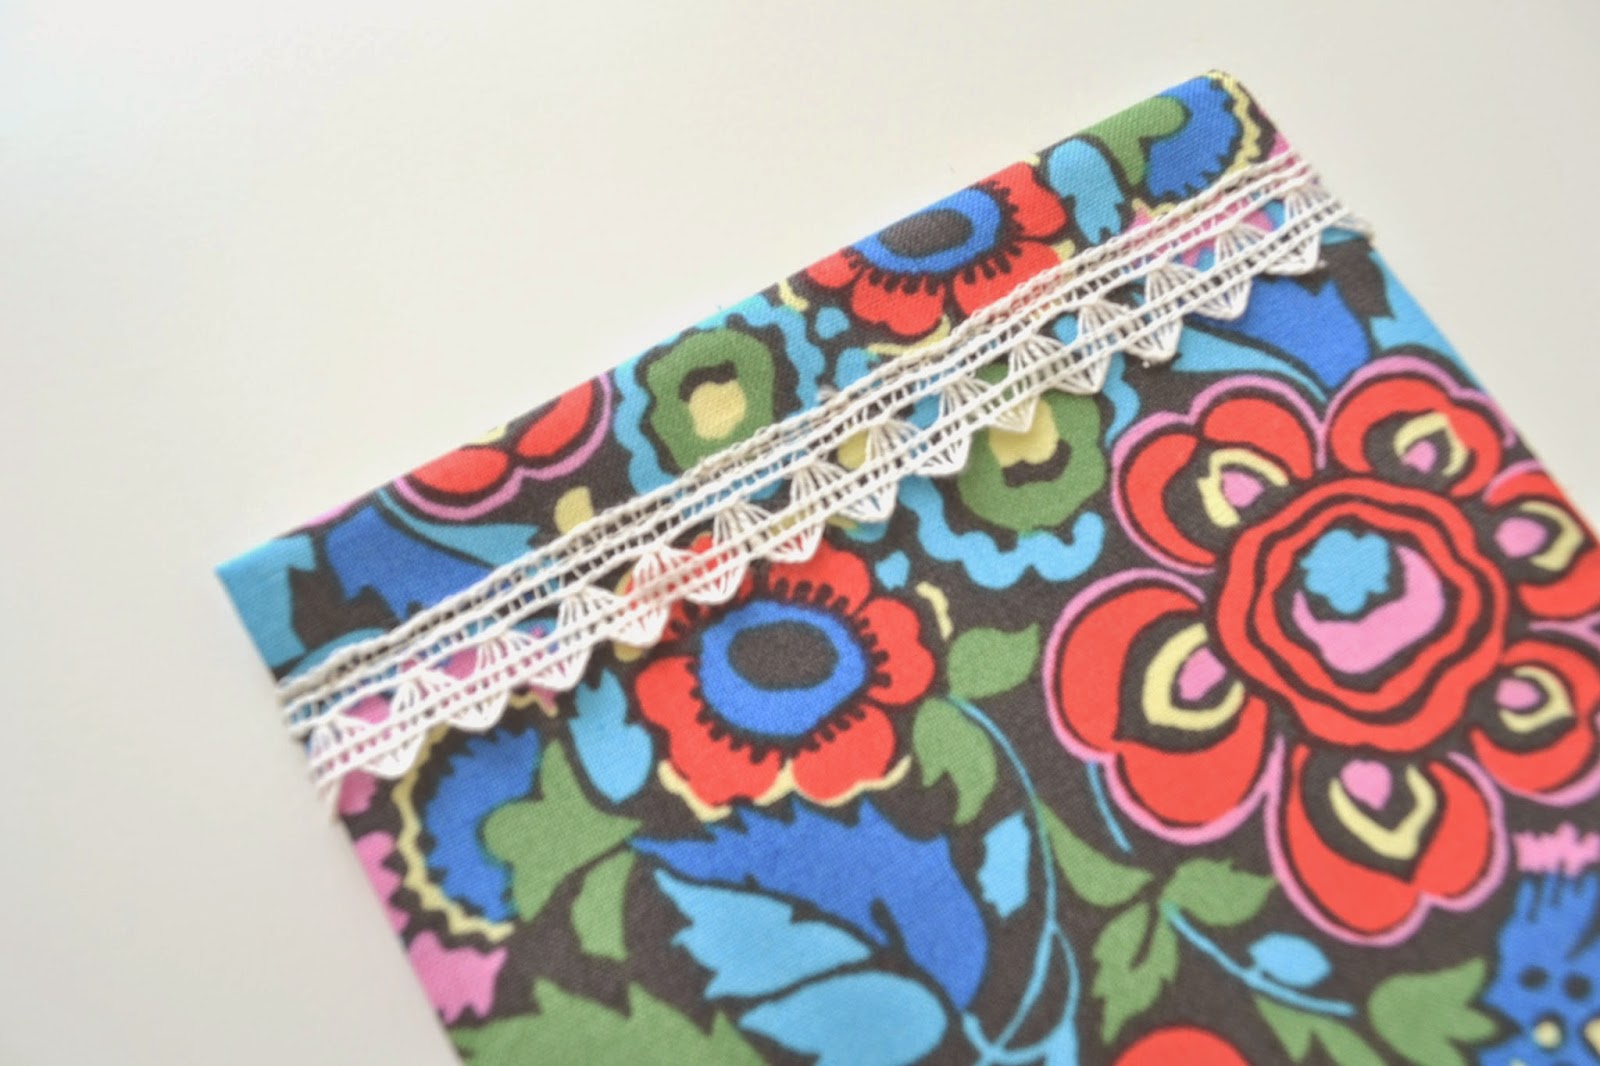
6. Fold the top of the cup/pocket twice(1/2″, 1/2″) and sew. Sew the Lace or trim of your choice on the seam.
.JPG)
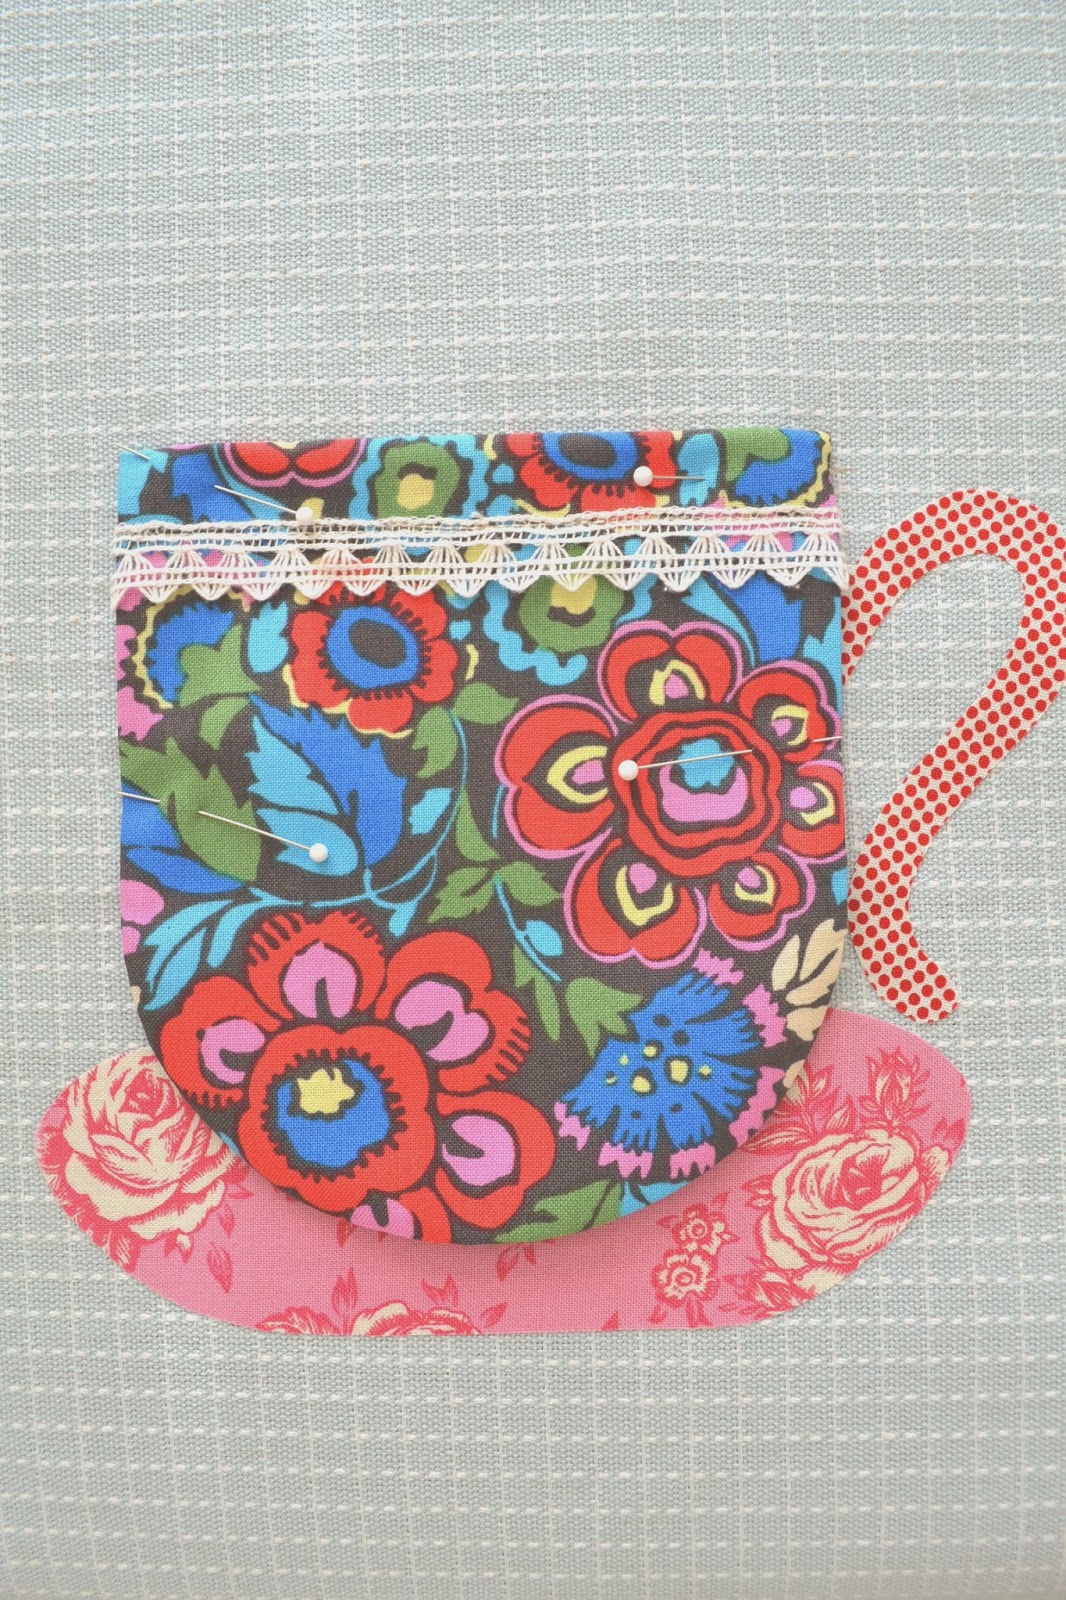
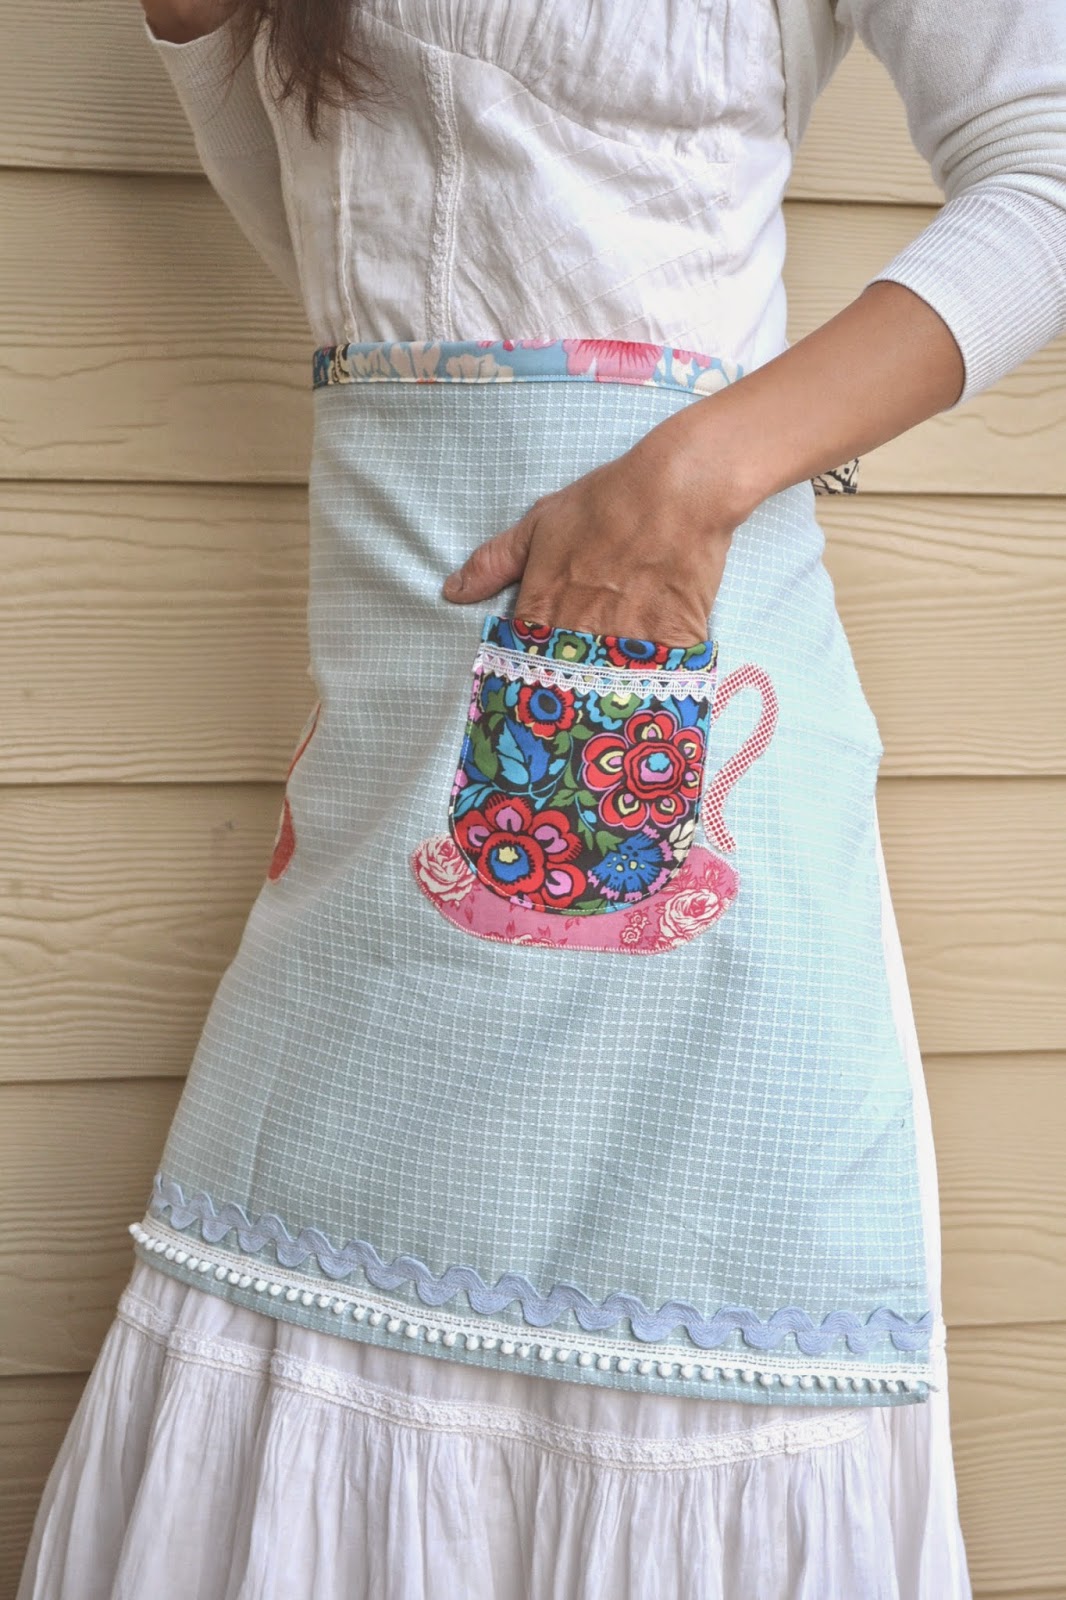
7. Let’s talk about the placement for the tea cup… Fold the towel in half and find the center. I measured 3 1/2″ from the center 5″ from the top seam and made a mark. That’s where I placed the left corner of the tea cup. For the opposite side of the apron, it will be the same measurement and place the right corner of the tea cup. Pin the cup. This way, it is easier for you to determine where to place the handle and saucer.
8. Sew the saucer and handle with zig-zag stitches. Adjust your stitch length and width and test it before you start sewing.
.JPG)
9. Fix the stitches to straight stitch and sew the cup onto the towel.
.JPG)
10. Sew the trims near the bottom edge. Fold the end seams of the trim to the back and pin before you sew. If the trim you are using might fray, you can treat it with fray check as well.
.JPG)
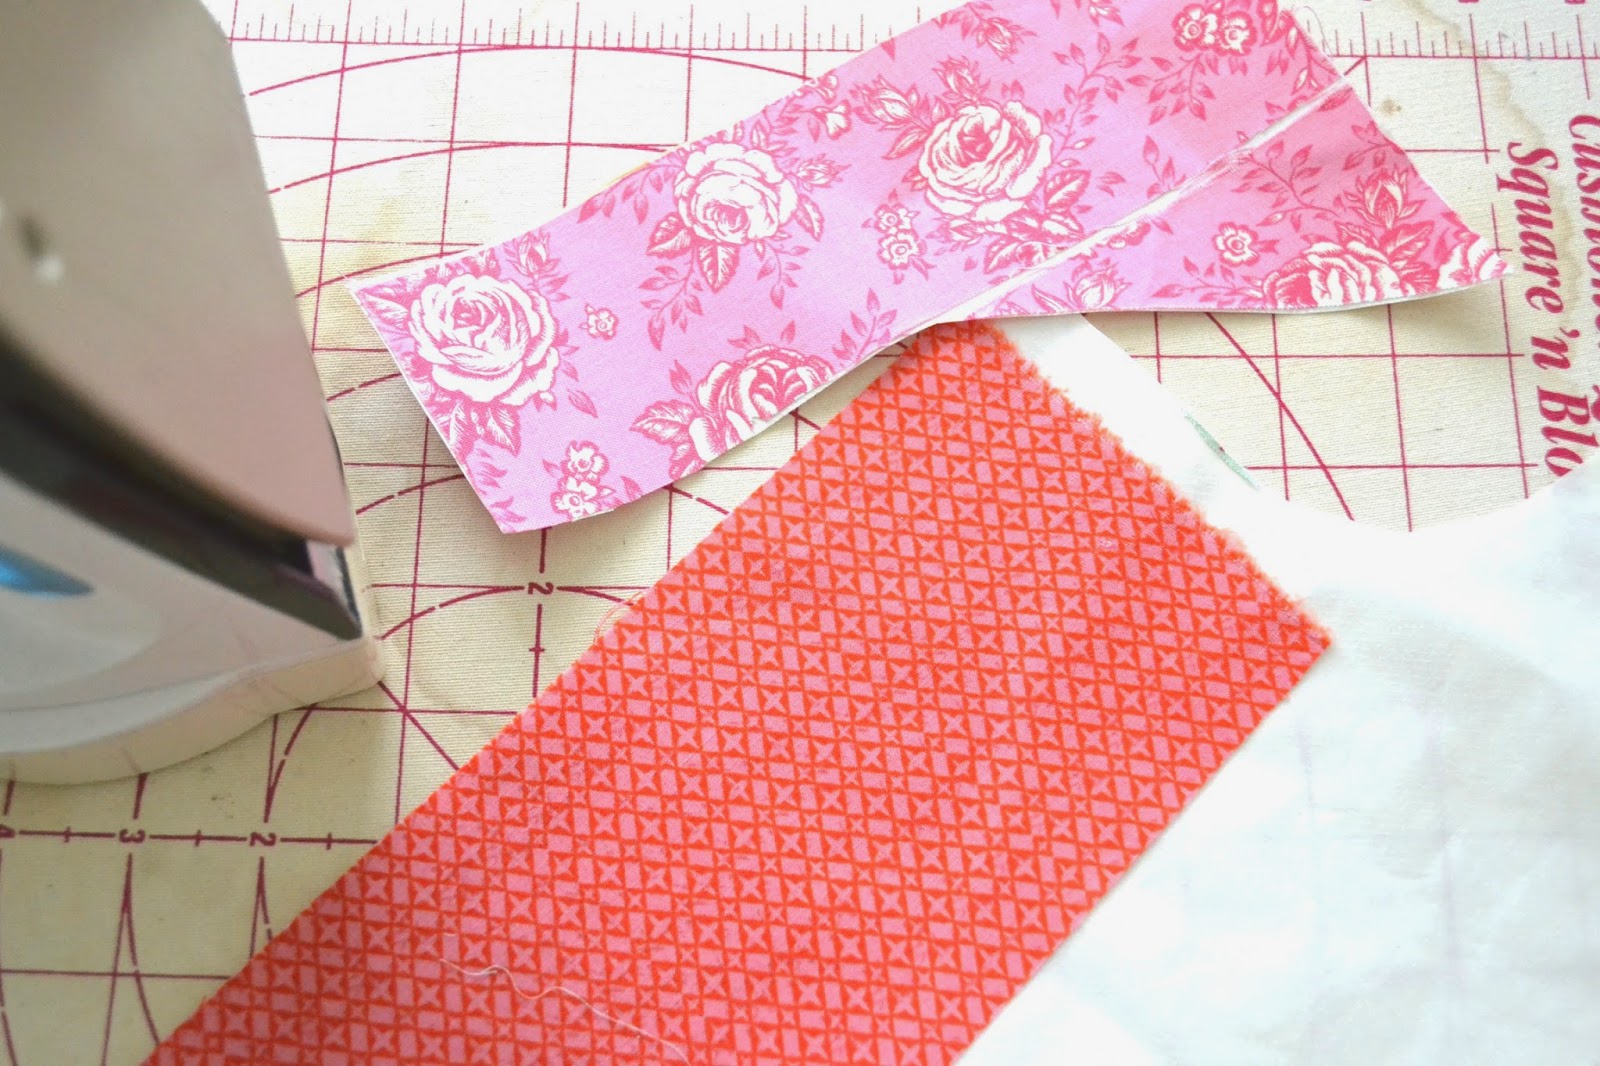
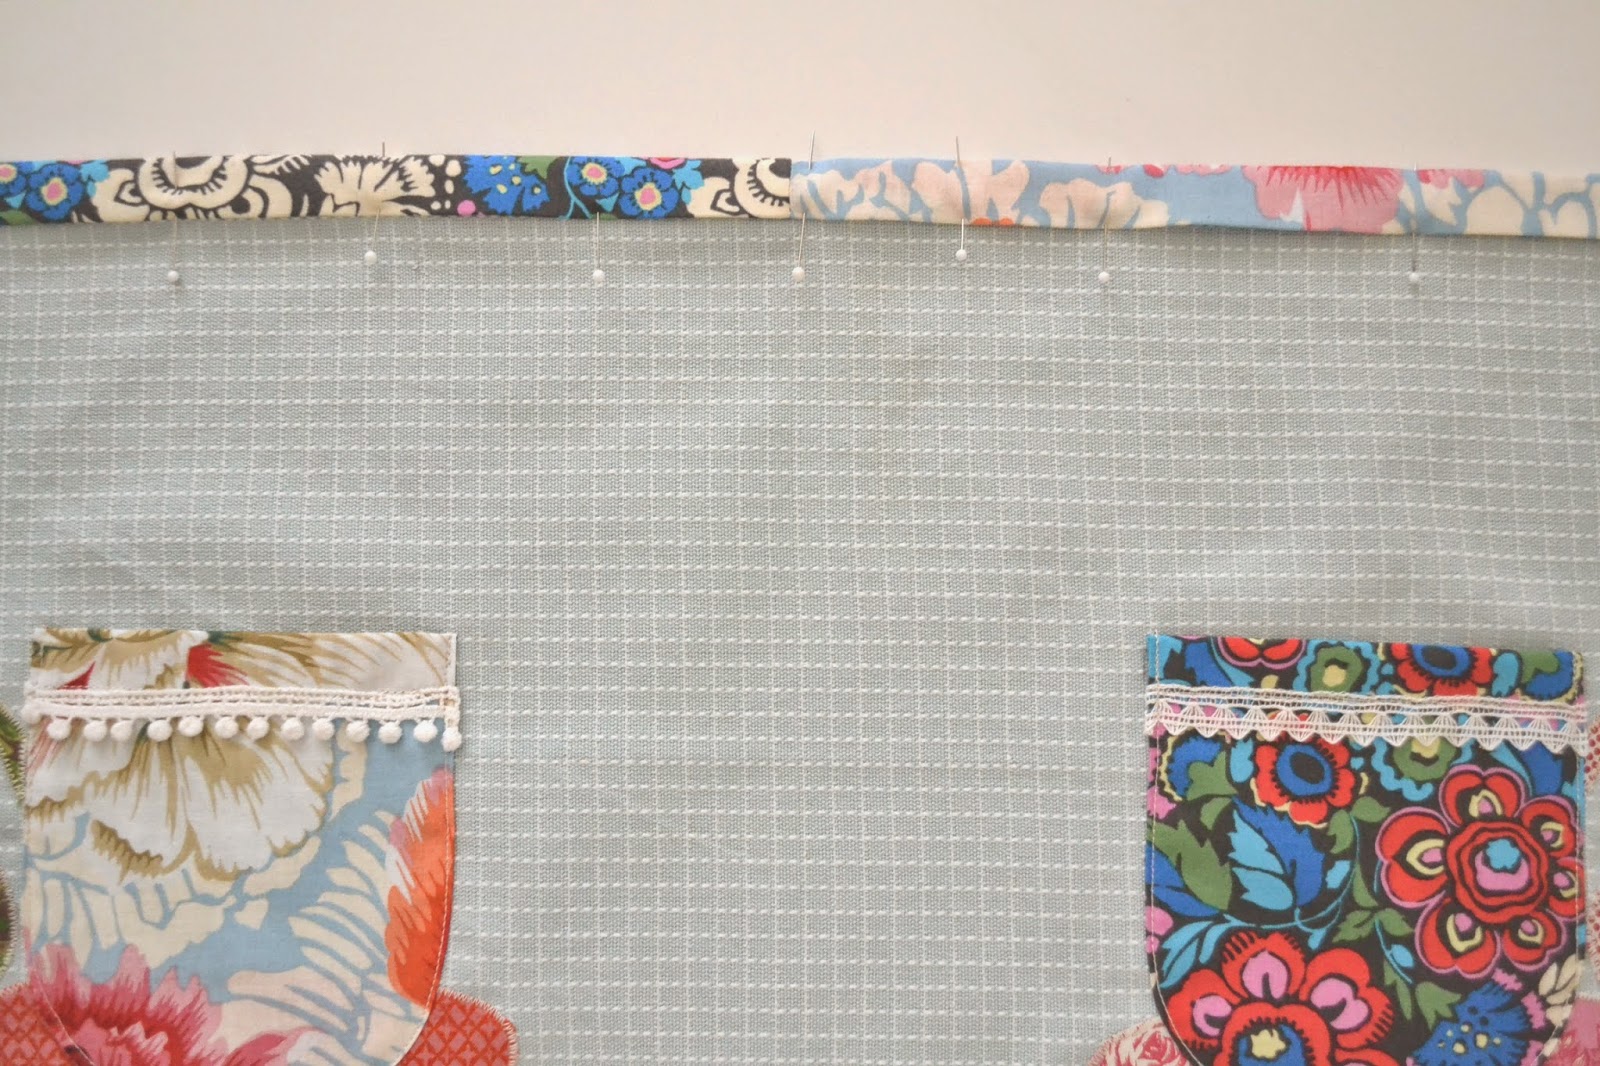
11. Making the Belt: I cut out 3″ wide strips and sewed them together to create a strip 2 yards long. Fold it in half (long way), open, bring the edges to the folded line in the middle. Press with an iron.
Find the center of the belt, and match that with the center of the towel. Sandwich the towel between the folded halves of the belt and pin. Sew from end to end.
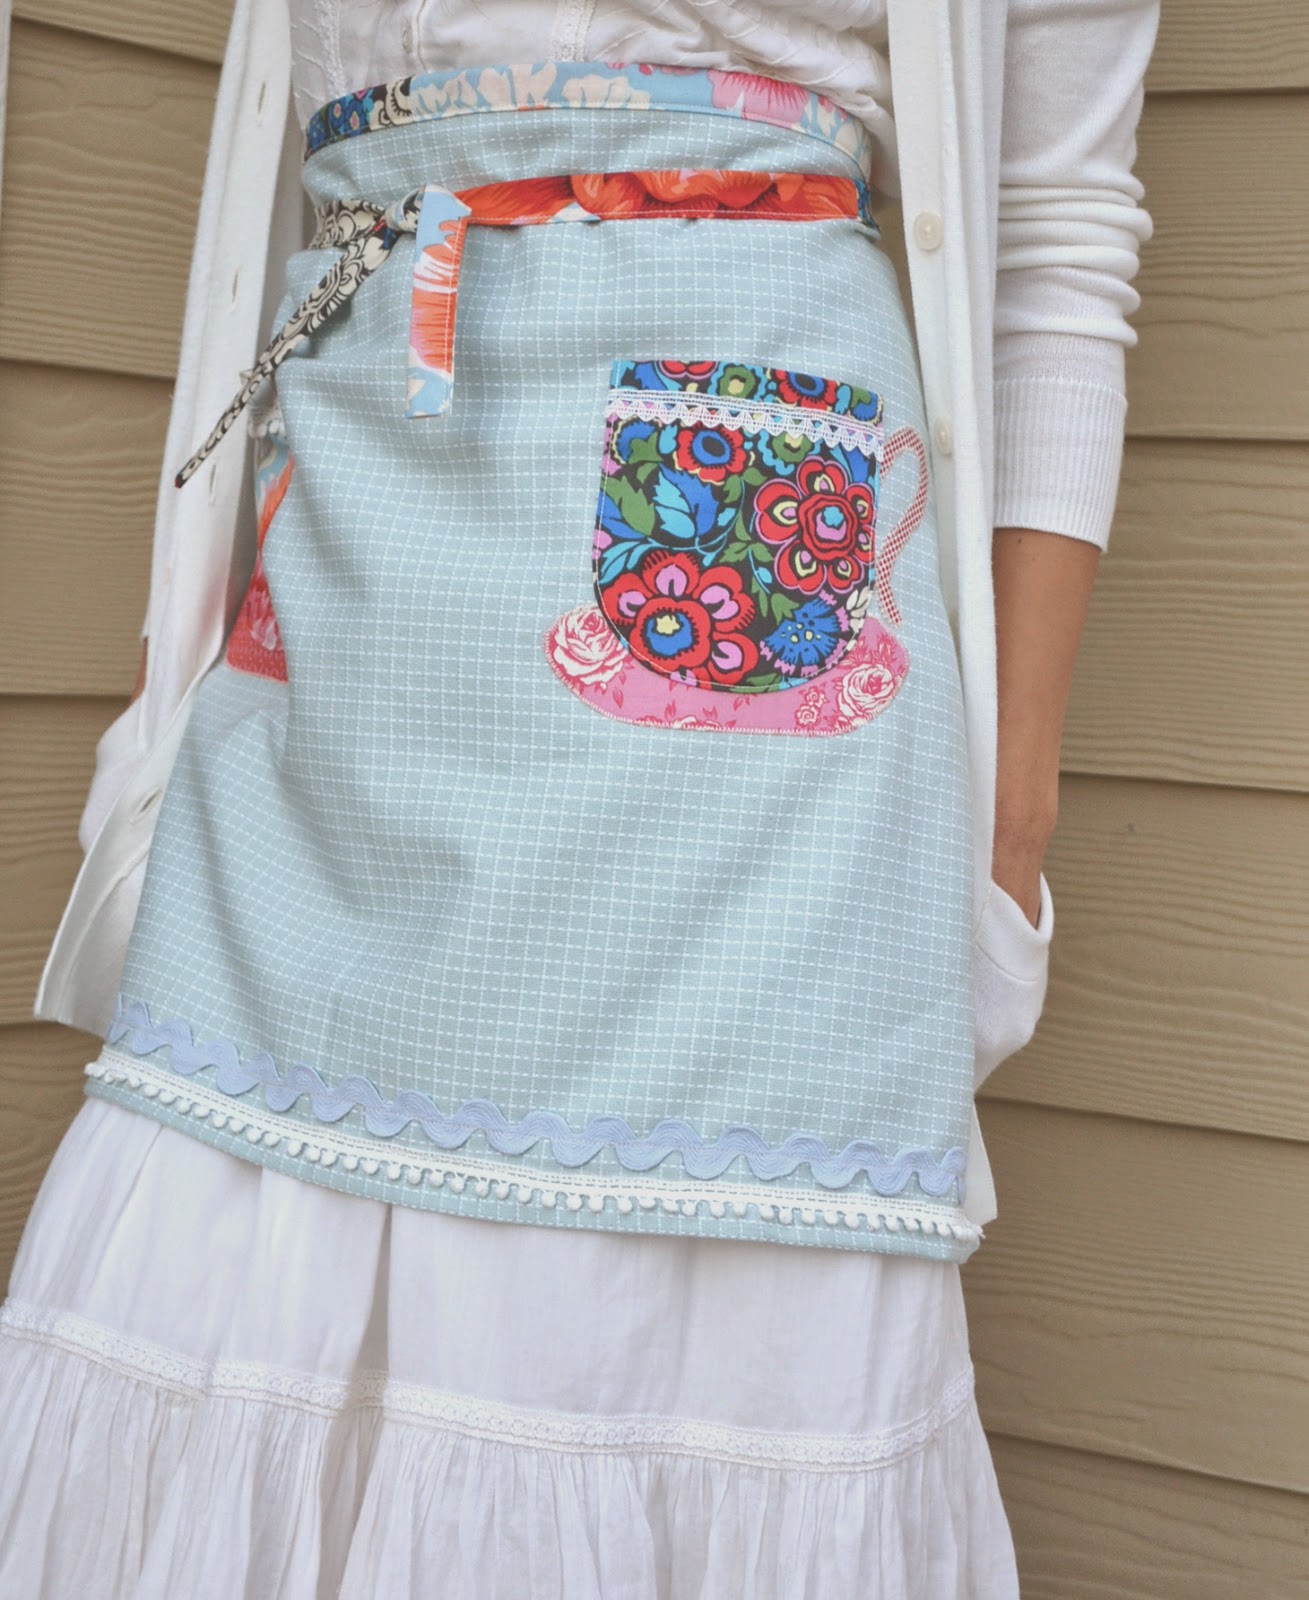
That’s it! Time for a test run…
The back will look like this.
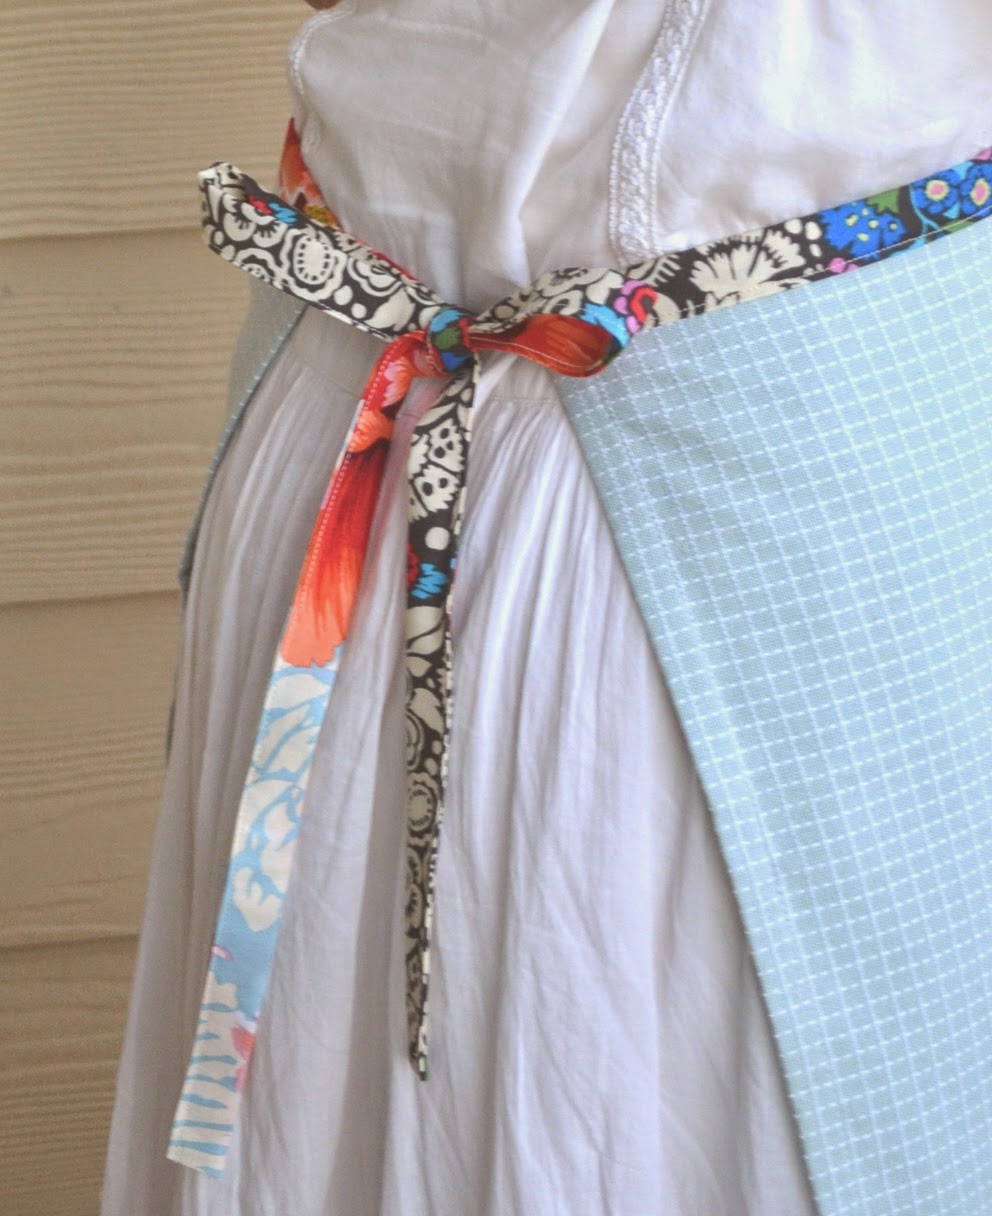
You can tie the belt in front as well, in that case, it would be better to have a longer belt.
Oh, and here is what the other tea cup looks like.
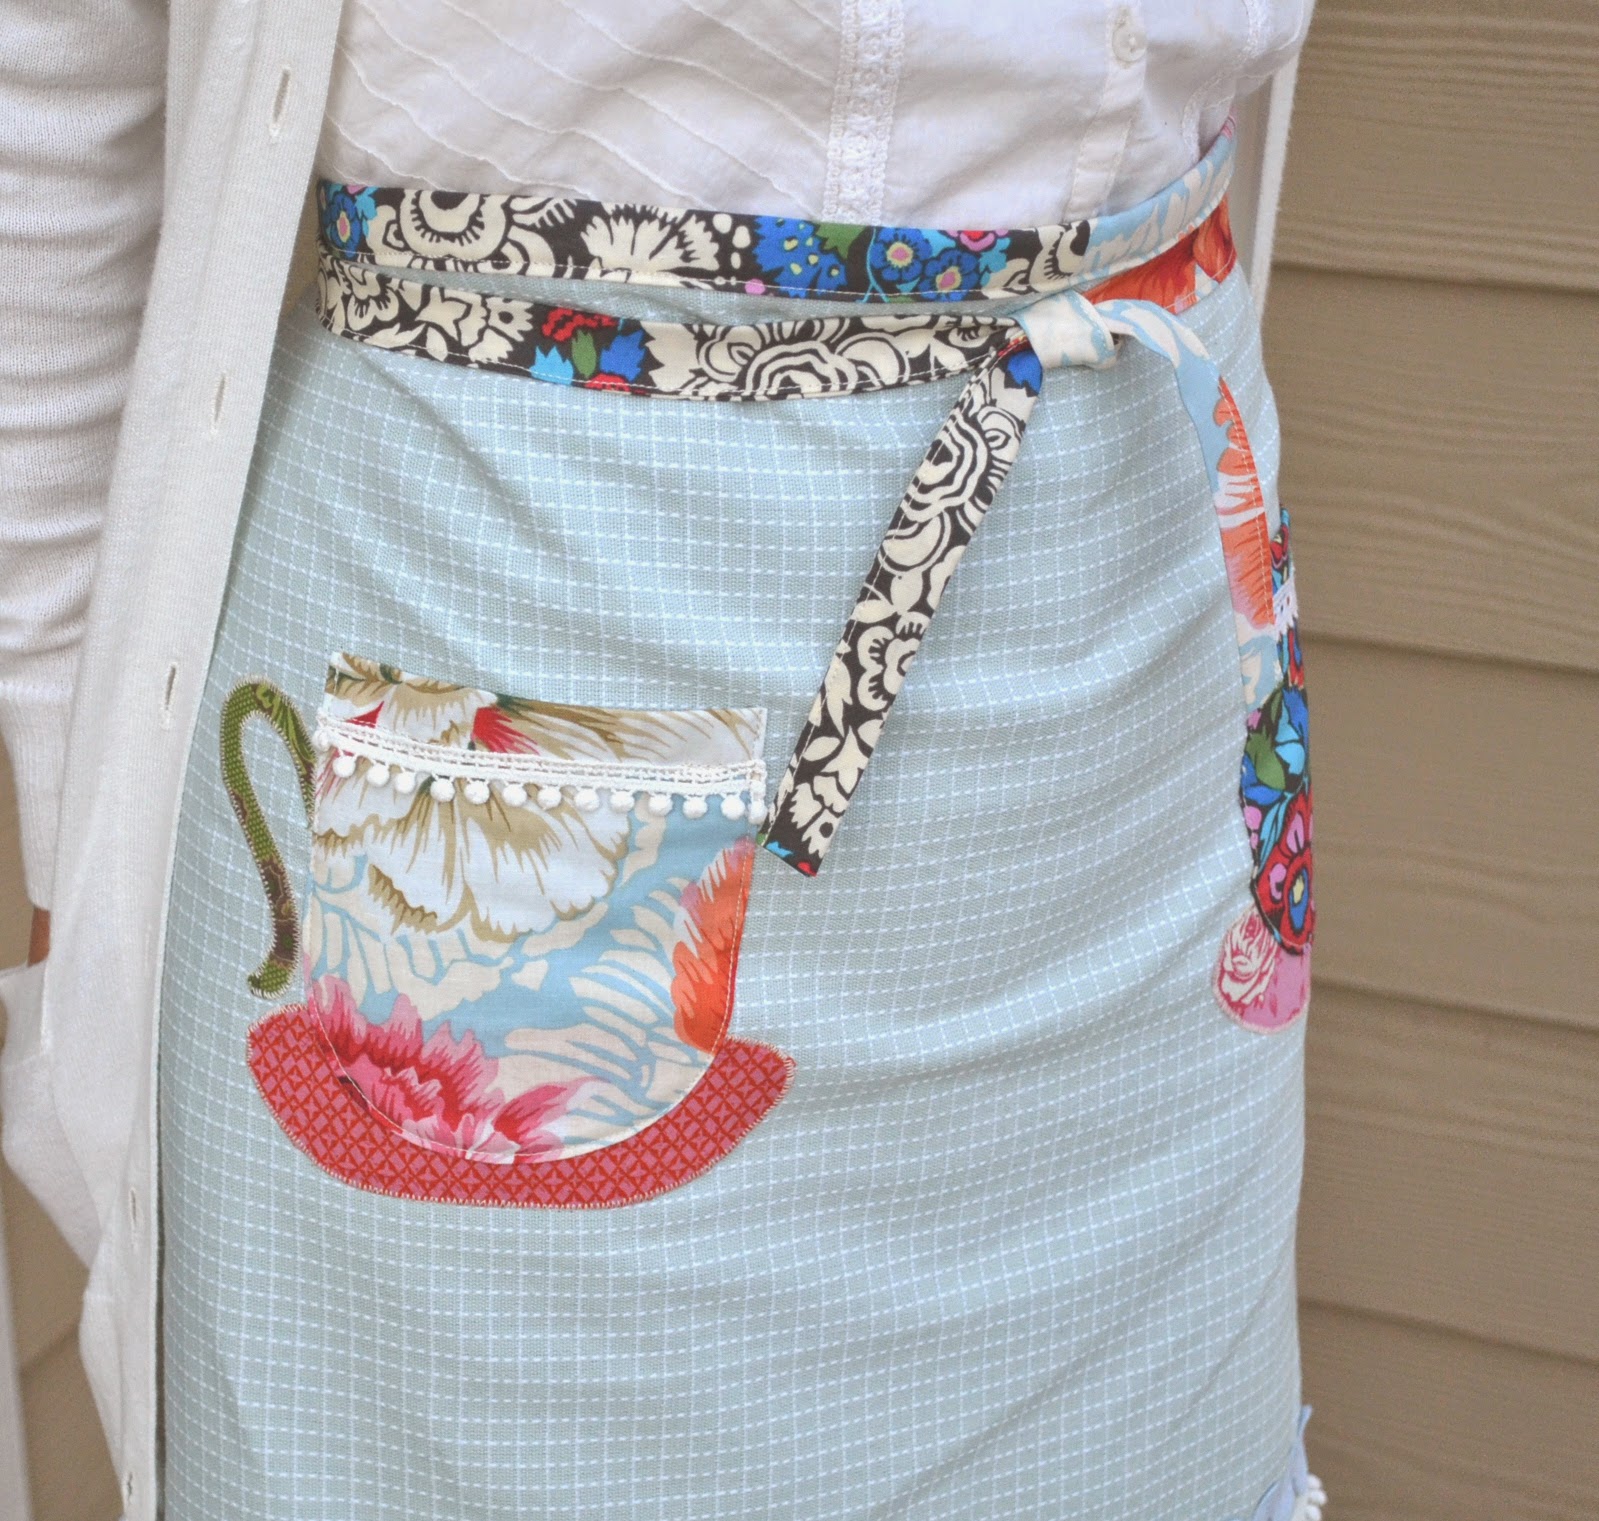
The most fun part for this project was going through my scraps to decide the combinations of cup, handle and saucer. I want to make more aprons, just to see the different tea cups and saucers. 🙂
Thank you for reading my post. It is always fun visiting Ucreate!
Visit Tea Rose Home for many sewing projects and ideas:


Leave a Comment