
Hello blogging world! We are thrilled and honored that Kari asked us to guest blog on her amazing site UCreate! Just to give you a quick peek into our world, Whitney is a stay-at-home mom of three and Ashley works part-time and is the mother of 2 kids. Our favorite past time is shopping and crafting. We get together at least once a week for a “craft night”. We love scouring high and low for shanty items and transforming them into something chic, which led us to our blog Shanty2Chic! We will take you along on our journey as we learn to transform our new homes, on a budget, and prove to ourselves that we don’t need to wait on our husband’s to do the “big jobs!” We hope to inspire you to grab a paint bucket, pick up that scary tool and get to work! Come visit us sometime!!
With the holiday seasons upon us, this guest blog is the perfect time to introduce you all to our first ever Shanty2Chic Holiday Project! We got our inspiration HERE but wanted to shanty it up a bit and give it purpose…and of course save some money at the same time!
Follow these simple steps to add your own chicness to your Christmas decor at a fraction of the price!
We started with this 2’x4′ MDF board purchased at Home Depot for $5.00….
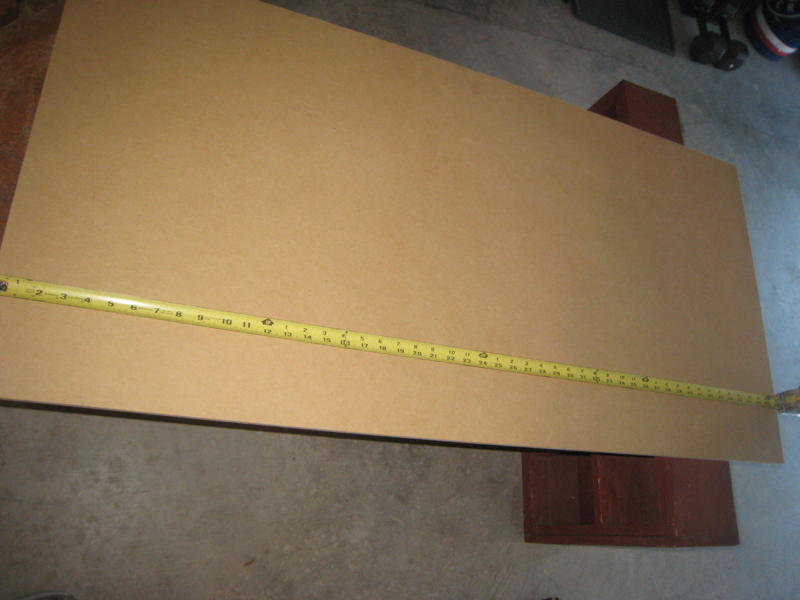
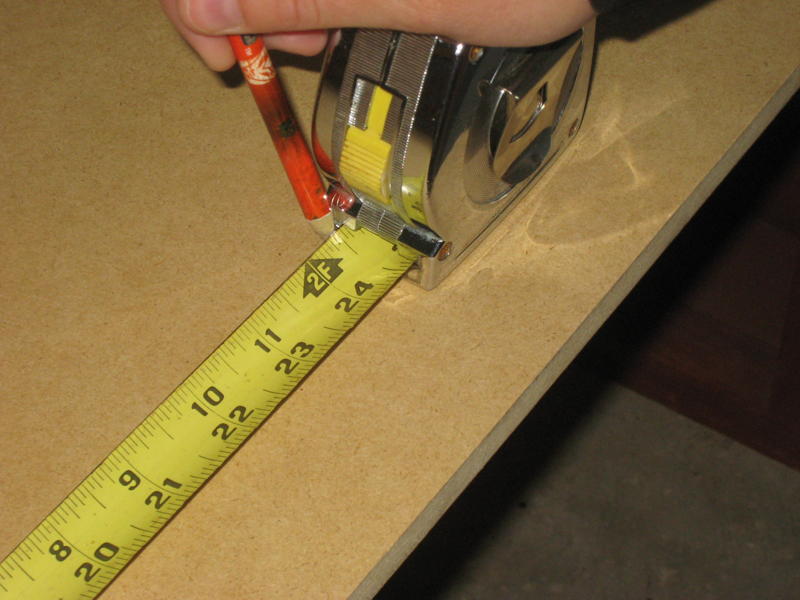
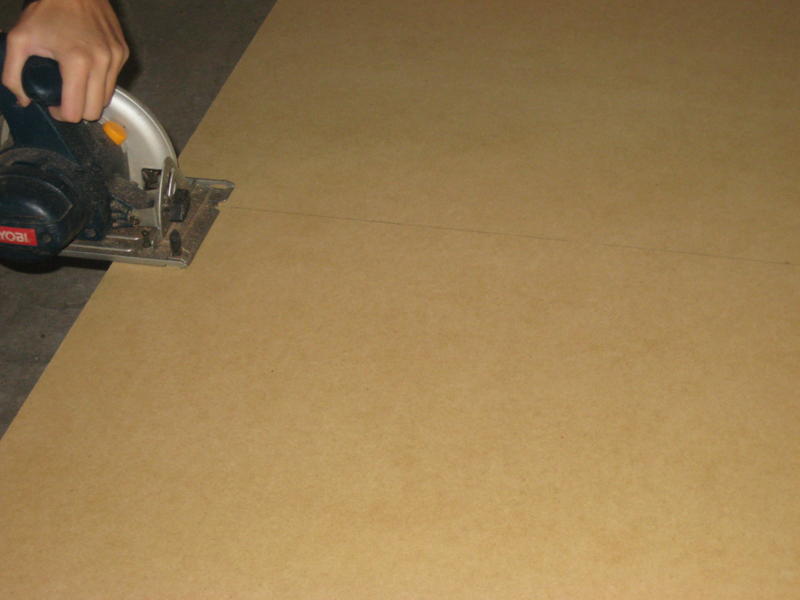
We marked off the center point and used our circular saw to cut it into two 2’x2′ pieces.
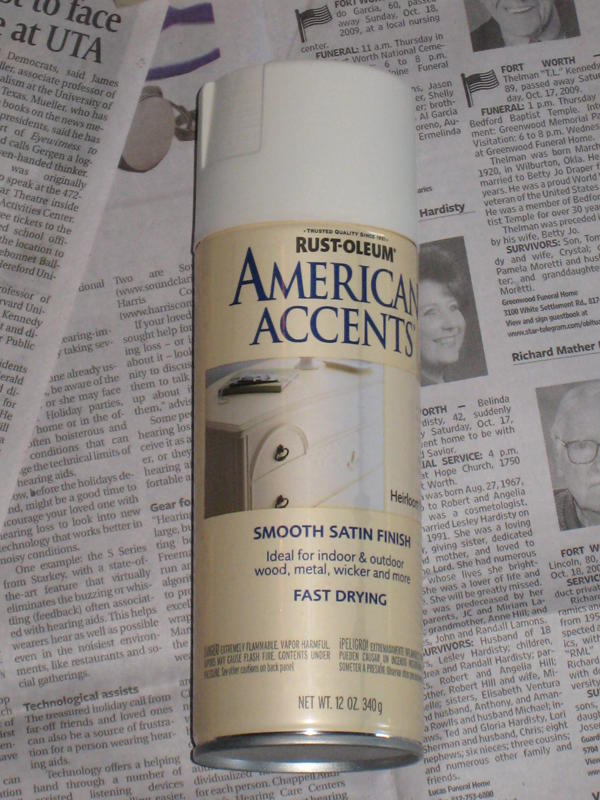
Next, we spray painted each piece with one of our favorites ~ Rust-oleum American Accents Heirloom White and set them aside to dry.
While we were waiting for the boards to dry we started on another part of the project ~ can’t let any time go to waste!
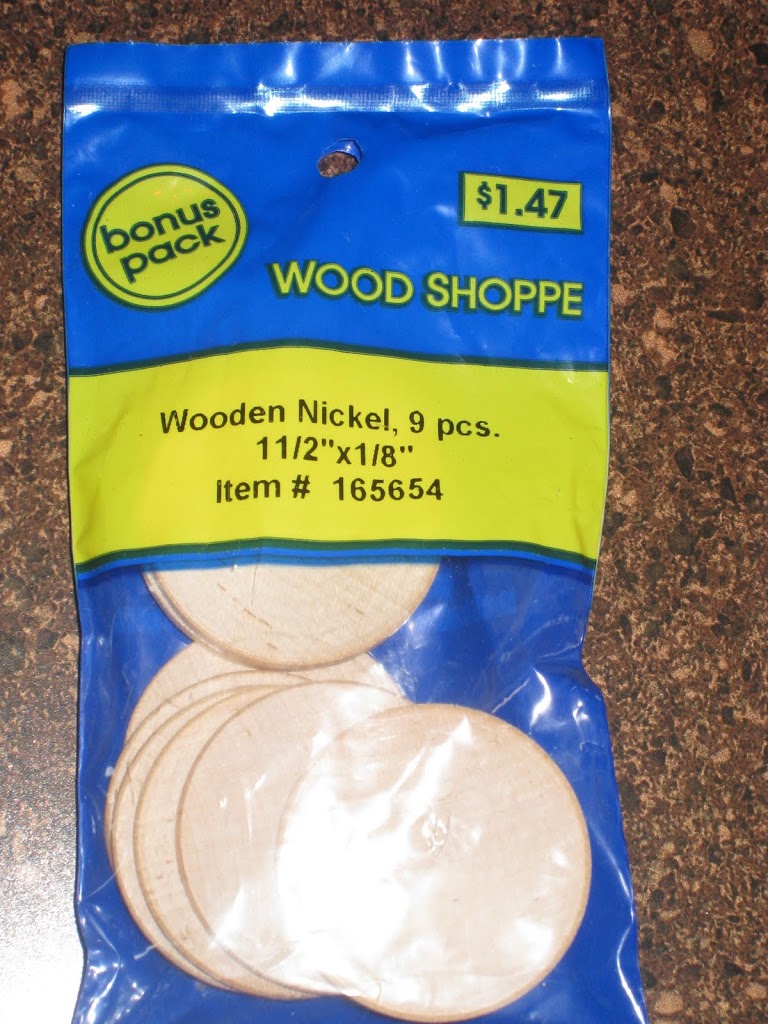
We purchased 6 bags of these unfinished wooden nickles at Hobby Lobby (40% off)…

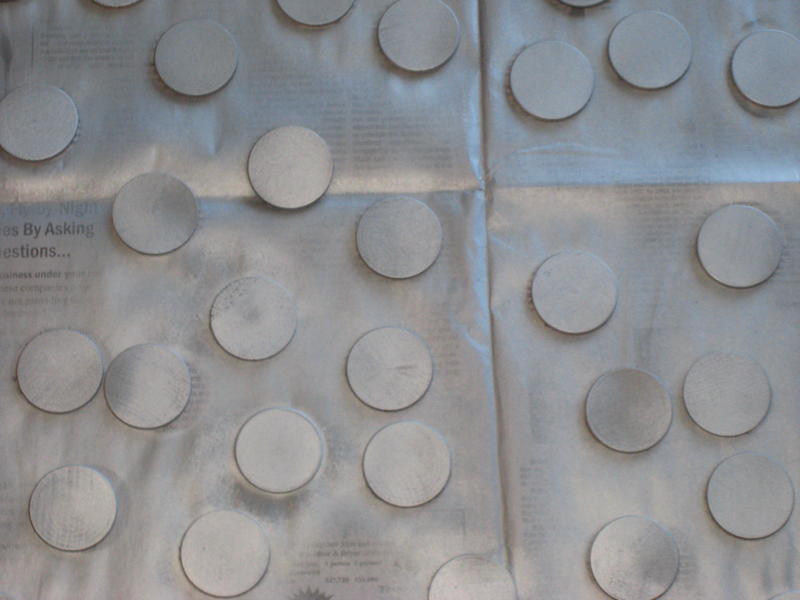
gave them a quick spray with Rust-Oleum Metallic…
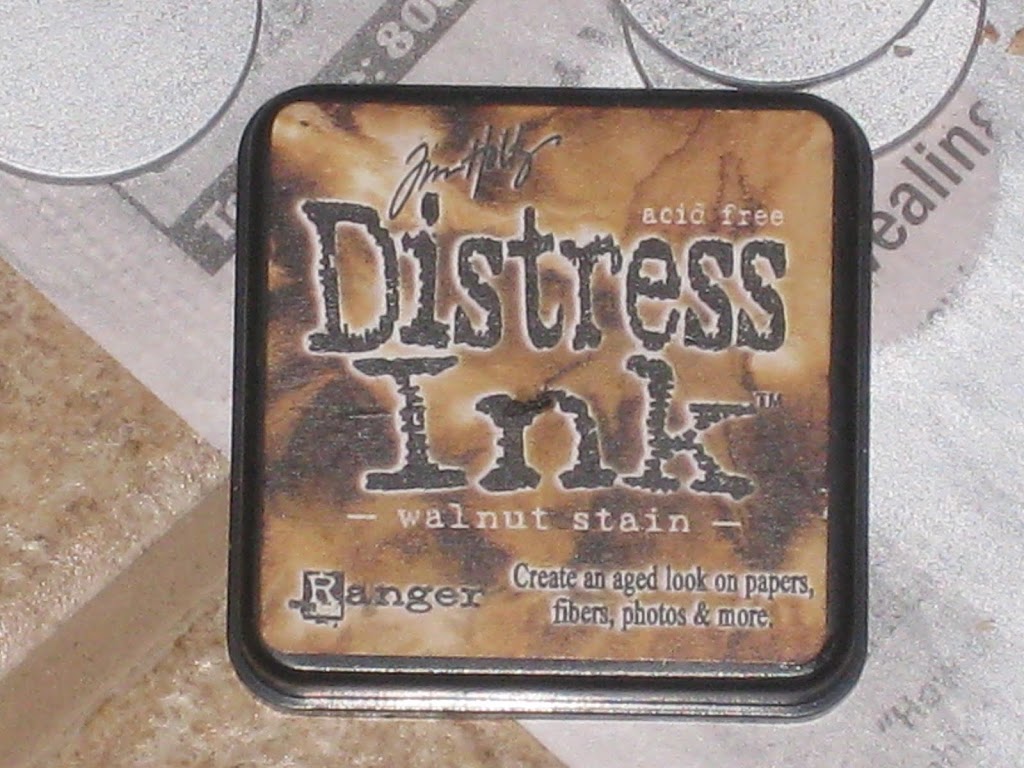
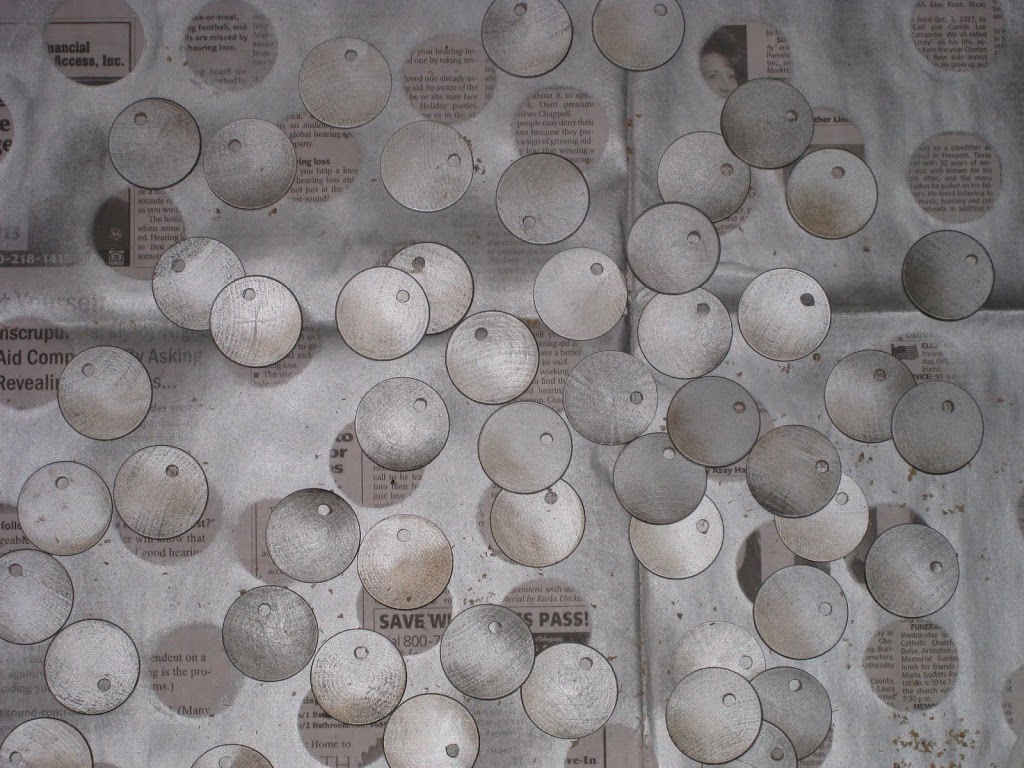
followed by Tim Holtz Distress Ink in Walnut Stain (just rub on the edges).
We’ll show you what we did with these babies in a bit ~ back to the boards!
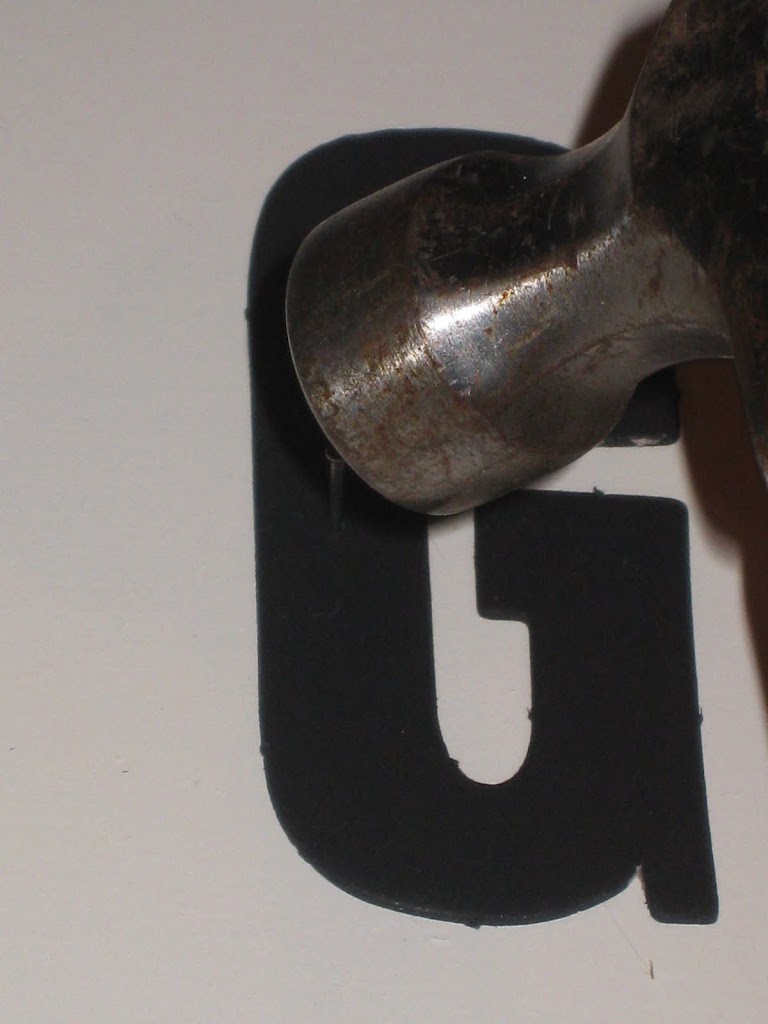
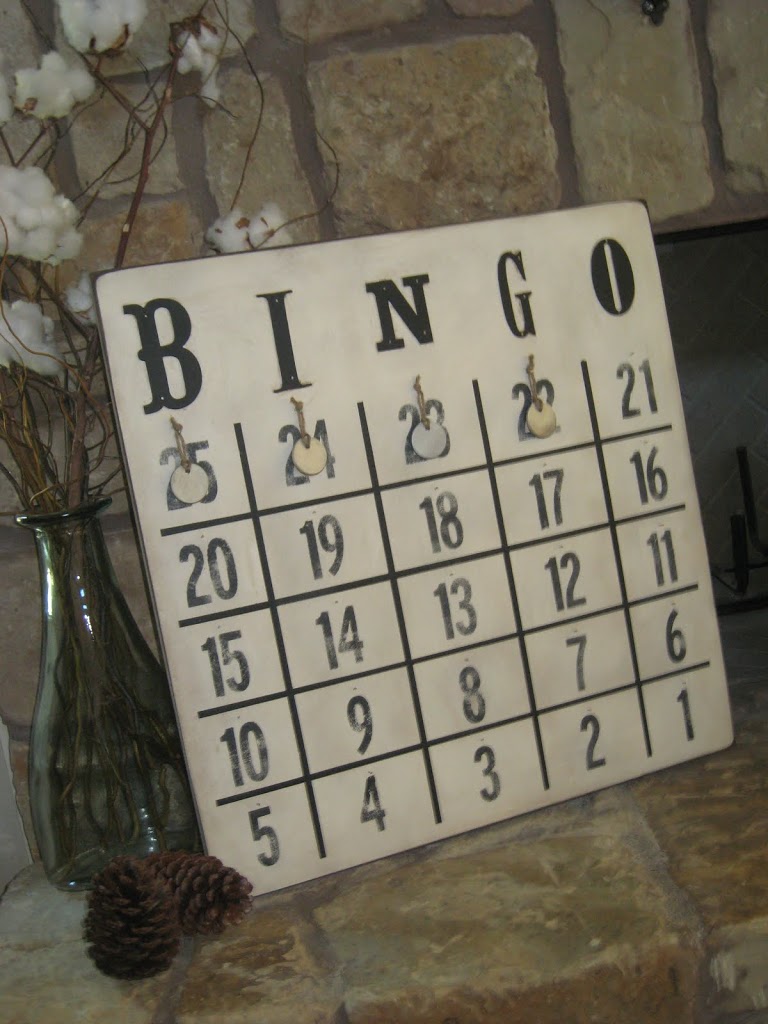
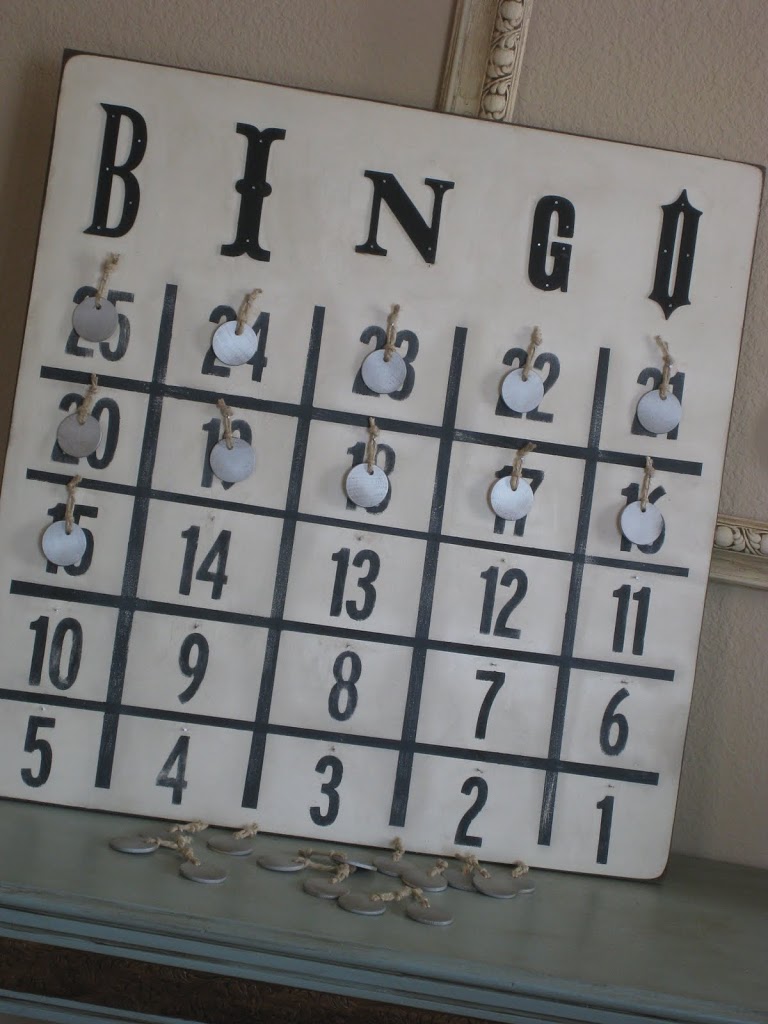
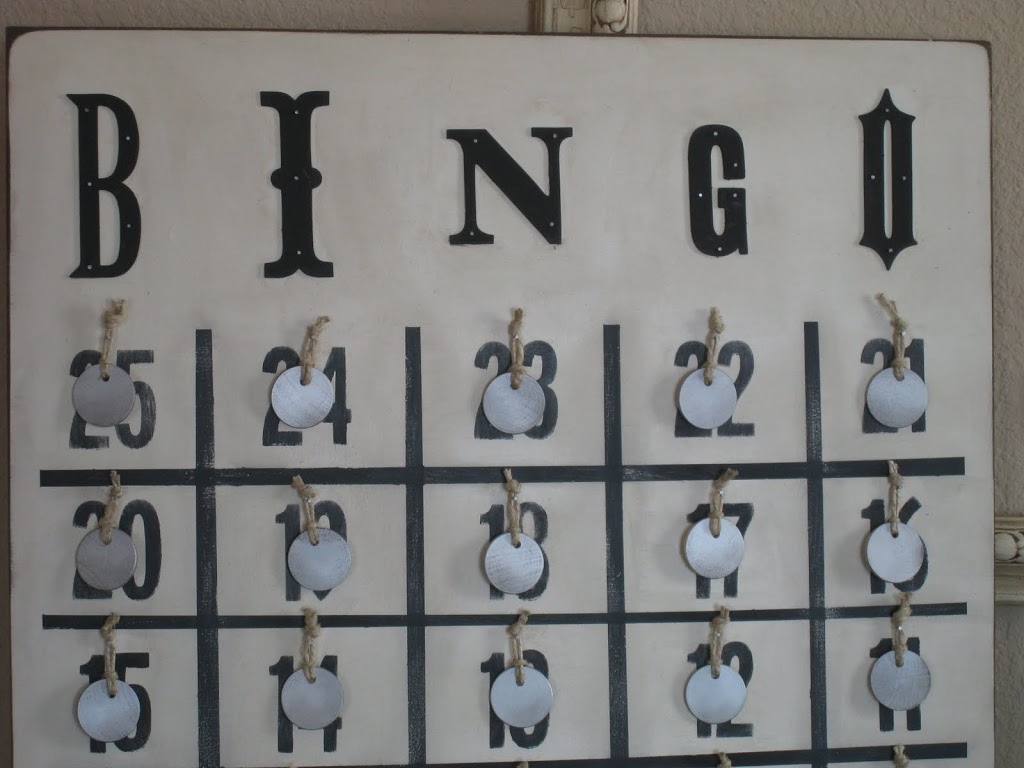
Once the paint was dry on the boards we painted chip board letters black and nailed them on to the top of the board to spell BINGO!
Now for the lines…

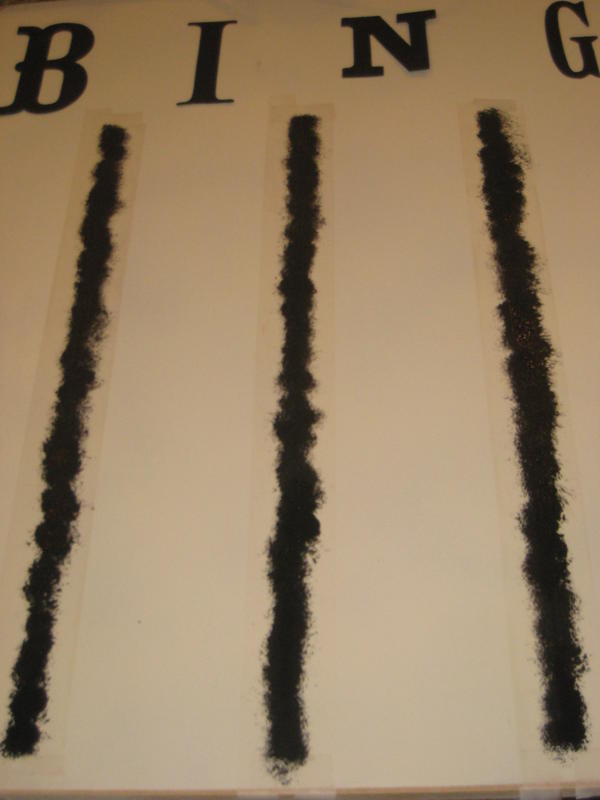
We used scotch tape to mark the lines off and dry brushed with Americana Lamp (Ebony) Black.
(Vertical Lines: mark at 4.5, 9.5, 14.5 and 19.5)
(Horizontal Lines: mark from the bottom 3.5, 7, 10.5, 14)
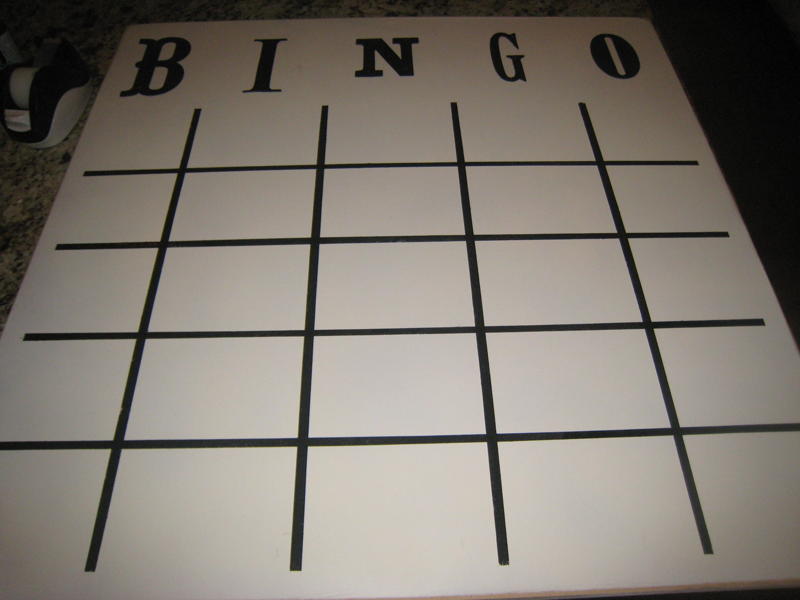
Lookin’ Good….Now for the fun stuff!
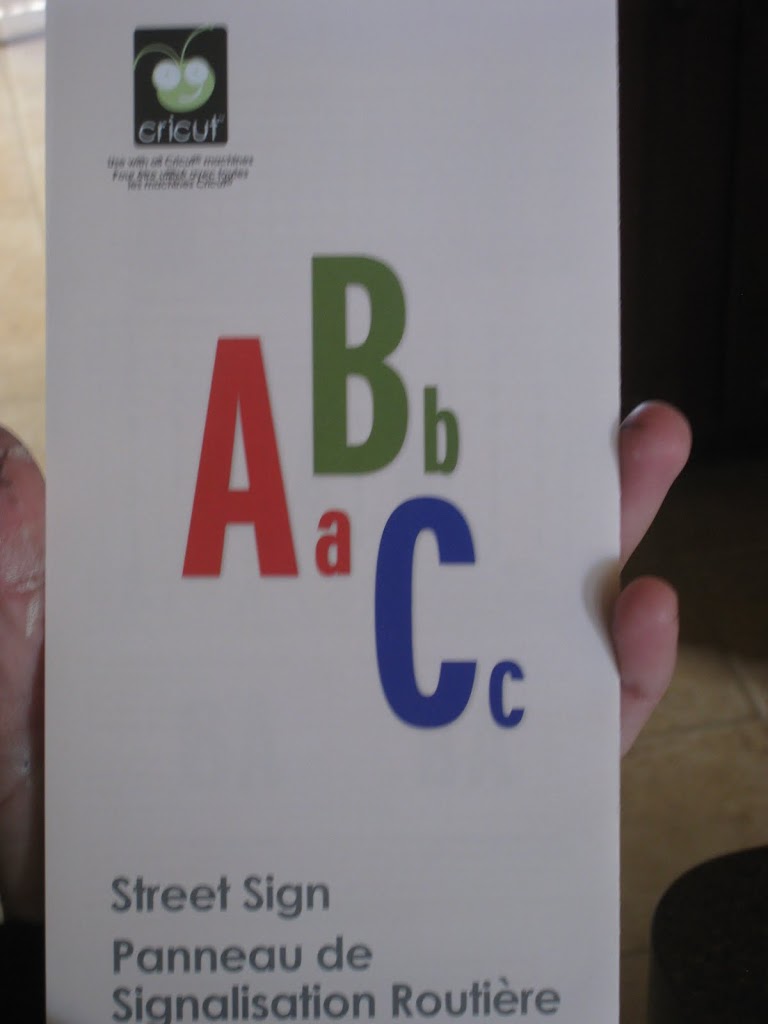

We used our Cricut to cut out number stencils, 1-25, with the Street Signs font cartridge and dry brushed again with Americana Lamp (Ebony) Black. We started with the number 25 in the top left hand box and finished with the number 1 in the bottom right hand box.
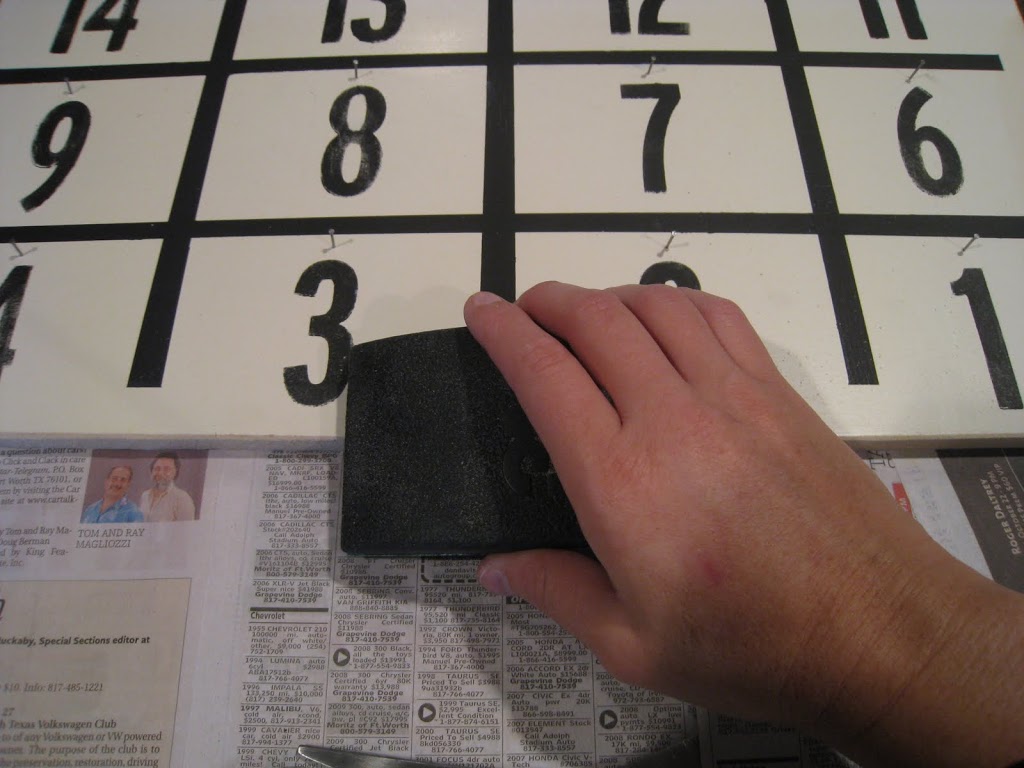
A bit of distressing with our 3M sanding block (80-grit paper)
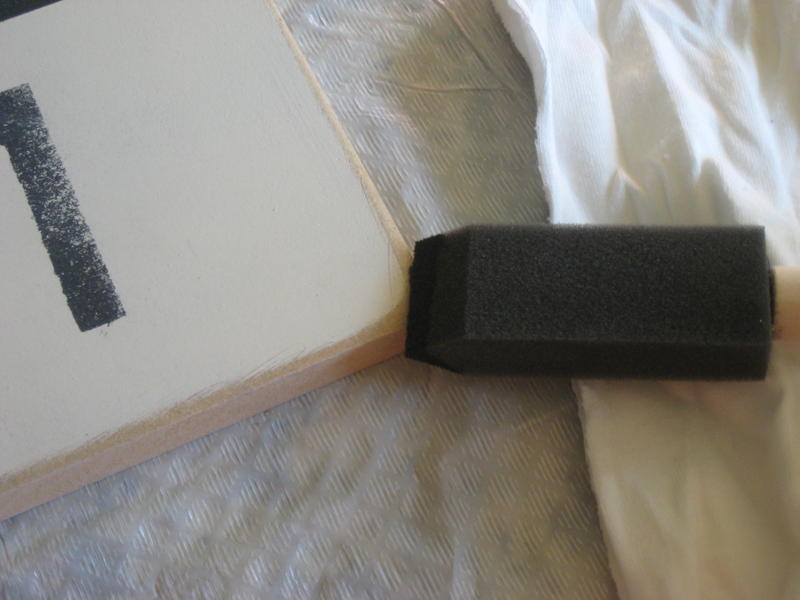
and a quick dry bursh over with Minwax Dark Walnut stain brought great attention to the distressed edges!

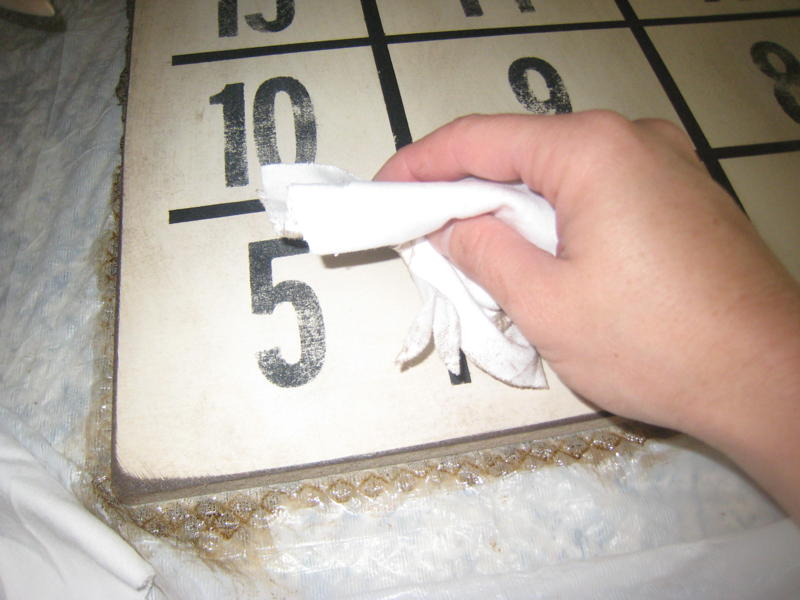
And, of course, no project is ever complete without a little Ralph love (Ralph Lauren Smoke Glaze). Paint on and wipe off to create a vintage look with any piece!
Now for the small details that make a big impact!
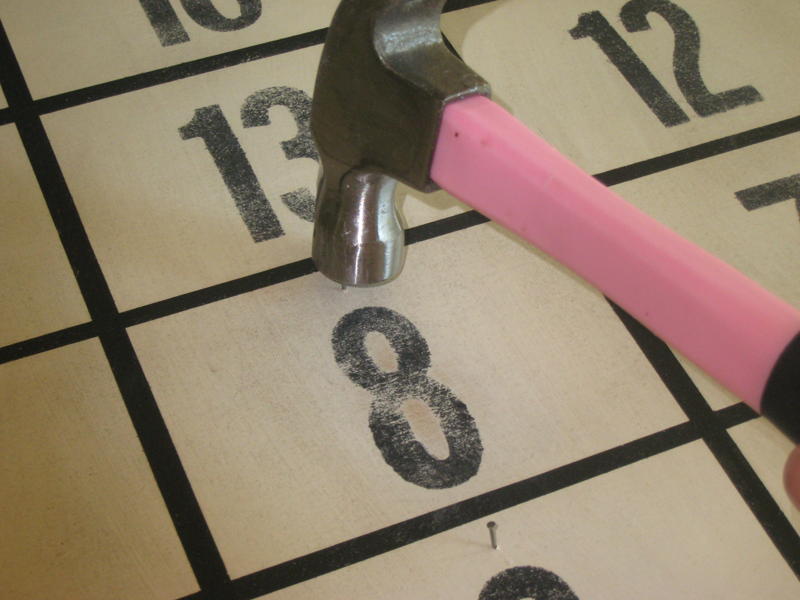
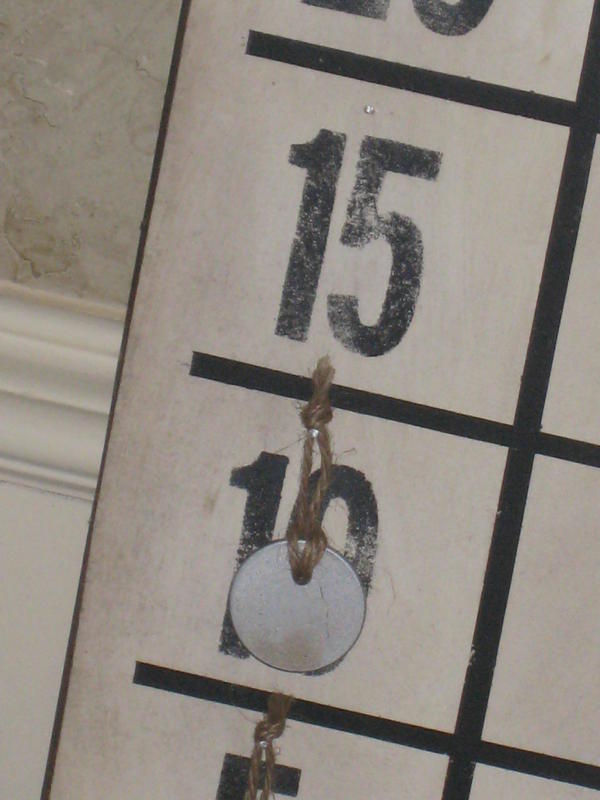
We hammered nails at the top center of each box leaving half of each nail exposed.
Remember these babies…
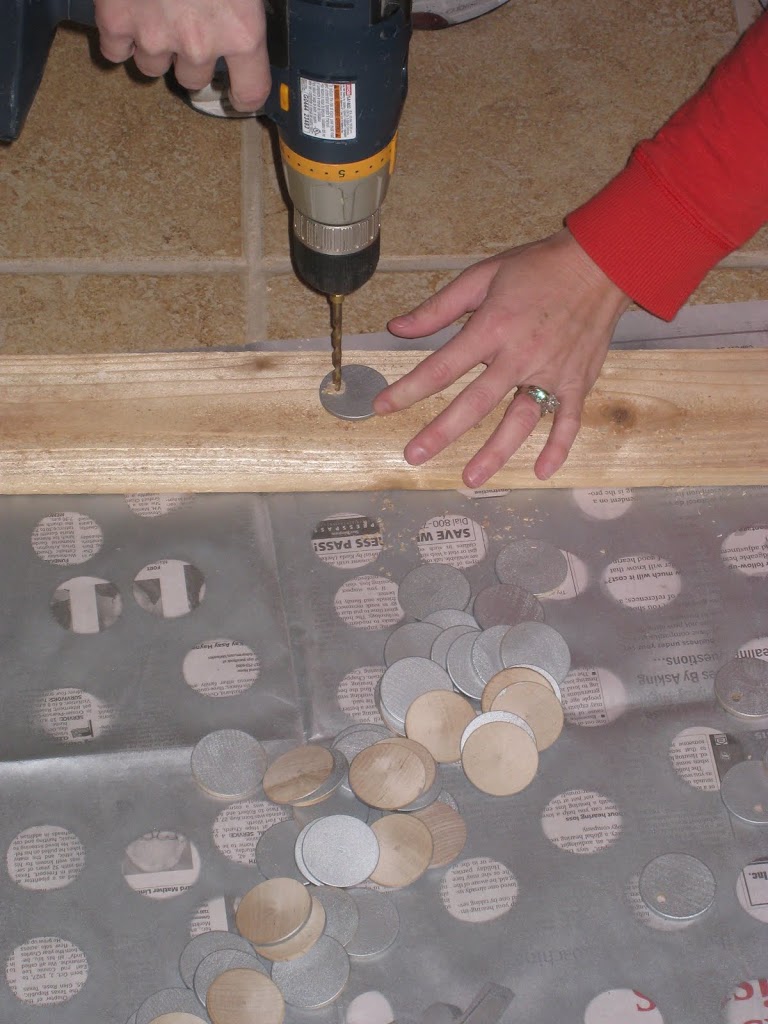
We drilled a hole in the top of each nickel

and then cut 4″ pieces of twine to go with each one!
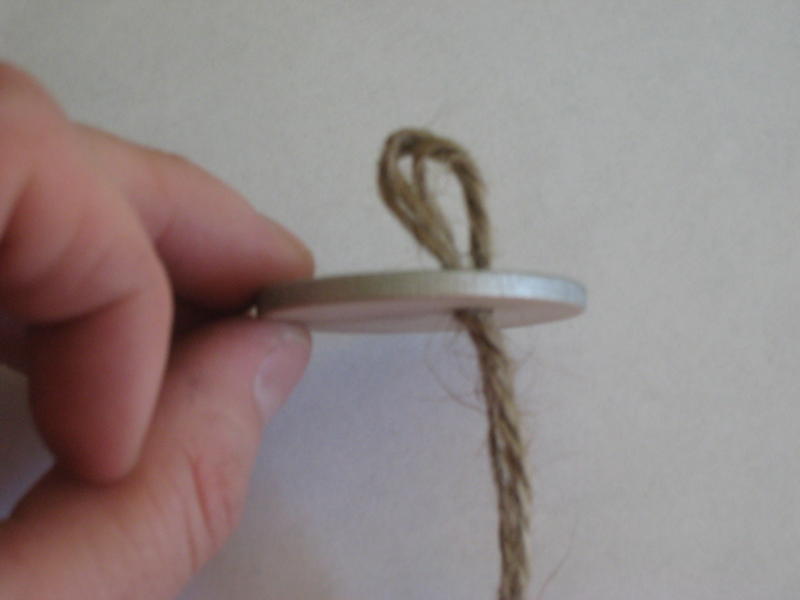
We folded the twine in half, pushed it through each hole…
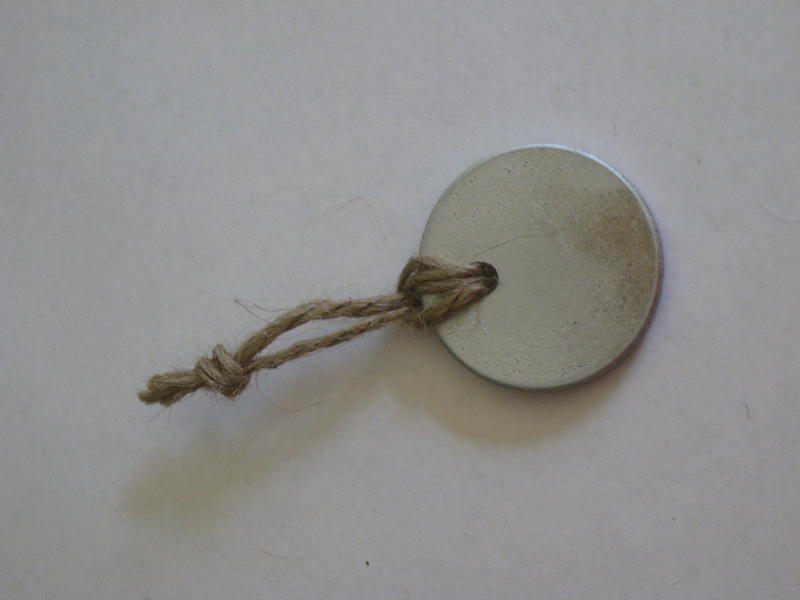
looped it though and tied a knot at the top!
Now for the reveal!!!
Introducing the Christmas Advent Calendars!


We loved the Pottery Barn version but not the price tag and this one serves a purpose! Advent Calenders are such a fun way for the family to count down to Christmas and this is such a chic way to display it! Nothing better than a chic look at a shanty price!
We want to give another HUGE thank you to Kari for inviting us to guest blog today and we hope you have enjoyed our little tutorial! Thanks so much ~ The Shanty Sisters!
You can click our button below to visit us!!


I really love this idea. It looks amazing. I’m going to add it to my (ever increasing thanks to you two!) list of projects I want to try. Another brilliant job! Unfortunately for me I can’t get half of the supplies you use in the UK and have tried everywhere to find someone who stocks Ralph Lauren Smoke Glaze. As soon as I do I’m going to but a truck load!
I LOVE those two gals! Thanks for having them on this blog! Such a neat idea for a Advent Calendar. I’ve been wanting to do one for like….years. I think I have some scraps I could try with!
They are one of my very favorite blogs to go to!
:o) Tricia Anne
That is soo cute. And I can think of a few was to change it up a bit. Looks fun! Thanks for the idea!
I just saw the pottery barn version in the catalog the other day and was thinking of how I could make it. Thanks for the tutorial…love it!
This is a great project. I saw the BINGO card art piece on the Pottery Barn web site loved it. Wonderful vision to see it as an Advent calendar. Thanks for the tutorial.
Jane
Such a great job on this!! I can’t wait to try it for myself. Thanks for the How-to!!
What a genius idea for an advent calendar?! You gals never cease to AMAZE me with you talent! Thank you so much for being a guest on Ucreate today!
I really adored this peice in the catalog and thanks to you i now have a reason to tell the BF why we need a larger then life bingo card in the house!
great work!!!
This is a super cute tutorial! Maybe I’ll try it this year.
What a spectacular idea!!!
Great idea! Awesome Tute!
I love Whitney and Ashley’s blog! They come up with some of the cutest ideas ever!
How wonderful! Thanks for sharing.
Kate
i love this project and it is such a great decoration that you could actually use.
Just a thought, but what if you changed the B-I-N-G-O to S-A-N-T-A? It might make it a little more obviously Christmas without having to be red and green and frosted with fake snow. I love the idea!