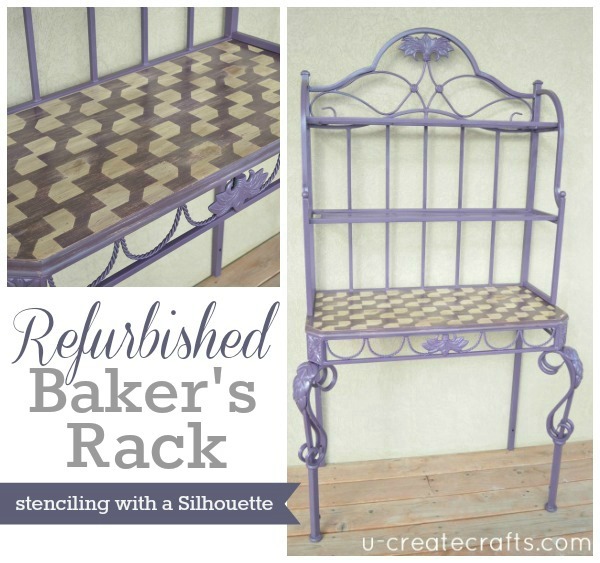
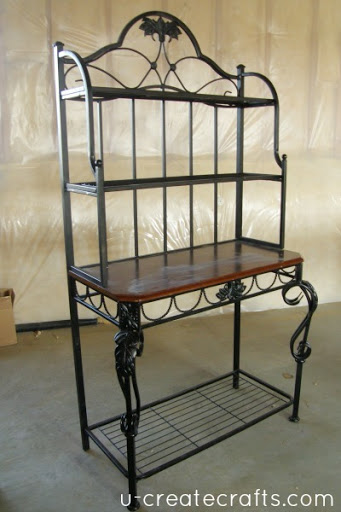
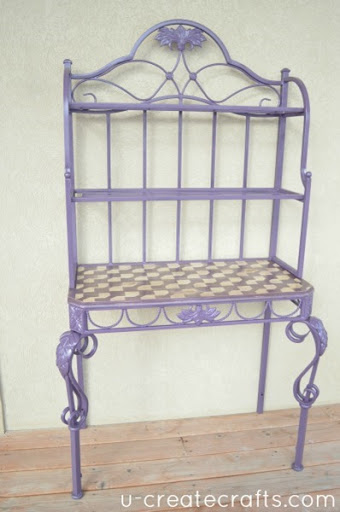
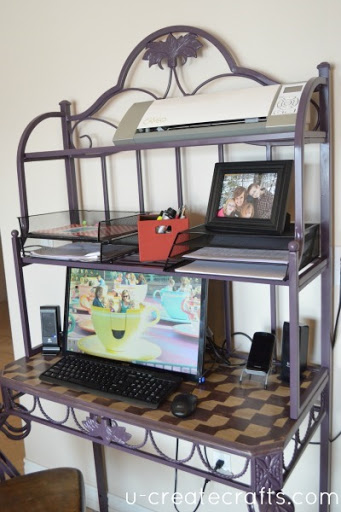
 For my birthday last year, my Mother-in-Law scored me this awesome Baker’s Rack. When she brought it over, I knew just what to do with it. I have been wanting to get a small desk for my kitchen instead of the big awkward one I had. My kitchen was beginning to look more like an office than a kitchen. So I decided to give it a Baker’s rack makeover and turn it into my desk. With a little DIY facelift this “desk” is going to rock.
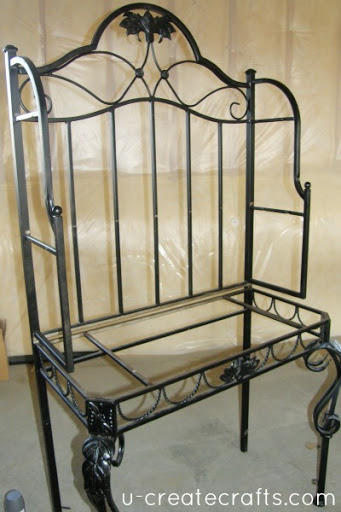
First, I took off the bottom rack and got rid of it completely. (Remember, I want an office chair to fit underneath.) Then I took off the wood piece by taking out a bunch of screws.
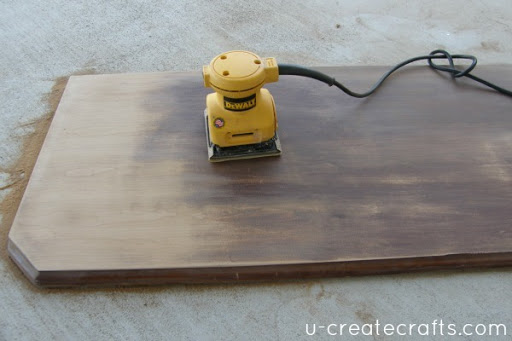
Now, to spray paint. Bring on the purple! I cleaned and dried the metal really well before applying my favorite Valspar primer. The next day I applied the purple (Valspar Eggplant) and let it dry a couple days. Meanwhile, I sanded and sanded the “desktop” until it was nice and smooth and natural looking.
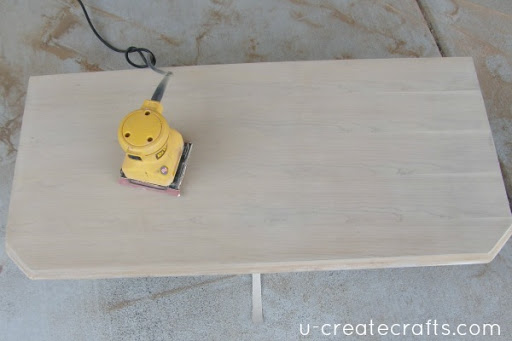 Next, I used a sticky cheese cloth and wiped off all the pesky sawdust…which was everywhere. Then I added a coat of white spray paint. I can’t remember the name of the paint, but I am positive it was Valspar…I rarely use anything else.
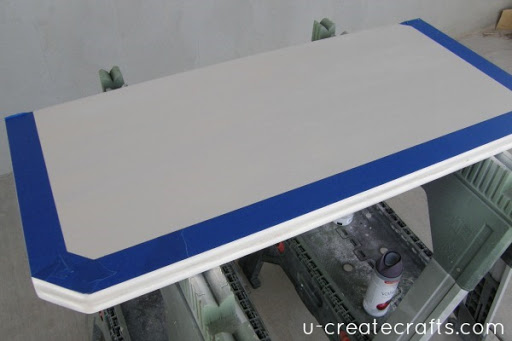
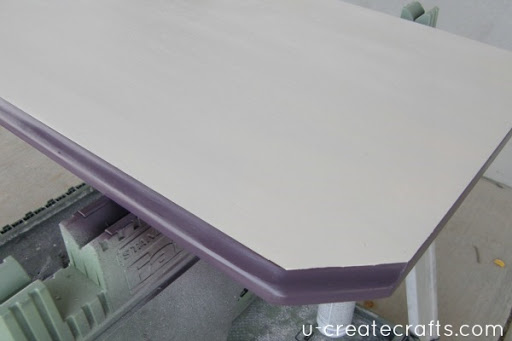
I wanted the edges of the desk to be purple so I taped off the edge and laid a large piece of cardboard on top. Then I applied the purple spray paint.
I love when you get the exact result you dreamed of getting. I took off the tape and was so happy to see the crisp clean line around the edge. Looking good, right?
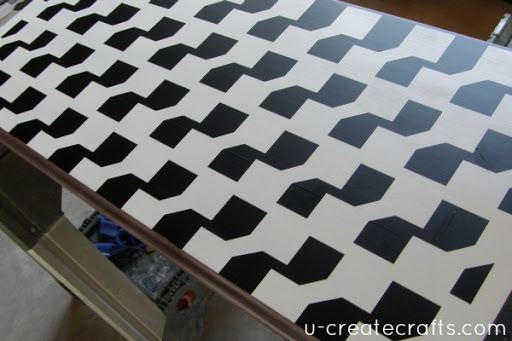
Next, I chose a pattern from the Silhouette Online Store and sized it to the size I needed then I cut it out of vinyl. I cut 4 12×24 inch pieces and discarded the parts I wanted purple. You kind of have to think backwards…get rid of the part of the pattern you would normally keep. I laid the pattern pieces on the clean white desktop and applied a couple of coats of purple spray paint.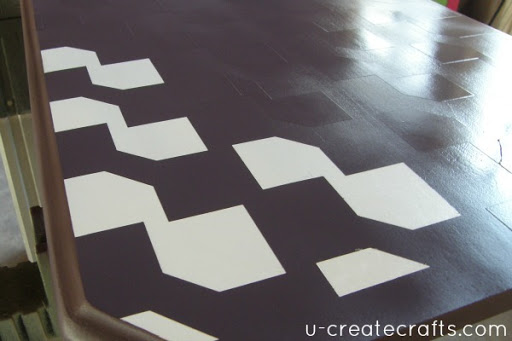
Then, I took the vinyl pieces off with the Silhouette Hook while the paint was still wet. Be careful! You will get paint on your hands. Wear an apron or paint clothes.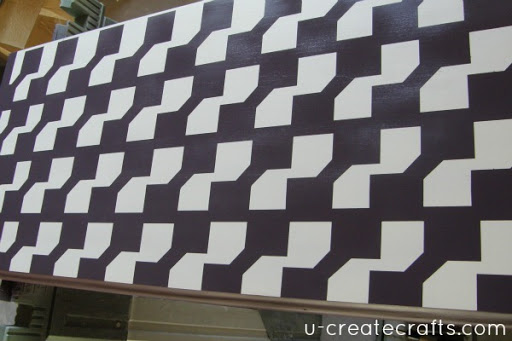
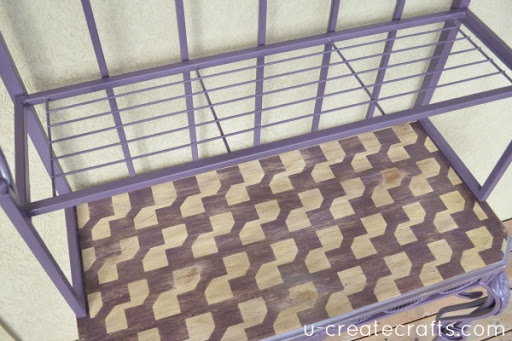
The end result was a bit too stark and white for me, so I applied some wood stain. I let the stain dry and roughed it up with a piece of sandpaper. Then I sprayed a protective Polyurethane coat on top.
I reassembled everything and couldn’t wait to start using it! I LOVE how it turned out.
Now, my little office space no longer takes up my entire kitchen and it looks great.



I LOVE that you used purple! You are obsessed with purple!
Who doesn’t love purple? NEVERMIND…don’t answer that.
What a neat idea! Would have never thought of that on my own!
Thank you. I am glad you like it.
That looks amazing! I wish my office celling wasn’t sloped … I’d totally do it! I was thinking you should do the chair in a little bit lighter purple, but now that I look at it again, maybe the same color? Or the lighter color of the wood in the desktop? What ever you do, make a cushion 🙂 *HUGS*
I for sure need a cushion or something…I am in that chair all too often. 😉
Paint it in a Mackenzie child’s style with your favorite “fairytale” scene painted on the seat…like Alice in Wonderland…then add a ruffled edge around the seat with upholstery tacks…
Ooooooooh. That ruffled edge idea is fun! Thank you.
thx for information