
Hi!! I’m Lynette from Get Your Craft On and I am sooo excited to be your guest blogger for today…thanks Kari!!!
I’m a stay-at-home-mom of two young kids who occasionally works as a nurse and wishes she had more time for sewing (does that sound familiar?). My license plate says “lov2sew” and well…it’s true!! I haven’t been sewing for too long, just since I had my first baby 4 years ago, but I’m addicted to it!! I love the endless possibilities with sewing and I love to check out blogs to see what other people are making. Feel free to come check out my blog anytime!
I’m super excited to share my little girl’s Tuxedo Shirt tutorial with all of you. I can’t take complete credit for this idea b/c I’ve seen similar shirts around, but here’s my take on it. I think with the velvety black fabric, it really makes it look like a little Tuxedo or Victorian shirt. Make it like mine, or have fun with it…I think it would look super cute with other colorful fabrics and lace or ruffles!
*note: These measurements are for making a size 4T shirt. It can easily be adjusted for larger or smaller sizes by making the tux piece larger/smaller accordingly to fit the shirt.

-little girl’s white T-shirt
-black velvet fabric – 8″x7″
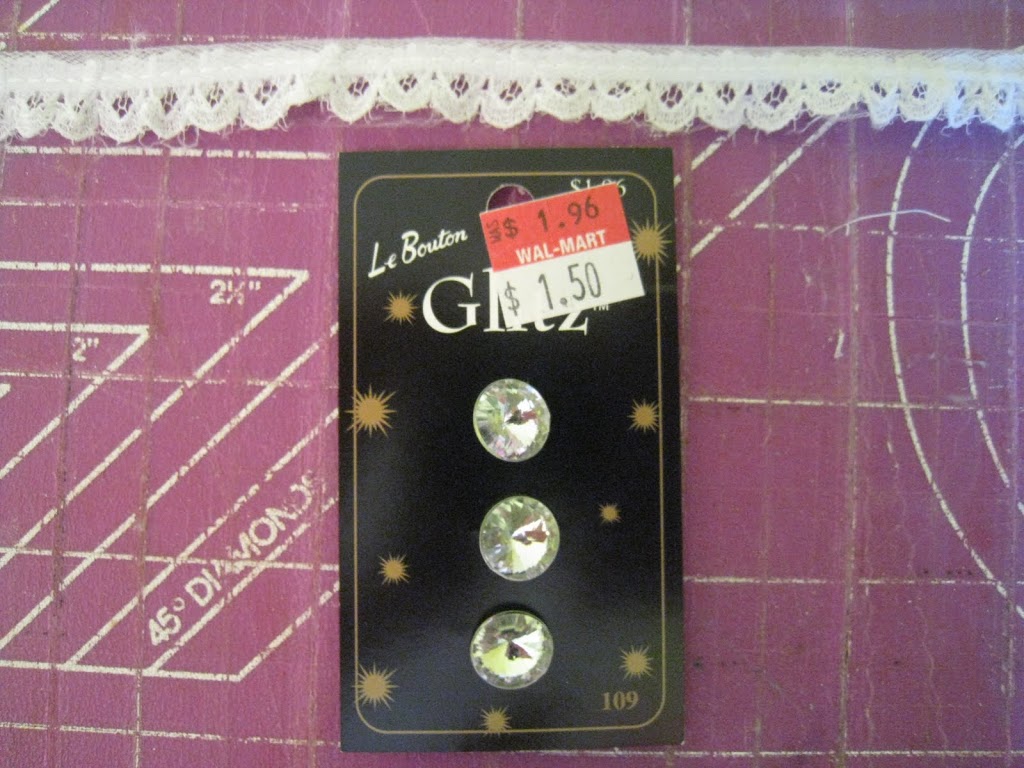
-3 buttons
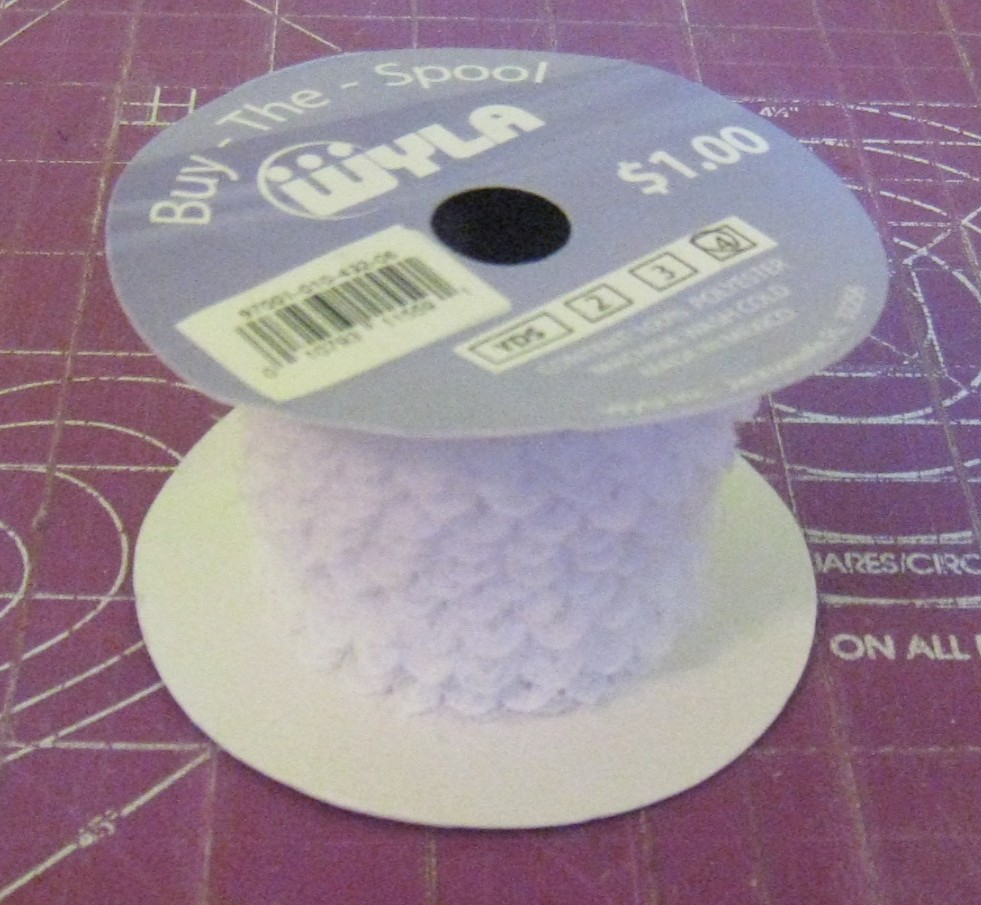
-skinny lace – 55″
-wonder under fusible web – 8″x7″
-sewing machine and supplies – scissors, thread, iron, ruler, etc.
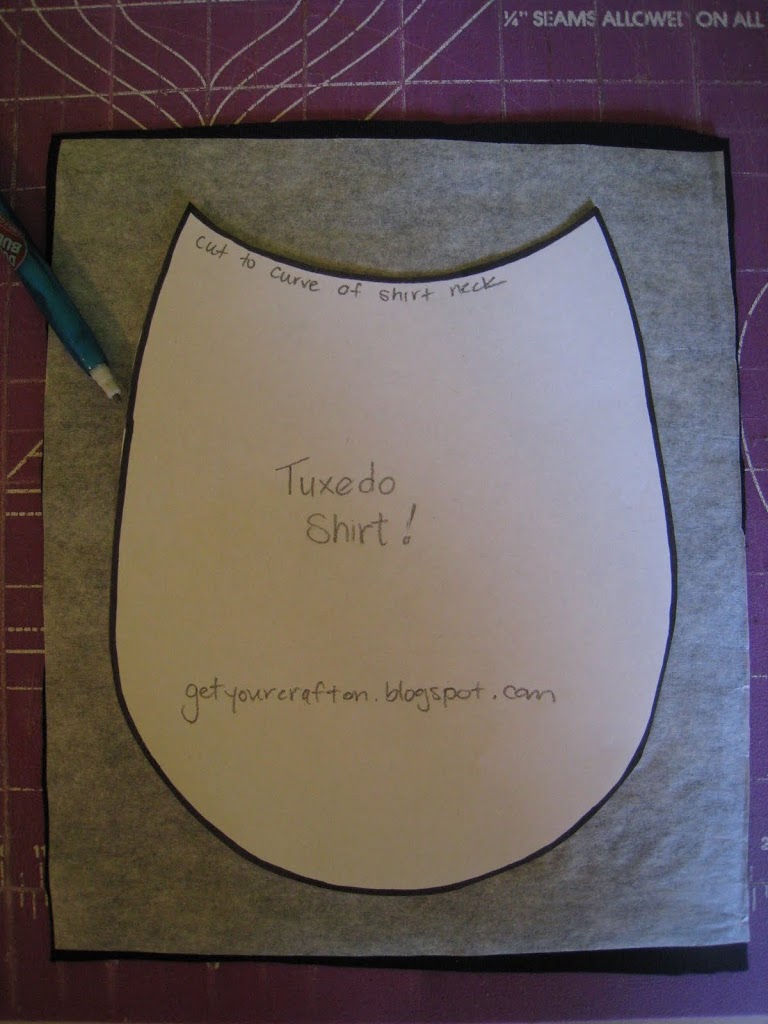
1.) With iron, fuse 8″x7″ rectangle of Wonder Under to back of 8″x7″ rectangle of black velvet fabric.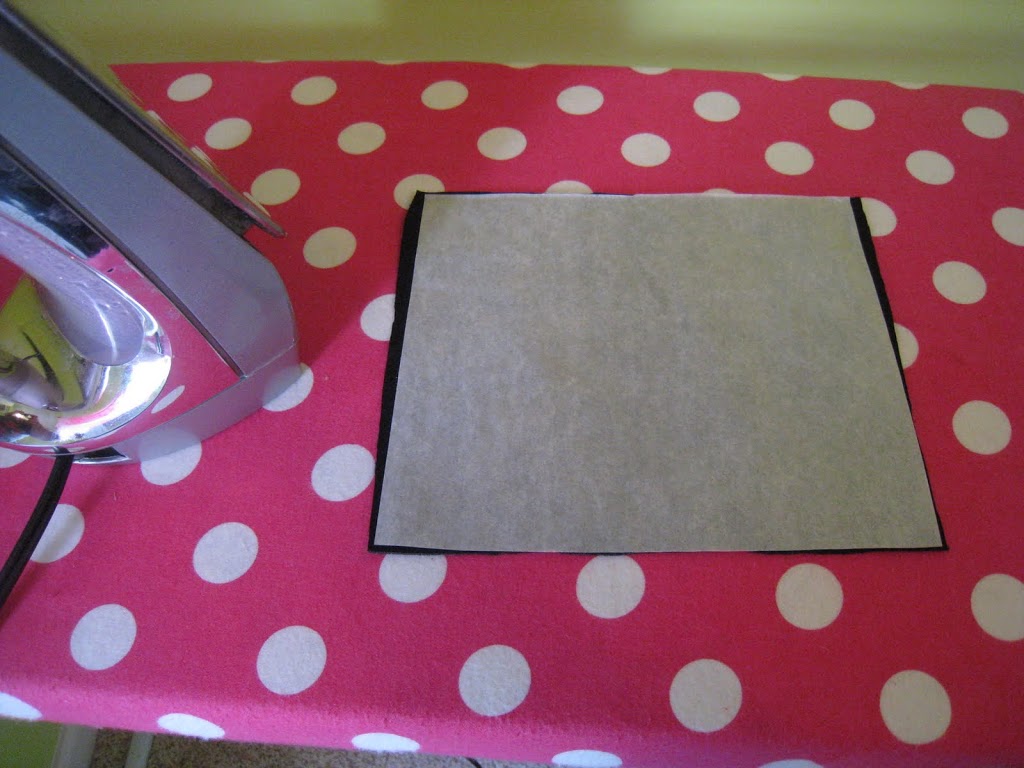 2.) Draw “tux piece” shape on wonder under side of rectangle. My shape is approximately 5 1/2″ wide and 7″ tall. Use the neckline on your T-shirt to draw the neckline side of the tux piece. If you are making a smaller/larger size, make the tux piece smaller or bigger accordingly. The first picture is just showing the shape of the tux piece.
 3.) Cut out tux piece. You can fold the fabric in half length-wise to cut it, to make sure both sides are the same.
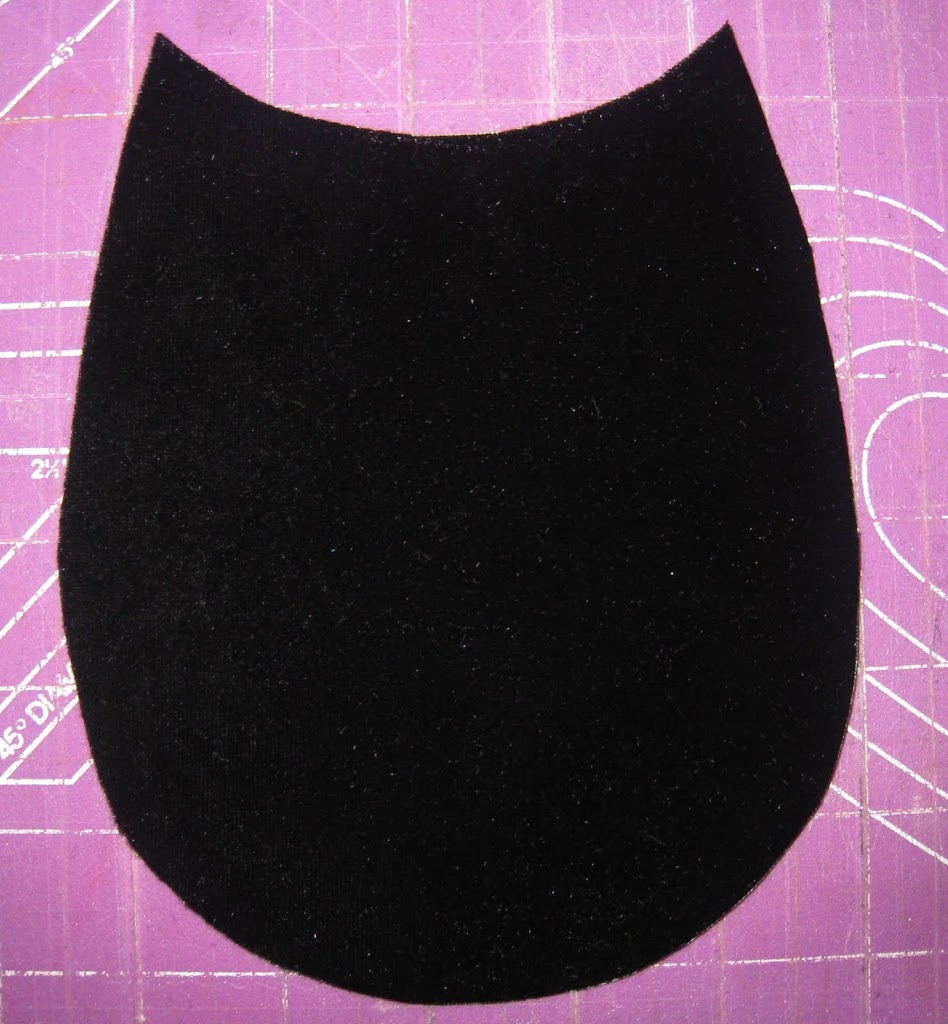 4.) Pull off Wonder Under backing. Fold over fabric 1/4″ at neckline and finger press.
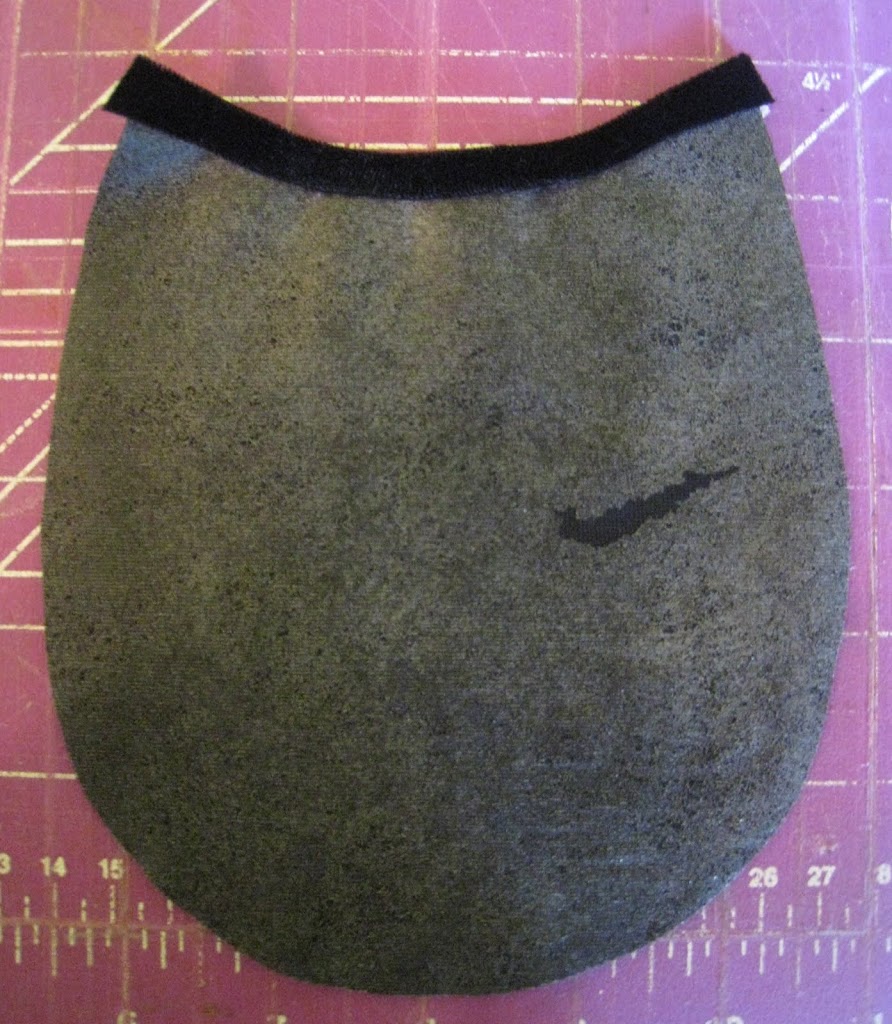 5.) Center tux piece on T-shirt. You can fold shirt in half length-wise and iron a crease to show where the center is or just eyeball it. Match up both necklines, making sure the velvet neckline is still folded under.
 6.) Iron tux piece to fuse it to shirt.
7.) With black thread, straight stitch across velvet neckline, close to edge.
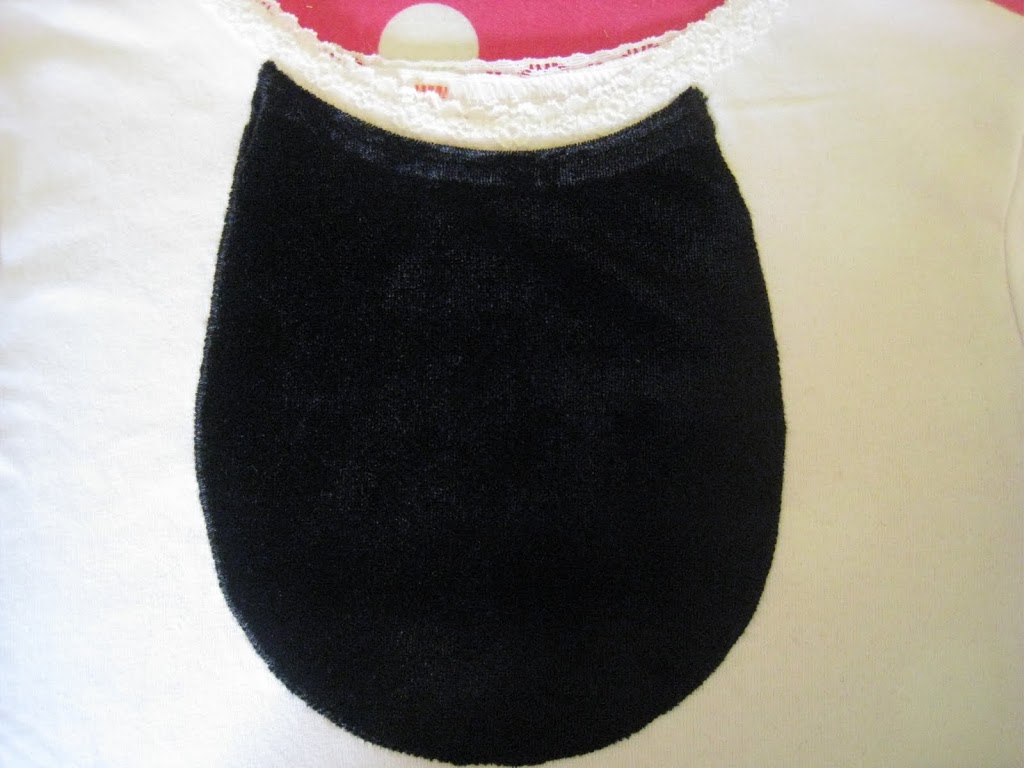 8.) Zig-zag stitch along curved edge of tux piece to prevent fraying or “shedding” of velvet. If you’re using cotton fabric, you can skip this step if you’d like (the cotton won’t “shed” as much).
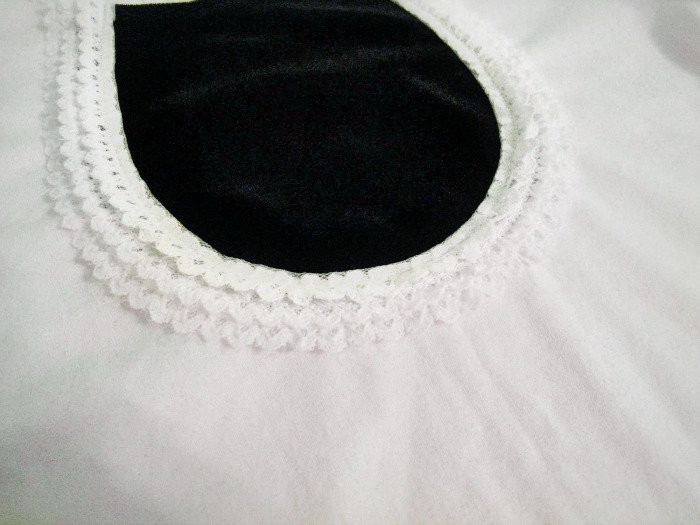
9.) Now it’s time to sew on the lace! Start at the outside edge of the tux piece, so the edge of the lace is butting up to the edge of the velvet. Sew the lace all the way around the curved side of the tux piece making sure to turn the lace under 1/4″ at the beginning and end. Oh, and make sure you change your thread to white to match the lace!

 10.) Sew the next piece of lace slightly inside from the 1st piece of lace, overlapping slightly, in the same manner as the first.
 11. Sew the last piece of lace slightly inside from the 2nd piece of lace, overlapping slightly, in the same manner as the first two. You’re almost done!

 12. Lastly, sew on 3 buttons down the center of the tux piece. Depending on the type of button you use, you can either sew it on by machine or by hand.


And you’re DONE!! Now go find a cute little girl to put your cute tuxedo shirt on!
Thanks again Kari for having me today!


This is so awesome and seems so easy to do:) Thanks!
adorable!!
Wow, Lynette, that looks really easy.
This comment has been removed by the author.
I love this idea! I’m always looking for a way to fix all the stains my daughter gets on the front of her shirts. This is perfect! I loved it so much and it was so easy, I made one this morning! I’m new to blogging so I don’t know how to add a picture to show you, but you can check it out on my blog @
paxtoncrafts.blogspot.com
🙂
Thank you!
so cute!
so cute! i definitely want to give this a try!
Oh my gosh THAT is adorable! I can see this for a boy too (maybe without lace hehe)
Oh my goodness this is just so pretty! thank you for sharing your tutorial x