
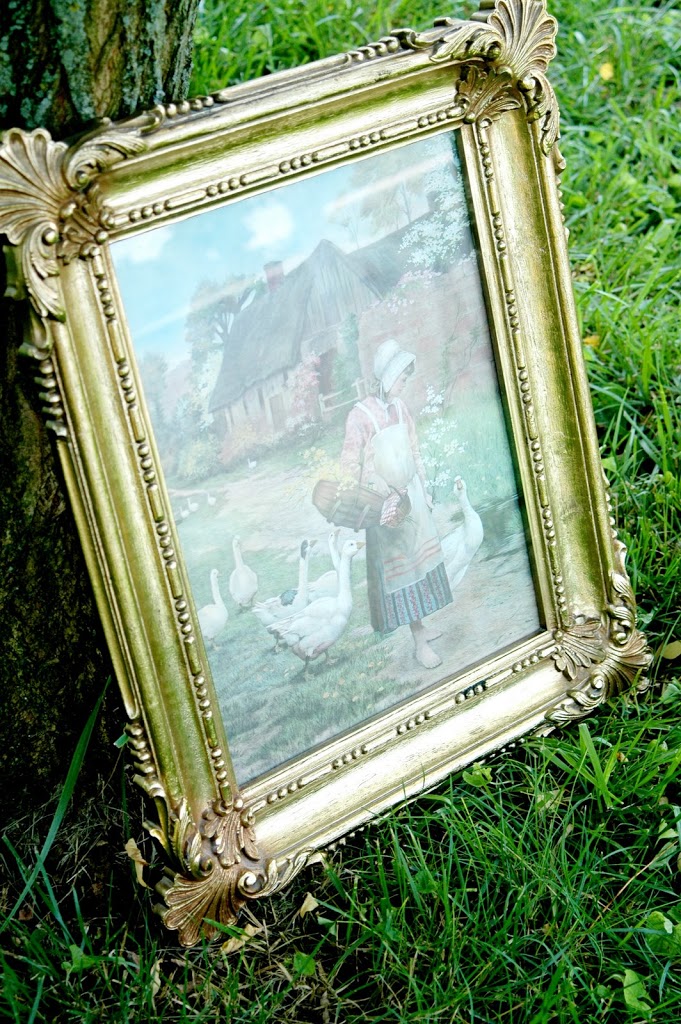
Hello?!! FOUND IT!
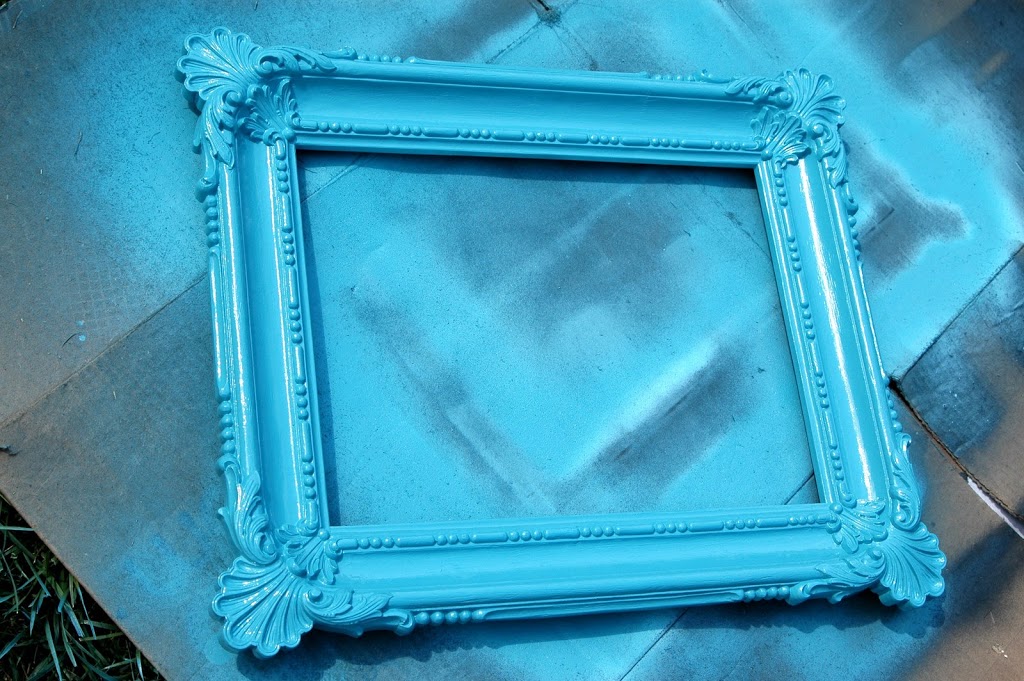 A little glossy turquoise spray paint please.
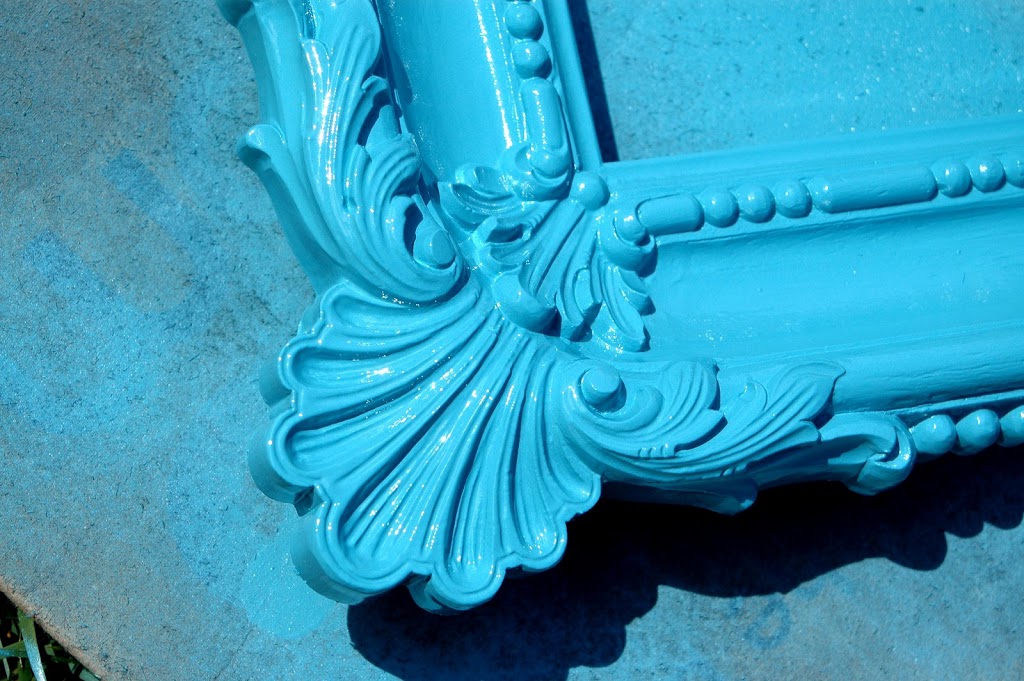 Oh my goodness, I love those details.
Okay, this frame would look fabulous on anything but I have something particular in mind.
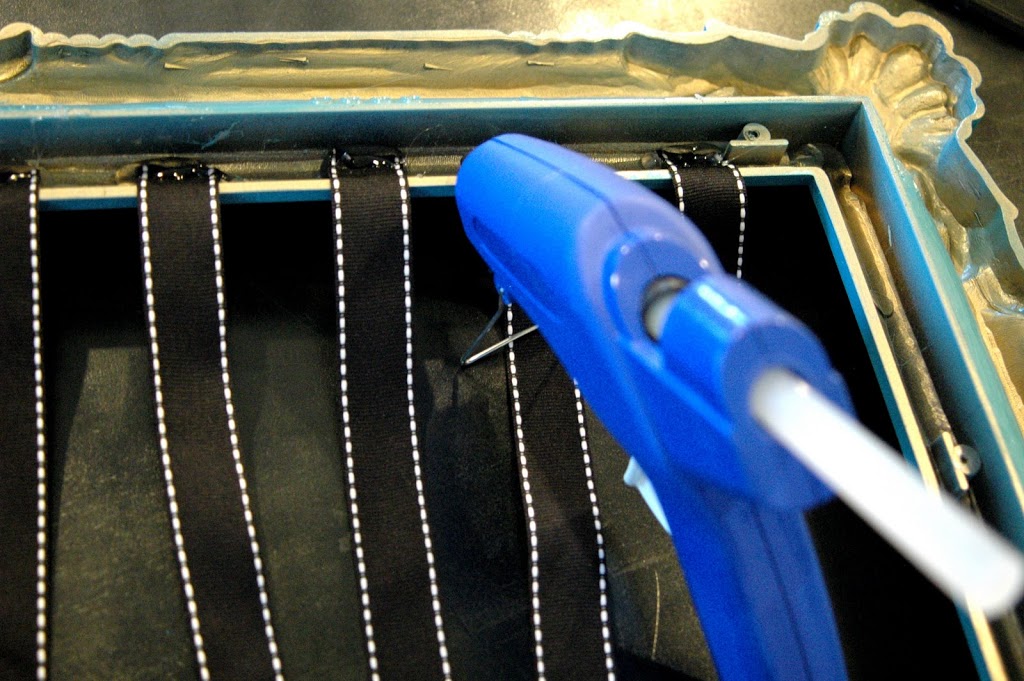 Flip the frame over and measure ribbon to stretch from top to bottom with a little extra and hot glue (I’d use a staple gun if your frame is made of wood) the ribbon, evenly spaced (mine are about 2 inches apart) to the top.
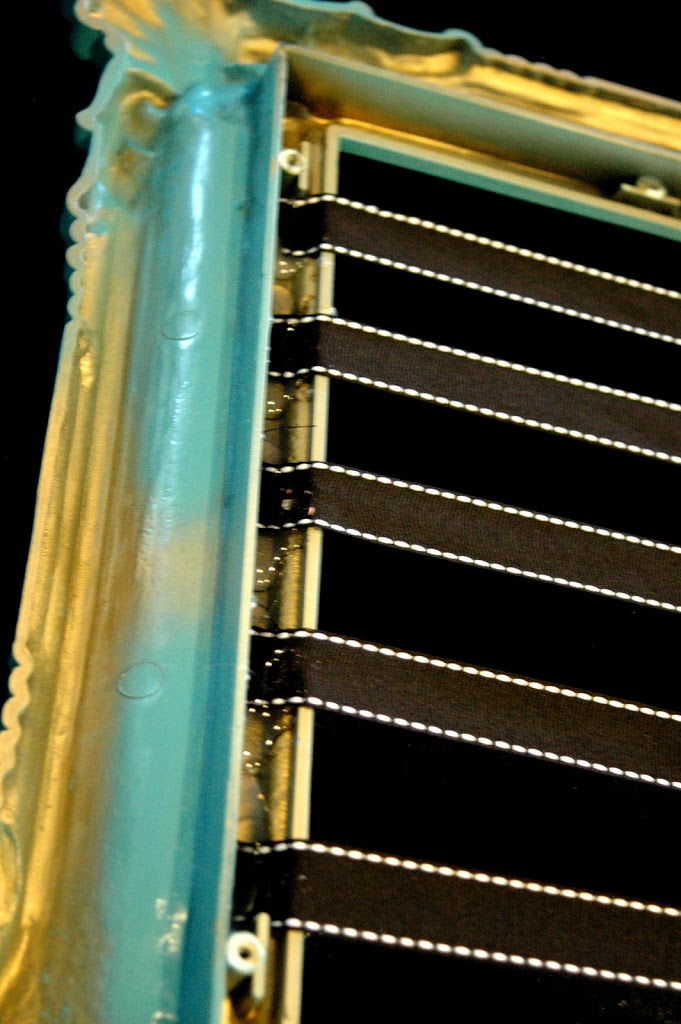 Then, when the glue is dry, glue it (or staple it) straight to the bottom of the frame. Let dry and finally, attach all of those little girly hair bows that are floating around your house
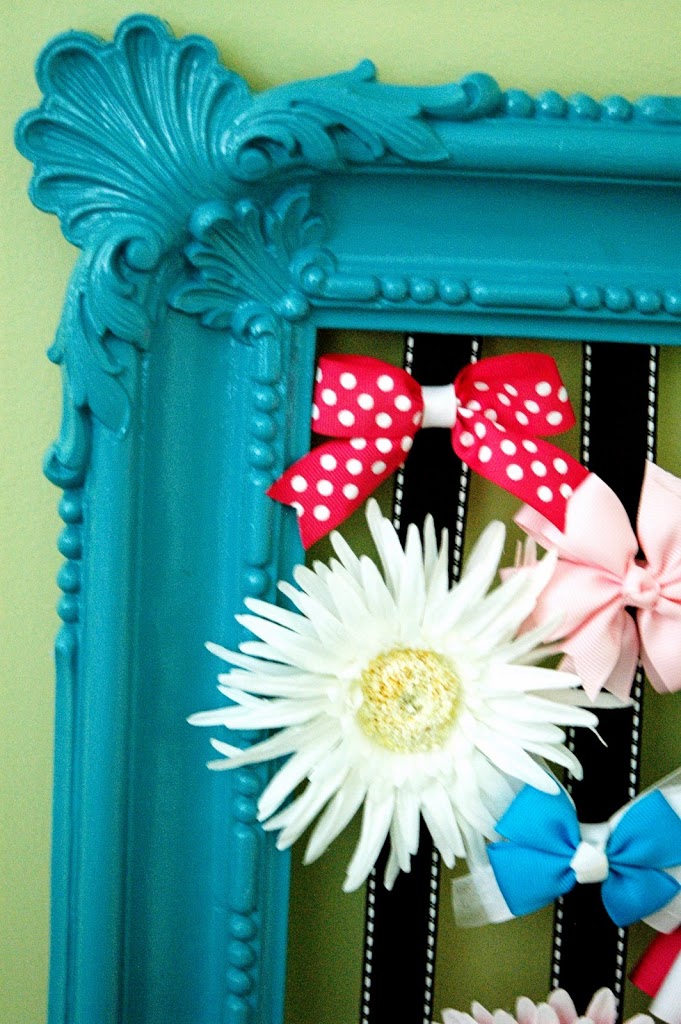
WA LA, you have a “funky bow holder thingy”.
It’s like art with a purpose… I love multi-tasking!

Ooooh, I just had another idea…
Oh my goodness, I’m off to Goodwill, I need another funky frame quick!
Happy crafting!
😉 Kathryn at nannygoat
PS Thanks for letting me come and visit U Create, Kari!

What a great idea!
Kristin
The frame looks fabulous in turquoise! Where do you find that color spray paint?
So cute!! I don’t have any little girls of my own, but I’ll make and give as gifts to the friends of mine who do. Wonderful and easy idea! Thanks for sharing!
You read my mind because this is my next project! love it!
LOVE, love, love this!! I’m off to Estate Sales & Goodwill to treasure hunt today!
So Cute. I love the frame and the color!
I adore that frame!
Way too cute. I want to do this
Love it, very chic!!! These would be great gifts for all my nieces!! Thanks for the idea!!
What a cute idea!! LoVe the color!
Really cute! My sister and I made something very similar – but hot glued fabric to the old backing of the frame! They turned out so cute! I am for sure gonna check out Nannygoat!
Oh LOVE IT!
OMG thats so cute!
Kathryn! This is perfection! Thanks again for a fabulous tutorial!
The frame makes it. That is so cool!
I am adding this to my to do list except I think I have a few years till we can put a bow in my little baldy hair.
LOVE IT!!
Off to find an old frame…you rock 🙂
This is sooo awesome! Im so doing this one!
That is absolutely adorable!!!
This is such an awesome idea! I love organizing, especially when it also looks cute!
Brilliant…
I am in absolute LOVE with this project! I’m going to do this immediately! Without delay!
I was so in love that I posted my hot pink one on my blog, and people love this thing. I left your link as well so they could see “The real deal.” Thank you for the wonderful inspiration! Such a darling project and you’ve inspired lots of mommies with overpowering hair clippies… You’re making the world a better place one hair clip project at a time. (grin)
I LOVE this idea! And yours looks so cute. I’m putting it on my inspiration blog to use if I ever have a girl someday! Thanks for sharing!!
I NEED to know where you found that color of spray paint!!! I’ve been searching high and low for that exact color for a chair!! Could you please let me know where you got it?
There’s a link to my email in my profile. Thanks so much!!
Oh, and adorable project by the way!!
I love the frame and colors you used. I have a few of these around my house with all the clips I make. I usually criss cross my ribbon, but this was another fun idea and I like how you left the back open. Good idea for my next project. – Kristen
I Love Swarovski Crystal Hair Clips
I thought I was so clever when I ‘thought’ of this idea a few days ago. I’ve been to every second hand/dollar store in the valley looking for awful frames. It looks fantastic. I love the chalkboard, too.
How funny! I just did this a few weeks ago. I have boys, so I bought a frame from the DI and put ribbon on it to hold their church ties. Very cool.
That is fine tutorial. But i will apply it my friend next week. And i will see what happen next. Its very wonderful and easy idea.
Nice tutorial – great idea !!! Thank you – I made a model using a picture as backgound – the model can be seen on http://resursecopii.blogspot.com/2010/04/rama-cu-benzi-pentru-agrafe-si-clame.html
LOVE this! thanks so much for sharing, i will definitely be making this one!!
I made one of these and I love it! Thank you!
http://thecraftycopycat.blogspot.com/2010/09/totally-bow-dacious-dude.html
I saw this blog post a few months ago when looking for a creative DIY bow holder for my princess. 🙂 Since then, I have been on the lookout for a funky frame, and *finally* I found it yesterday. I swung by Walmart to get some seafoam colored spray paint and ribbon, and hurried home. I found this page again to get a fresh look at the spacing of the ribbon, and lo and behold, I BOUGHT THE EAXCT SAME FRAME/PIC!!!! I laughed so hard to see your lady with the ducks looking just like mine! $5 wells spent! I’m planning to experiment with different colored ribbons. Hope it turns out as cute as yours! Thanks for the idea!!!
I gotta say I just found this picture on Pinterest and thought the frame looked just like the one I bought today! Yup!! Same picture of the farm girl! I painted my frame white and painted the glass with chalk board paint! Its drying right now. Too funny! Great frame! How is yours holding up….I was alittle concerned spray painting it since it is plastic and I didnt use plastic spray paint.
So glad I found this page! I have big bows as well as teeny tiny infant hair clips that wont clip onto wider ribbons. With this project, I customized using both wide and narrow ribbon. It turned out absolutely perfect. Thank you!
I made my own version by using your directions and it was super easy! I can’t wait to make another, more funky version, soon! Here is the link to my Hair Bow Frame: http://2divasandawife.blogspot.com/2012/04/hair-bow-frame.html
Thanks for the idea!
Breast Enlargement Financing – Go In For A Makeover Now!
aumentar senos sin cirugia Breast Enlargement Myths And Facts For You To Consider Aumentar Busto Tips on Breast Augmentation
Here is my page aumentar los senos