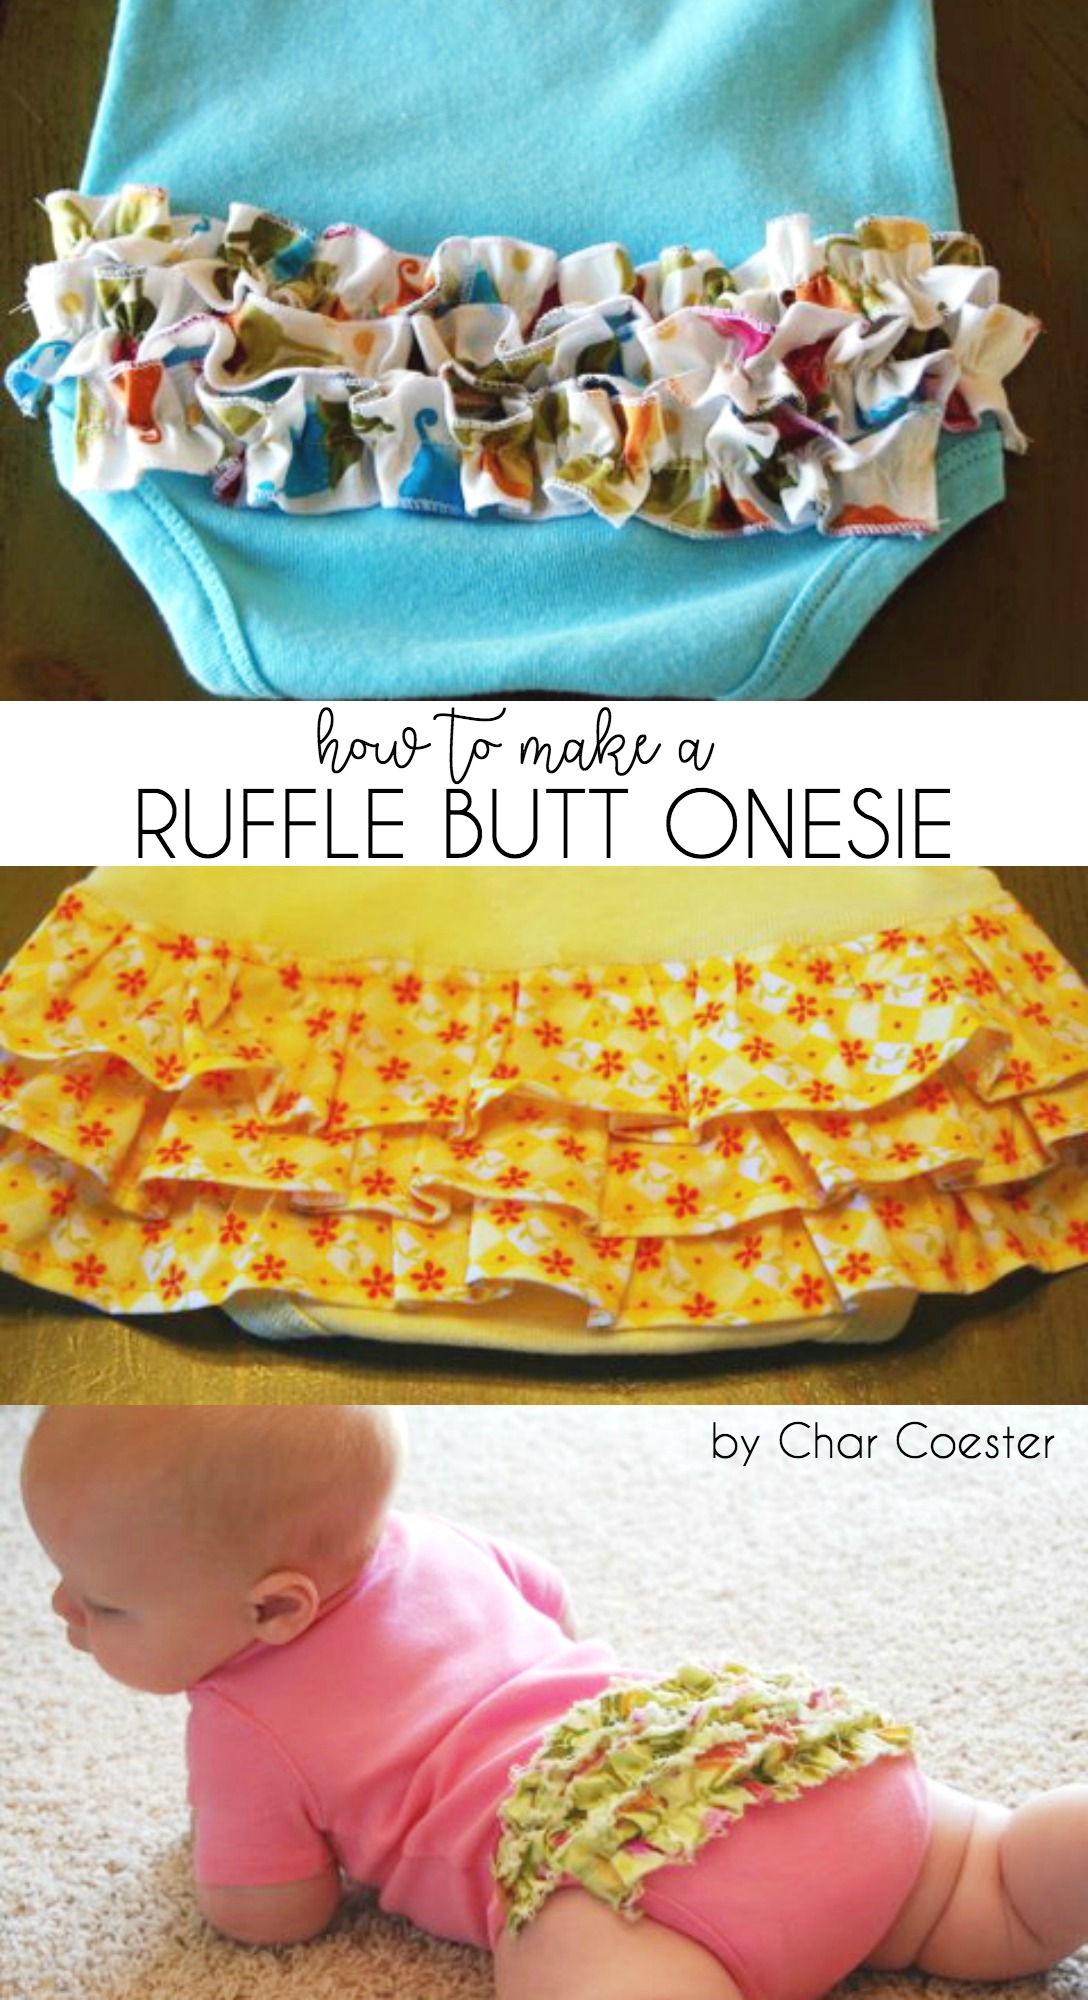
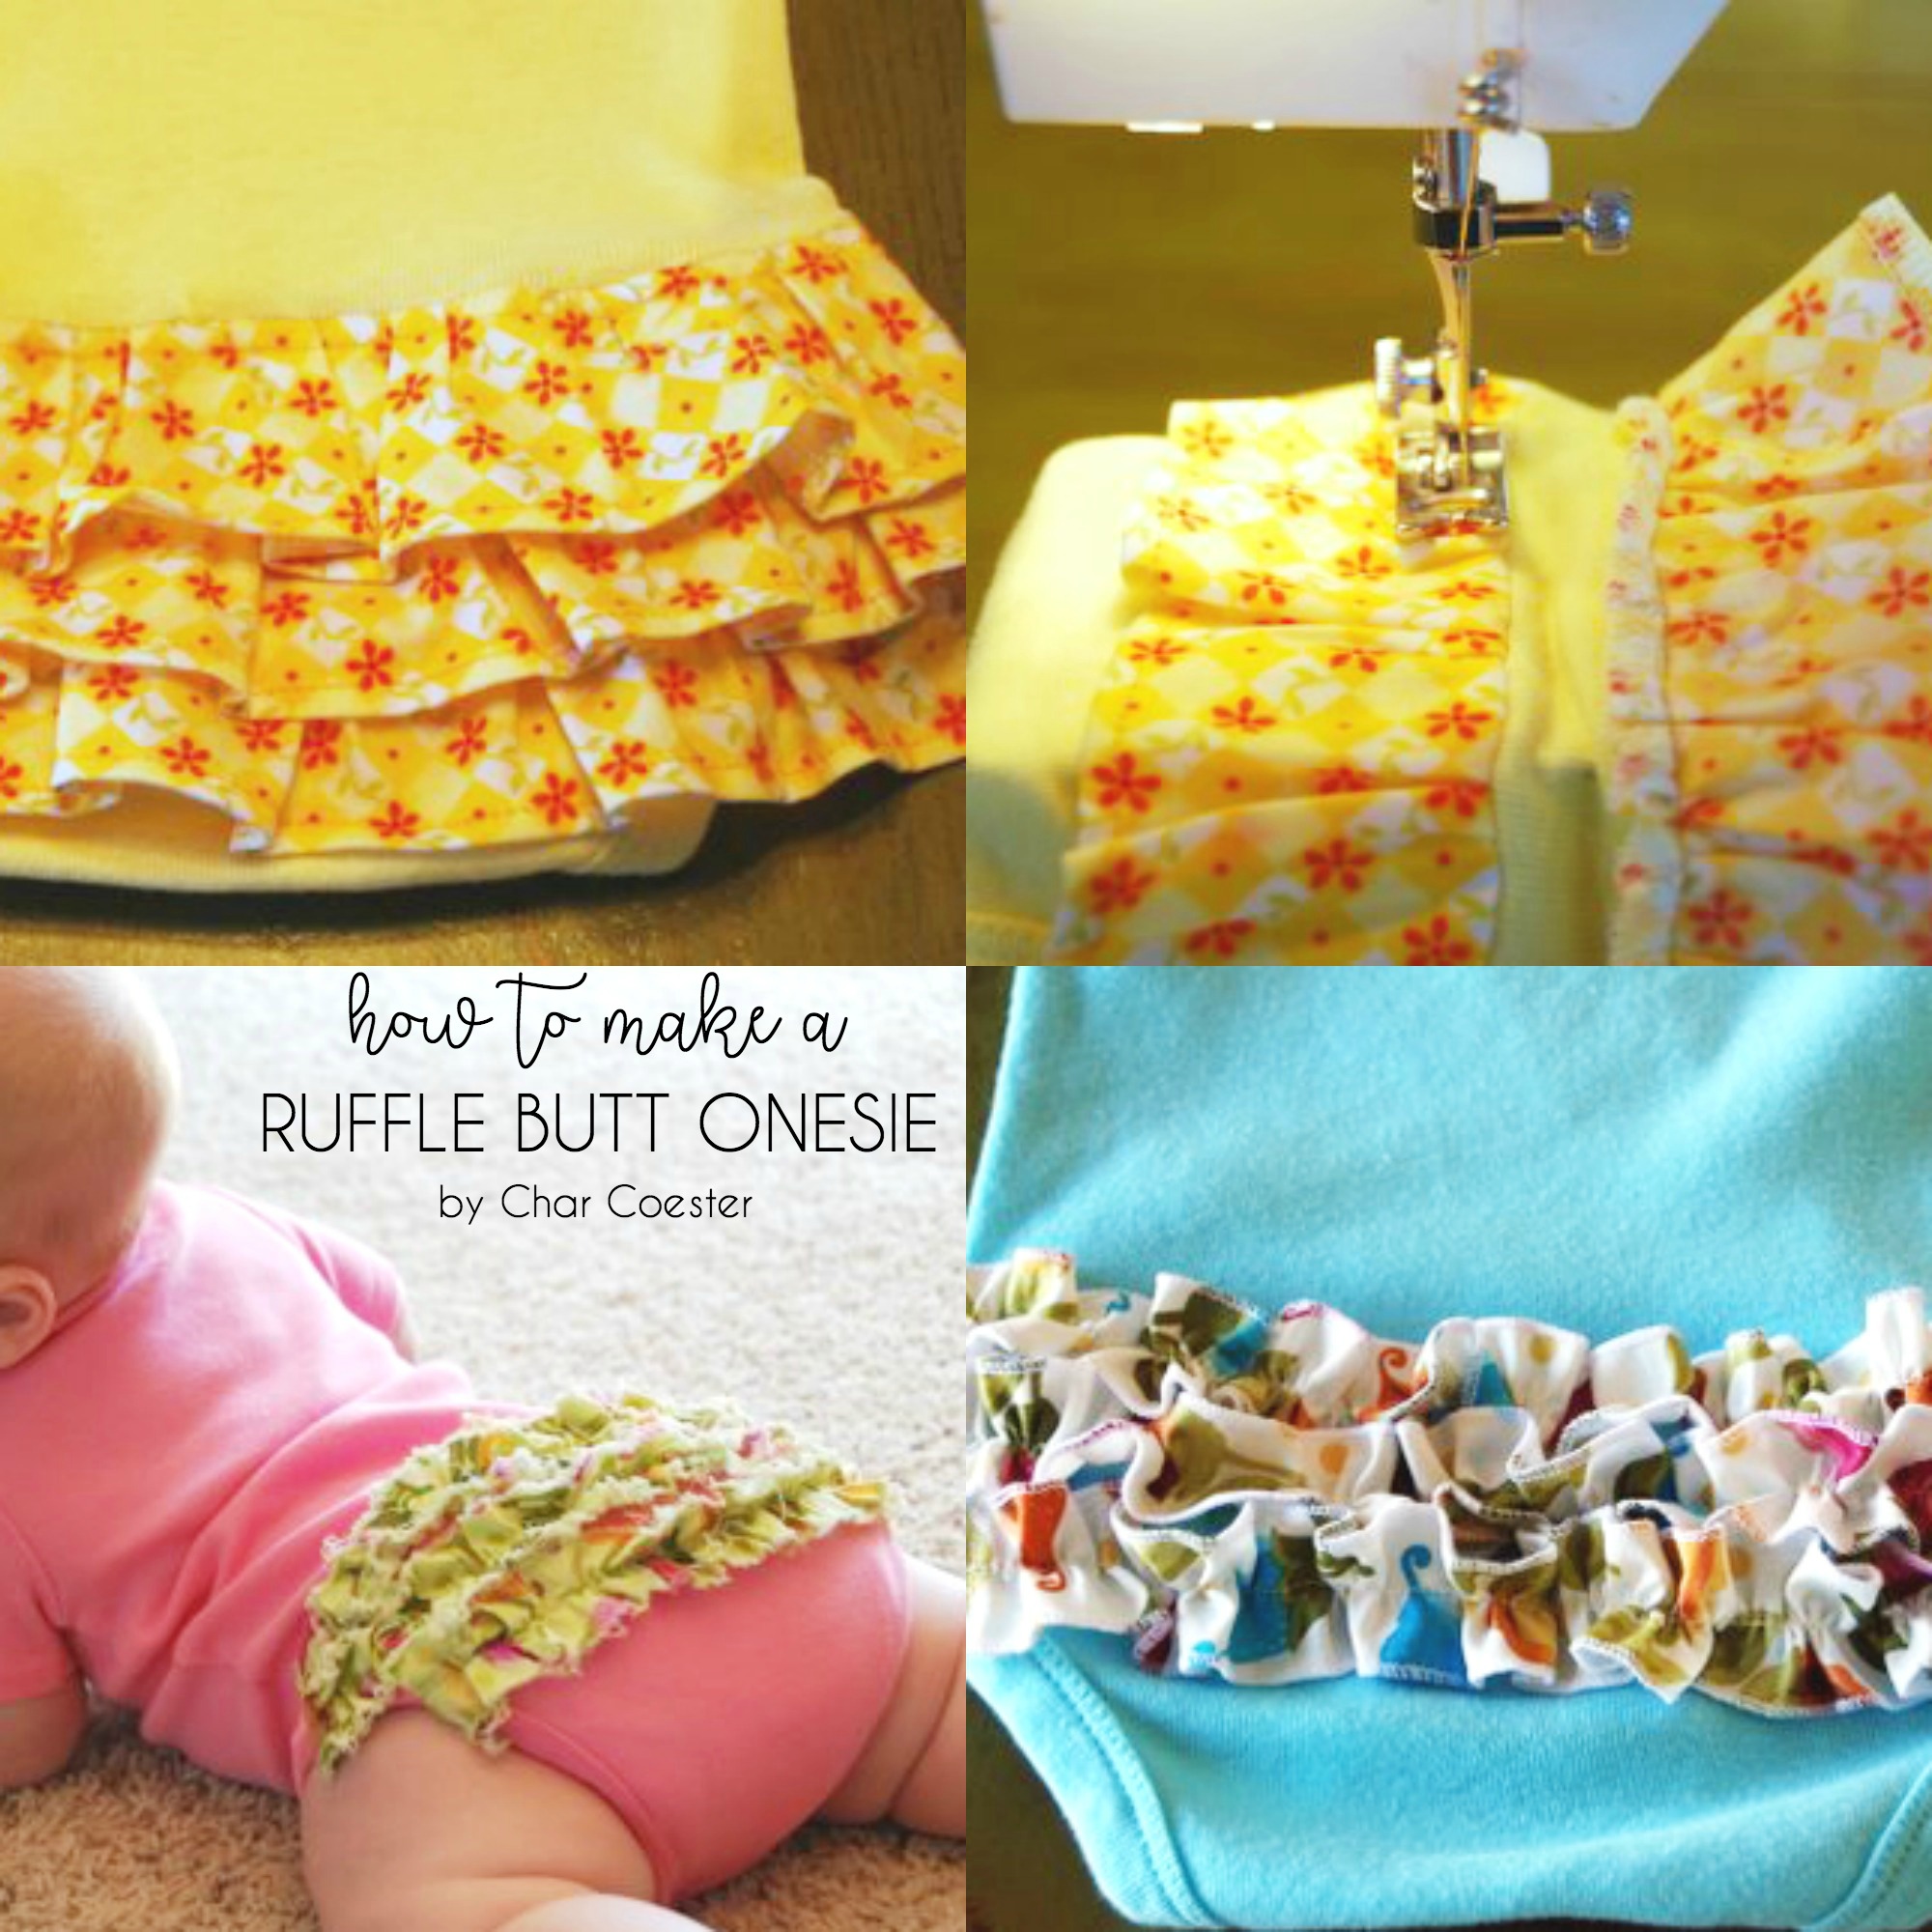
This Ruffle Butt Onesie by Char at Crap I’ve Made is so cute and definitely a one-of-a-kind gift. Char gives easy instructions and pictures to walk you through this tutorial.
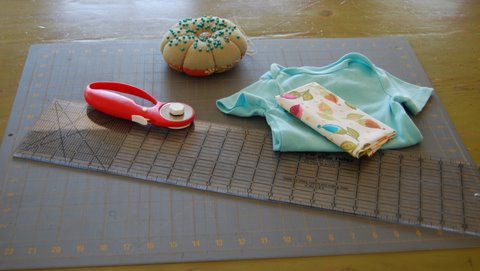
Supplies
- Baby Onesie
- Fabric
- Pins
- Rotary Cutter and Mat or Scissors
- Sewing Machine Serger (don’t worry, I’ll show you a couple of other options if you don’t have access to one.)
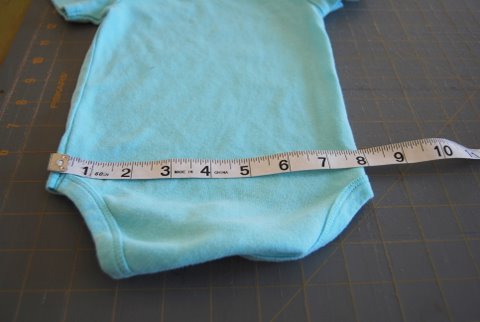
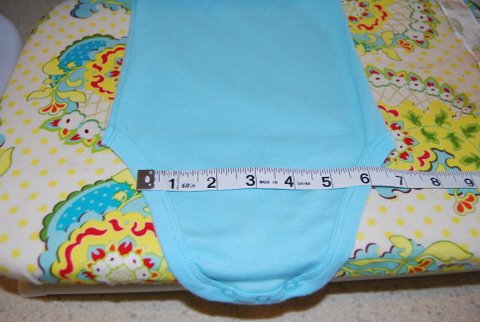
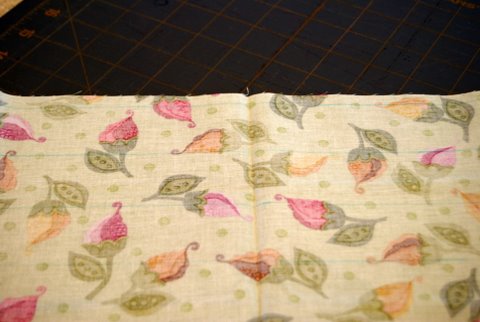
Measure the widest part of your bodysuit. This is a 6-9 month Circo brand (from Target). You can see it’s about 8″. You’ll want to cut your strips 2-3 times longer than this measurement. I’m going to do 2.5, just to be difficult.
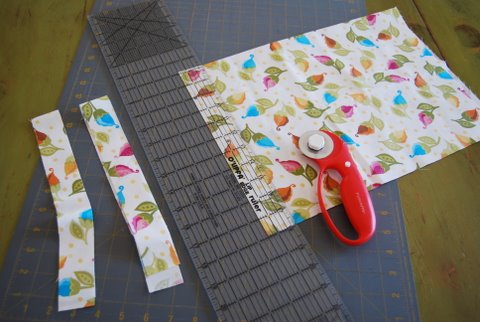
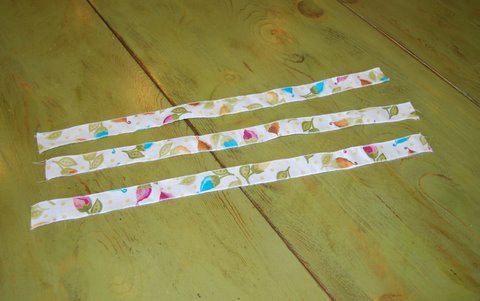
Cut three 1.5″ strips of fabric. Make sure they’re 2-3 times longer than the width of the bodysuit.
Set your serger to a 3 thread rolled hem stitch. Run the long sides of the strips through the serger, right side up, letting the knife just shave of the edge of the fabric.
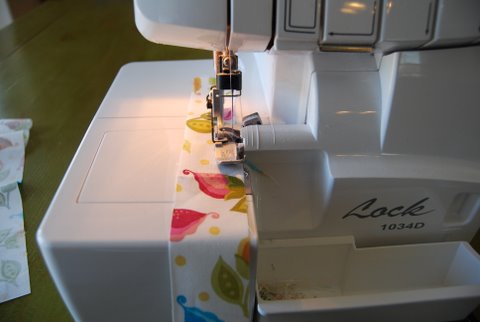
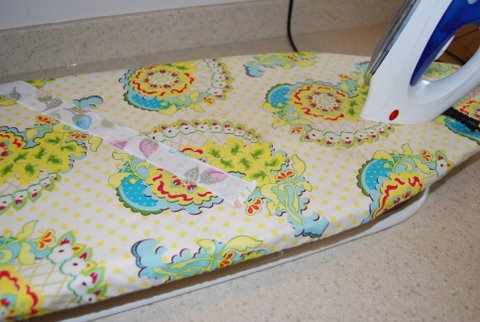
See? Not so bad! I press my strips because ironing *might* be my favorite part of sewing, but you don’t need to.
About 1″ down from the top of the leg holes, measure the width of the bodysuit again.
You’ll need 2 strips that are 2-3 times the length of your wider measurement and one strip that is 2-3 times the length of your shorter measurement plus. For my example, I cut 2 of my strips to 20″ (2.5 X 8) and one strip to 15″ (2.5 X 6).
Fold both ends of each strip under about 1/4″ and press.
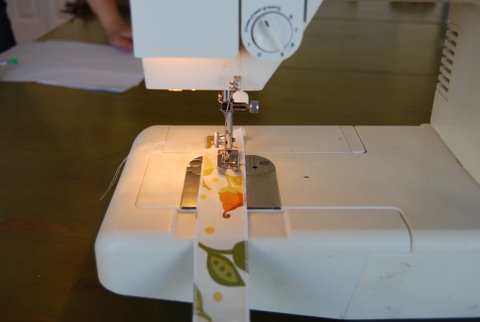
Stitch down the ends you just pressed under.
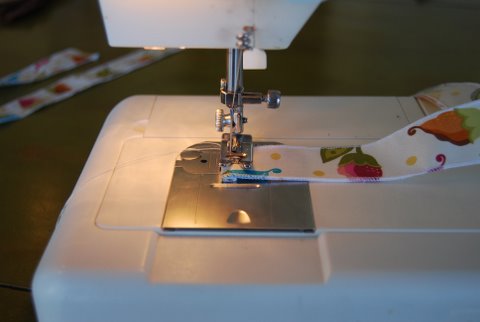
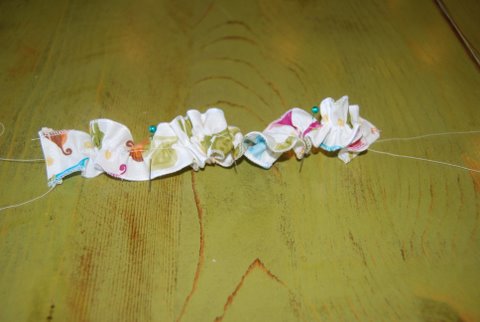
Sew a long gathering stitch down the very center of each strip.
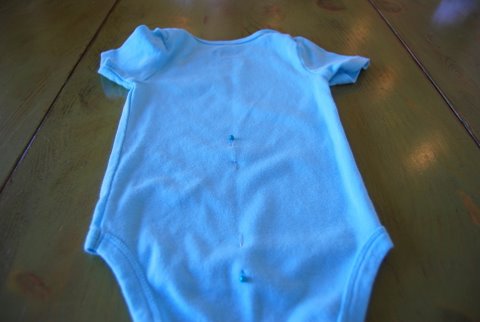
Set the strips to the side for a second. Find the center of the bodysuit. I use a very fancy method called “folding it in half”. Mark the center. I use pins. Put one up higher than your ruffles will be and one down lower.
Fold each strip in half and mark the center. Fold each half in half and mark that center, too. Again, I use pins.

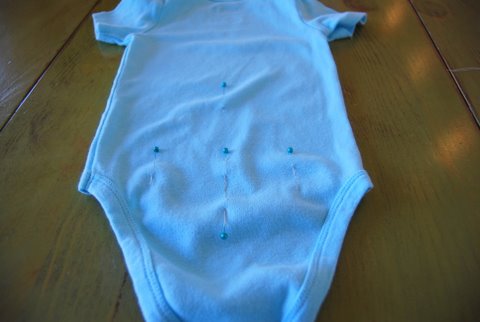
You’re going to attach the center row of ruffles first. Line it up with the tops of the leg holes. Put a pin in the center and then 1/2 the way out on each side. Since my bodysuit was 8″, I put pins at the 4″ mark and then at 2″ and 6″ marks.
Pull your bobbin thread and gather your strip up a bit.
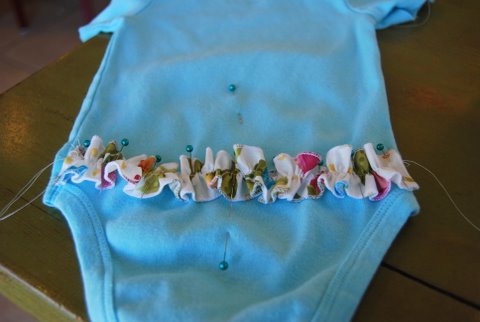
Now match up the pins on your ruffle to the pins on the bodysuit (excluding the really high one and the really low one). Pin the ends about 1/4″ from the side seams. Adjust the gathers evenly. I like to put even more pins in at this point to keep things from sliding around. Seriously. I think I use 9 pins per ruffle. See?
Sew down the center of the ruffle, right on top of your gathering thread. You really should remove the pins before you stitch over them, but I usually don’t.
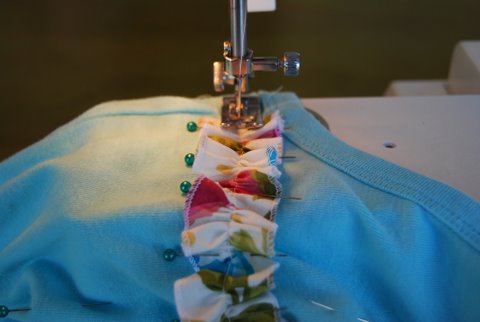
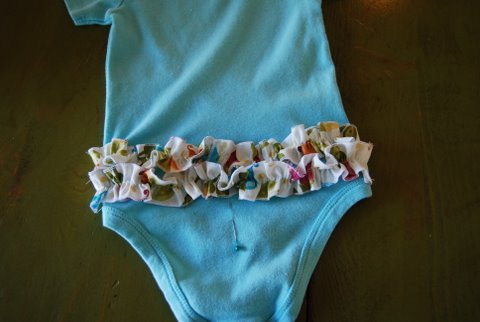
Your first ruffle is attached now. Remember this is the center ruffle. Remove your gathering threads (you should be able to pull them out). You’ll notice that I hadn’t done this yet in the picture below.

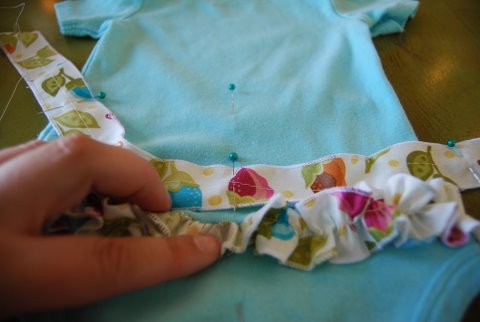
To place your upper ruffle, follow the same steps, but line it up by placing the lower edge under your center ruffle, about 1/4″ from your stitching line.
2 down, one to go.
Attach the bottom ruffle the same way. Line it up by tucking the top edge under your center ruffle, about 1/4 from where you stitched the center ruffle down.

Trim all your threads and….
How cute is that??? What could be cuter?
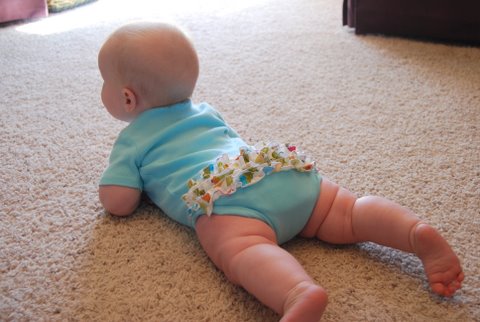
I KNOW!!! (No, I did not put one of my boys in girl clothes….even if I have before….more than once…I borrowed a baby this time.)
So what if you don’t have a serger?
Option #1:
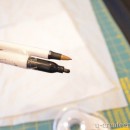
Cut your strips with pinking shears. I marked them out with a disappearing ink pen. Be sure to start down 1/2″ or so from the top so you can pink both edges of all your strips.
Attach the strips in the same way as the ones with the serged edges.
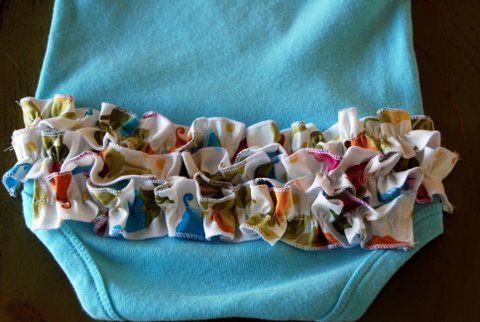
Here’s what it looked like before washing:
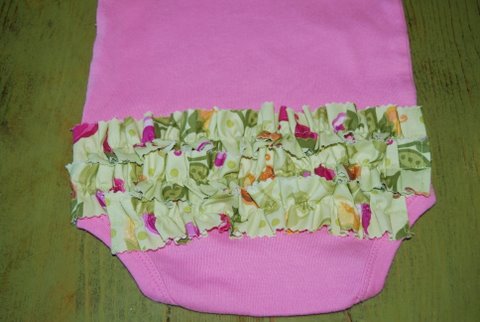
Here’s what it looked like after washing and drying:

I wasn’t really a fan of it…until it was on the baby. I have to admit, it might have been my favorite once it was on her.

Option #2:
Cut your strips 2.5″ wide. Fold over approximately 1/4″ on the bottom edge and hem. Then fold over 1/4″ on both ends and hem.
Mark your bodysuit like this:

The lines are 1″ apart with the center one being even with the tops of the leg holes.
Starting with the top line, put your ruffle right side down with the bottom of the ruffle towards the top of the bodysuit. Place the edge of the ruffle right along the top line.

Gather, pin, and sew about 1/4″ from the edge of the ruffle.

Do the middle ruffle next and the bottom ruffle last. You should end up with something like this:

This is when I sprayed my disappearing ink to get it to go away.
Press your bottom ruffle down (the direction you want it to end up).

Top stitch the ruffle in place.

Do the same to the middle ruffle and then finally the top one.

Seriously cute, right?

Huge thanks to Kari for having me guest post! Who knew I’d be so nervous about it?
Make sure to check out Char’s many amazing projects over at Crap I’ve Made!
A Dor A ble! Love it!
Those are SO STINKIN’ CUTE! I will have to make some as gifts! Thanks! : )
Awesome tute, Char! Love the different finishing options!!!
I’ve been known to put my boy in girlie clothing for the sake of fitting/photos. He put up with it until he was about four – now he RUNS from ruffles!
Those are so cute! You did a great job ps. 🙂
Char!
I am dead serious when I say this should win tutorial of the year!! I CAN’T WAIT TO MAKE SOME!!
Thank you so much for sharing this with UCreate! You rock!
oh. my. goodness. I have had this on my “to do” list, but I have a boy so I’ll have to make it for a friend. It is adorable. Thanks for the tute on 3 different ways to do this. Great job!
These are so cute!
so cute!
I’ve been waiting for this tutorial! Can’t wait to try it!
Amazing! I linked to it!
I Have to say that this method of gathering (By pulling one of the threads) is great when you want to gather to make dresses too.
Thanks a lot!
AWESOME! and how adorable to add an appliqued butterfly, flower, or heart on the front to match the ruffle butt. GENIUS! thanks for sharing this with us!
This is so, SO cute! The perfect new baby gift, I love it! I’ll be linking.
now i have to go buy some pinking shears, darnit…i love the raw edged ones… love.
OMG!!! This is so stinkin’ CUTE! Your tutorial is so detailed and easy to understand! You did such an amazing job! Thanks so much for sharing!
Jenya
So cute!! My newborn girl is wearing a Carter’s ruffle butt onesie right now and yours are so much cuter!! I can’t wait to make her some! Oh and I’ve been guilty of trying things on my boy too. 😉
SO CUTE!! Dang that’s some seriously cute baby chub.
So cute!! I totally use my boys to model stuff I make for girls too… ha ha!
Aagghhh why is my daughter SIX already???
Since my girls are 12 and 14…years, that is…I don’t think they will wear one of these! But there are always baby showers, aren’t there? And one day, grandchildren!
Those are unbelievably cute!! I want to have another baby girl JUST to have someone to make those for!
I can’t wait to try this! I’m not much of a sewer, but I just have to try this one, thank you!
Too cute!!
very great tutorial. and really cute onesies!
i set a link to your tutorial.
i hope you’ll agree.
thanks.
many greetings, doro.
Wow. These are so cute! I think I’ll have to make some of these soon. Real soon!
I don’t even know if I’m having a boy or girl yet, but I want to make some of these anyway. Thanks
What kind of serger do you have??
I have a Brother 1034D. It’s basic and inexpensive and does everything I need it to. My husband bought it for me for my birthday a couple of years ago from Amazon. I believe he paid under $200. However, buying from Amazon voids the warranty, so keep that in mind.
pippertfamily,
Pinking (in theory) prevents fraying. You’ll still get a little bit of fraying on the ends, but I ended up really liking the shabby look.
SO cute!!
I know it’s been said…but this tut totally cute. I will also be linking to your fabulous site! Thanks so much for sharing!
Added to say: insert “is” between “tut” and “totally”. it will make much more sense that way. 🙂
this is the cutest!
Thank you for the very clear and helpful tutorial. I made two of these while my 5 month old baby girl napped this afternoon. It was so easy. I took your idea and just used basic ribbon (because I hate messing with seeming and I don’t have a surger) and it turned out great! I’ll definitely be making more (I want to try the frayed one!).
Verrrrry Nice!!! Clear, concise, and complete….that’s the way to do a tut!!!!
I had to laugh because I’ve put my boy into girls clothes just to see if they looked ok on, or to take a photo or two. There is no way he’d let me do it now- he’s almost 18! I might go and remind him how he used to be my model.
I have lots of Boy type onsies to convert for my little girl. Thank you so much for this tutorial. She gets to keep things girlie.
i cant wait to try this thanks for the tutorial…
would i need to use a knit fabric as well for the ruffle??? (plz email me yor response)
love your site!
i’d like to try using the longer ruffles in the last pics, to go all the way around, and make the onsie into a full little outfit, w/a skirted bottom…
cute idea, thanks!
wow that is gorgeous, quick question though, did you use a woven fabric for the ruffle or a knit fabric? (Or does that not make a difference?)
So adorable! Great tutorial too! Thanks for sharing.
I use woven fabrics. I’ve never tried it with knits!
I just made two of them, they turned out so great!
How cute! I’m going to make this. Thanks!
Oh my gosh! That is so cute! One of my favorite things in little girl baby clothes is the ruffle on the butt! (I miss it so much…. it just itn’t the same on a 5 year old!)
What a CUTE idea! And so easy! Thanks for sharing!
Hi. I love your blog, I honestly have to check it every day. I just bought an ironing board that (i think) is just like the one you show in this post. Did you make the cover for it, and do you have a tutorial for it? If so I would love if I could get it from you. Thanks very much! -angie migliori
I finally got around to making one and they are super cute. The only thing I did differently was use a knit stitch to sew down the ruffles (little jagged lighting bolt looking stitch). That way the ruffles stretch a little with the onesie.
do you have any suggestions to get colored onesies with no adornment?
Susi, I find them at Target…the Circo brand. Or, you can dye them. I recommend Dylon dye as opposed to Rit. Good luck!
That is SOOO cute! I don’t have grandkids yet, but this tutorial makes me want to make them for somebody’s baby.
Yay! I totally love this idea! I used your basic idea to make one for my niece…
http://expectmoore.blogspot.com/2010/06/ruffle-butt-onsie.html
Thank you so much for posting your wonderful creative stuff. I love this and plan on doing one of my own. I love your blog. Please don’t stop posting!!!!!
I love love love your idea! I’d write more but I have to get to my sewing machine! Thanks, Deborah
I love your website, you have some great ideas! Thanks for sharing!
Love this so much! Great tutorial. I’m so making this for my niece for christmas.
great tutorial, i bought a plain oonesie at the weekend planning to jazz it up, il will be making one of these many thanks xxxx
This is exactly wat i was looking for!! Its so cute!!
That is really a creative idea, I loved that butterfly it looks really cute.
Your creativity in this regard is wonderful!! Like your ideas very much.
olá querida
adorei o diy…amei…obrigada!
beijos brasileiros!
so cute! i love this easy project!
I linked to your tutorial on my blog – thanks for sharing!
doro K.
So adorable! Expecting a grand-niece, so these are on the list of things to make. I’m gonna try ruffles all around, or also adding a ruffled flower in front. How cute – and easy!
Love! Thx so much
Really cute!!! Does the onesie stretch at all after you see the ruffles on?