A couple of weeks ago I asked Kari, “Do you think I could print on tissue paper?” To which her reply was “It’s worth a try.” I am almost positive she was thinking, “it would be hysterical to watch you try.” I had just bought some bright colored tissue paper and craft eggs for my kids to decorate Easter Eggs with Mod Podge; so, building off that idea, I grabbed some white tissue paper and I attempted to figure out how to print a photo on it. 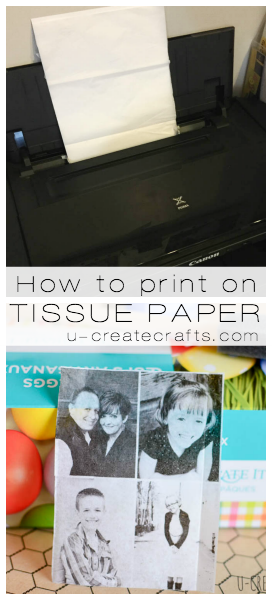 After two unsuccessful tries, I finally figured out the best way to print on tissue paper! The first two attempts were pretty funny, but there is no recording or photo evidence of those fails so…you’ll have to ask for a replay of that event in heaven. 🙂
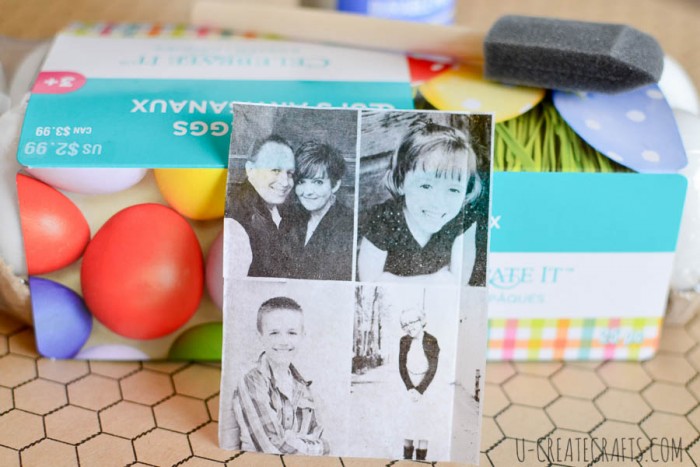
Once all the photos were successfully printed, I made some fun personalized Photo Easter Eggs of my family. So fun and easy and they are going to love having a little Easter decor with their pictures displayed. They show everyone.
Supplies needed:
- repositionable glue stick/adhesive spray
- white tissue paper (cut to 8.5″ x 22″)
- piece of letter sized cardstock
- colored/designed tissue paper
- printer
- Crafting Easter Eggs (I got mine at Michaels)
- Mod Podge and sponge brush
First thing I did was create some high-contrast black and white pictures in PicMonkey.com. It’s super easy and the pictures really pop in black and white. We have some fun tutorials on using Picmonkey.com that you can refer to for more detailed instructions. 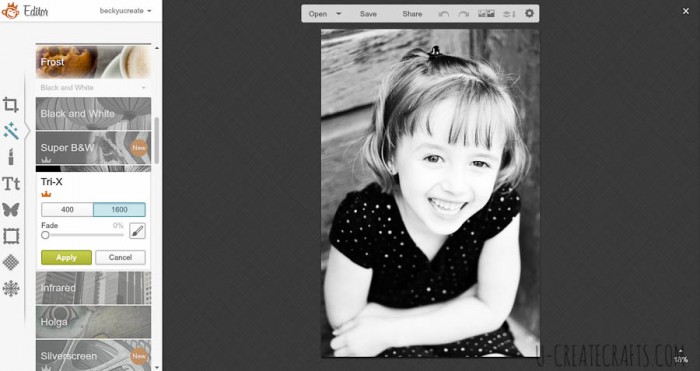 Step #1: Edit Pictures to Black and White
Once your picture is in PicMonkey click the magic wand on the left sidebar. I edited the picture with the TRI-X button and then clicked 1600 for darker contrast. You can see it clearly in the screenshot picture above. When all your desired pictured are edited then you will want to collage them. Kari shares an excellent “how-to” on creating a black and white collage that you could also use.
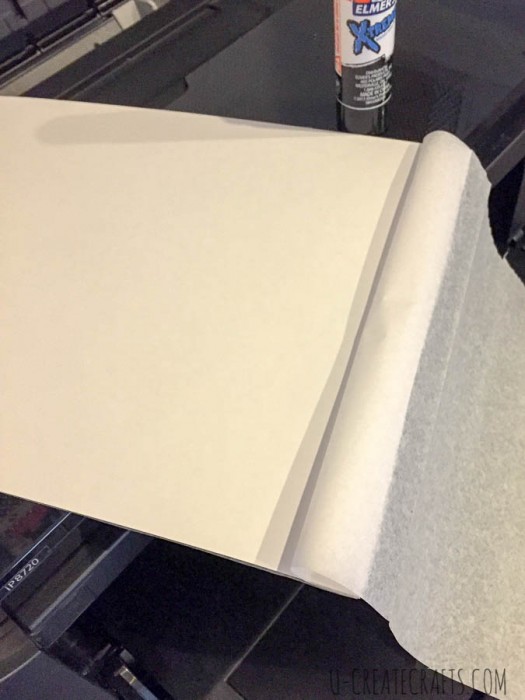 Step #2: Glue the Tissue Paper to the Cardstock.
Put a line of glue on the bottom and top of the cardstock and lay the tissue paper on top. Flip the cardstock over and add a strip of glue to the bottom and the top and apply the rest of the tissue paper. Basically you are sandwiching the cardstock between the white tissue paper. DO NOT USE a permanent glue stick…I tried that and the tissue paper DOES NOT come back off the cardstock. Use some cheap or repositionable glue.
Step #3: PRINT!
Now you are ready to print on the white tissue paper. I choose to print the collage very small to fit them on the crafting Easter Eggs. Once you have printed the pictures slowly take the tissue paper off the cardstock. (I totally crossed my fingers with this process!)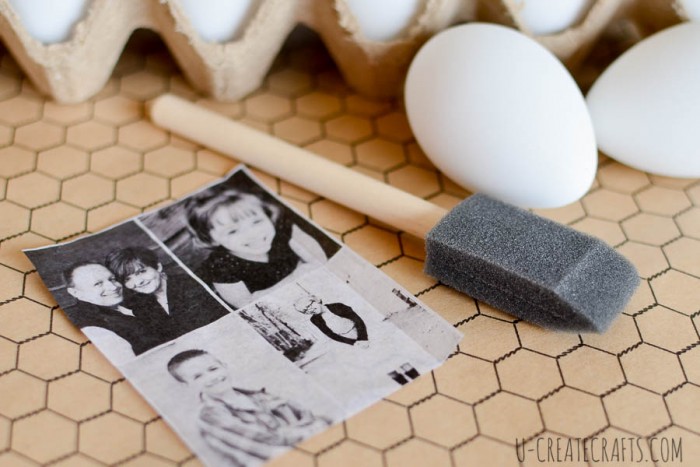 Wait for the tissue paper to dry completely. Otherwise when you apply Mod Podge you will get serious black streaks everywhere.
 Step #4: Break out the Mod Podge
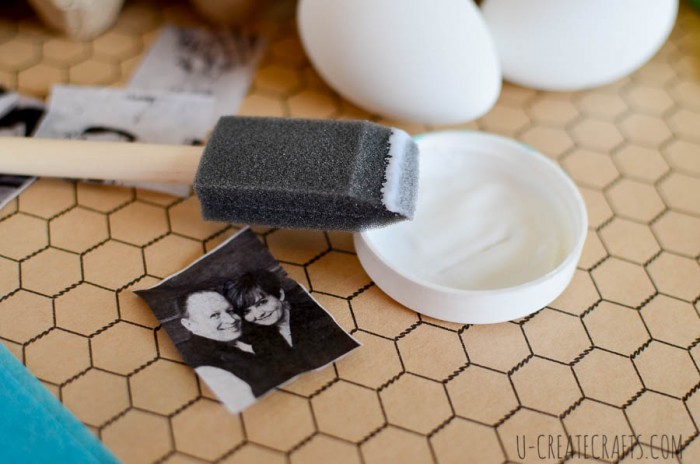
Cut the pictures apart and pour some Mod Podge out. Paint one side with the Mod Podge and lay your photo on it. DO NOT RUB or WIPE the photo; it will make some streaks. You want to pat the wrinkles out and then dab your finger in some Mod Podge and tap it on top of your photo. Let it dry! While it dries switch to another eggs.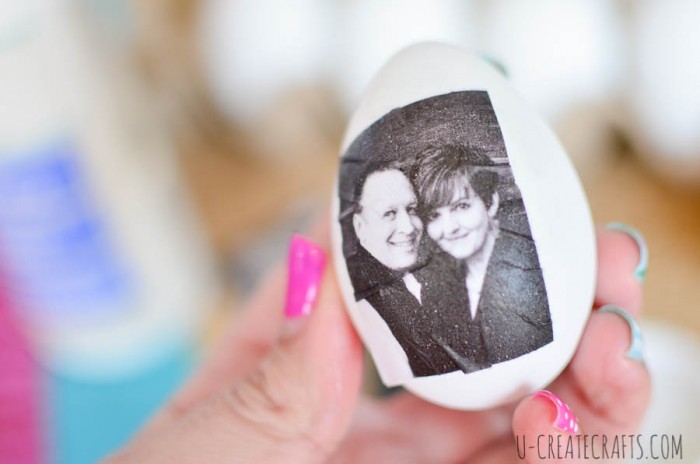 You will not have a wrinkle-free picture because the eggs are round, so don’t obsess over the imperfections. It’s about to look really cool.
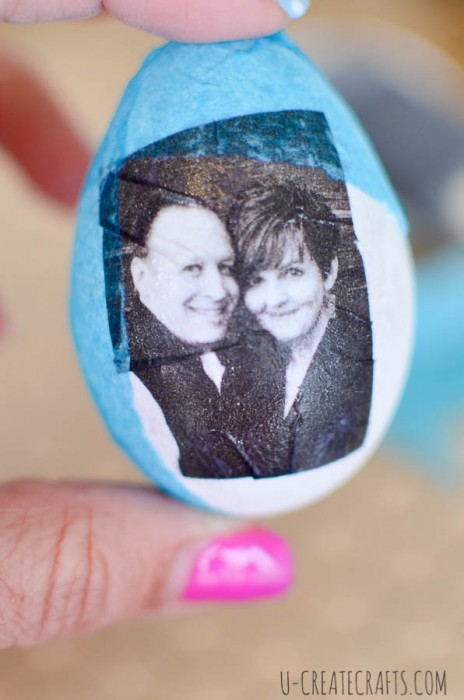 Step #5: Add some Color!
Take some colored or designed tissue paper and rip a pile of small pieces (like your pinky nail size). Apply Mod Podge around the photo and place the ripped tissue paper on it. Remember this isn’t paper, it’s very porous and thin so don’t use tons of Mod Podge…a thin layer will do. Once you have all the colored tissue paper on the egg, using your brush or finger dab some Mod Podge on the top to seal the photo and the fun color you just added. 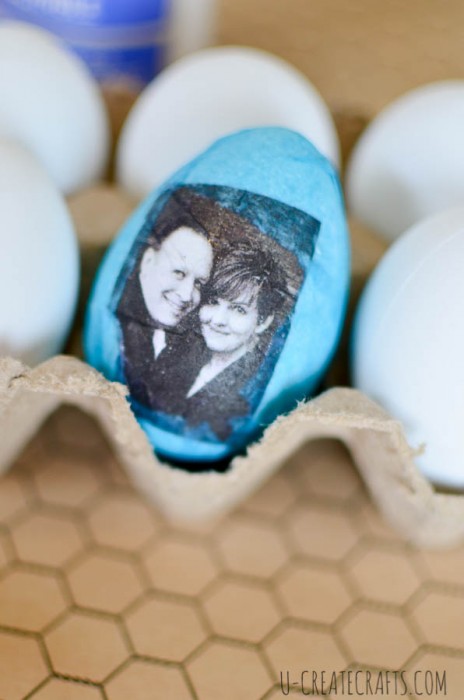 Let your newly decorated egg dry completely. I just put it back in the egg carton, but for my daughter who tends to use a lot more Mod Podge I put hers on a plastic bag to dry. (We had a blast making these together. It’s totally a kid’s craft too.)
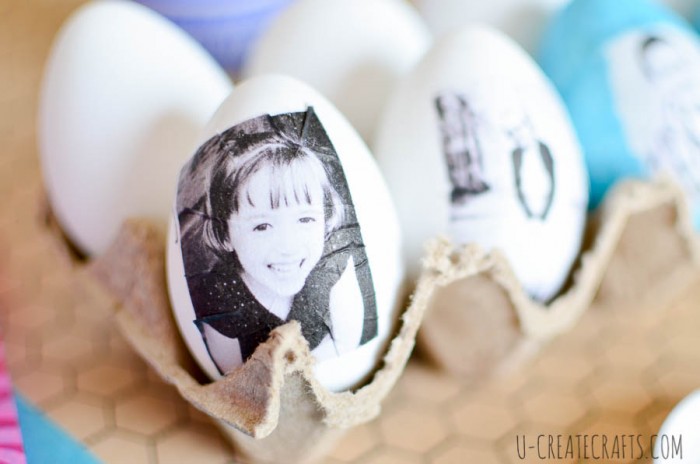 Now to add some color to the other eggs. For the girls I used some awesome bright pink camo tissue paper. It would also be so fun to use lots of different colors on one egg. Lots of possibilities for this craft!
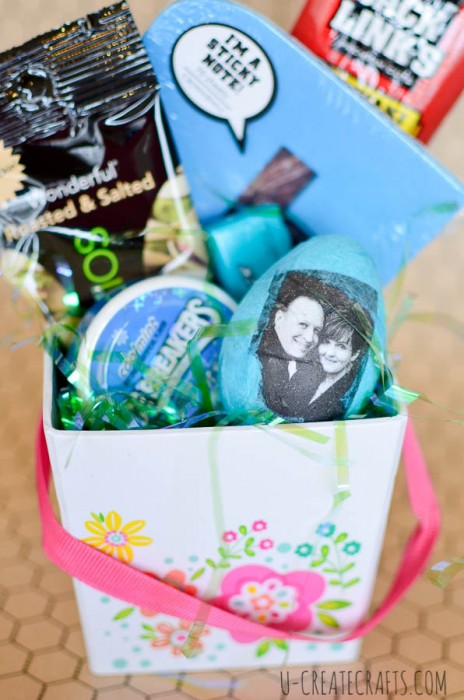 For my husband’s Easter basket, I got him lots of his favorite snacks and added our little personalized egg. I hope he loves it as much as I do! It’s a pretty good idea for a Men’s Easter Basket, right?
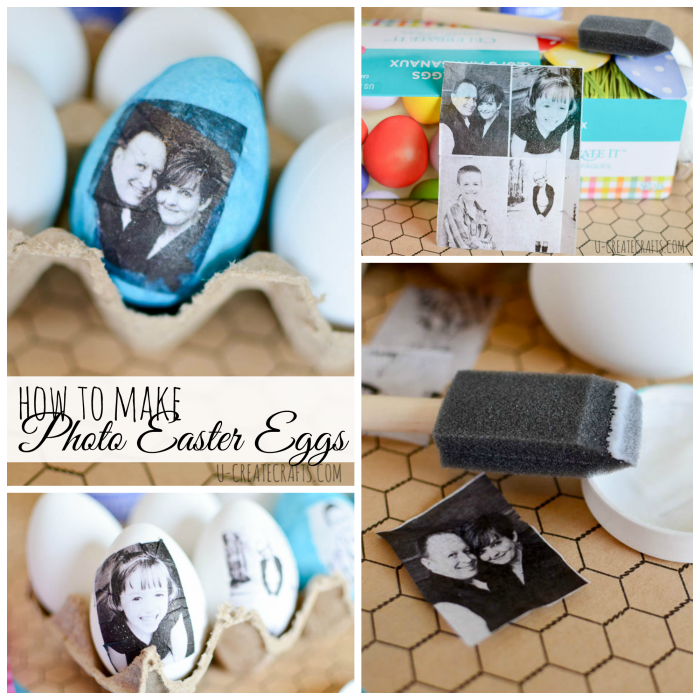
Post by Becky Vandenberg


Leave a Comment