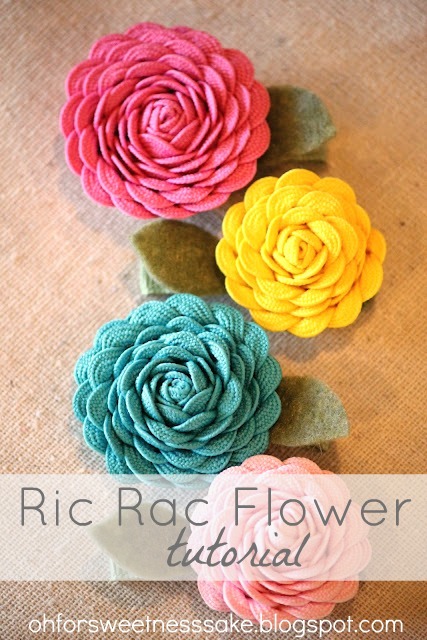
There’s something about rick rack that just shouts playful and cute to me! Does it have the same effect on you, or am I just talking to myself on this one? These flowers have been on my ‘to make’ list for some time now. I first saw one in a cutesy little downtown shop where we live, it was attached to the front of an apron waistband, I thought to myself they’d make really cute hair clips.
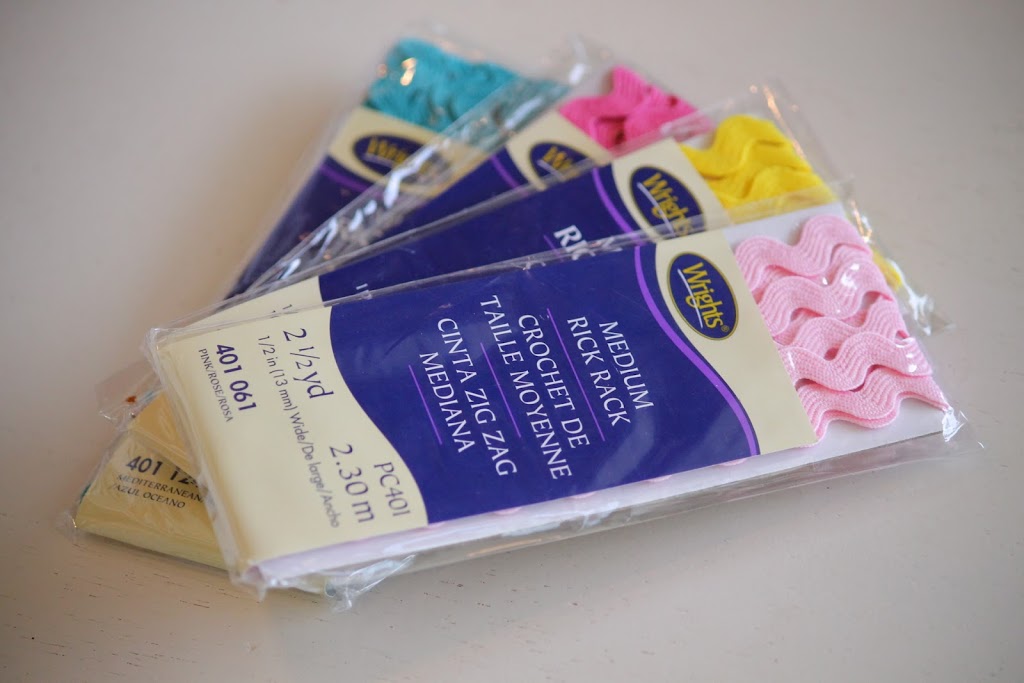
I went ahead and purchased the medium sized rick rack recommended.
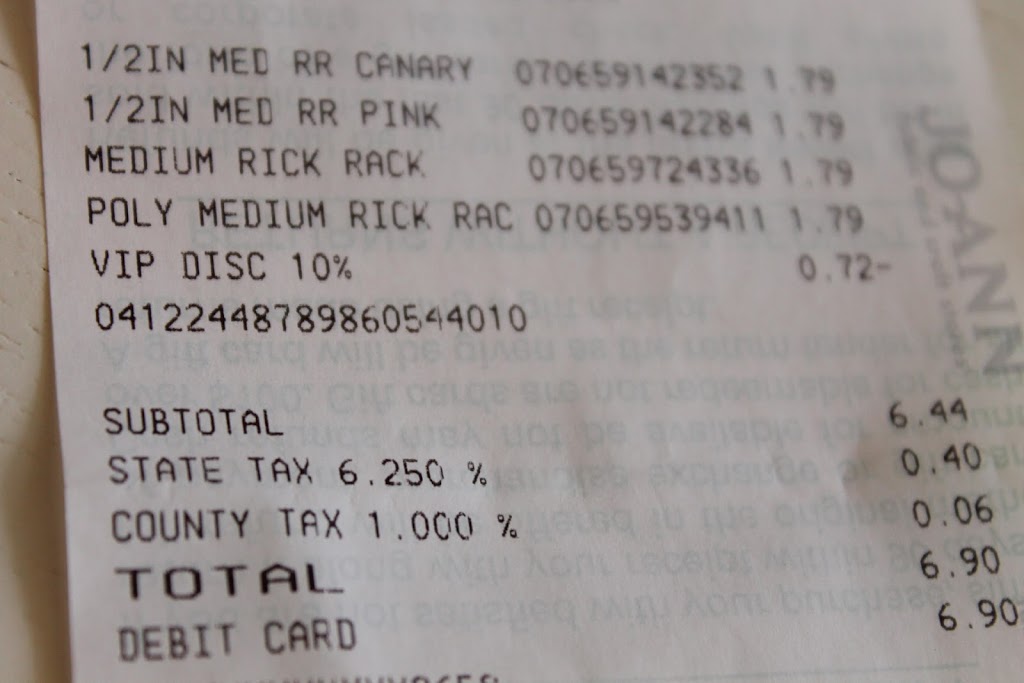
Under $7 bucks not
So the baker in me wants to start by telling you to “preheat” your glue guns. I know from experience if I don’t remember to do this first I’ll get distracted waiting for it to heat up, make a neat little pile on the edge of my kitchen counter somewhere and leave it there, oh for say…. more than a day or two. It’s the kids fault really, they always find me?
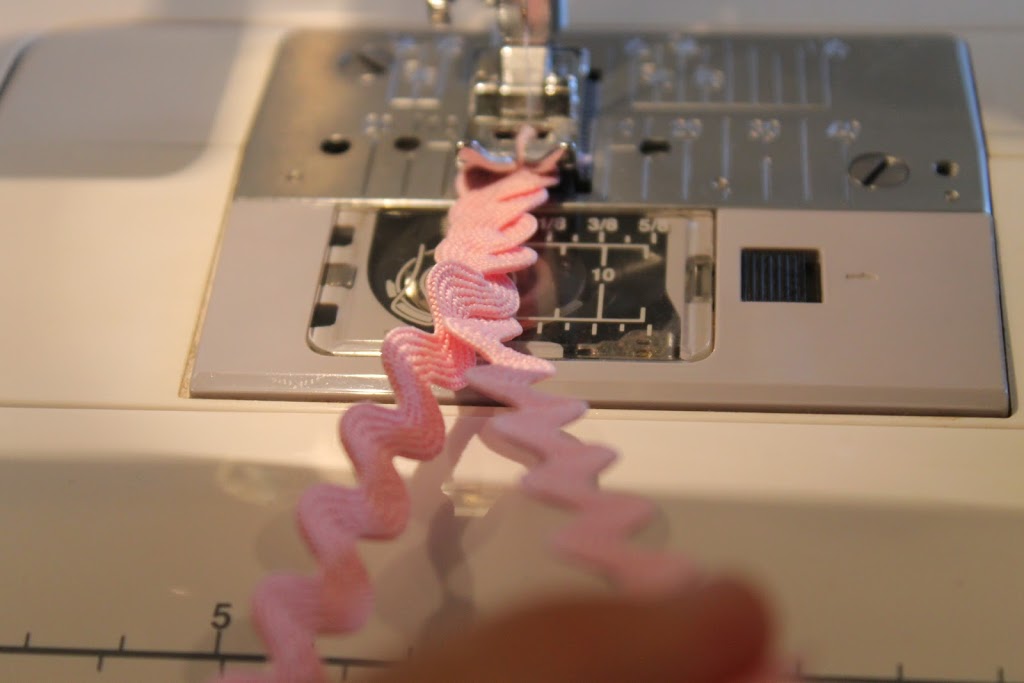
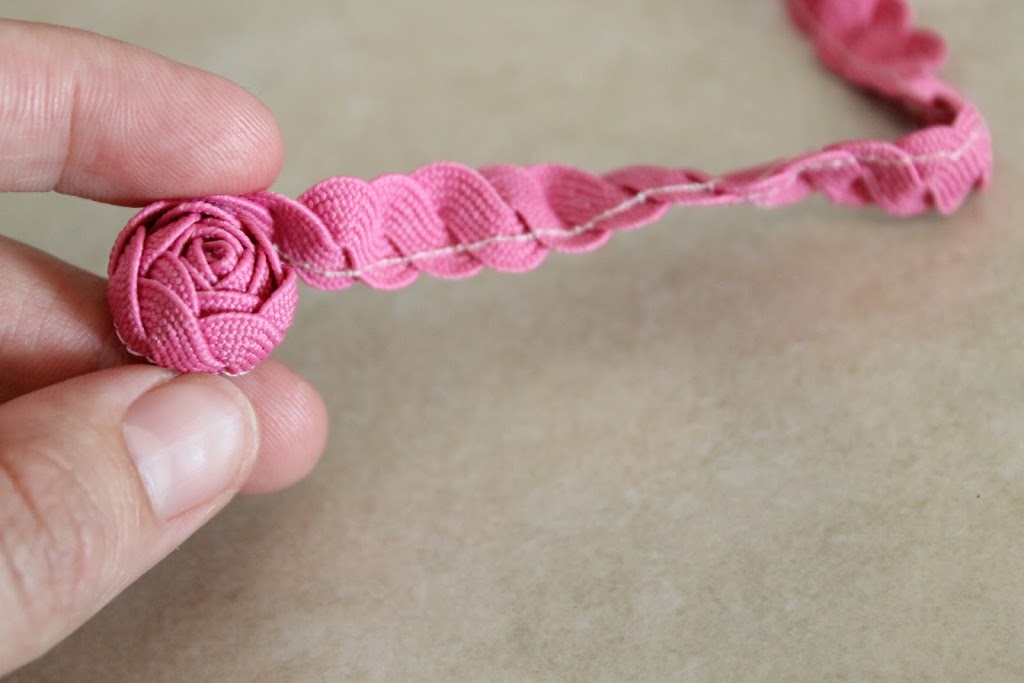
I measured two pieces of rick rack and cut them at 20 inches long, placed them under the foot on my sewing machine and twisted the two pieces together. I then clipped the bottom of the rick rack with an alligator clip so it wouldn’t come undone as I was sewing. I sewed along one side.
I began rolling adding smalls dots of hot glue along the way
when you come to the tail end, tuck and glue it to the bottom of your flower to secure it in place.
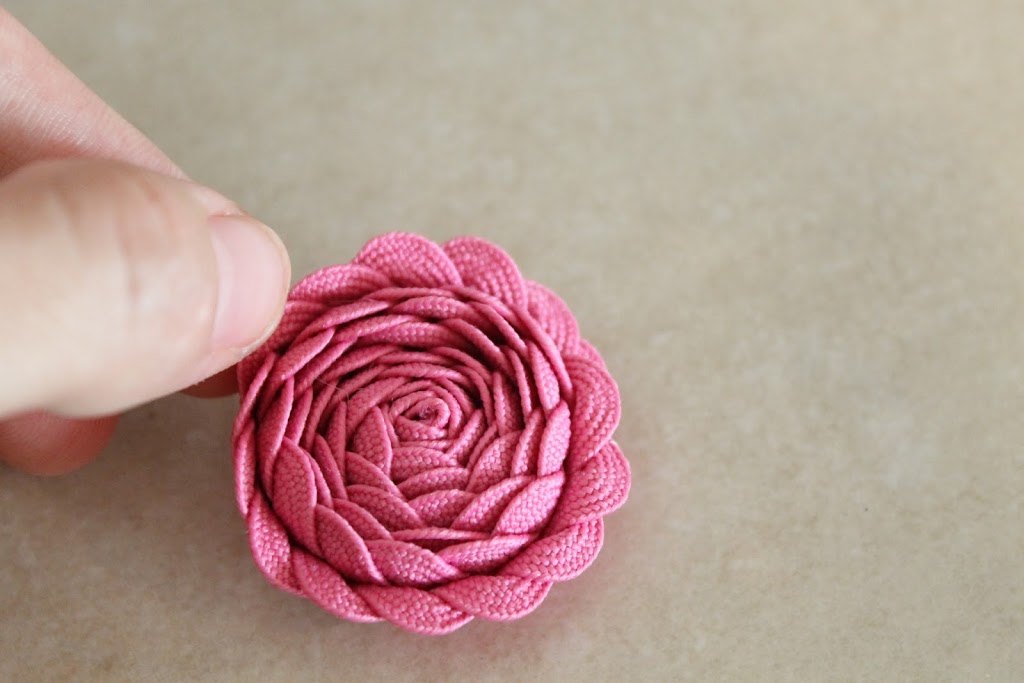
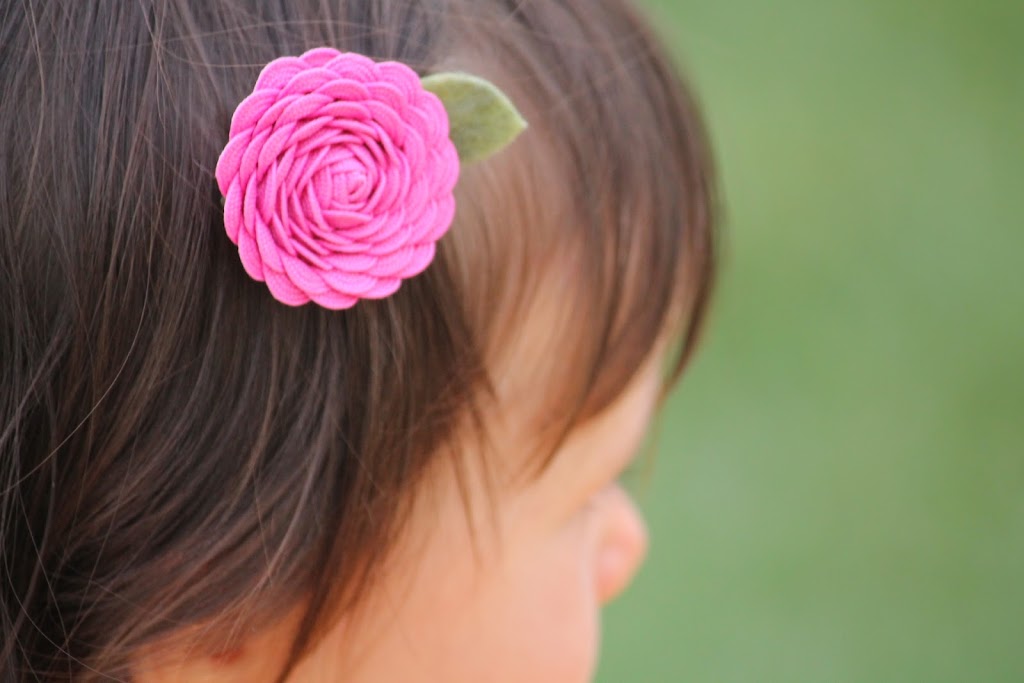
I wanted mine to resemble flowers more than rosettes
so using my fingers I opened and pressed back almost every layer.
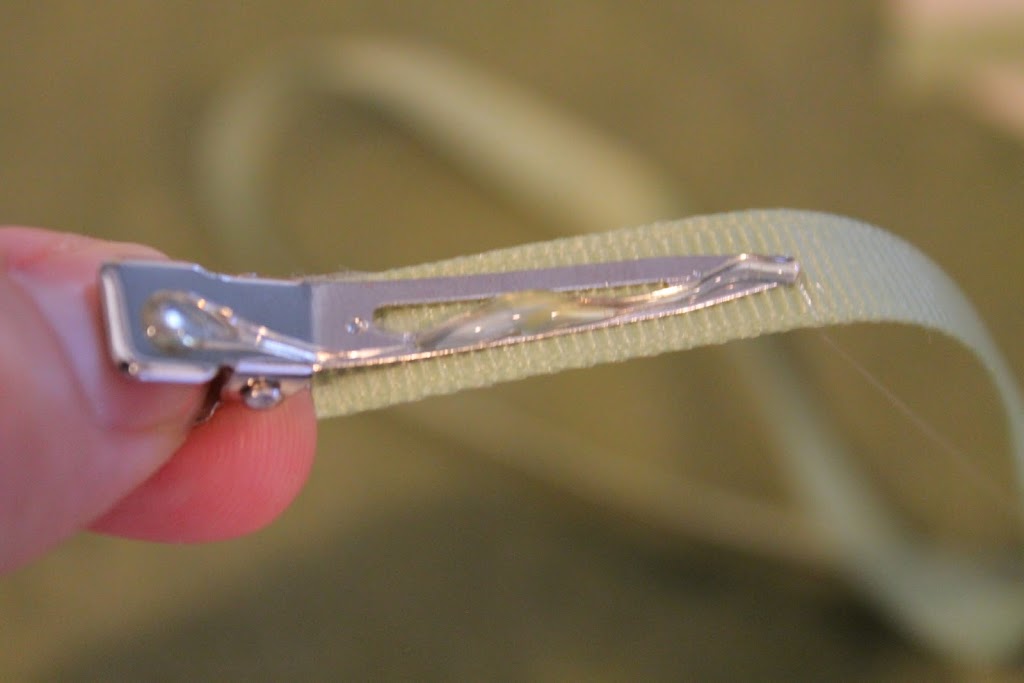
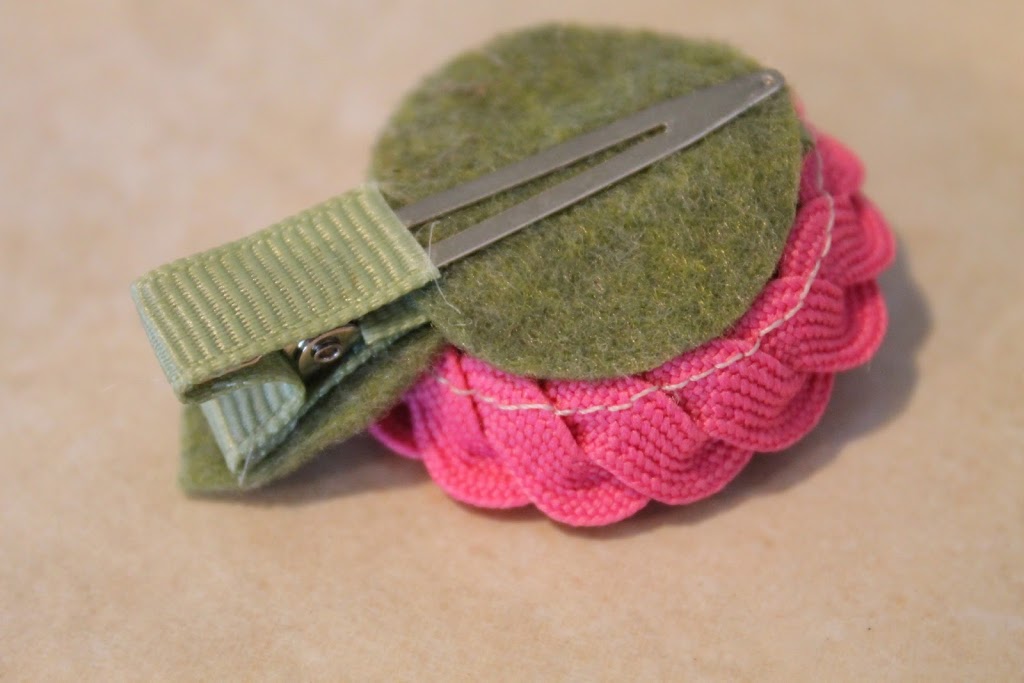
This is how I make the base of my clips
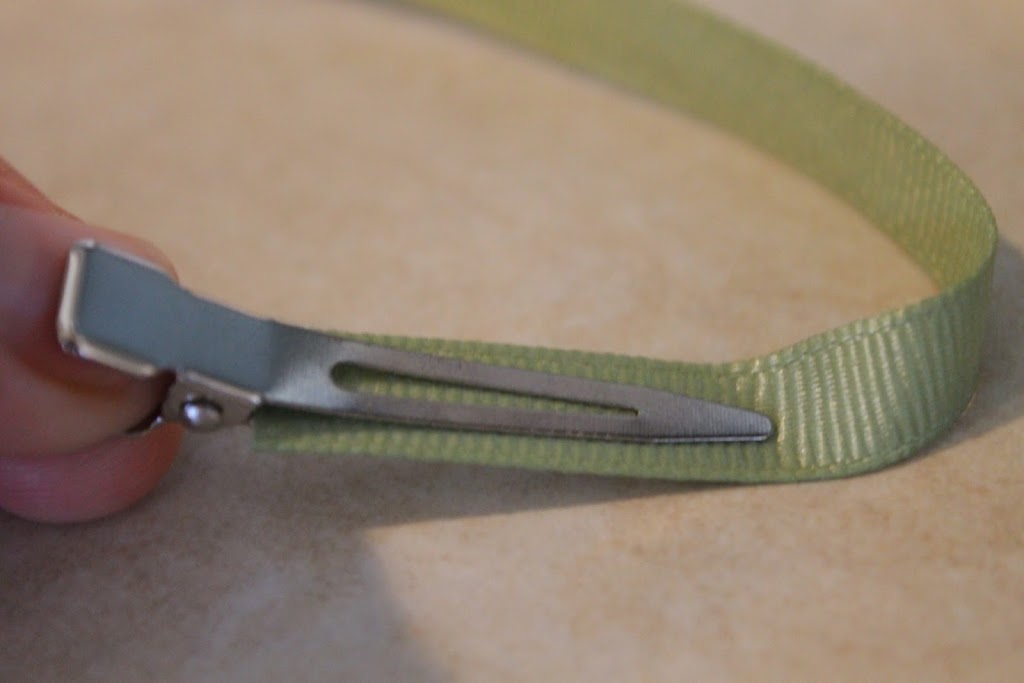
I sandwich a piece of ribbon between an alligator clip
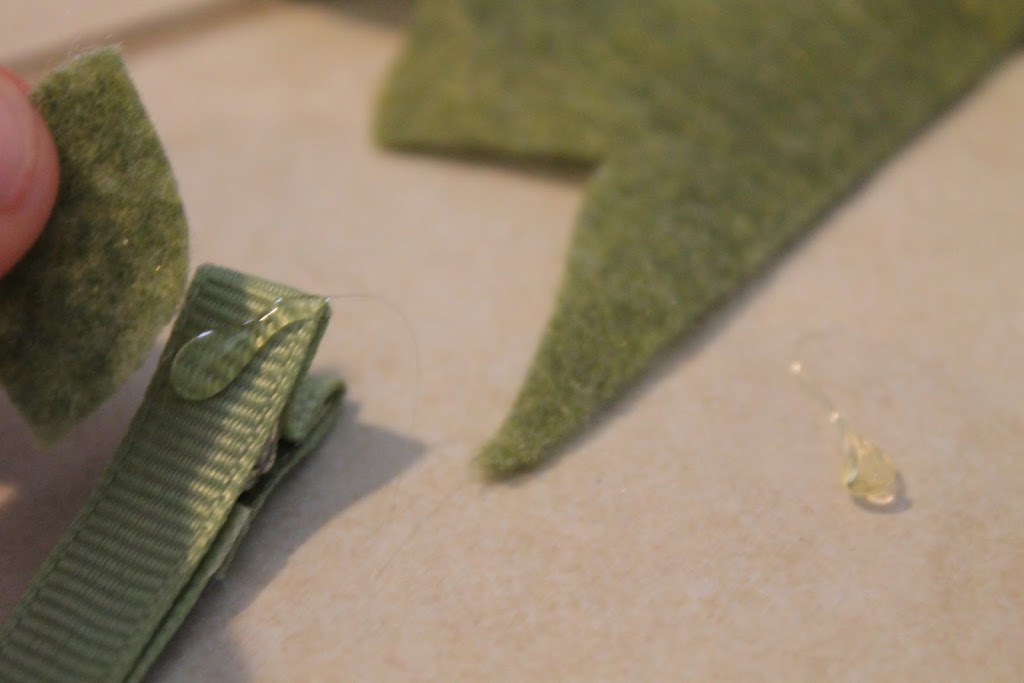
apply glue to the top side only and press.Glue inside the little dilly of the clip(where my thumb is,
can’t think of what that part is called) follow it around with a dot of glue on the bottom side, cut your ribbon.
can’t think of what that part is called) follow it around with a dot of glue on the bottom side, cut your ribbon.
There’s a picture of what the bottom side of the clip should look like when you scroll down which is more helpful.
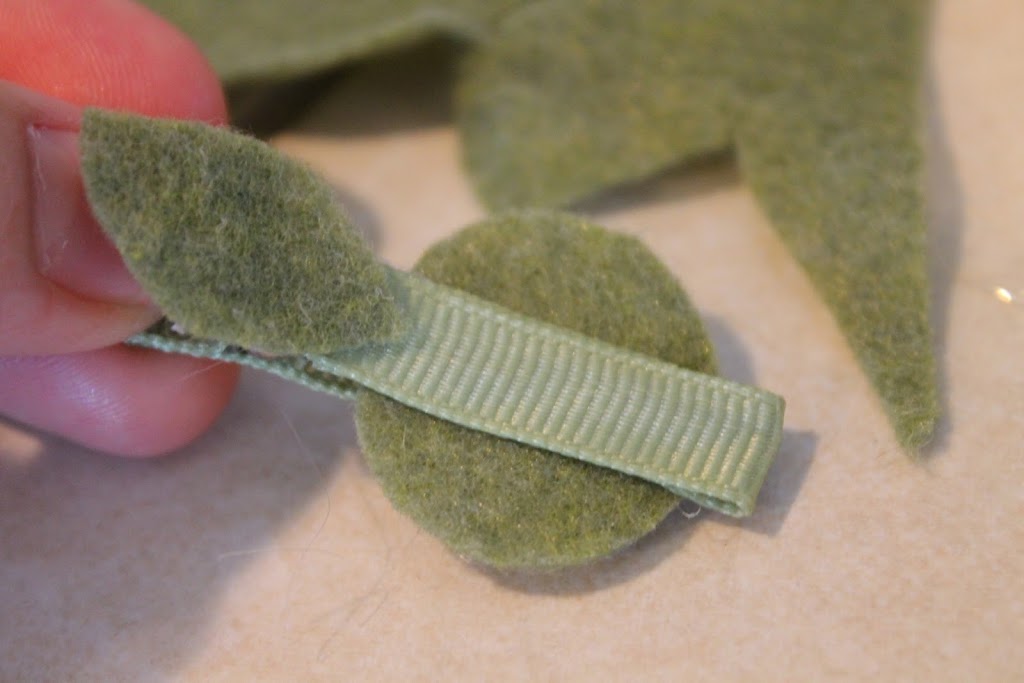
I used craft felt, cut a leaf and a circle
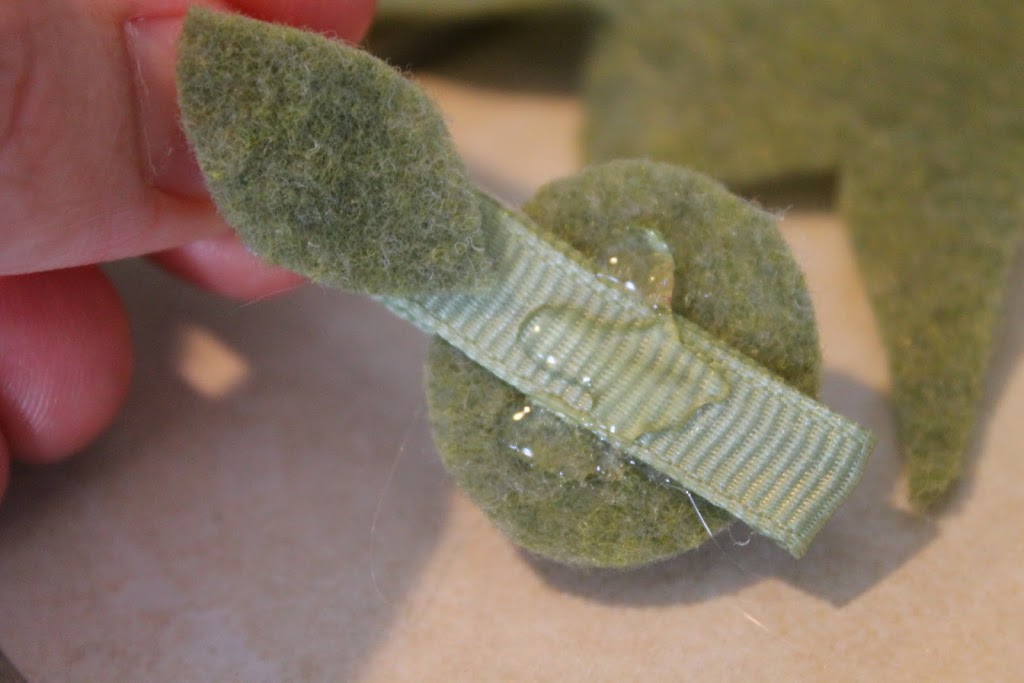
sandwich the felt circle in the clip
apply more glue, place your flower over and press.
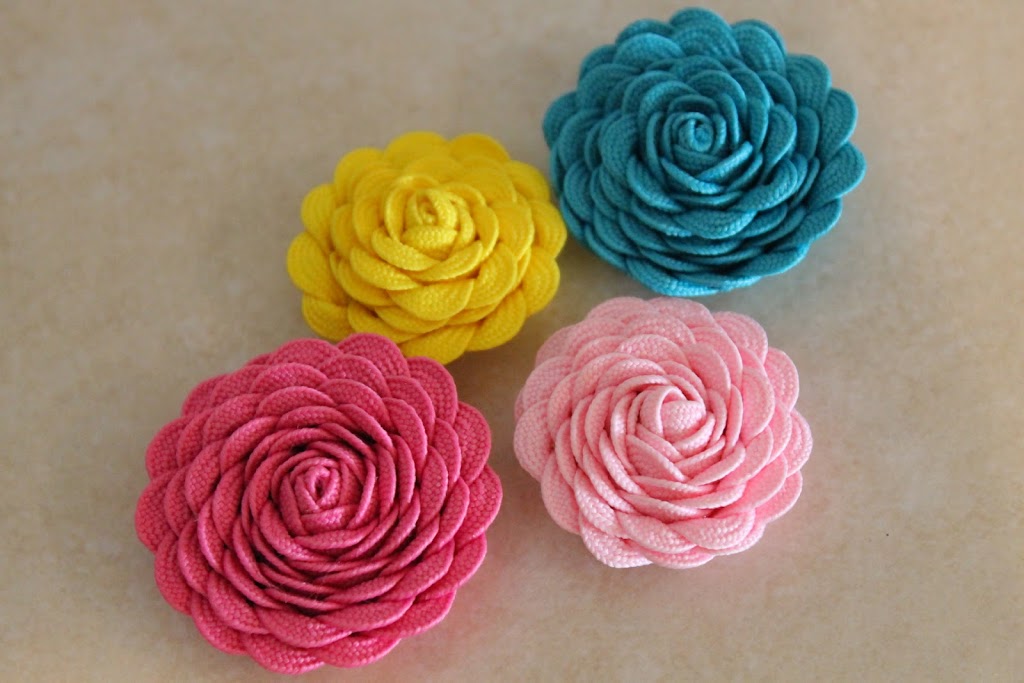
I love how they turned out!
POST BY: Jeselle at Oh For Sweetness Sake Blog

Such a cute Rose – you have done avery good job! 😉
Thank you for sharing!
Wow! Soooo Cute and easy! I see some gifts in my future 🙂
That is just precious-who would of thought you could make Ric Rac that cute!
I’ve been wanting to know how to make these. Thanks so much for the great tutorial!
so pretty- am trying these for sure, thank you!
Aw, those are just precious! I think I have some rick rack lying around somewhere. I’ll have to try this out!
Those are so cute! I scooped up a bunch of rick rack at the thrift store the other day, not sure what I was going to use it for (I was just sure I needed it! lol) Thanks for the great idea! 🙂
I hope everyone enjoys and has fun crafting!! How fun to be featured on Ucreate!?! I feel like an official blogger now!:)Thanks for the sweet words!!
Jesselle
Wow what a great way to make the fabric flowers, seems easier to handle for somebody with hands that don’t work as well as you youngters. (I’m an old lady with arthritic hands).That technique is an avenue to work out so many other materials to implement. Thanks for sharing an excellent tutorial.
Oh SO EASY and I have always wanted to see how people do this one! Thanks so much for sharing!
Thanks so much for sharing!!!Ohh…Great tutorial…I love this flowers!!
Thanks again!!
Martina.
These are so pretty!!!!
I would love to make one of these but I don’t have a sewing machine. Any alternatives? Hand sewing maybe? Thanks for sharing! 🙂
I too do not have a sewing machine, nor do I know how to sew….but these are super cute!!!
Quanta beleza, simples e delicada, amei, muito linda mesmo….
Un trabajo muy bonito y creo que muy fácil, enhorabuena
I am going to have to make some of the flowers and put them on a head band for the grandaughters. Thanks for the tutorial.
This is fantstic, thanks so much for the tutorial, i really needed a unique flower idea for a class and this is perfect! thanks so much!
Wow,I love it,I really love it
i am so in love with these lil ricrac flowers. thank you very much for showing me how to make them. xx
i want to try it now
how fun. I have a stash of vintage ric rac. Might even try mixing colors (red and yellow or pink and white)
Thank you for sharing, beautiful.
Great tutorial! Thank you to share:-)
Emanuela
Thank you for the tutorial! I wanted to make one of these to go on a tote bag and came across your site in a search. Very nice job!
I just made a smaller version (1 inch diameter), but did not feel like hauling out my sewing machine. So, I just wove the ric-rac together, held it temporarily in place with clips and it stayed (might just be my style of ric-rac). When I hot glued the flower together, it held everything in place. I made a much smaller version, but flared the outer “petals” as well, to be used on cards and mini gift bags. Very easy. Thanks for sharing.
Thank you.
Thank you for this tutorial! So cute!
Adorable! I must try that!
Thanks this is very easy to follow. Great job with pics and explanation!
Oh so cute! Thank you for sharing.