
 Just to show you a better idea of the size, here’s me holding it.
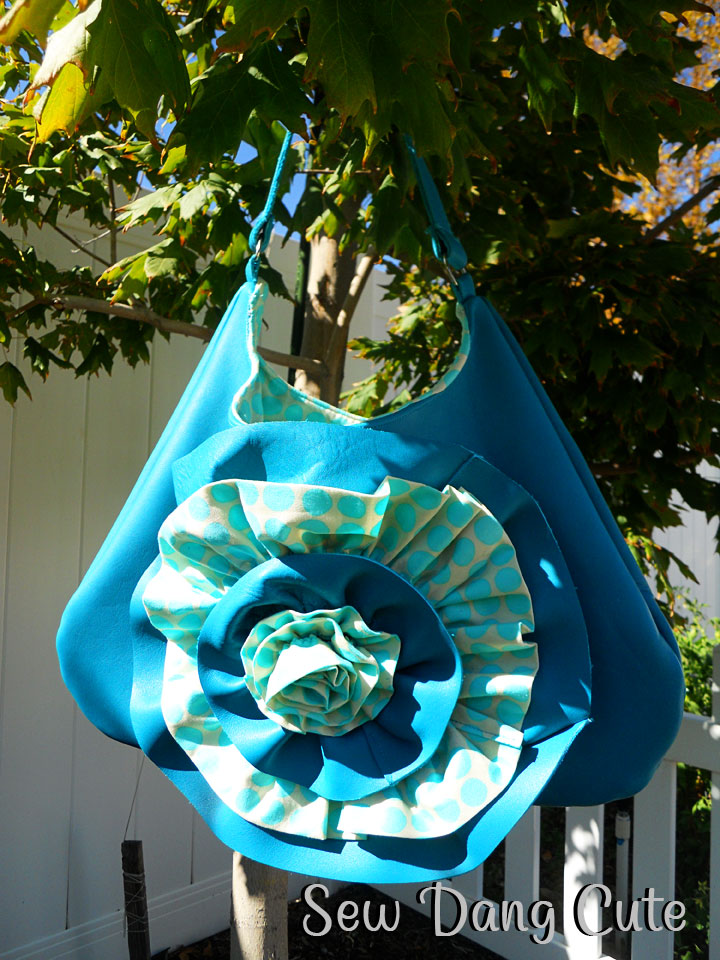
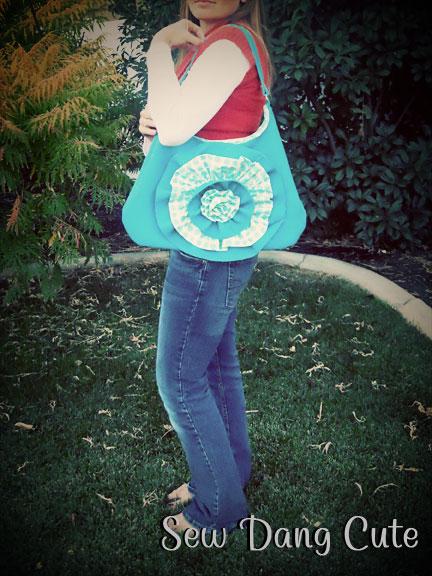 I love the bold, turquoise color. My camera is not the best and my sewing room is in the basement (which means bad lighting), so the color doesn’t quite come through in these pictures.
 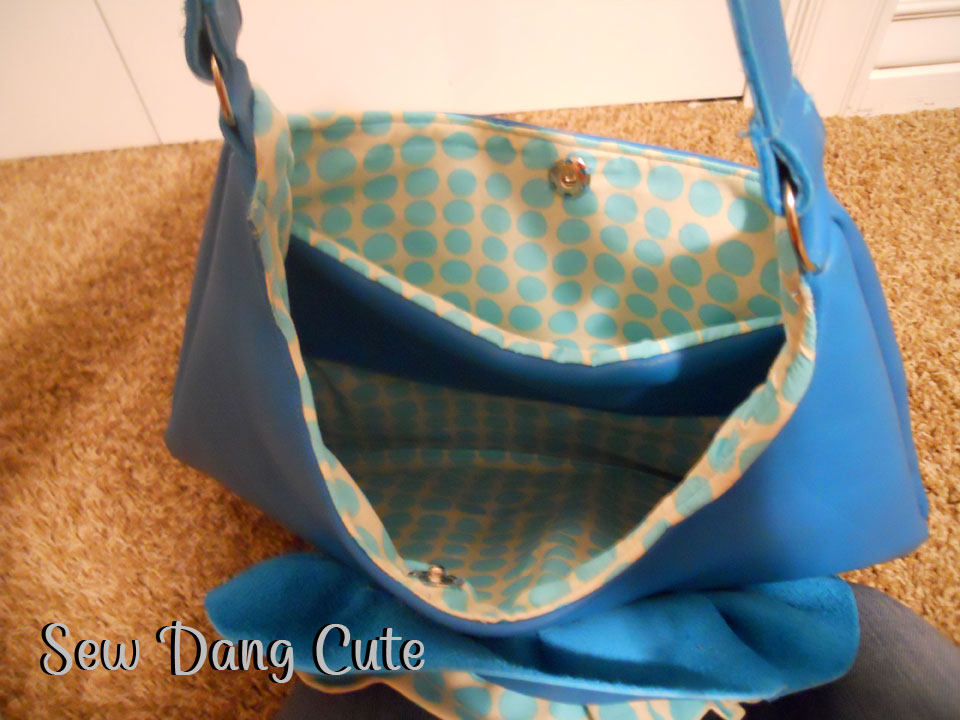 Let’s get started.
Materials needed:
– Bag pattern piece (click to download)
– Leather ** (1 1/2 yds cotton or vinyl)
– 1 yd lining fabric
– 1 yd fusible interfacing
– Sew-on or magnetic snap
– 2 D-rings (1 1/4″)
– Coordinating thread
– Upholstery thread
– Leather sewing machine needle (Not necessary but I recommend it for leather/vinyl)
* All seams 1/4″ unless otherwise noted.
** If you don’t want to use leather, you may use cotton, since I explain how to use either in this tutorial. Leather doesn’t fray. You can also use vinyl instead, which is sold by the yard. I wanted a brighter color than what was offered in vinyl, so I went to Beck Leather and Crafts and bought a remnant piece (with a 40% off coupon). Leather is sold in hides, so take your pattern piece with you to make sure the piece you like will work. You could also check your local thrift store for a leather jacket and cut that up.
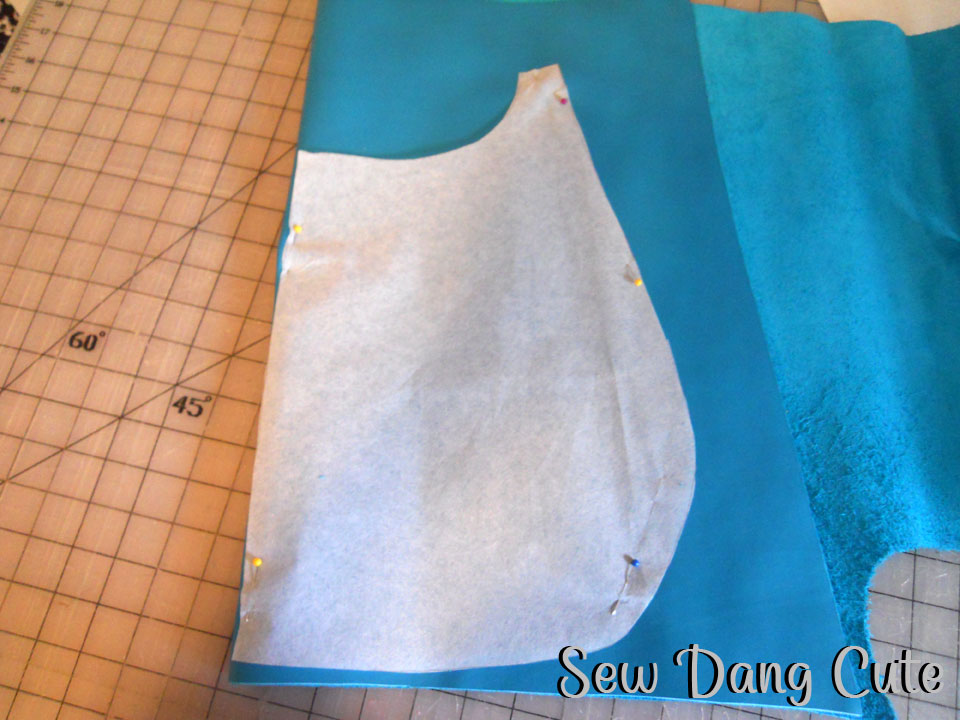 So when you unfold the fabric, you’ll get your piece.
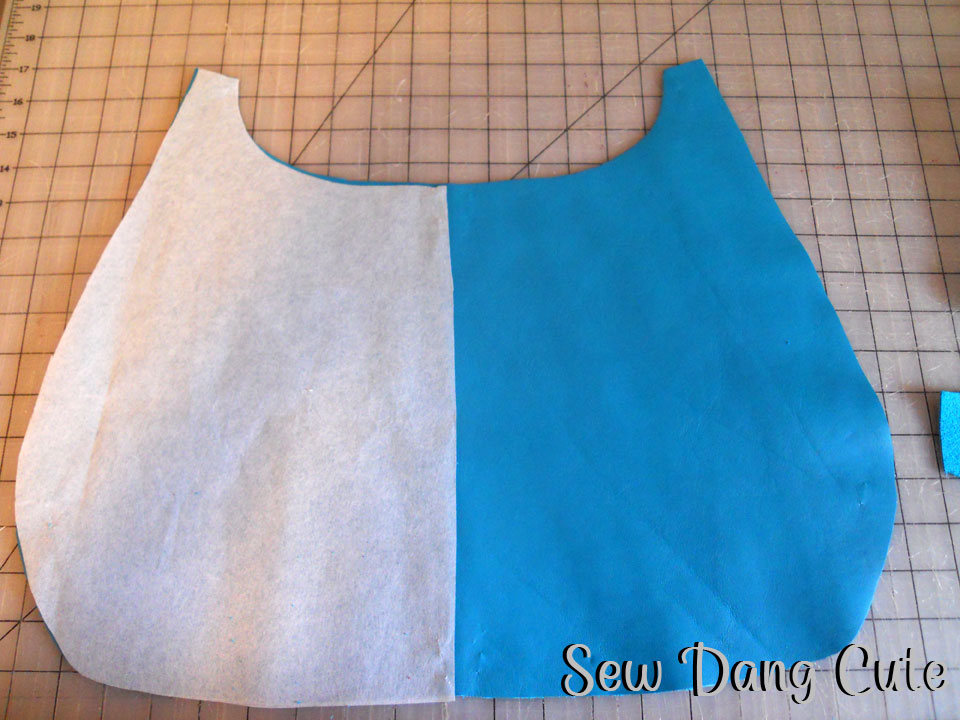 Cut out two pieces from your interior fabric and fusible interfacing as well. To make my fabric go further, I folded it like so before cutting.
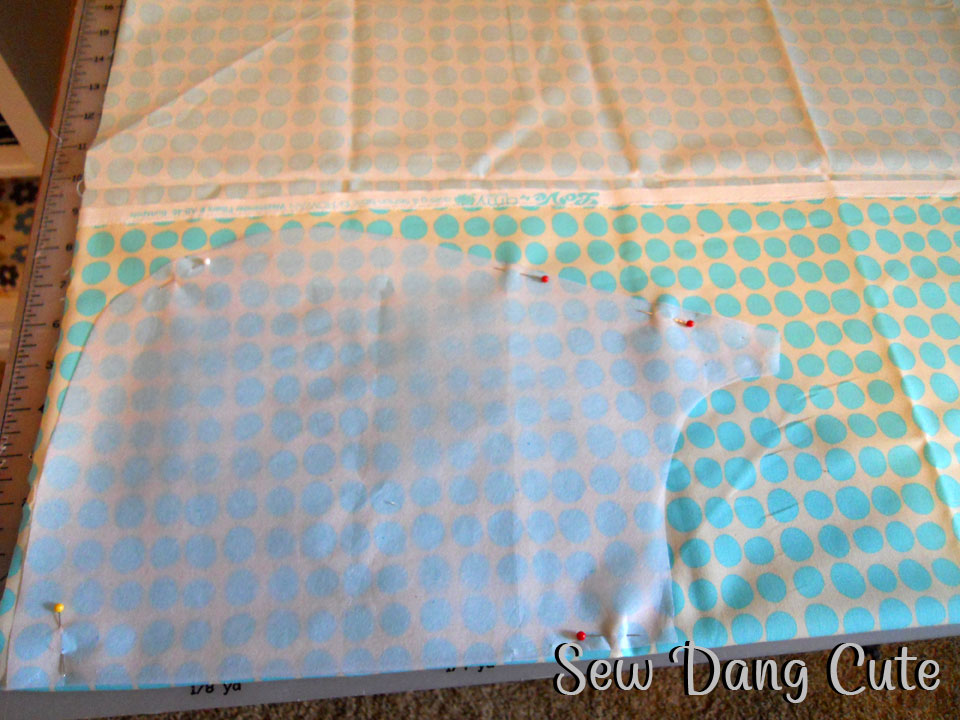 You’ll also want to cut:
 – (2) 1″ x 20″ pieces from leather or vinyl for the strap. OR if using cotton, cut (1) 2 1/2″ x 20″ piece.
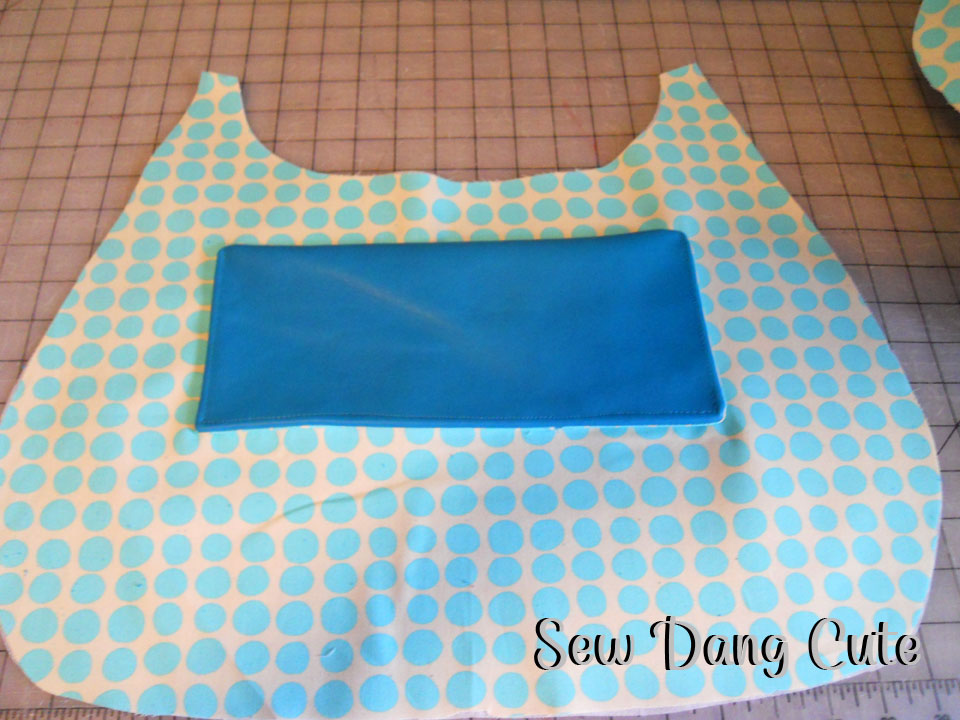
– (2) 6″ x 12″ pocket piece: 1 from exterior, 1 from lining
– (2) 2″ x 1 1/4″ pieces leather/vinyl for loops or (2) 2″ x 3″ pieces cotton
2. Iron fusible interfacing to the two lining bag pieces and pocket piece. If using cotton, also iron to strap piece.
3. We are going to start with the rosette (Layer 1). I used cotton for mine because I didn’t have enough leather, and it’s easier to gather into a tight flower. Cut a 3 1/4″ strip. If you want your whole flower in leather/vinyl, cut a 1 1/4″ strip and proceed to below, “Cut a piece of upholstery thread…”.
Fold RST (right sides together) lengthwise and sew along the short raw ends and long raw edge, but leave about a 10″ opening in the middle of the long raw edge.
 Clip the corners and turn right-side out. Press.
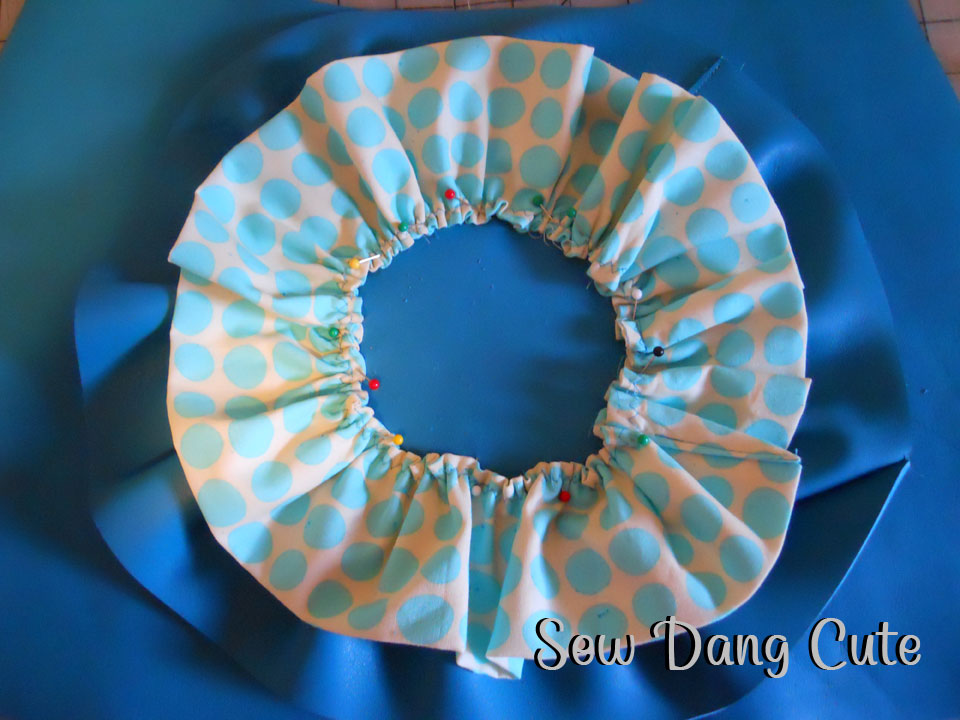
  Now hold both ends of the upholstery thread and slide the fabric along it to gather.
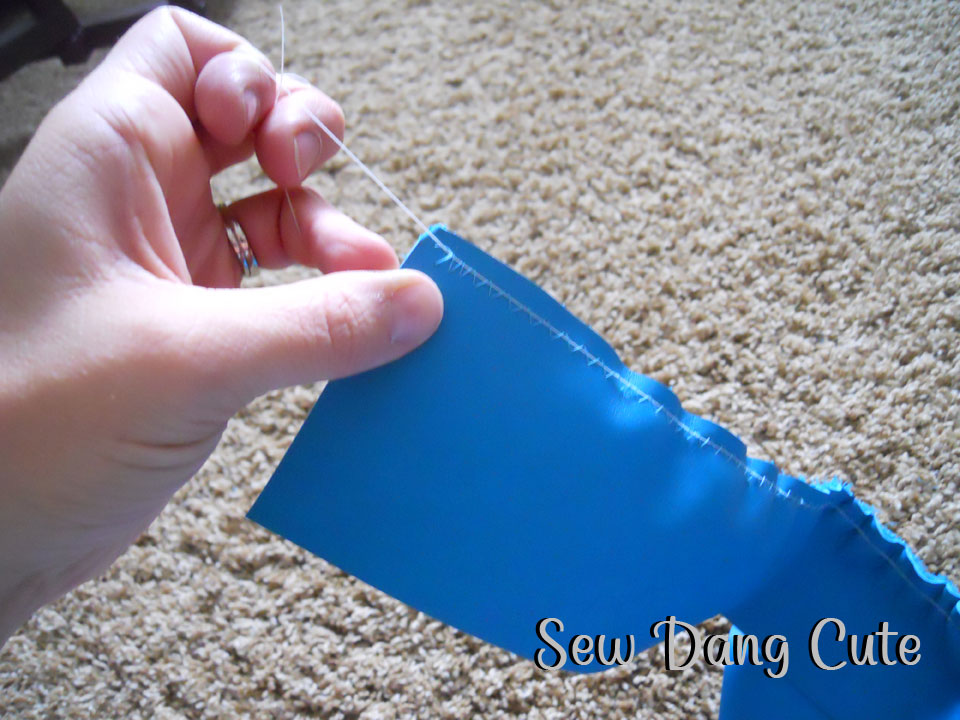 Use a needle and thread and handstitch the layers together as you roll the rosette to hold it together. You should end up with this.
 Handstitch the rosette (layer 1) to the bag piece.
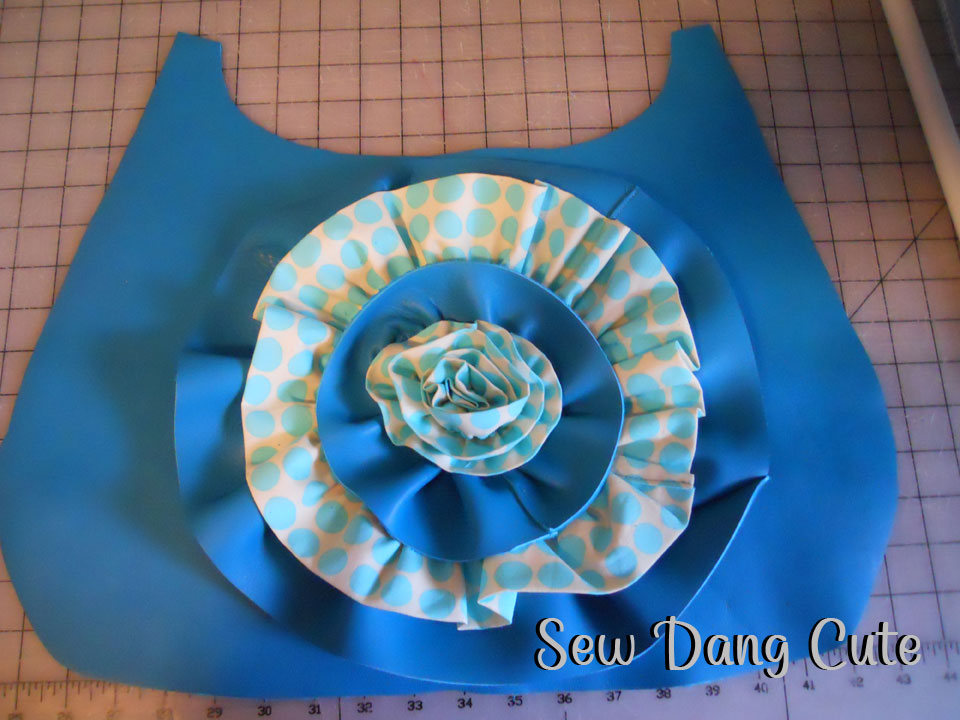
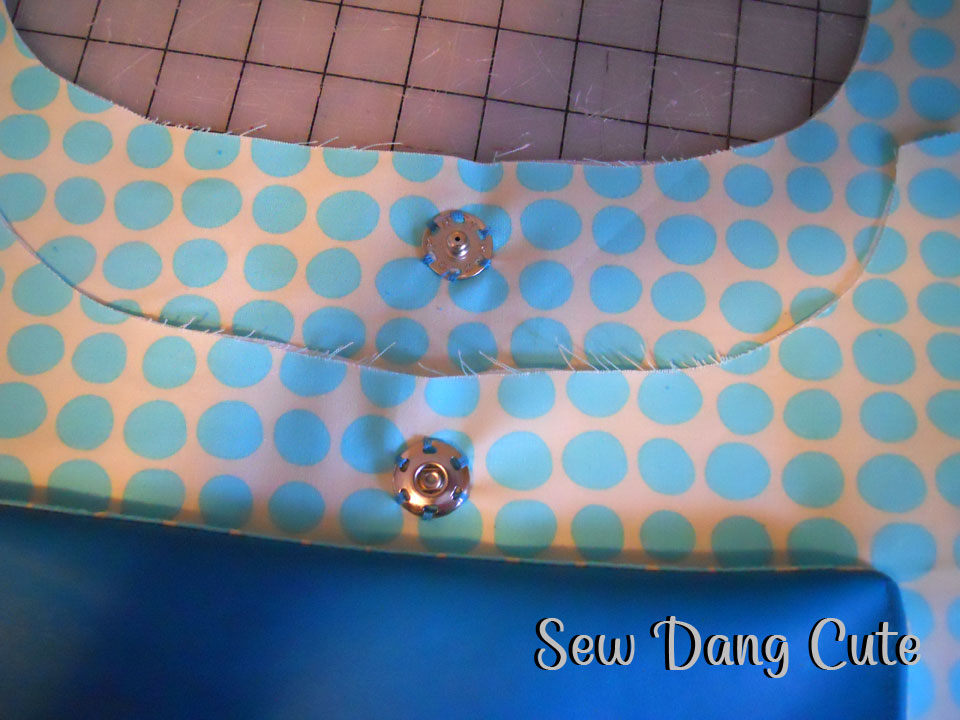
 Loop a D-ring over one piece and pin to the top, side of the exterior bag, lining up raw edges and centering. Repeat on the other side.
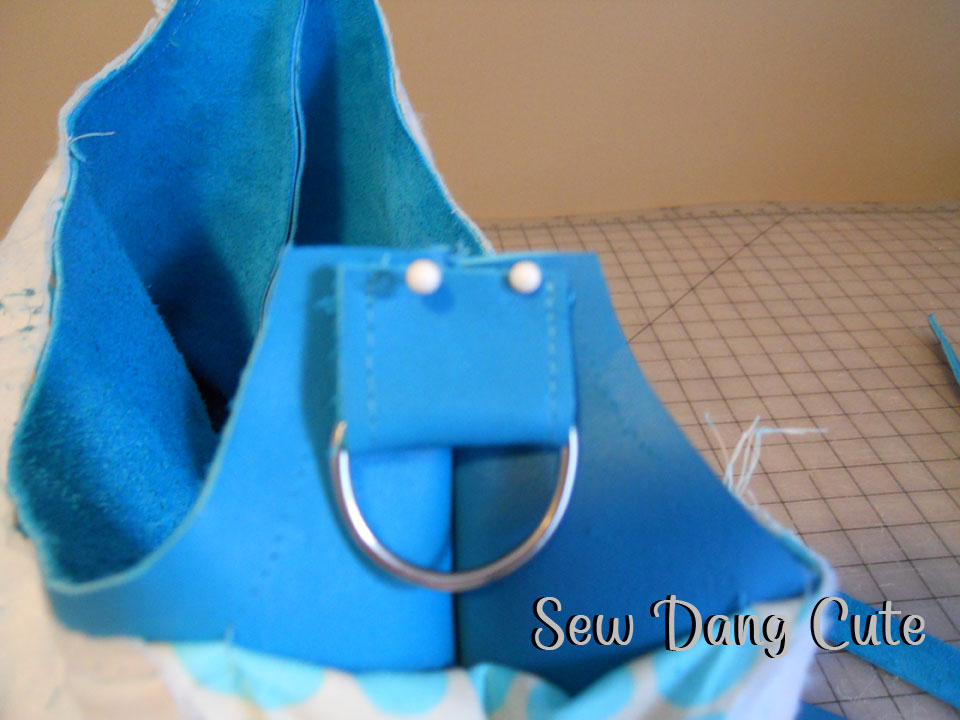
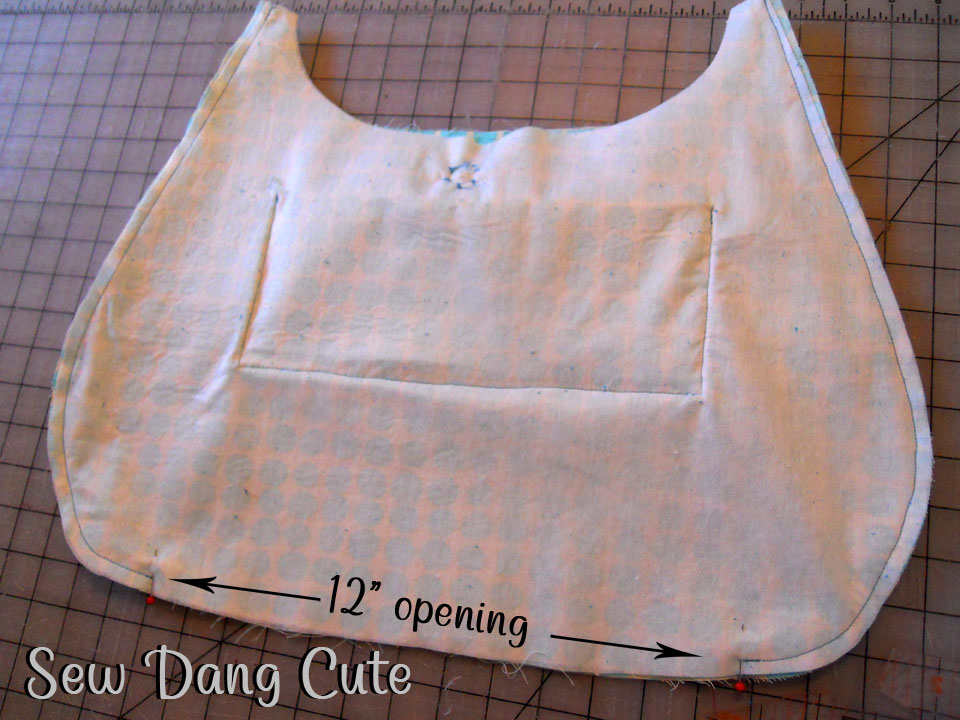
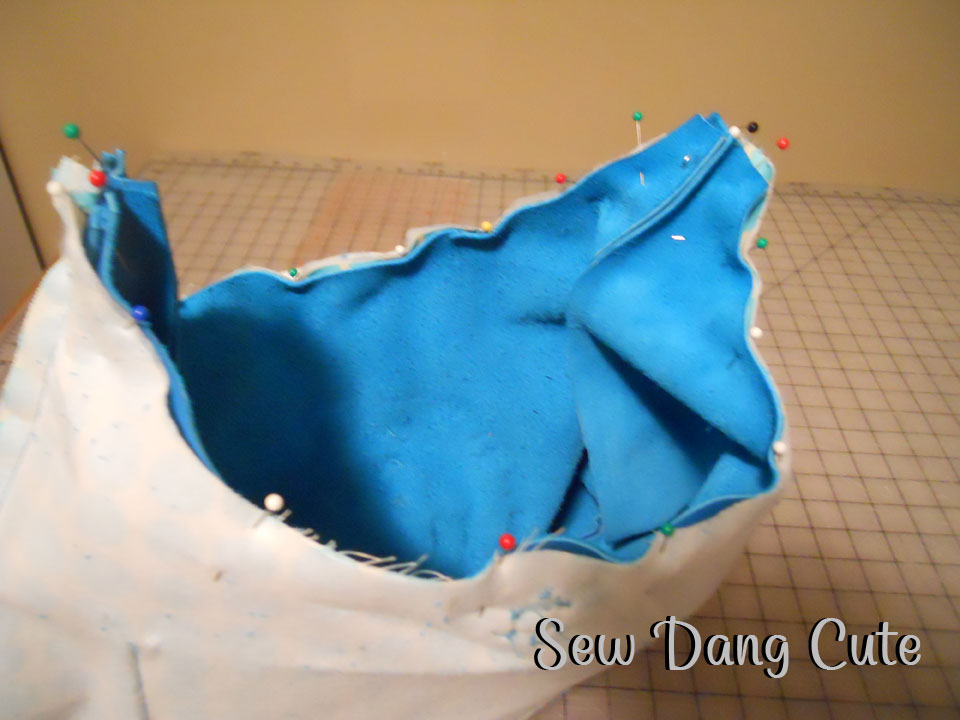 Sew along the top of the bag. Turn inside out through the opening of the lining. Topstitch along the top of the bag.
  If using cotton, fold RST lengthwise and sew along short raw edges and the long edge, but leave an opening to turn out. Clip corners and turn inside out. Blindstitch the opening shut, then press with seam in the center of the strap. Topstitch along the long sides.
 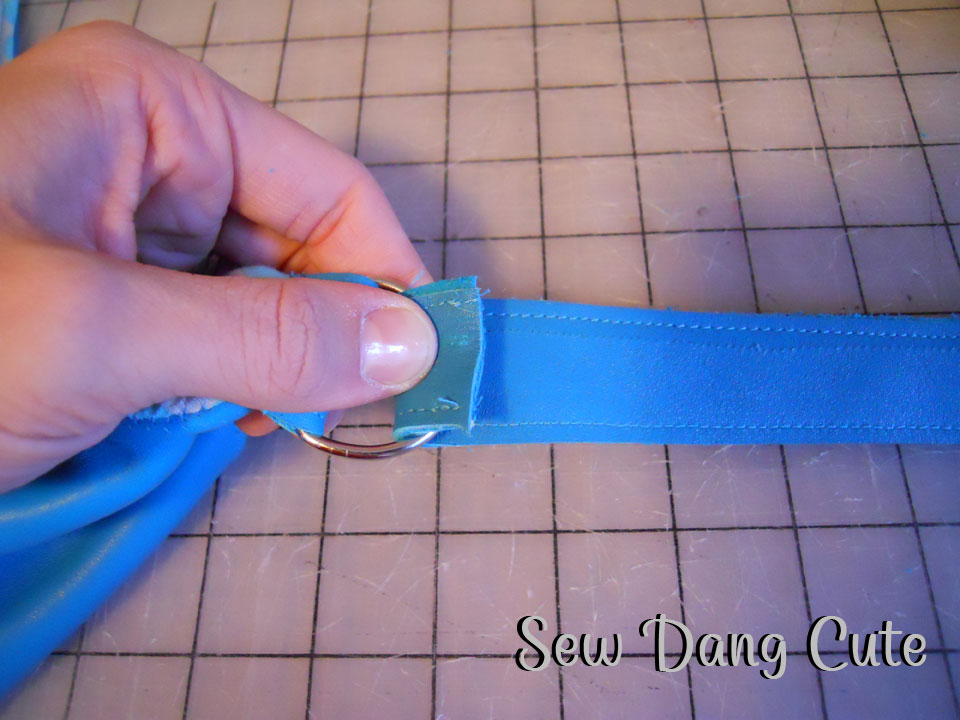 Repeat on the other end and you are done!!!


I really want to make this……… Now to find some leather!
You did great Tam! The purse is so cute. It was fun running into yesterday!
Really cute. Did you use a special needle to get through the leather, or did it work just fine with your regular machine needle?
Awesome tutorial and great inspiration! Thanks for sharing =D
Amy-
I did use a leather needle. I like to play it safe and didn’t want to risk breaking a regular needle. Plus, my leather was a little thicker.
this is absolutely fabulous.luv it.
That’s so pretty!! I linked to your tutorial over at Craft Gossip Sewing.
–Anne
http://sewing.craftgossip.com
Thank you SO much for this GREAT tutorial! I’m in love! I saw a bag much like this at a boutique a few weeks ago selling for over $100. I wanted it but couldn’t bring myself to shell over the big bucks… Now I can make my own!! HOORAY!
Thank you for sharing this. I have been wanting one of my own, but am too cheap to buy one. This just moved to the top of my to-make list.
I love this! Thanks for the pattern! I have some leather coats I have been waiting to recycle into a purse….now I just have to download and get started!
BrendaLea