
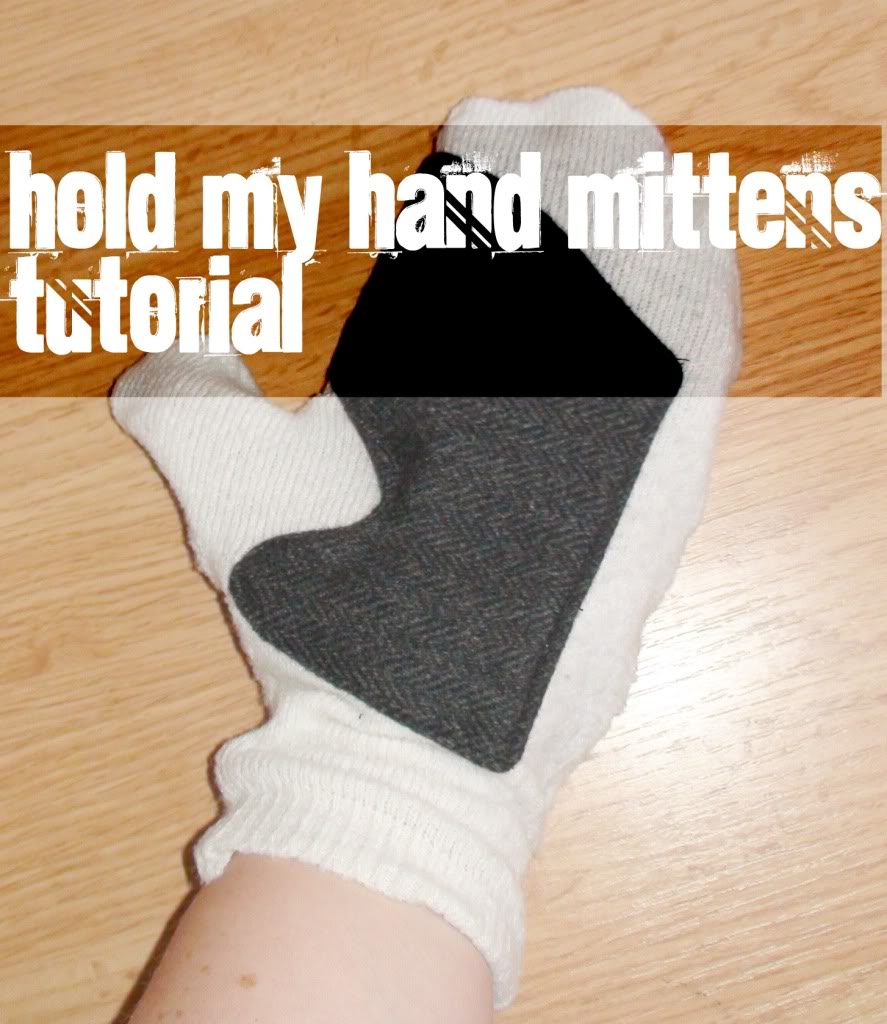
DIY HOLD MY HAND MITTENS TUTORIAL
Hey everyone! I’m Emily from the The Boy Trifecta, and I am so excited to be the creative guest on U Create today. And a little terrified. But mostly excited.
I love to sew, but prefer to see something I love and figure out how to make it, rather than use a pattern. Yup, this girl loves a knock-off. So, when I saw these, I knew I could definitely make them, and would have to anyway because they are no longer available for sale.
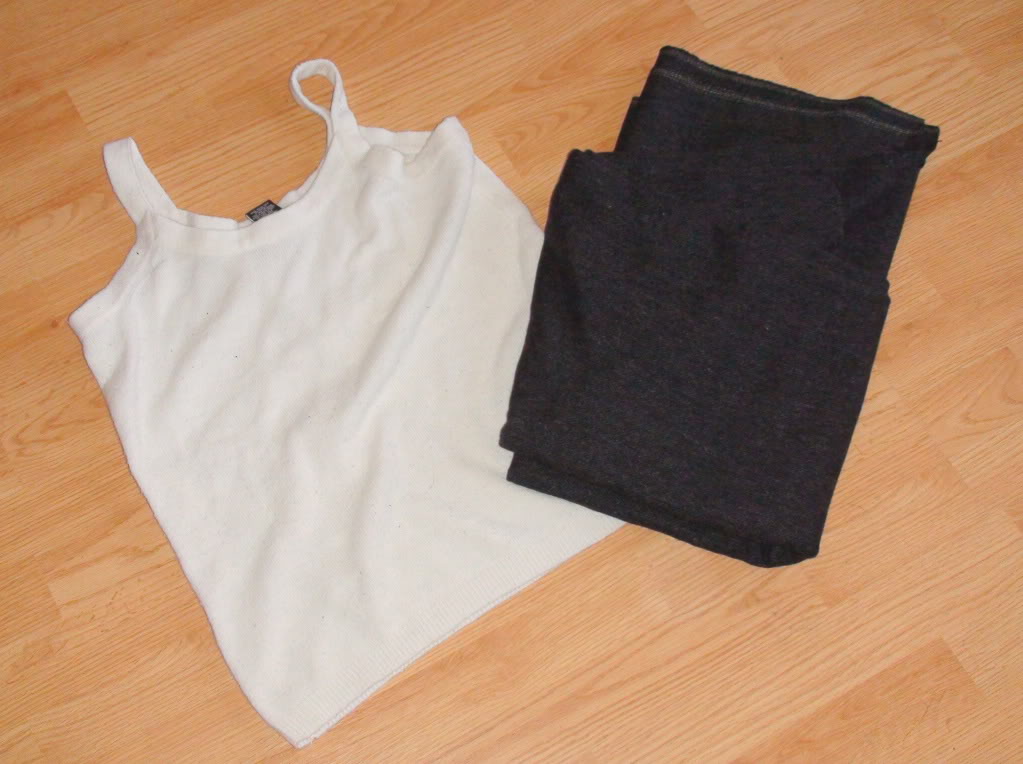
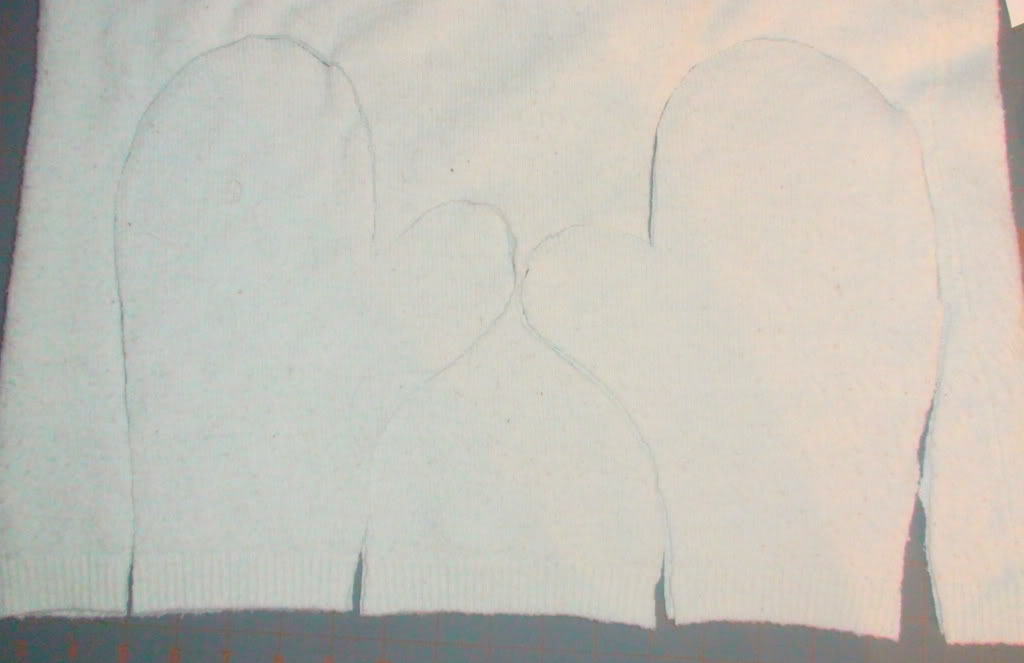
First, gather your supplies. I’m using an old sweater for the main part of the mitten, and some leftover fabric for the small mitt. You’ll need less than a fat quarter for the small mitts. You’ll also need a sewing machine, coordinating thread, two pieces of paper, and a pencil.
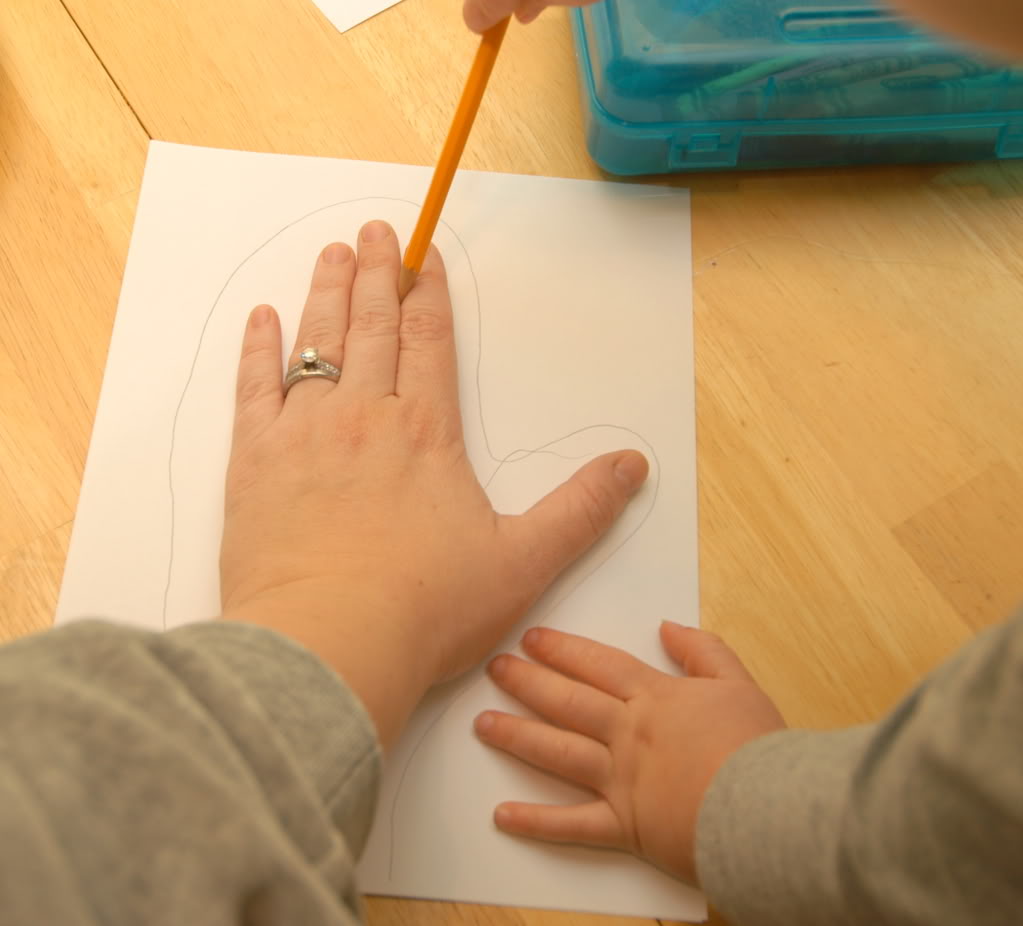
Next, we’re going to make our mitten templates. Trace your hand on a piece of paper, leaving enough room around the outside of your hand to allow some finger movement, and your preferred seam allowance. Let a little person help if they want.
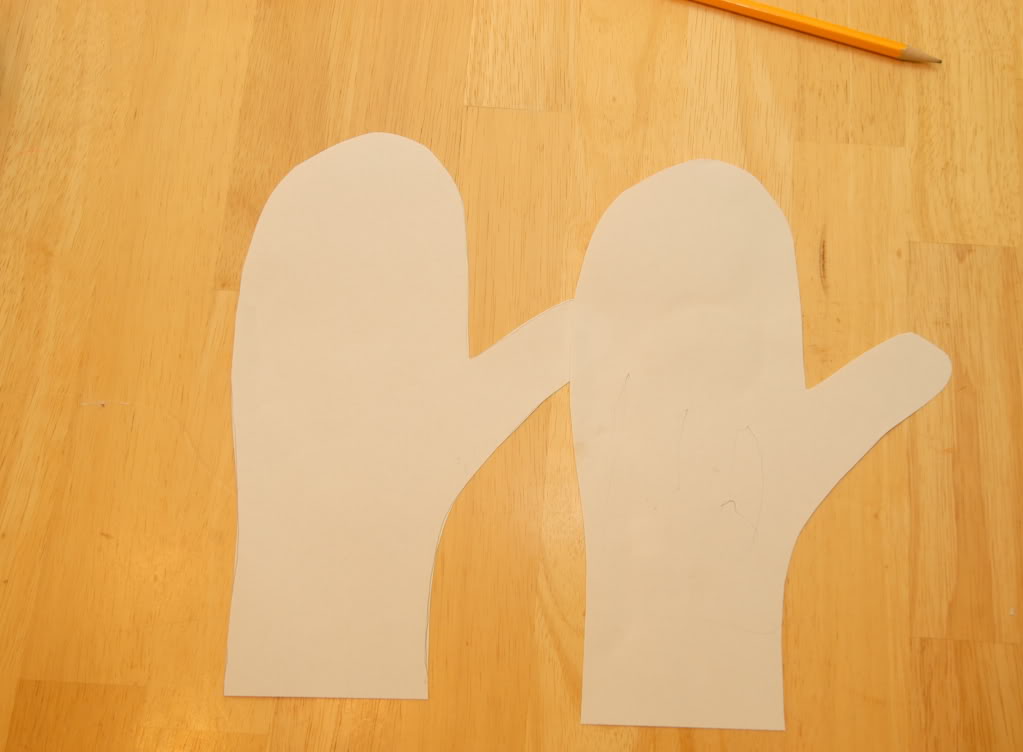
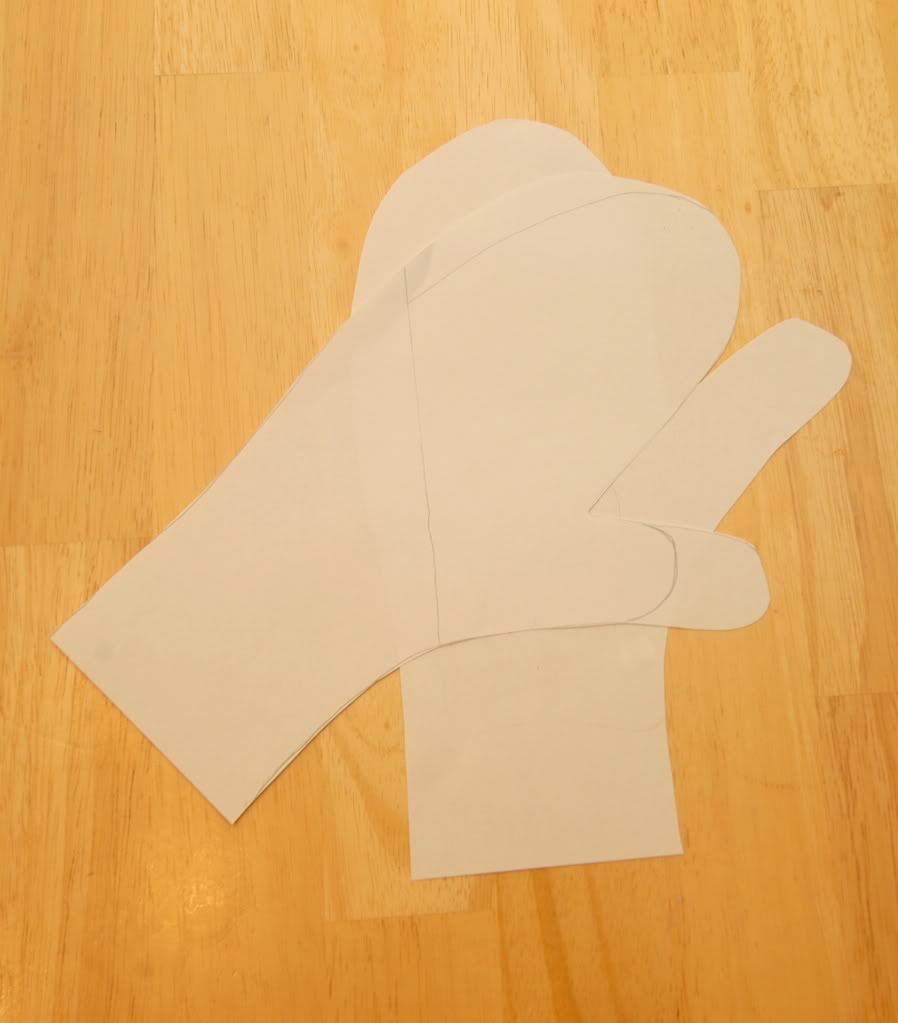
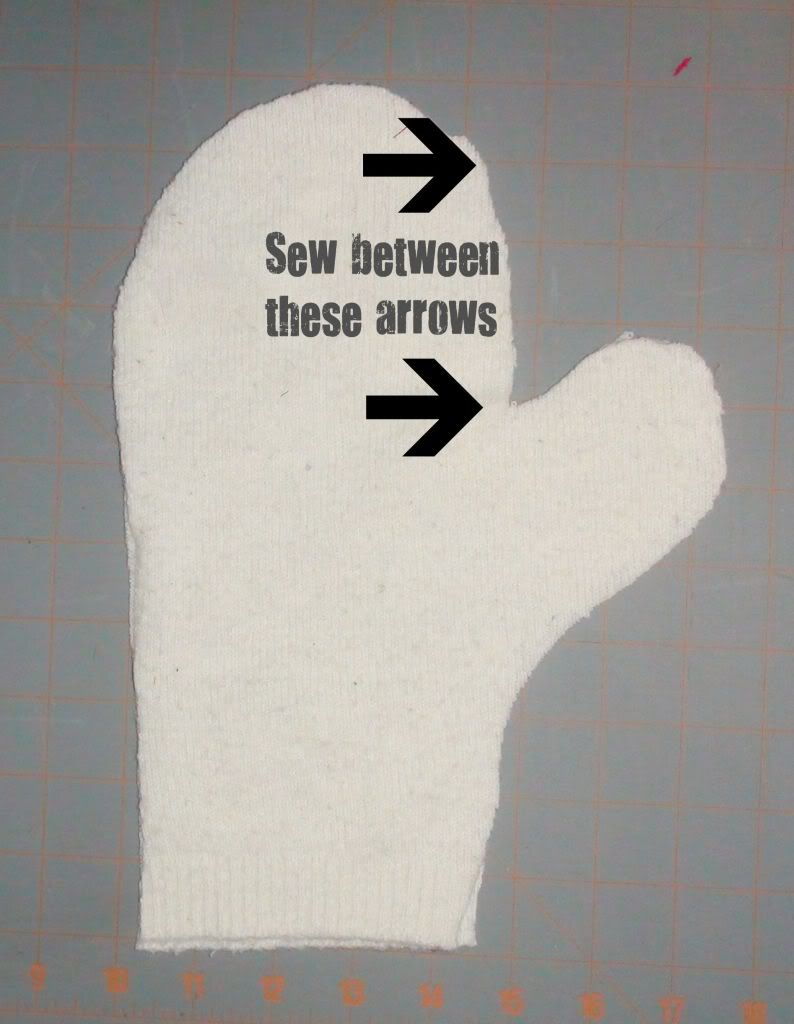
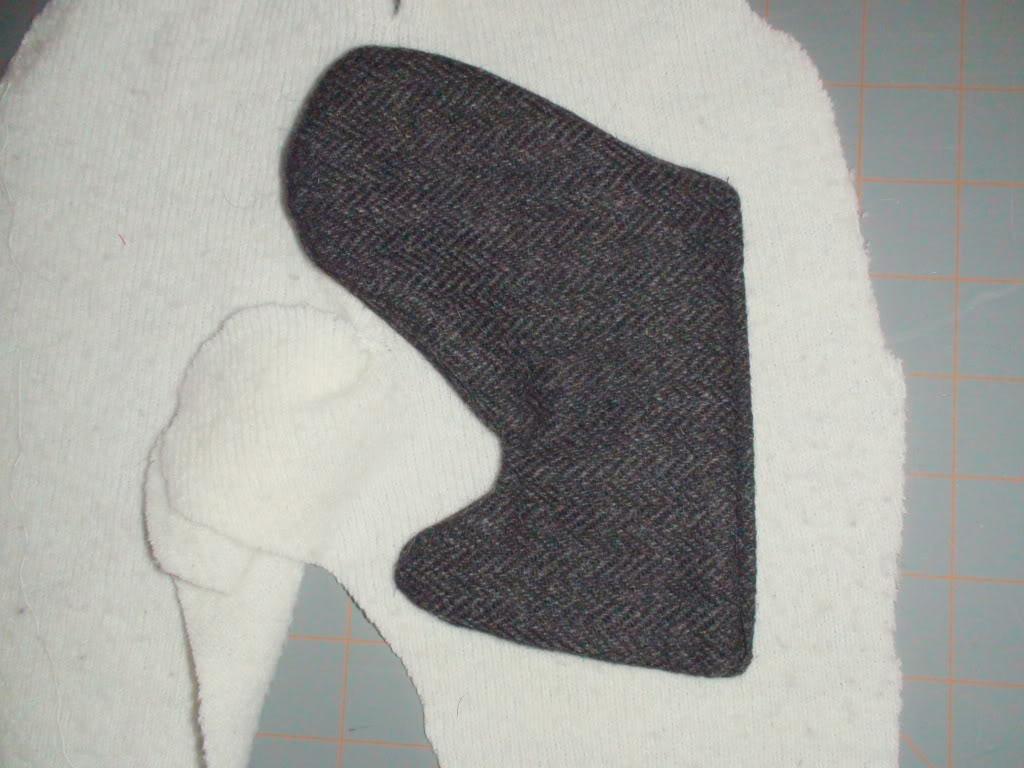
Next, take one of your templates, and place it diagonally across the other template, so that the edge of the mitt hangs off of the edge of the bottom mitten template, and the thumb and mitt of the top template form a “V” around the thumb of the bottom template.

Now we are going to edit our top template by: 1.shortening the thumb so that it end just inside the edge of the lower mitt 2. getting rid of the wrist portion of the mitten 3. slightly narrowing the upper mitt. See the faint lines on my template? That’s what you’re going for.
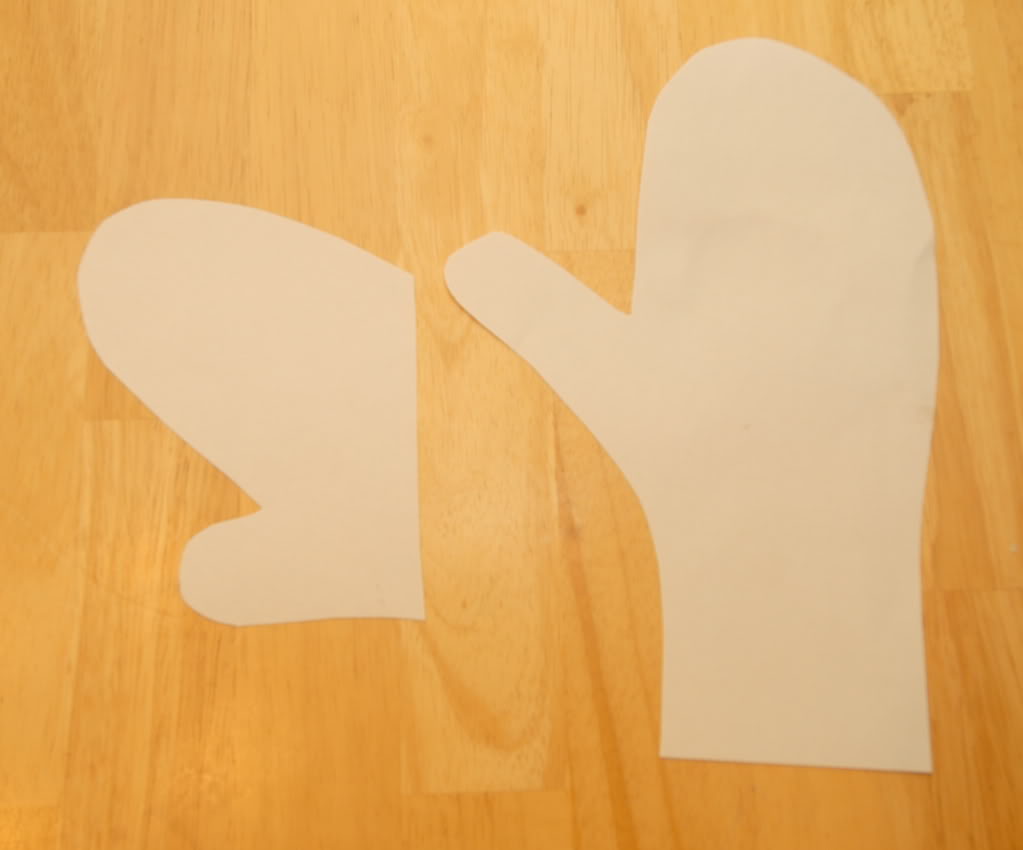
Now cut along the lines you’ve drawn on your template. You should have two pieces now – one for the main mitt, and one for the smaller mitt.
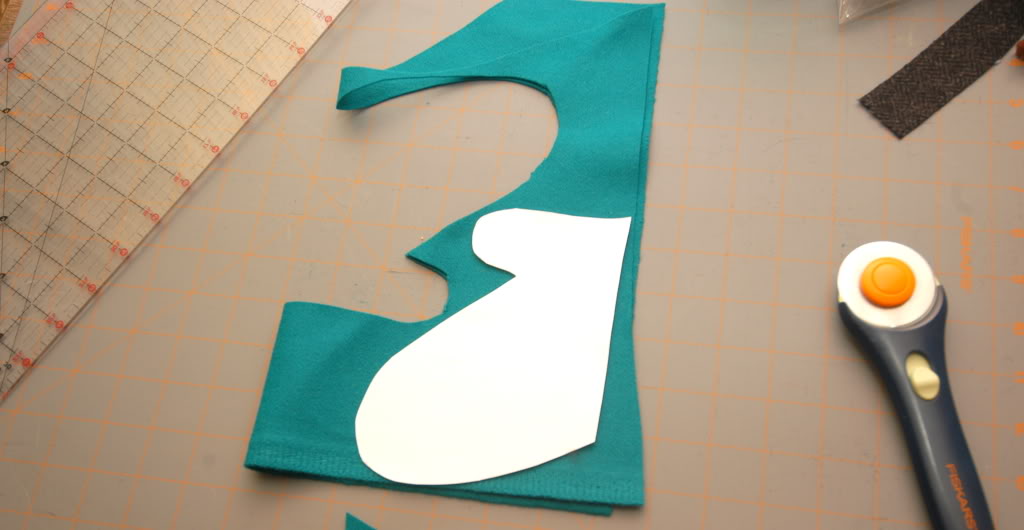
Now it’s time for the fun part. Grab your small mitt pieces and head to the sewing machine. Place right sides together and sew all around the mitts, leaving a few inches along the straight edge for turning.
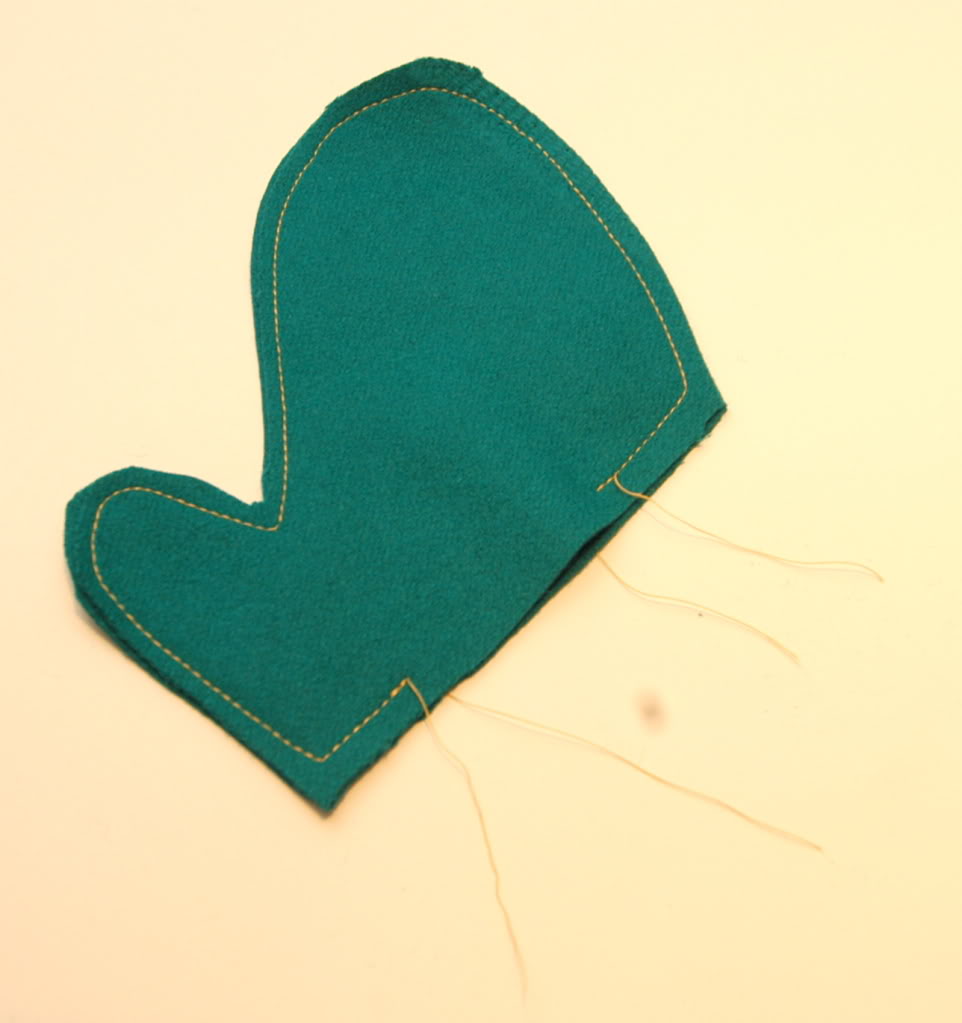
Clip the corners and cut notches in the curved portion of your seam allowance so that your corners are sharper and your curve is smoother once you turn it right side out. Using a turning tool (scissors, knitting needle, crochet hook, pencil – anything with a bit of a point) turn your mitts right side out and topstitch along the straight edge, sewing the opening shut.
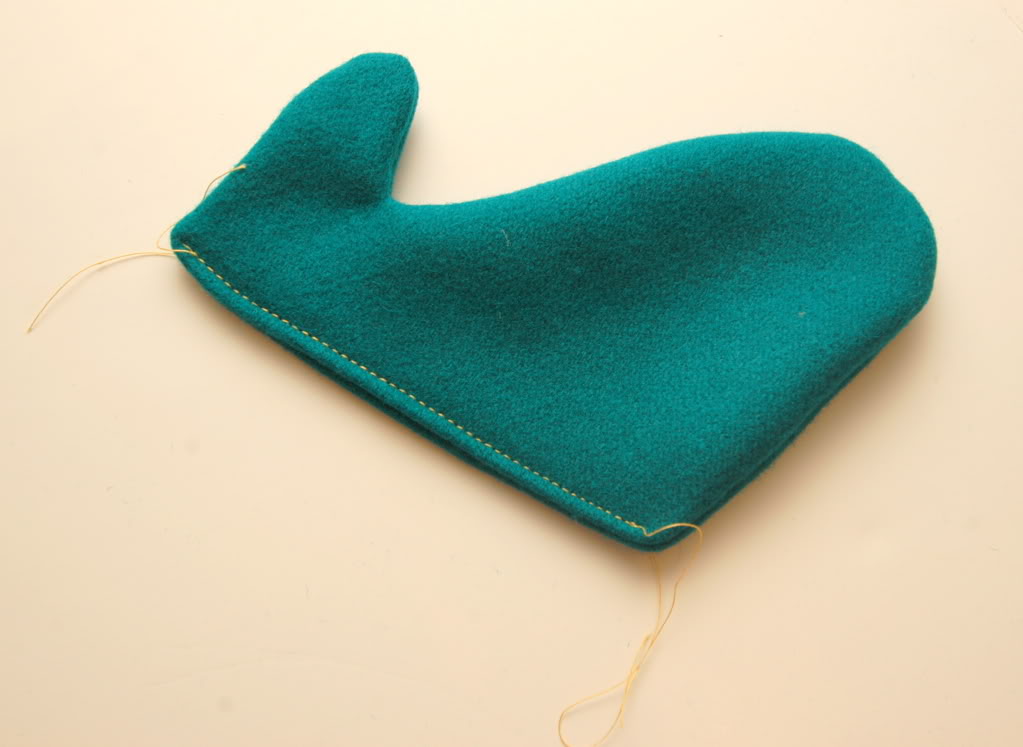
Repeat for both small mitts. Now grab your large mitt pieces. Place them right sides together, and sew only along the straight edge above the thumb. If you are using a knit fabric, use a zig-zag stitch or a serger.
Turn right side out.
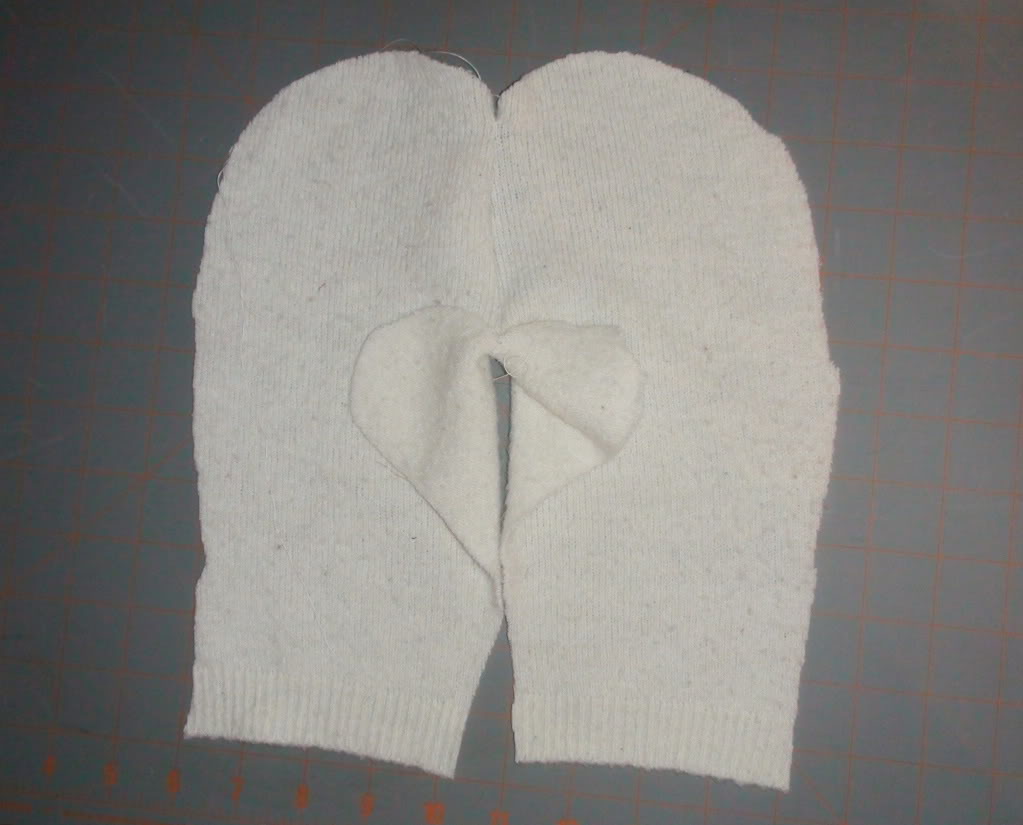
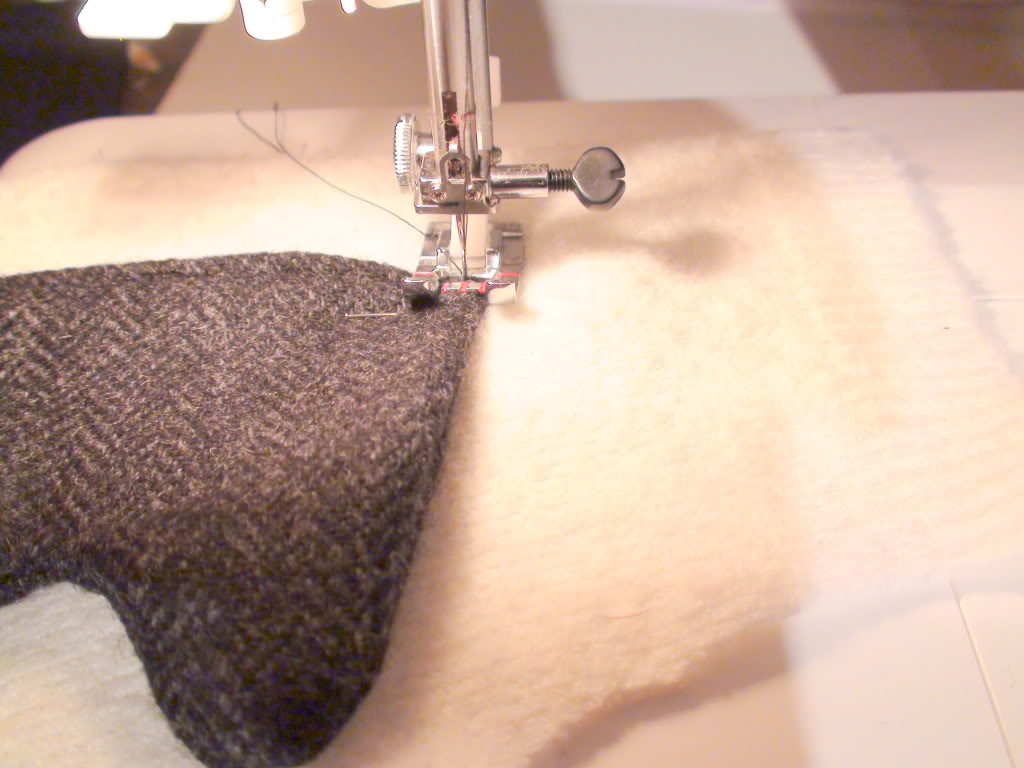
Grab one of your small mitts and place it so that the thumb of the small mitt makes a “V” across the thumb of the large mitt. The finger portion of the small mitt will cross the seam you just sewed in the large mitt.
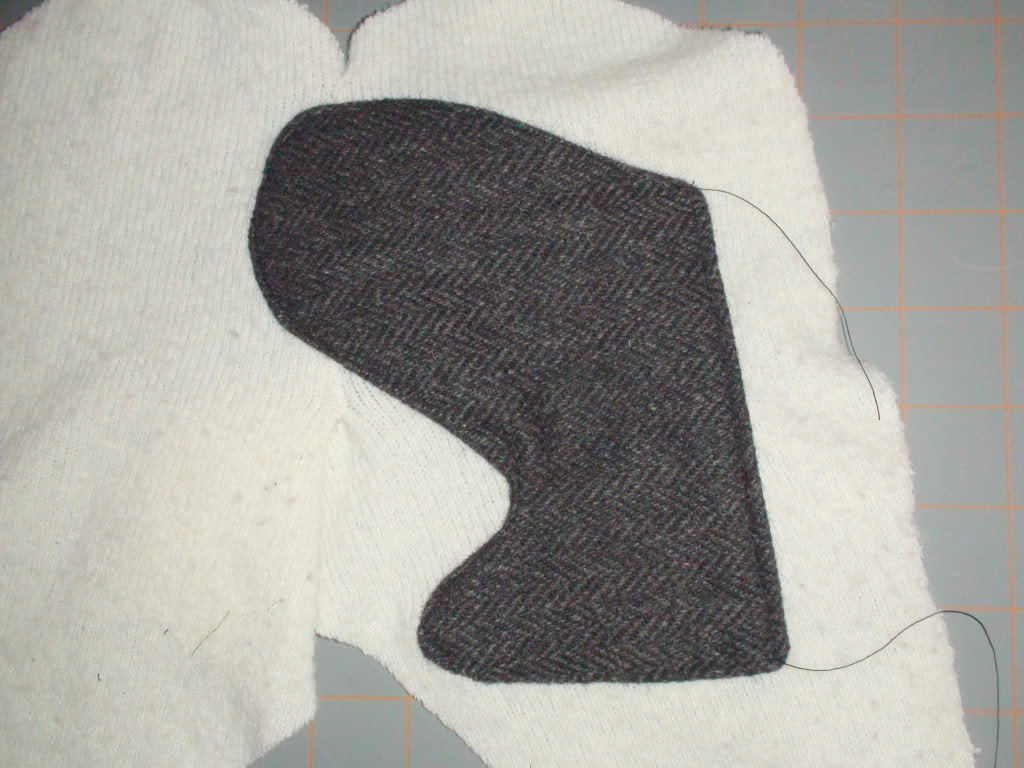
Pin small mitt to large mitt, and edge stitch around the curved edges of the small mitt. Leave the straight edge open so a little hand can fit in there.
When you’re done, it should look like this:
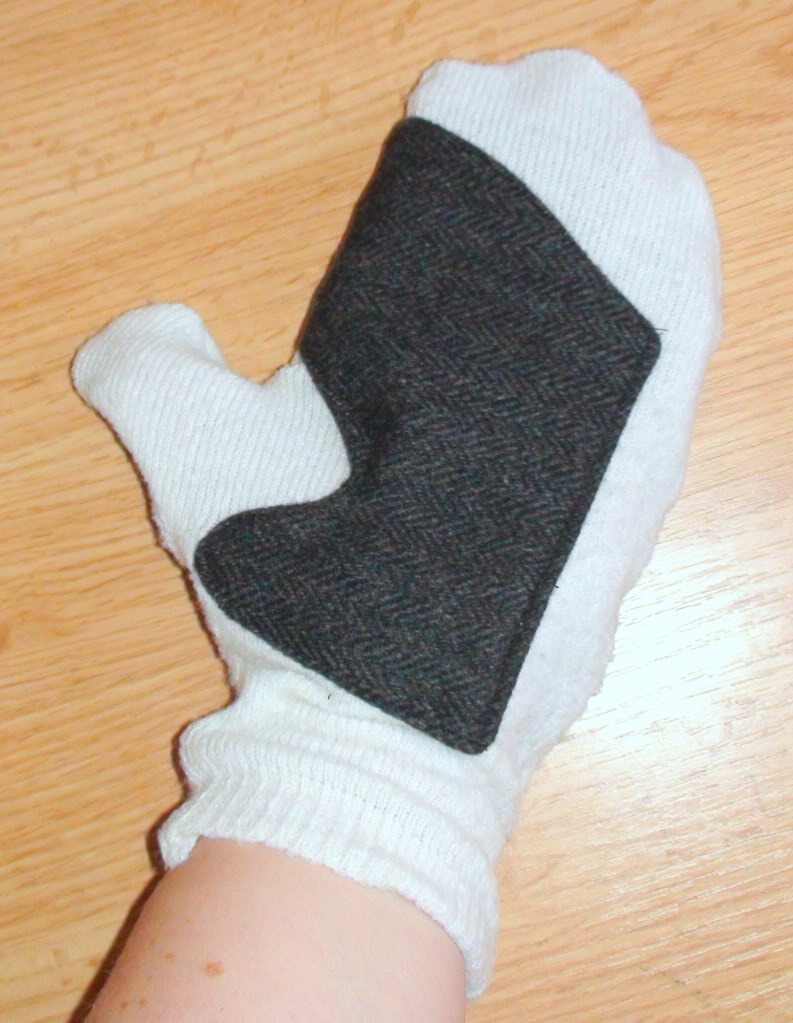
You’re almost finished! Now, just fold your main mitt right sides together and finish stitching around all the edges except the bottom, where your hand will go. Again, if your fabric is knit, use a zig-zag stitch or a serger. Turn it right side out. LOOK! You’ve got a “hold my hand” mitten. Repeat for mitten 2. VERY IMPORTANT: Make sure on your second mitten, you place your small mitt on the OPPOSITE side from the mitten you just created. This way, you will have a left mitten and a right mitten. Basically, if your mittens are laying on a table, you should see the main body of the small mitt when the thumbs of the large mittens are facing each other. Are you thinking WHAT IS THIS LADY TALKING ABOUT? See the original photo montage at the top of this post, and check out the top left photo for further clarification.
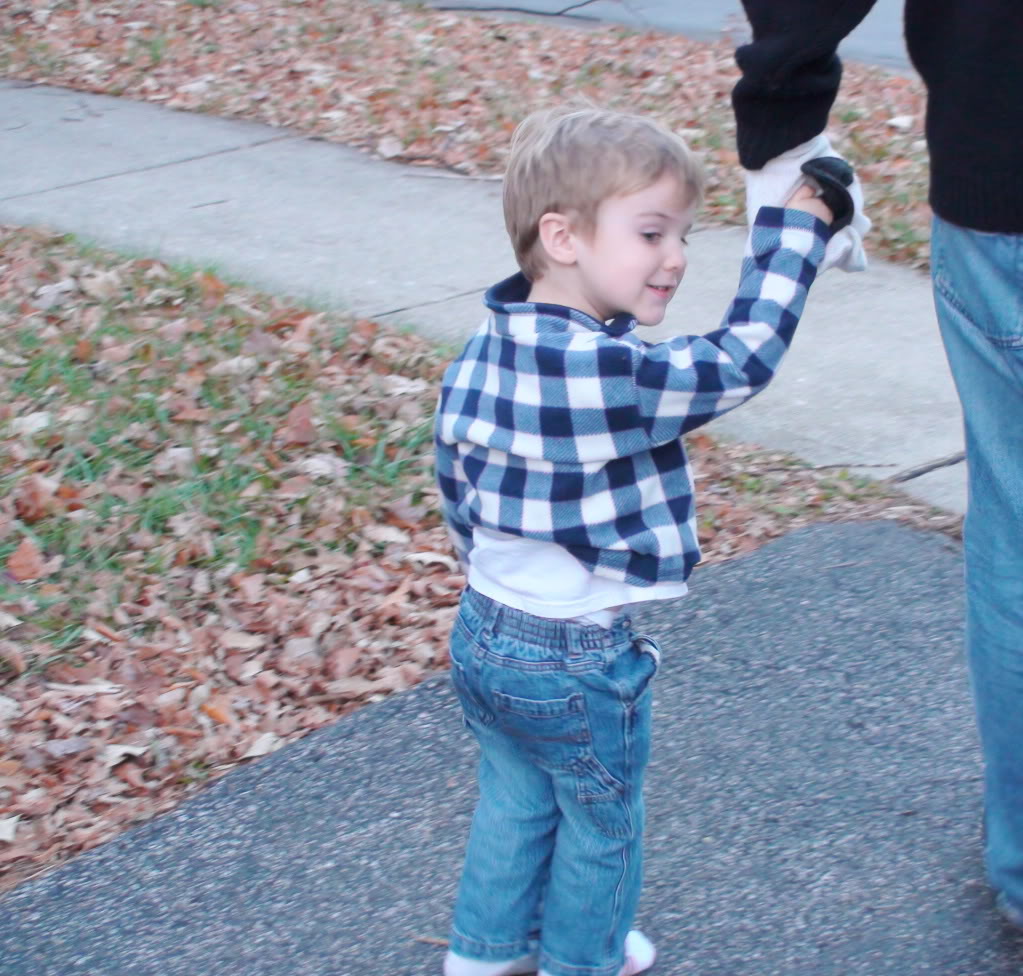
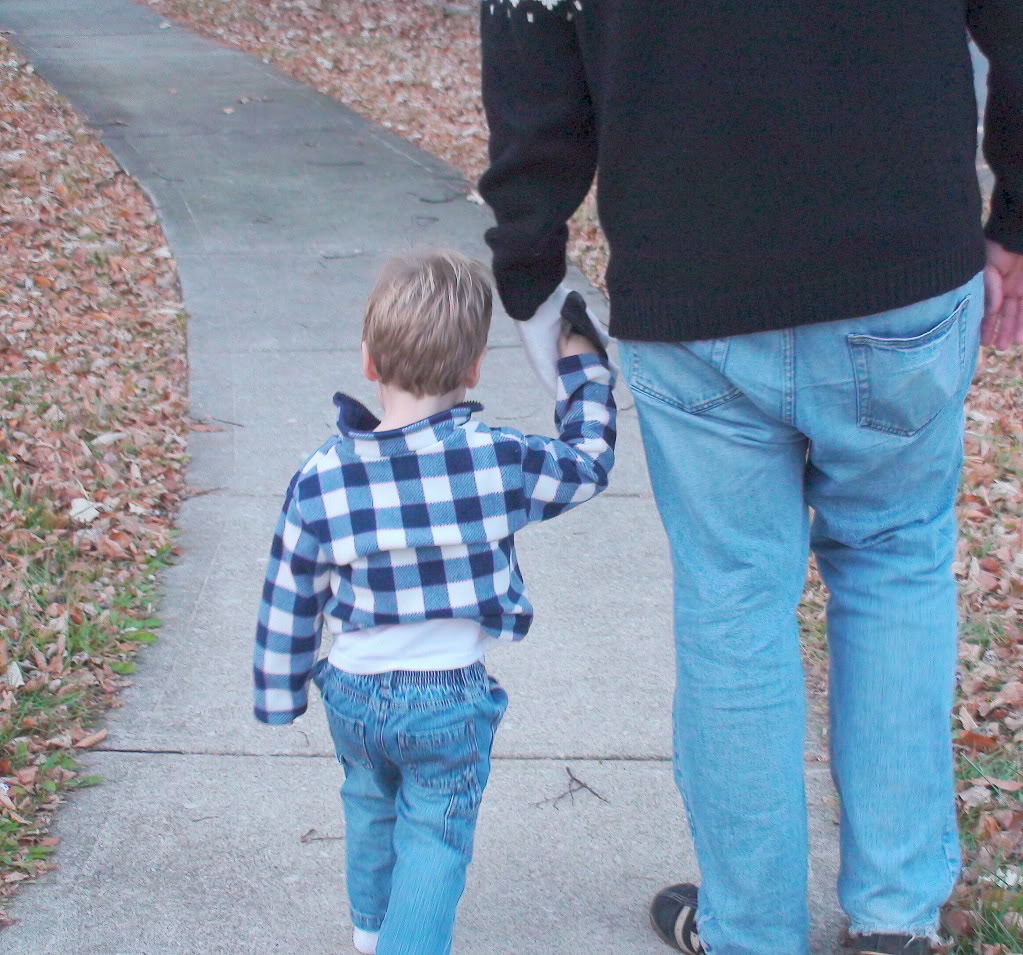
This final step is very important: Grab the cutest kid you can find and take them for a spin!


These are absolutely adorable!!! I love them!
Thanks so much for having me Kari!
These are AMAZING!! So clever!
Is there a particular reason you cut the “upper mitt” just as large as your own just making the thumb shorter? It would make much more sense to make a children sized mitt instead of cutting the grown-up mitt shorter. It looks a bit weird. But I suppose there must be some practical reason for that decision.
Hi Diana! You are right that there is a practical reason for this decision. 🙂
The first time I sewed these, I did exactly what you suggested, because that seemed to make the most sense. However, when I went to sew them to the main glove, the child-sized mitt is too small to obtain the proper hand-holding position, with thumbs interlocked and fingers over the side of the bigger hand. The entire mitt ended up in the palm of the adult hand!
So, I went back to the original photo and noticed that their small mitt was really just a modified big mitt, and went from there.
Hope that answers your question! I agree that it isn’t intuitive to make and altered big mitt, but that is what worked the best.
They turned out great! Too bad my kids all hate me and don’t want to hold my hand. 😉
Very cute- I like!
sooooo sweeeet! i LOVE them! : )
you need to mass produce these! I see a future trend!
This is too cute! Love it!!!
Hi Sir, You are really good writer.
Have published about it before, but it holds repeating: A weblog is a actual weblog on u-createcrafts.com.It is a supportable website for of all area.It websites help us many way.I all-time really like this website.So,I want to discuss There are Oil paintings for sale on the market all right where you are and all all over the globe. If you cannot discover a supplier that you like or believe in, make time to look on the internet for one and you may be amazed. Usually on the internet traders and performers are able to provide you costs that are less and excellent that is fantastic.
Thank you very much for your Amazing Article.
looks like a have a project for tomorrow night!!!!
Nice Post !