
I’m Abby from Sew Much Ado, and am thrilled to be back again as a creative guest at U Create. I’ve had the pleasure of meeting Kari in person, and I can say that she’s even nicer (and cuter, if you can believe it!) than you’d imagine. At Sew Much Ado you can find plenty of tutorials and patterns for your kids, for your home, and for you!
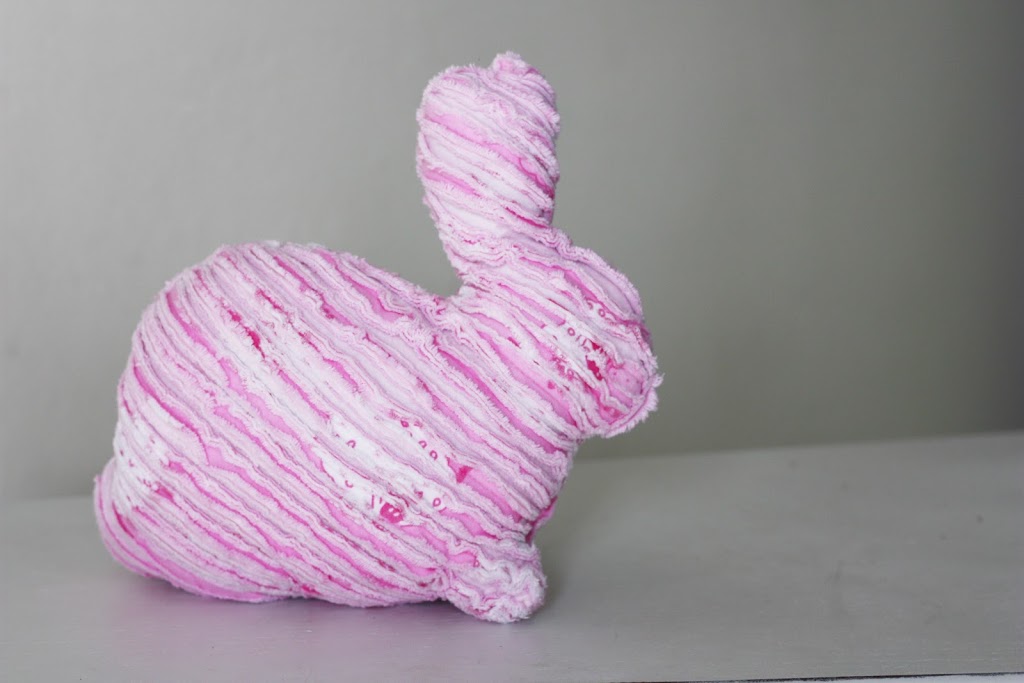
With a printable template, this faux chenille bunny is the perfect gift for any little girl, whether it’s Easter or not! With both Easter and a baby girl coming arriving in our home next month, today’s project is one that will get double the use – my favorite kind of project!
Ready to get hopping?
Materials:
8 12″x12″ pre-washed flannel pieces – can be assorted colors and prints
polyfill stuffing
pins, scissors, and needle suitable for heavy fabric (size 14 works great)
Click HERE to download and print the bunny template.
Directions:
1. Print the bunny template using the link above. Ensure your printer is not set to scale before printing. Join template pieces along dotted line and cut along solid line.
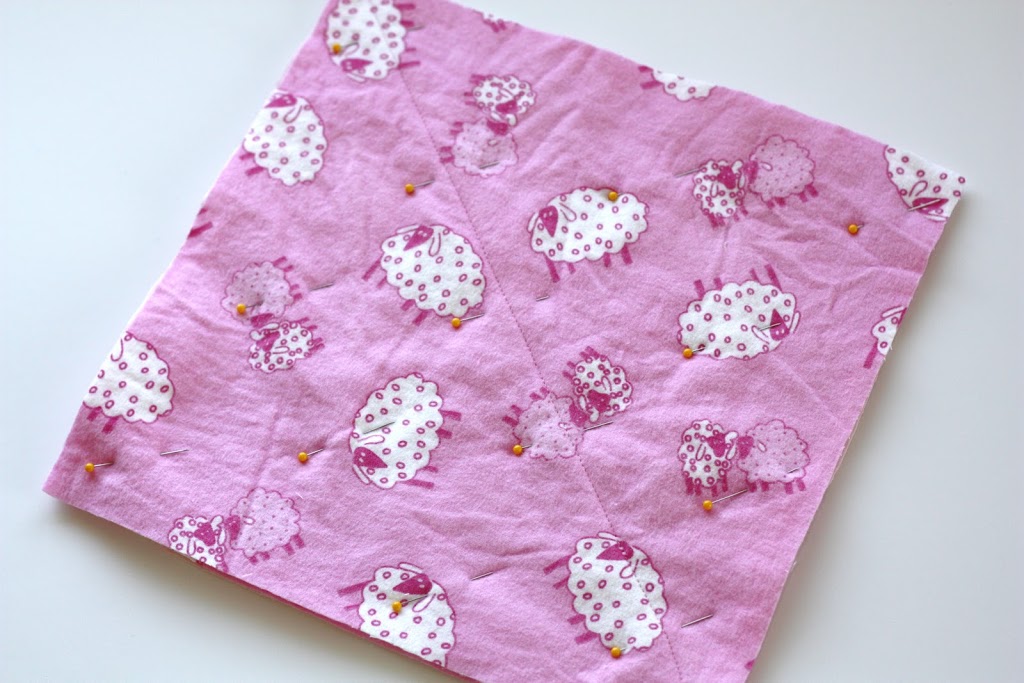
2. Layer two sets of four 12″x12″ flannel pieces on top of each other, matching all four sides. If you are using assorted colors or prints of flannel, alternate the colors and prints evenly as pictured.

3. Pin flannel layers together every few inches throughout each stack.

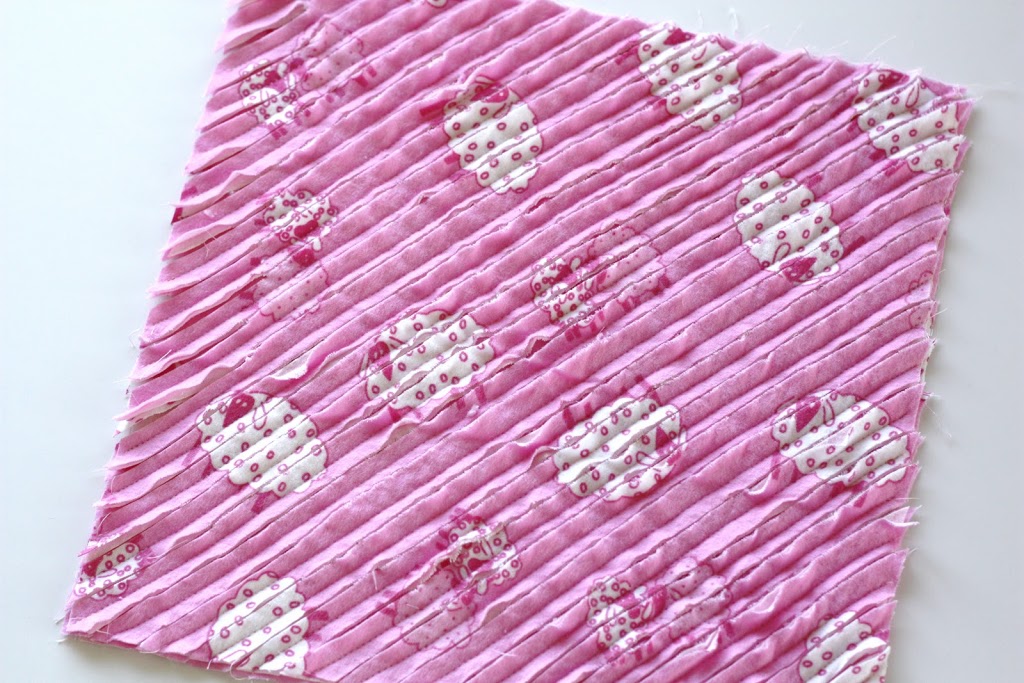
4. Using one stack of flannel, stitch from one corner to the opposite corner in a diagonal line. If you have a walking foot, use it! It will help to keep all four layers in place as they are fed through the machine. If you don’t have a walking foot, you may want to reduce the presser foot tension slightly to help prevent slipping and stretching of the top flannel layers.
5. Stitch parallel to diagonal line, 1/2″ apart from first diagonal line, and keep repeating until the entire 12″x12″ flannel stack is stitched with diagonal lines.
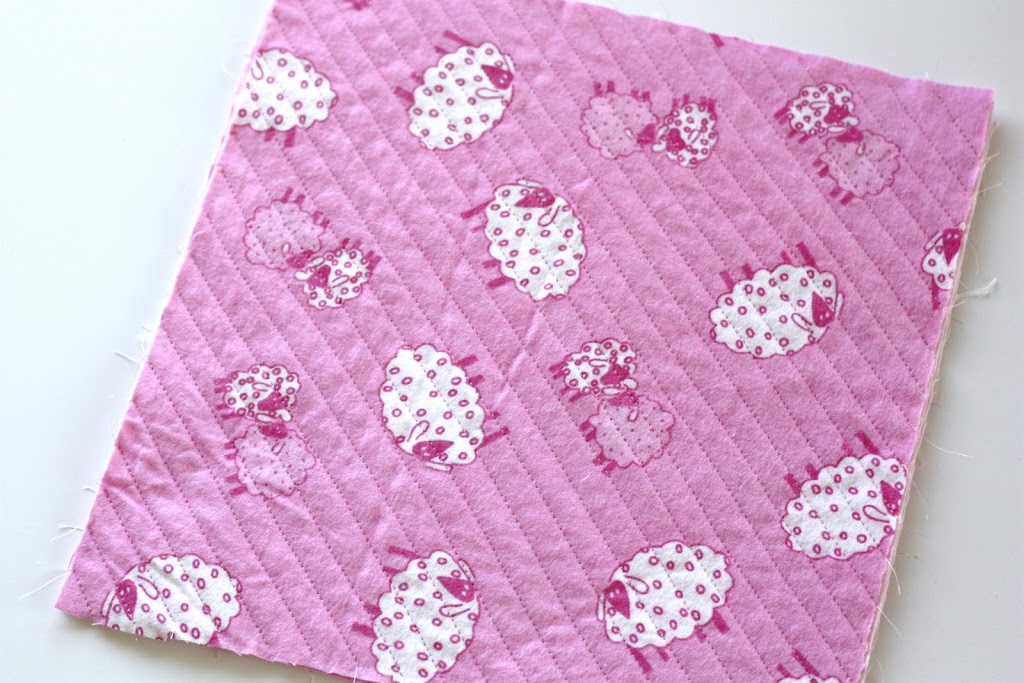
6. Repeat steps 4-5 with second flannel stack.
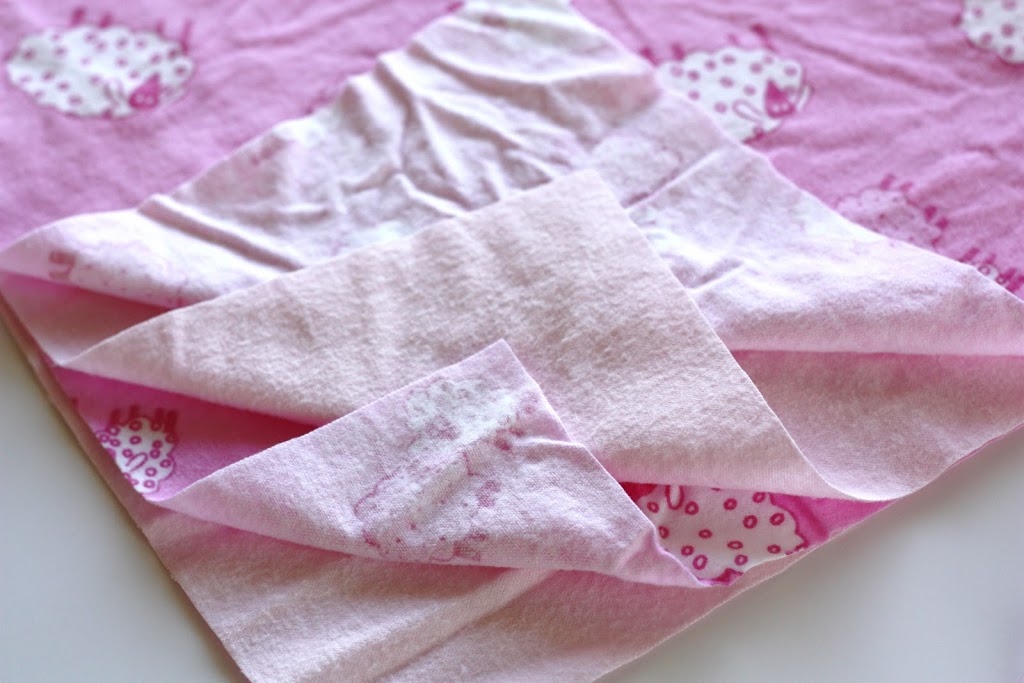
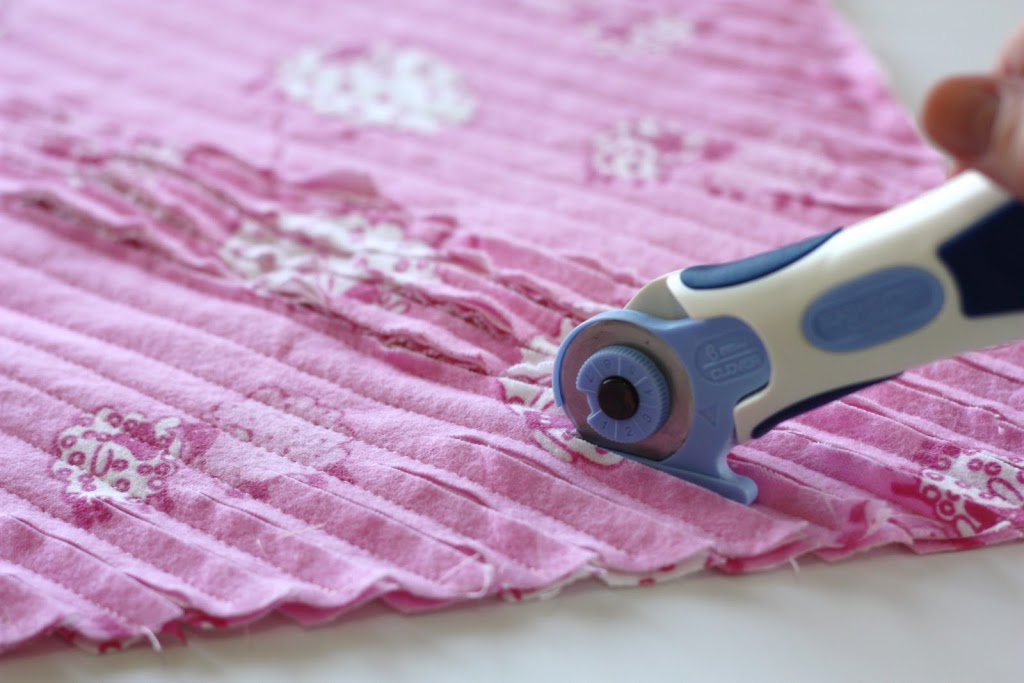
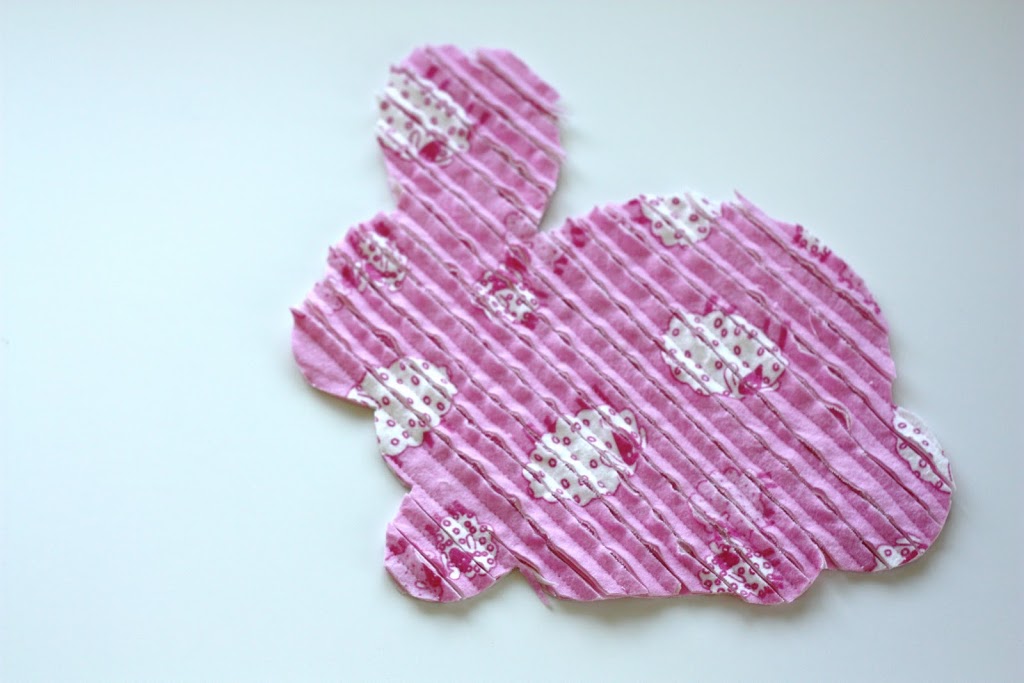
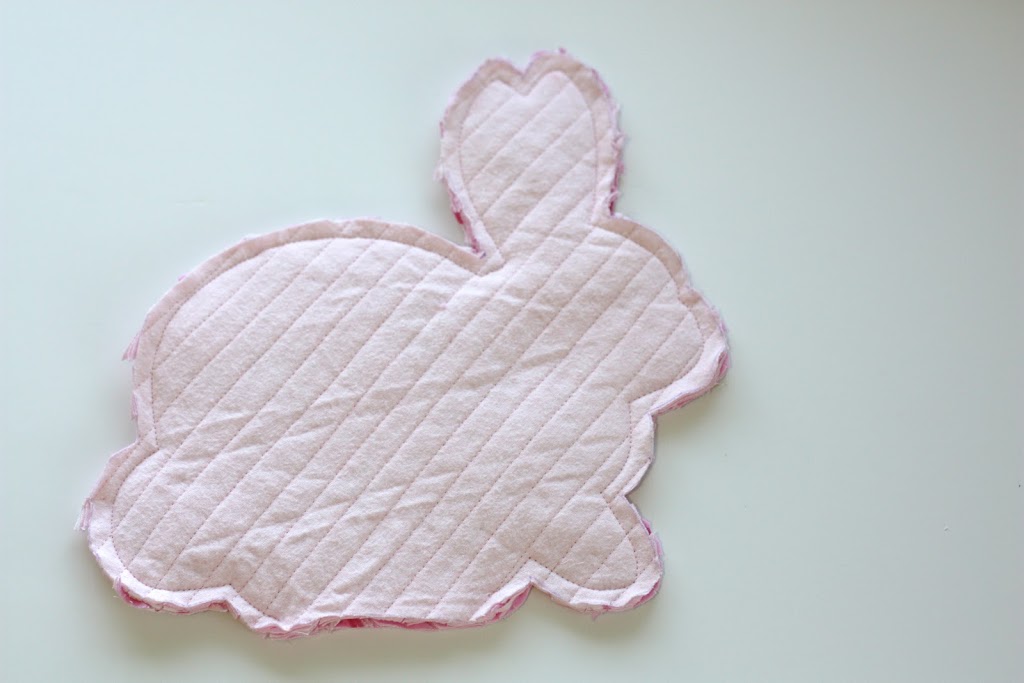
7. With one flannel stack, cut in middle between each set of stitch lines, leaving the bottom layer uncut. If you have a slash rotary cutter, it will save a bit of time, but scissors work just as well.
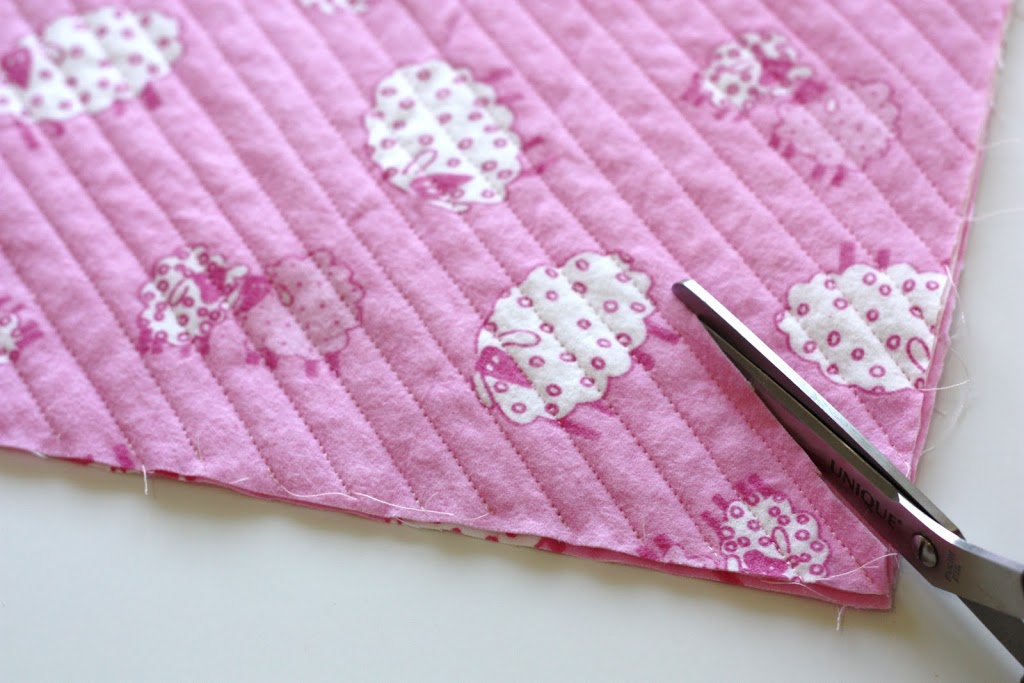
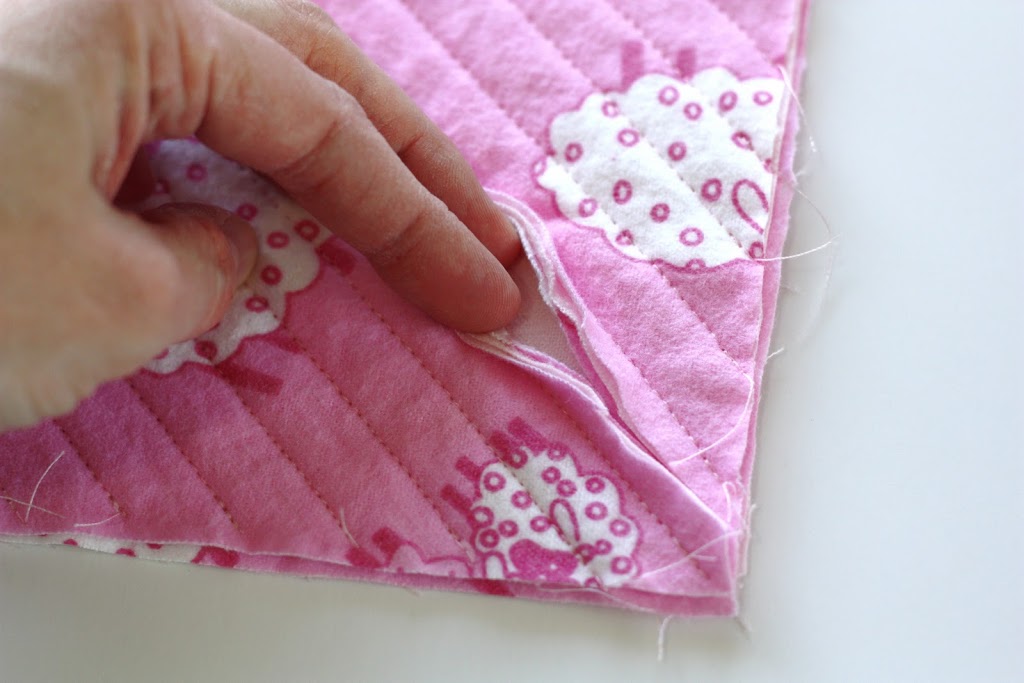
8. Repeat step 7 with remaining flannel stack.
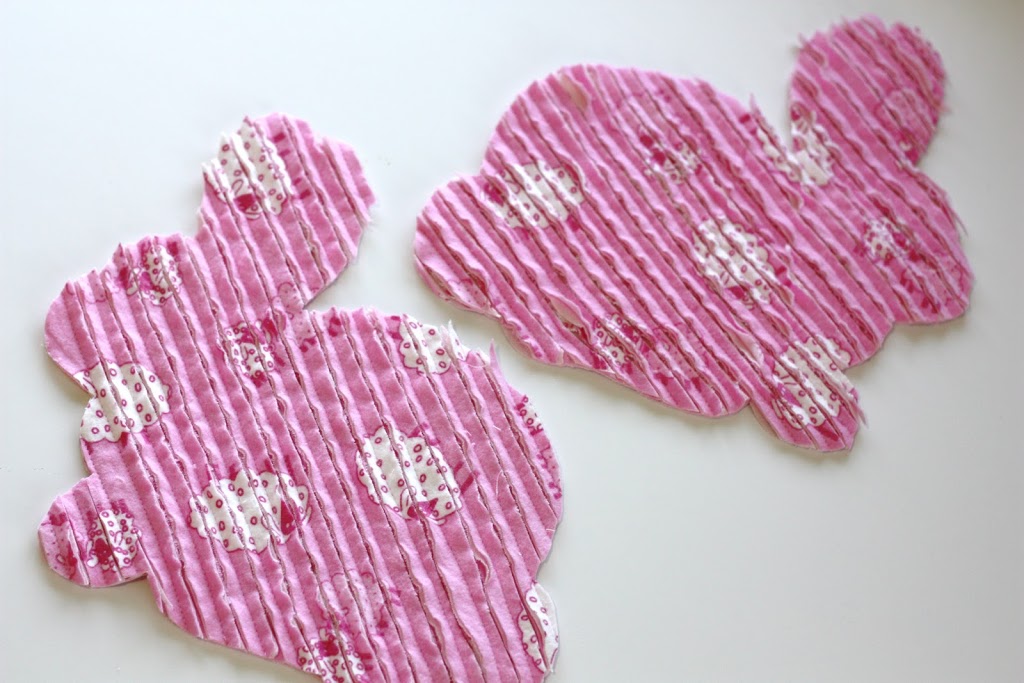
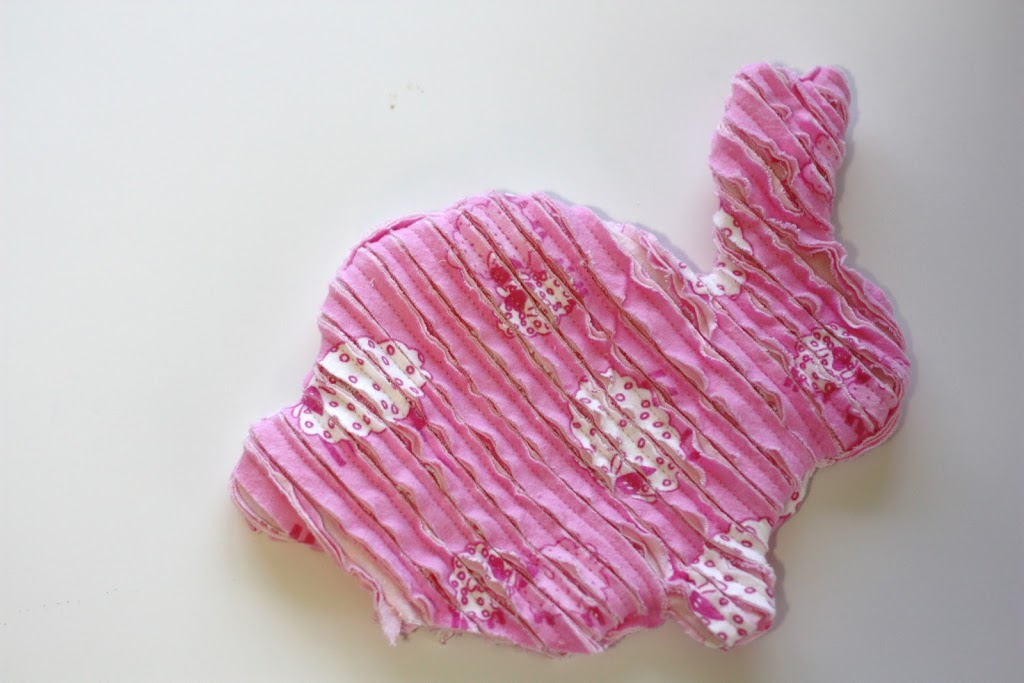
9. Trace bunny template onto uncut side of one flannel piece. Cut along traced line.
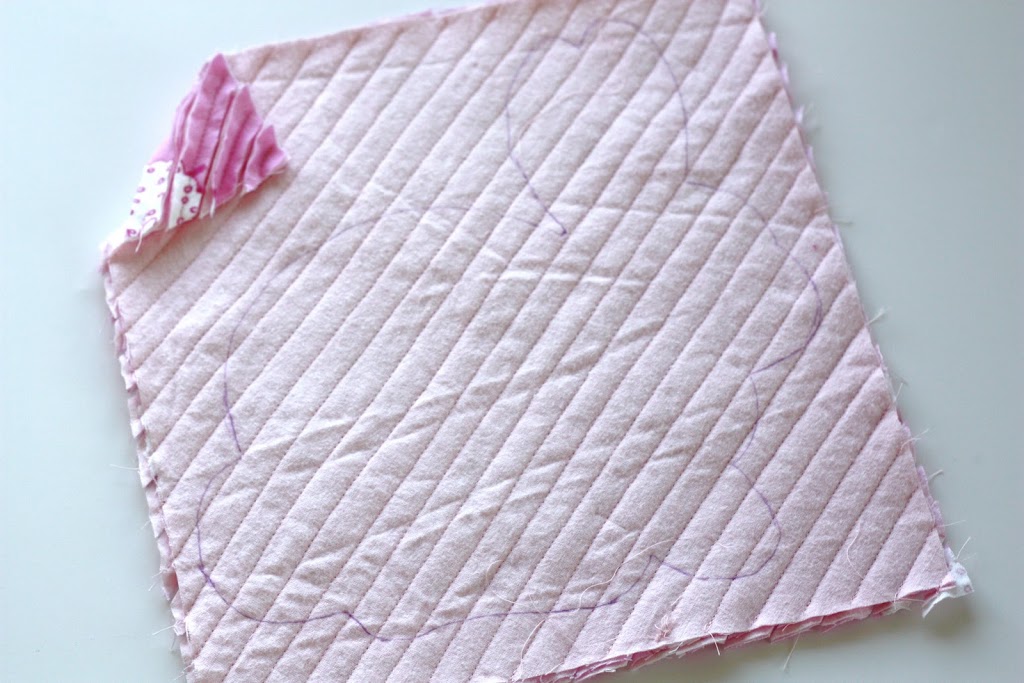
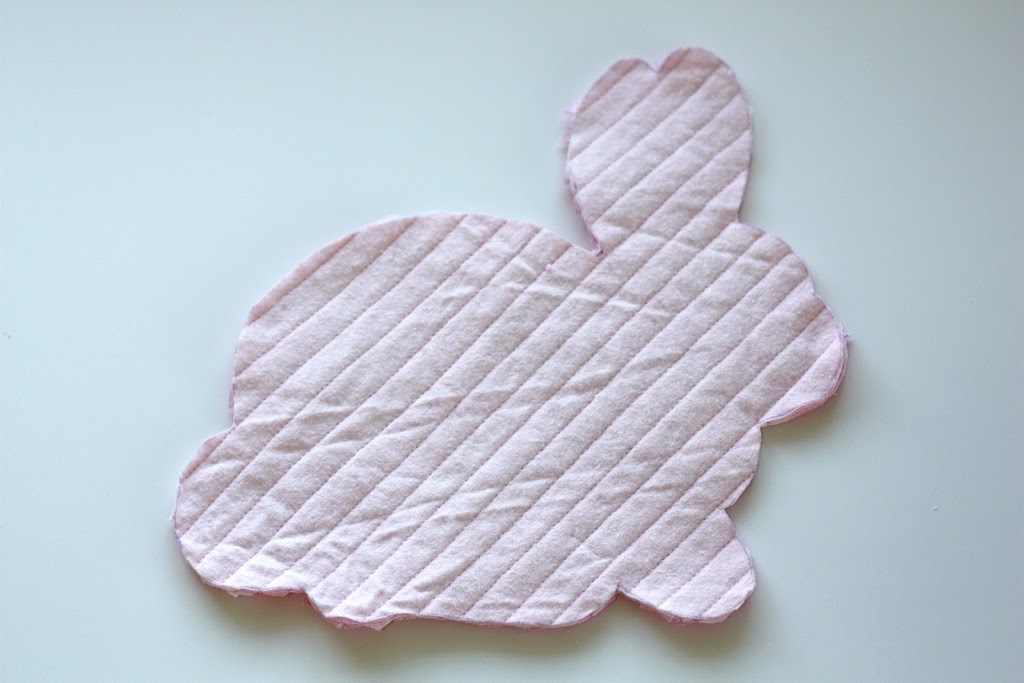
10. Flip bunny template over and trace onto uncut side of remaining flannel piece (both bunnies should be facing opposite directions). Cut along traced line.
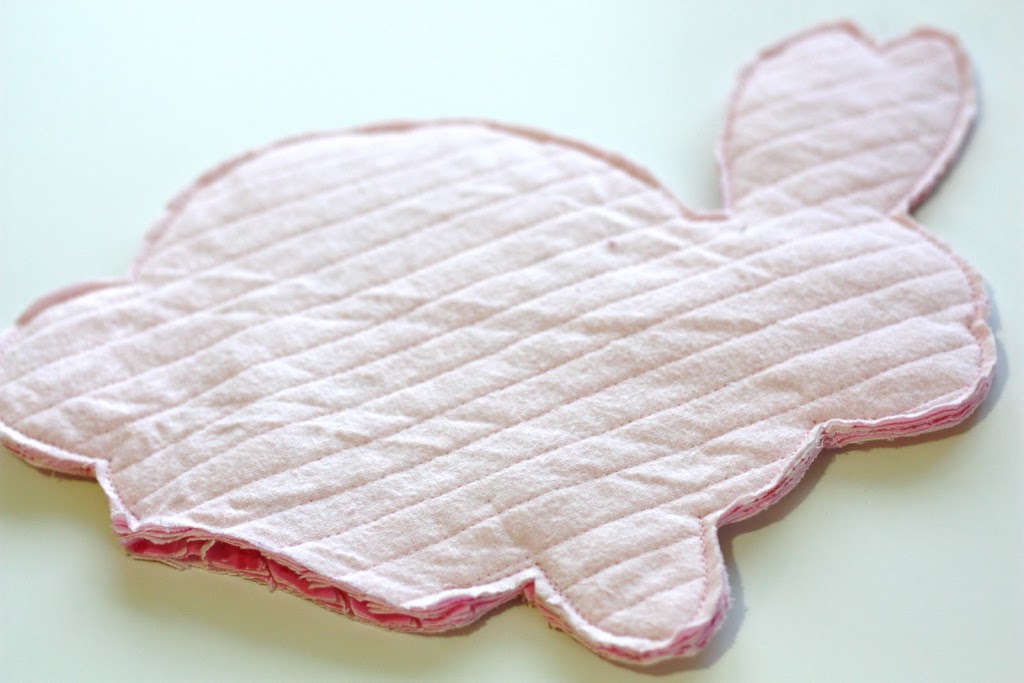
11. Pin bunnies together with uncut sides facing outward, matching all edges. Stitch around raw edges using a 3/8″ seam allowance, leaving 4″ opening at bottom of bunnies.
12. Stitch again around raw edges using a 3/8″ seam allowance for stability, leaving same opening. Trim seam allowance to 1/8″, clipping close to any tight curves and corners.
13. Turn bunny right side out, ensuring all curves and ears are thoroughly turned. Using polyfill stuffing, fill bunny firmly through opening.
14. Turn raw edges of opening to inside of bunny and handstitch opening closed using a ladder stitch or other invisible stitch.
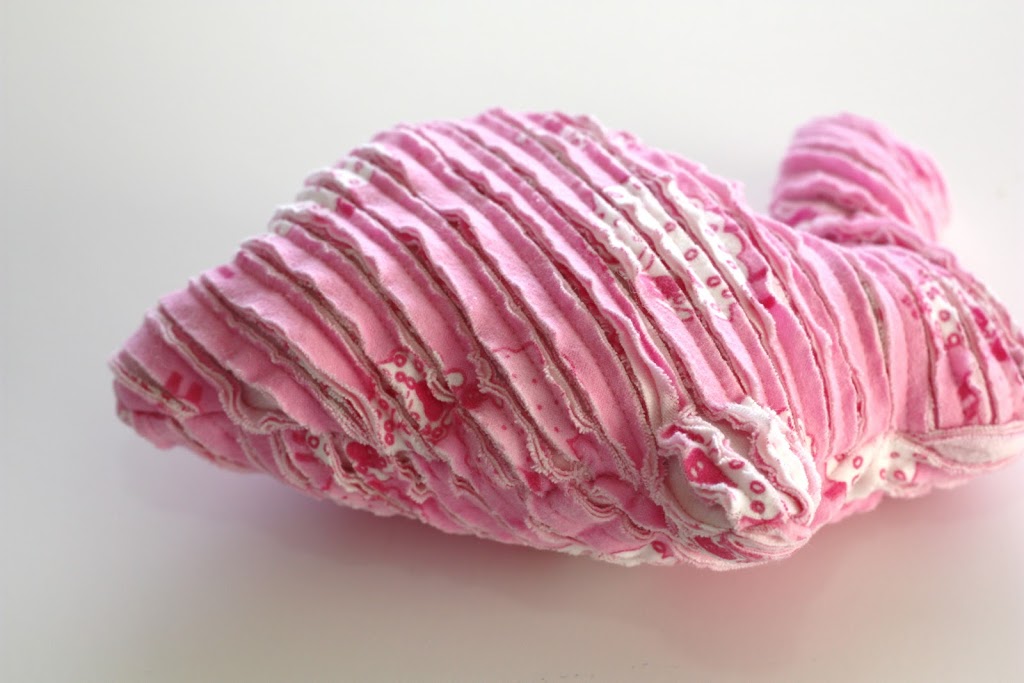
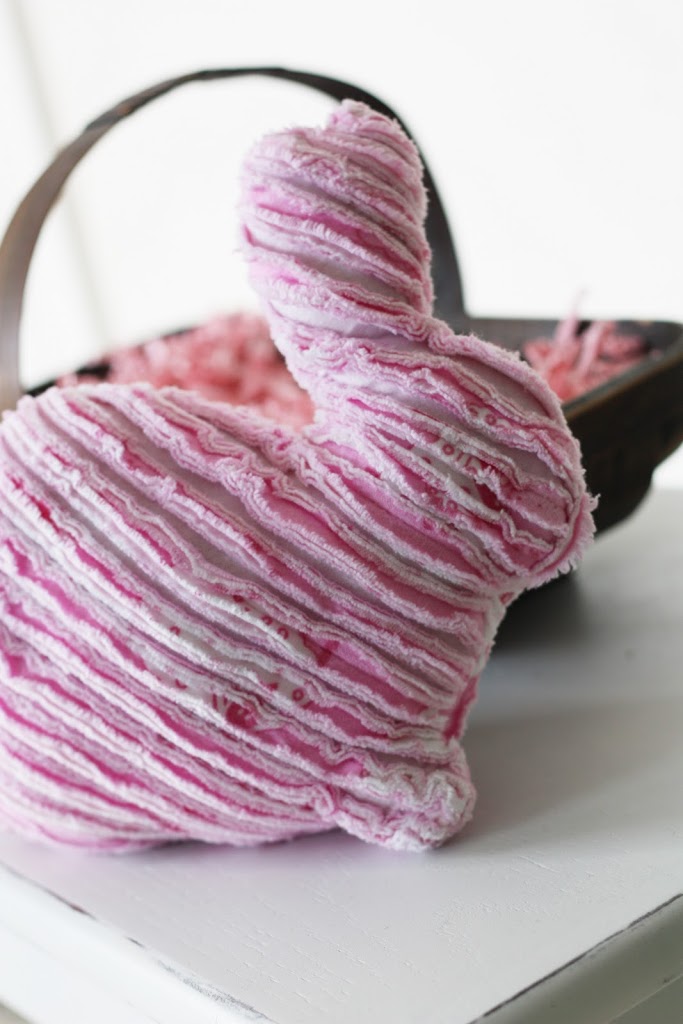
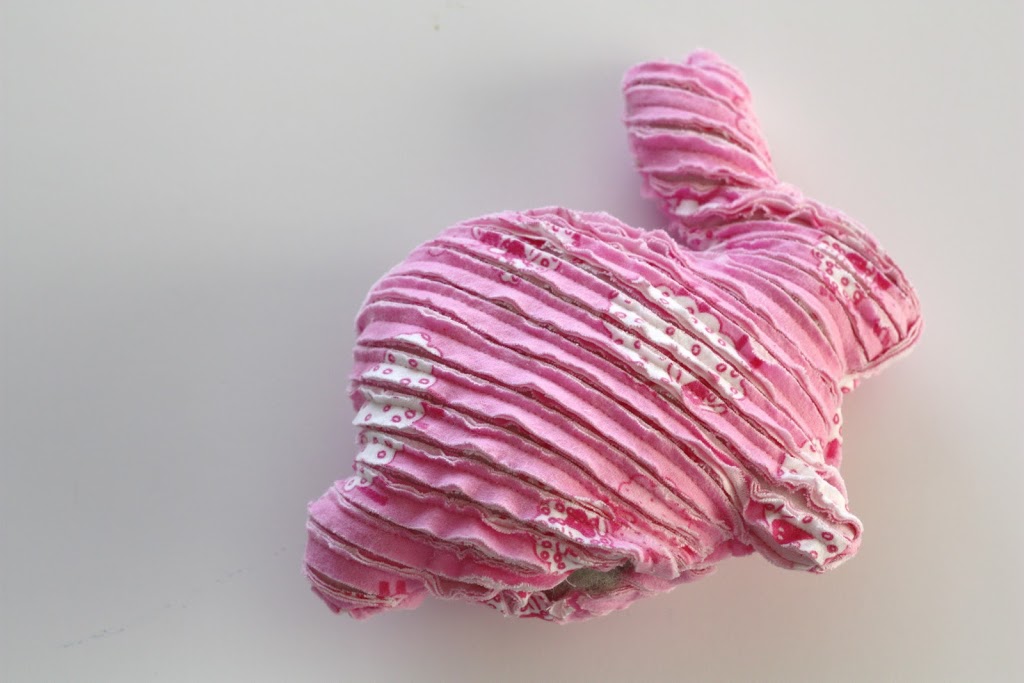
15. Now for the fun part – throw the bunny in the wash (with a load of towels ideally), and then into the dryer. The raw edges will fray and create the faux chenille look!
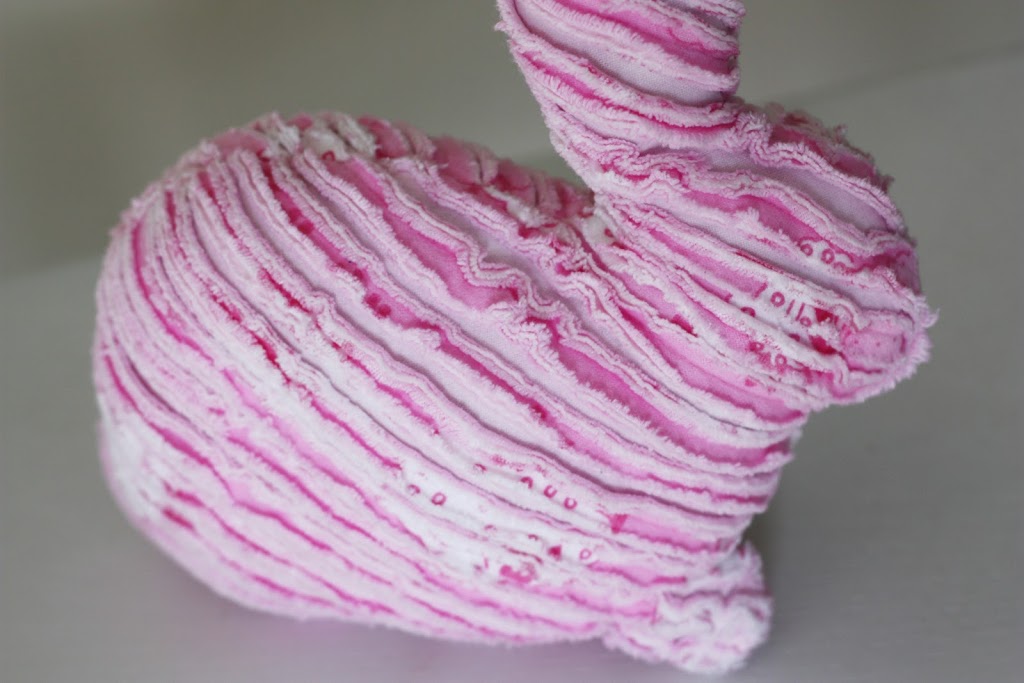
Your bunny will become softer and fluffier with each additional wash!
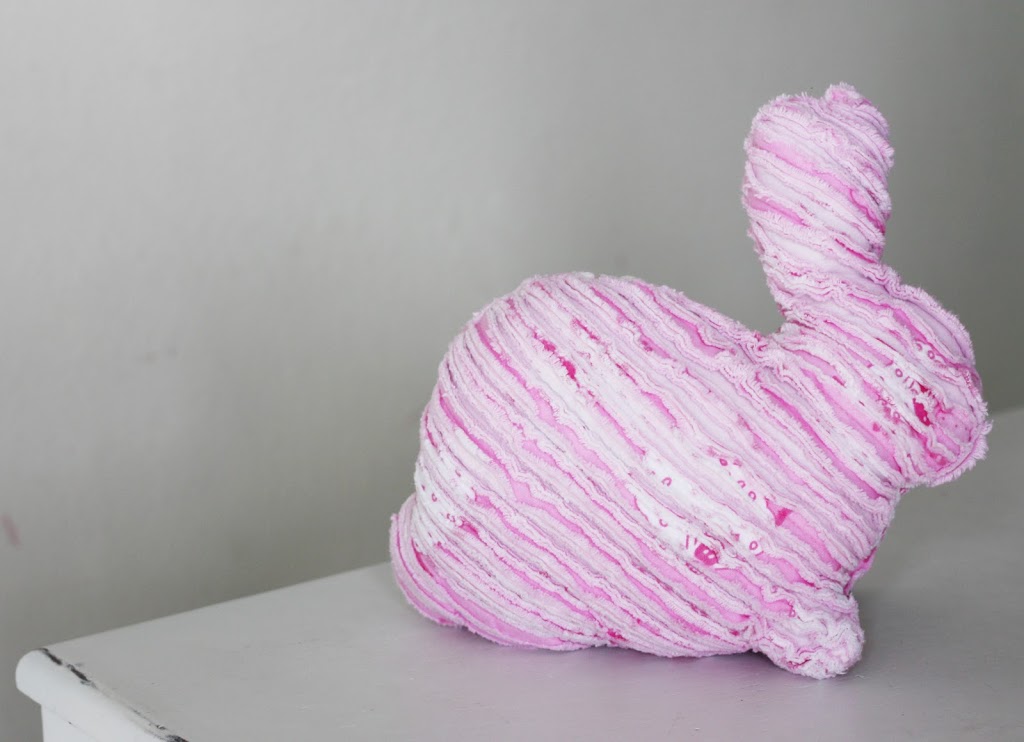
Add your bunny to your little princess’ Easter basket, and let her enjoy her new cuddly friend all year long!
Thanks for having me today, Kari! I’d love to see you all sometime at Sew Much Ado!


Oh boy! I can’t wait to make this. Thank you for sharing this tutorial.
UUUMMMMMMM DELICIUSSSSSSSSSSSSSSSSSSSSSS
Totally beautiful and a fab tutorial:)
Super cute! Thanks for sharing!
so super cute. I’m definitely making some of these for my girls!! abby rocks!
How cute! Adorable for Easter or a nursery!
How cute! I can’t wait to make this either, a perfect little cuddly bunny!!
That is a great pattern. Thanks for sharing sweet toy in time for Easter.
So cute!
Super cute! I might just use some chenille fabric that was given to me to save some time; but your tutorial is great! I’m a new follower!
CAS
That was so so beautiful.
Wow! love this bunny ♥♥♥
Oh my goodness that is so cute! 🙂
I love the look of this. Thanks for sharing!
This is so clever! Thanks for the pattern. I’m off to buy some flannel……
Wowee wow. Love love this. Faux chenille always looks so cuddly. I featured this post on my blog today! Come check it out and grab a button if you like http://www.missloviecreations.blogspot.com/2012/03/my-favorite-things-thursday-spring.html Have such a great weekend!!
OH this is so adorable! Great tutorial for faux chenille, too! Just found your blog today and am loving reading up on everything. So many wonderful things!
This is the most novel Easter craft idea I have seen for a long time. I simply love the effect you have created- I would love to have a go myself. Thank you for sharing, and spending the time putting up the tutorial and pattern. Have a lovely weekend.
I just found this pattern and am in love! So clever! I’m going to make one for a friend!
hi,
thank you so much for the printable pattern of the bunny! It helped to make a fabric bunny for my son and he loved it.
The tutorial with the detailed pictures are awesome!
I just printed this out today and I’m going to make this for my Great Grandson that will be born in May.I love chenille and can’t wait to make it.Thank you for your site.