Once upon a time there was a cute little teddy…
And a really, really cute baby. Unfortunately for you, the baby is not available. I’ll be keeping that little darling. But lucky for you, I can teach you to make this hooded towel.
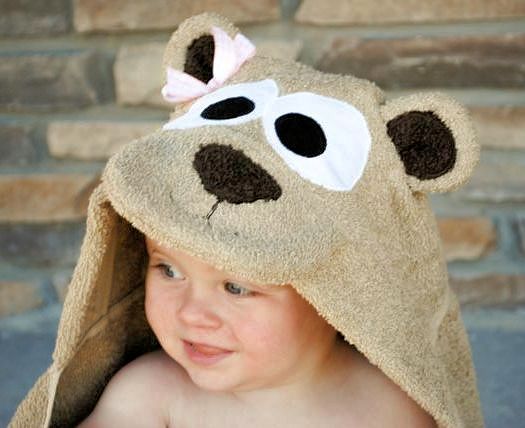
Hooded towels are one of my all time favorite baby gifts to make. I like to try my hand at new ones each month. One of my first ever was a Frog. For Fall (and for twin babies) I made Owls. One of my all time favorites is the Dragon. And my boys’ favorite? Angry birds. This hooded towel is actually one of a set of three. A friend had triplets last month and I wanted to come up with something cute for her little threesome. A few people suggested three blind mice but that just didn’t sound quite right-I mean who wants a towel that looks like a rat? I thought of the 3 bears might be a little bit cuter. The 2 girl bears have bows in their ears, the boy doesn’t.
Pretty cute either way, right? OK, let’s teach you to make one of your own:
What You Need:
1 brown bath towel 1 coordinating hand towel Small amounts of white, black, dark brown fabric Small amount of heat and bond Pattern Pieces
Here’s How:
Start out by cutting your hand towel in half. Fold the finished edge of the hand towel under about 3-4 inches, pin it in place and stitch it.
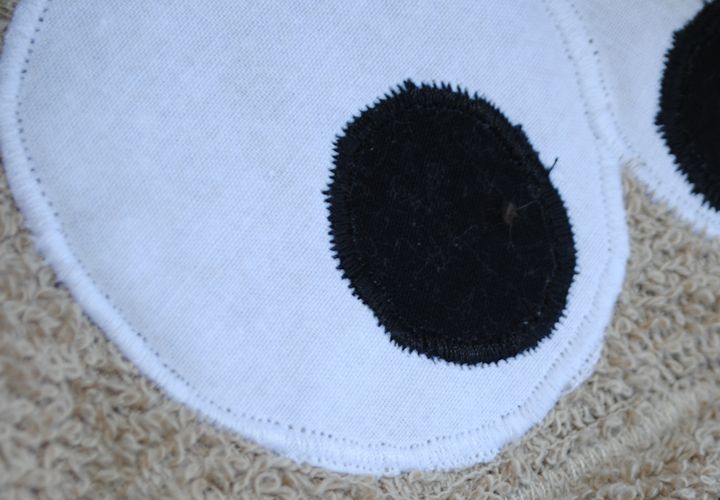
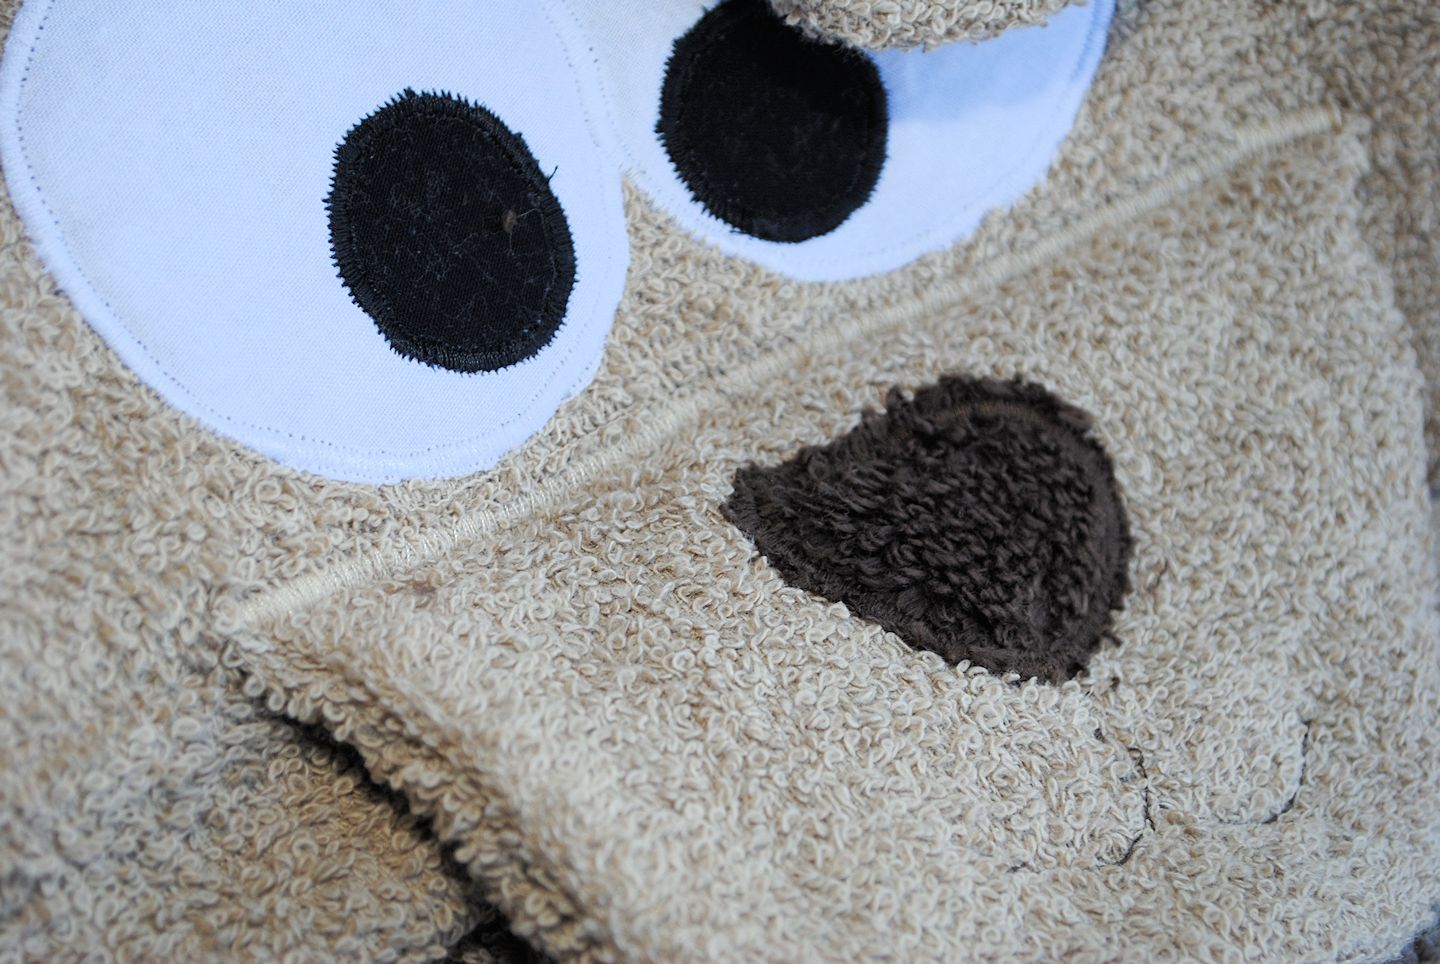
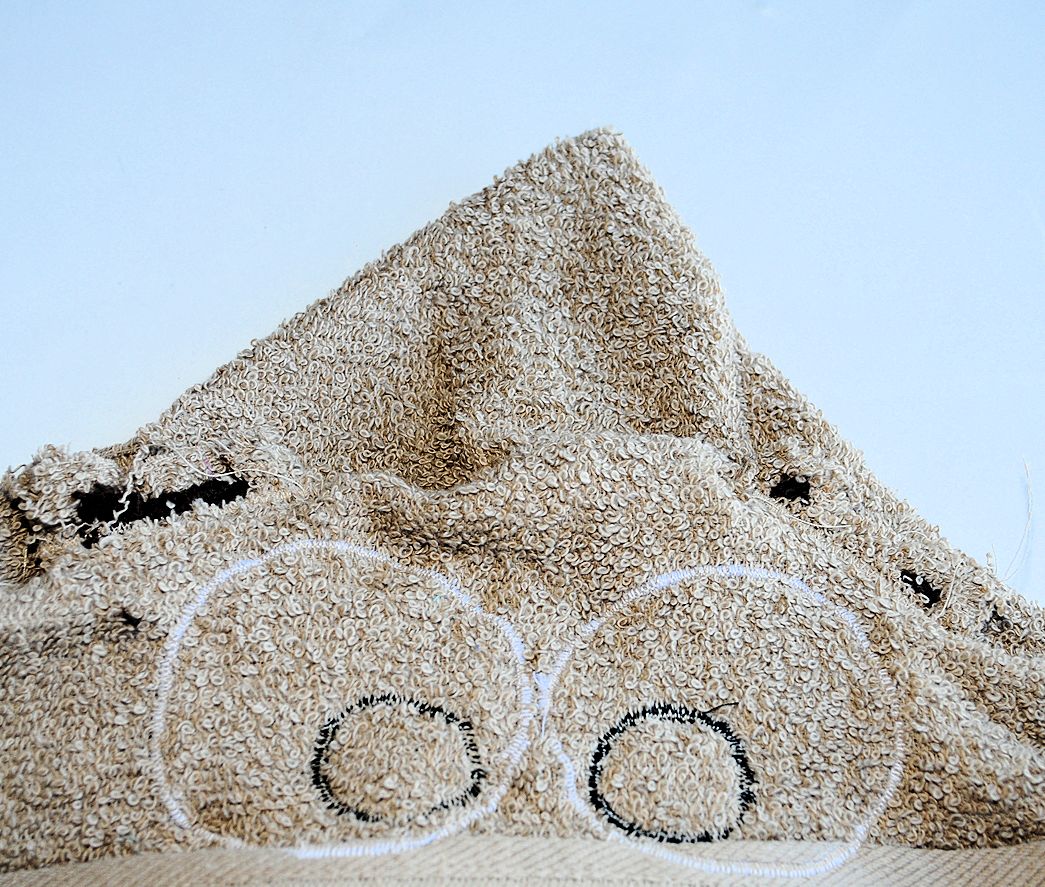
Now, flip it over so that you are working on the underside. Cut out your eyes-a big white circle and a little black eyeball. Cut out heat and bond in the same size and shape. Adhere the eyes to your heat and bond and then place them where you want them on the towel and iron them in place. Now, using a tight and small zig zag stitch (applique), stitch around each part of your eye-the eyeball and the white.
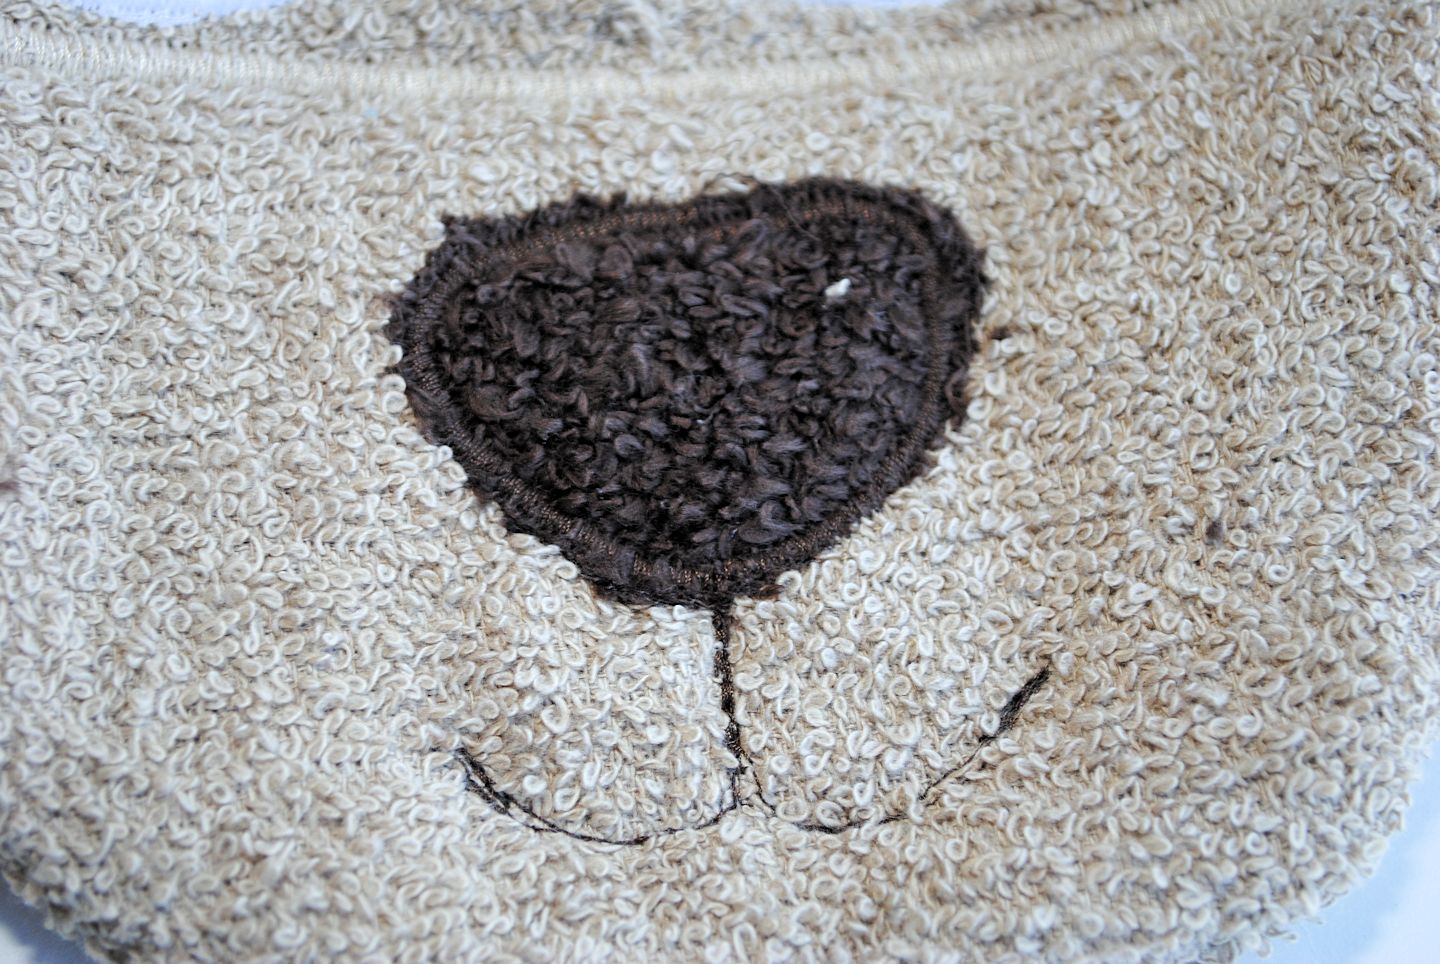
Cut out your snout from the extra half of the hand towel. You’ll need to cut 2 of those snout pieces and then sew them together all the way around, except don’t sew the straight part. Turn it right side out. Now cut out a little nose. I used dark brown towel because I had it on hand. You can use that or any dark brown fabric. Zig zag around it just like you did with the eyes. You will be sewing through both layers of the snout. Now just do a basic straight stitch to form the little smile on your teddy. I just eyeballed it starting at the nose and going down and curving out. I had to go over it 3-4 times to make it show up. I used dark brown thread to do it.
Now that your snout is done you will need to zig zag it in place on your face, like this:
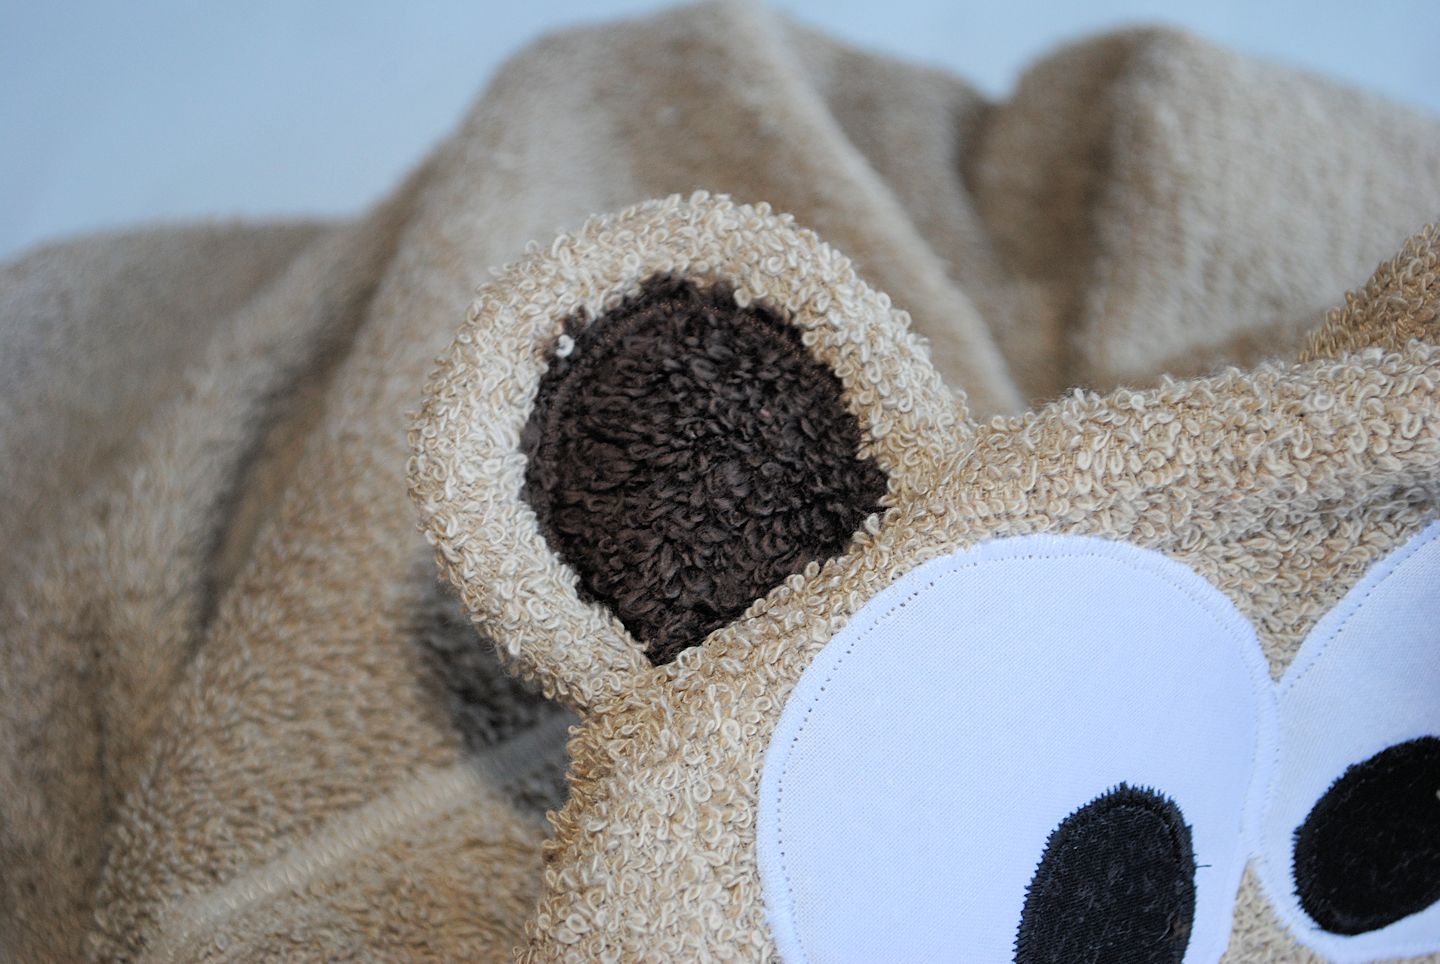
How about some ears? Cut out the ears (4) from the light brown hand towel and the inner ears (2) from dark brown fabric. Sew your ears the same way you did your snout-sew all the way around except the straight edge, turn right side out. Then zig zag your inner ears in place just like you did with the nose. Now, figure out just where you want these little ears on your towel and cut a small slit and slide your unfinished edge of the ear into the slit. You want the slit to be a little smaller than the ears so that they pucker just a little. Turn the head inside out so that you are working on the underside and zig zag the slit closed, catching the bottom of the ear in it. It should look like this:
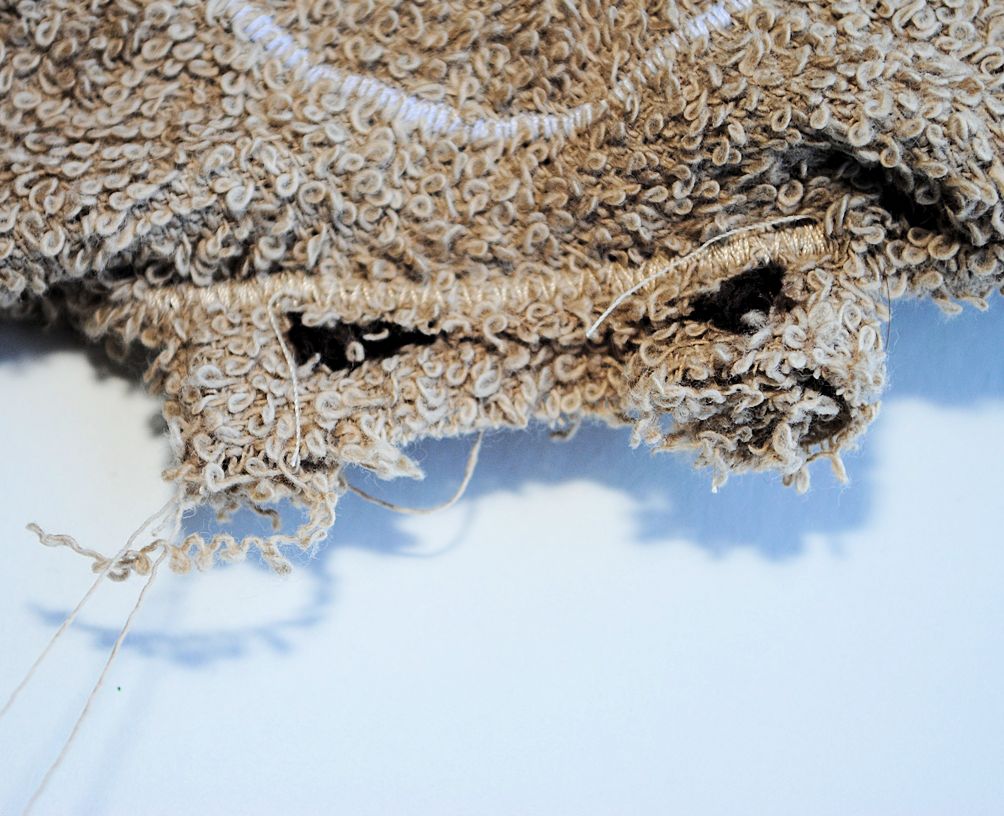
Snip off any excess ear on the underside.
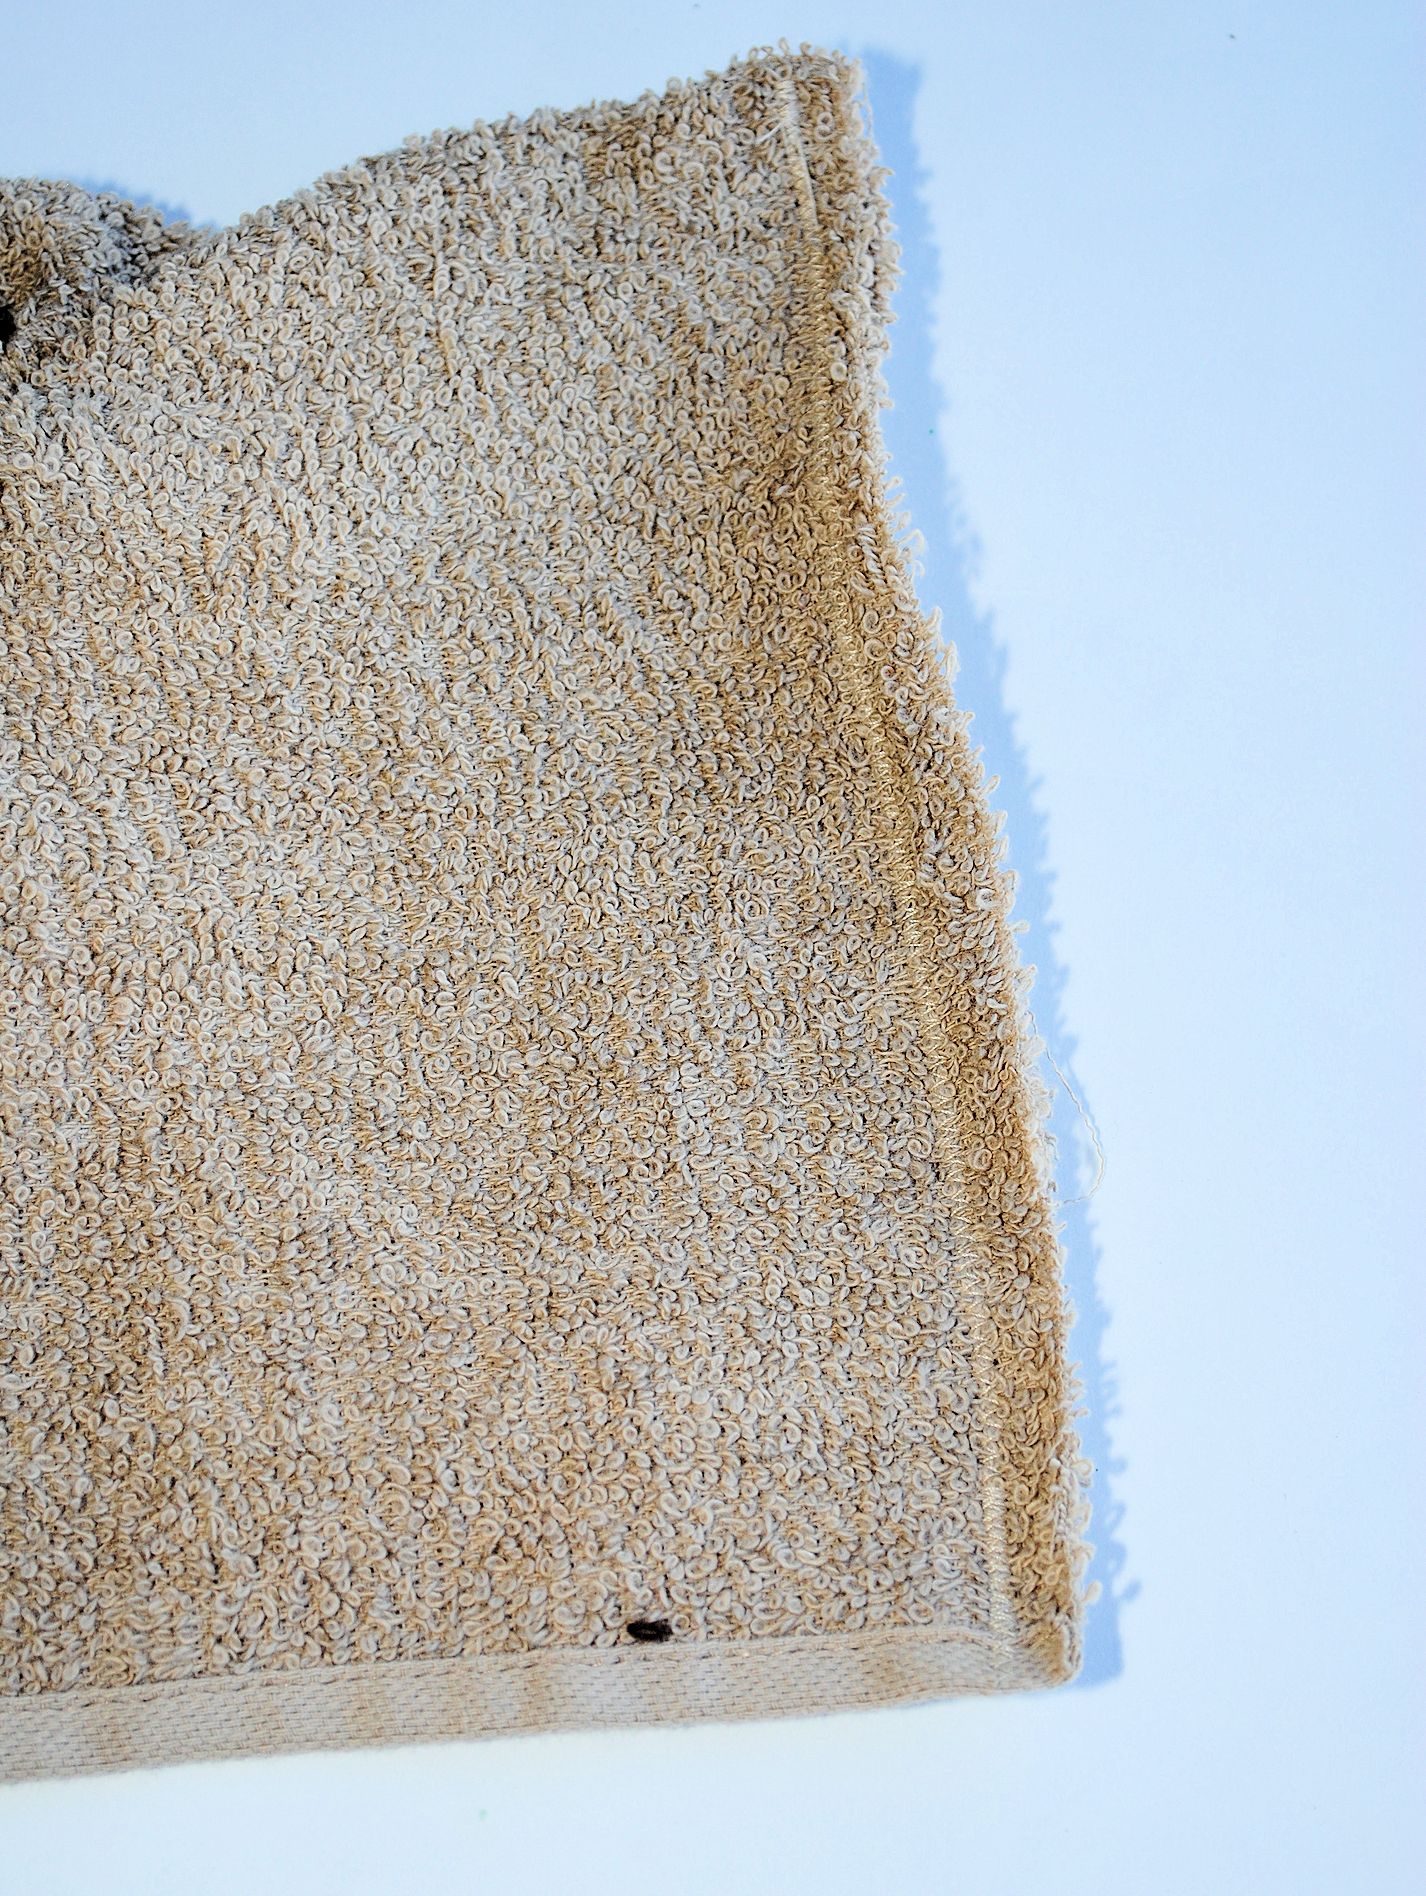
Now, fold your towel in half with the face on the inside and zig zag up the raw edge to form the hood:
Keep your hood inside out and turn it so that it is laying like this:
Sew a straight line across the top of that tip (this is going to round out the head of your teddy bear instead of making it pointy) and snip off the tip:
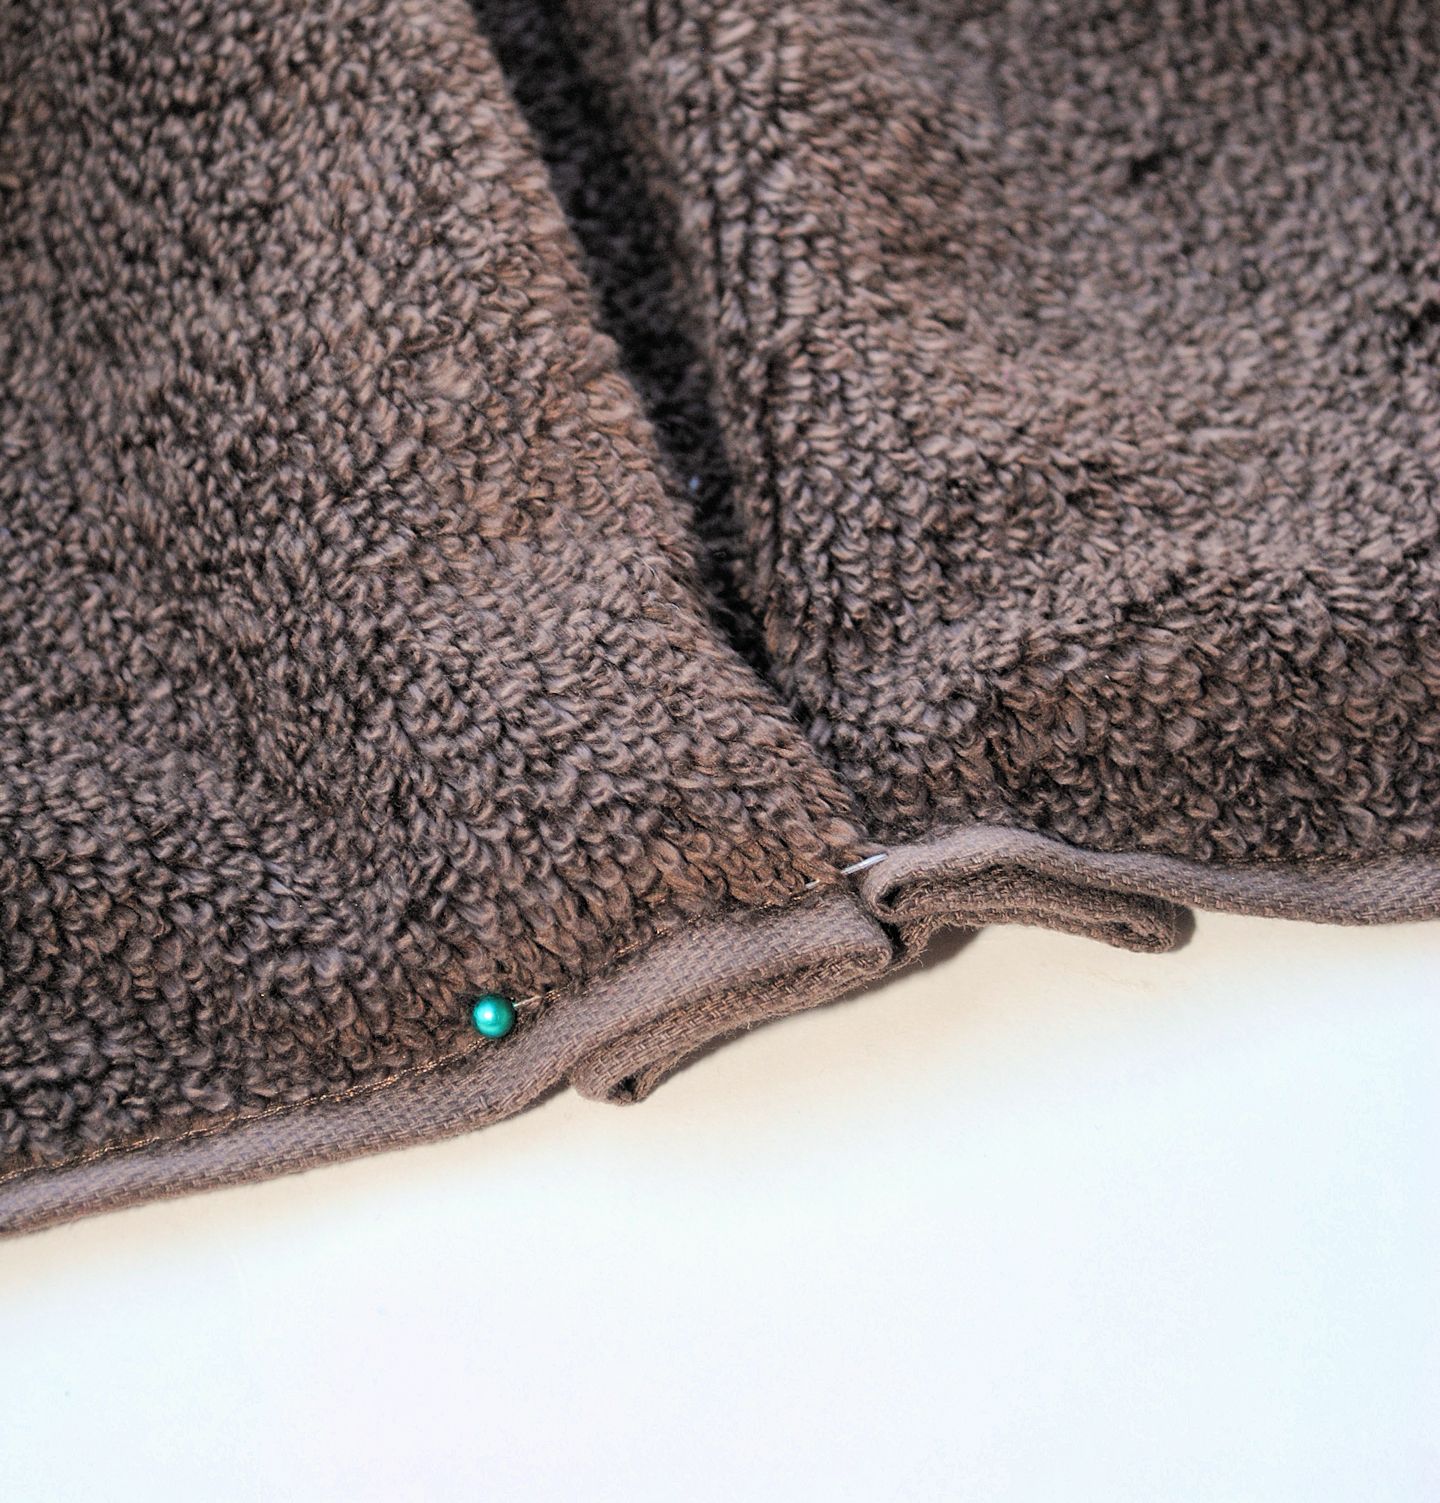
Now, turn it right side out and you should have a teddy bear face staring back at you. To sew it onto your towel, first find the center of the towel. Then make a little pleat like this:
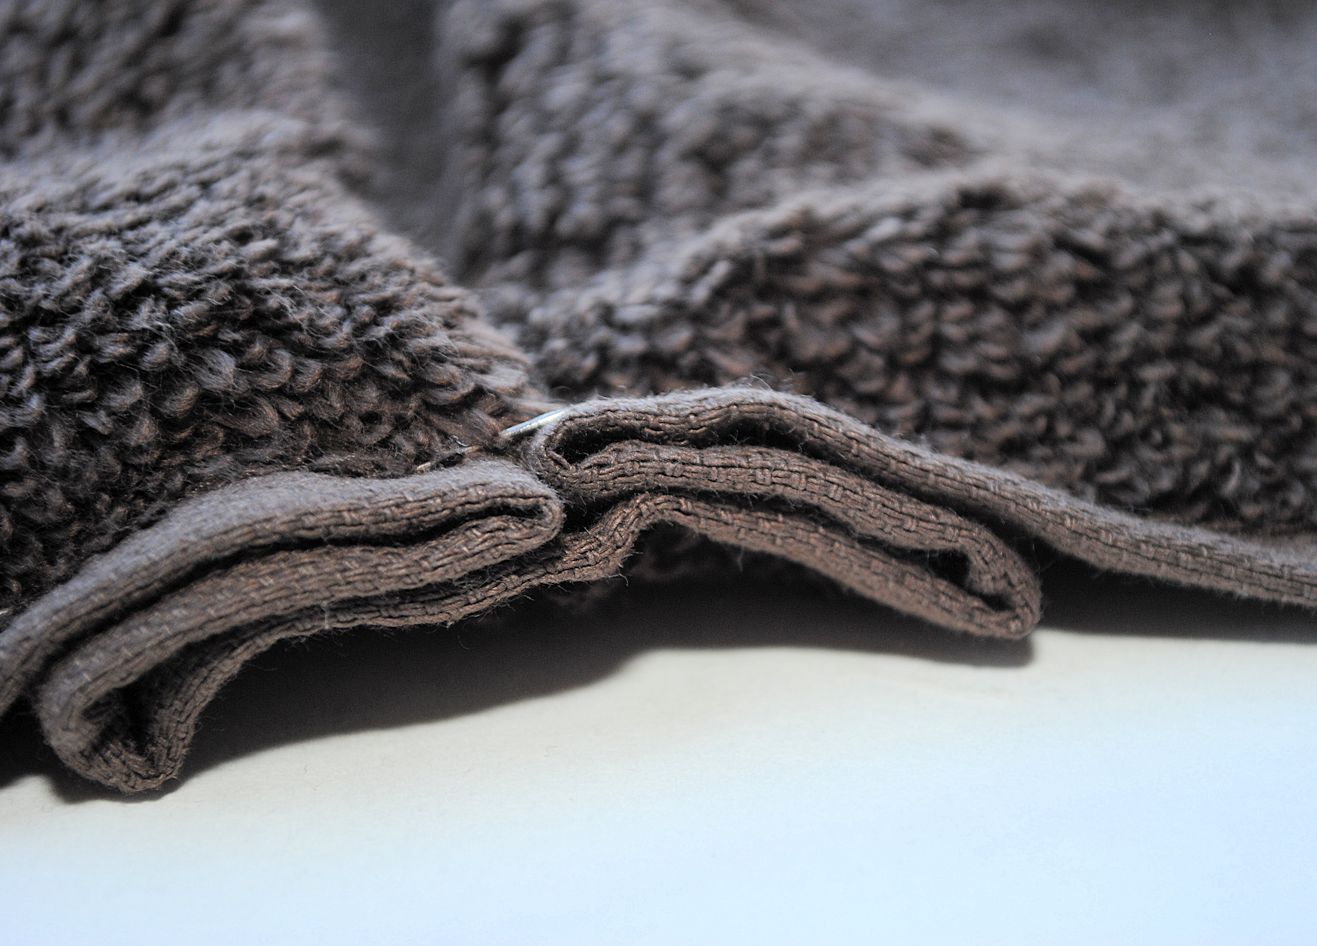
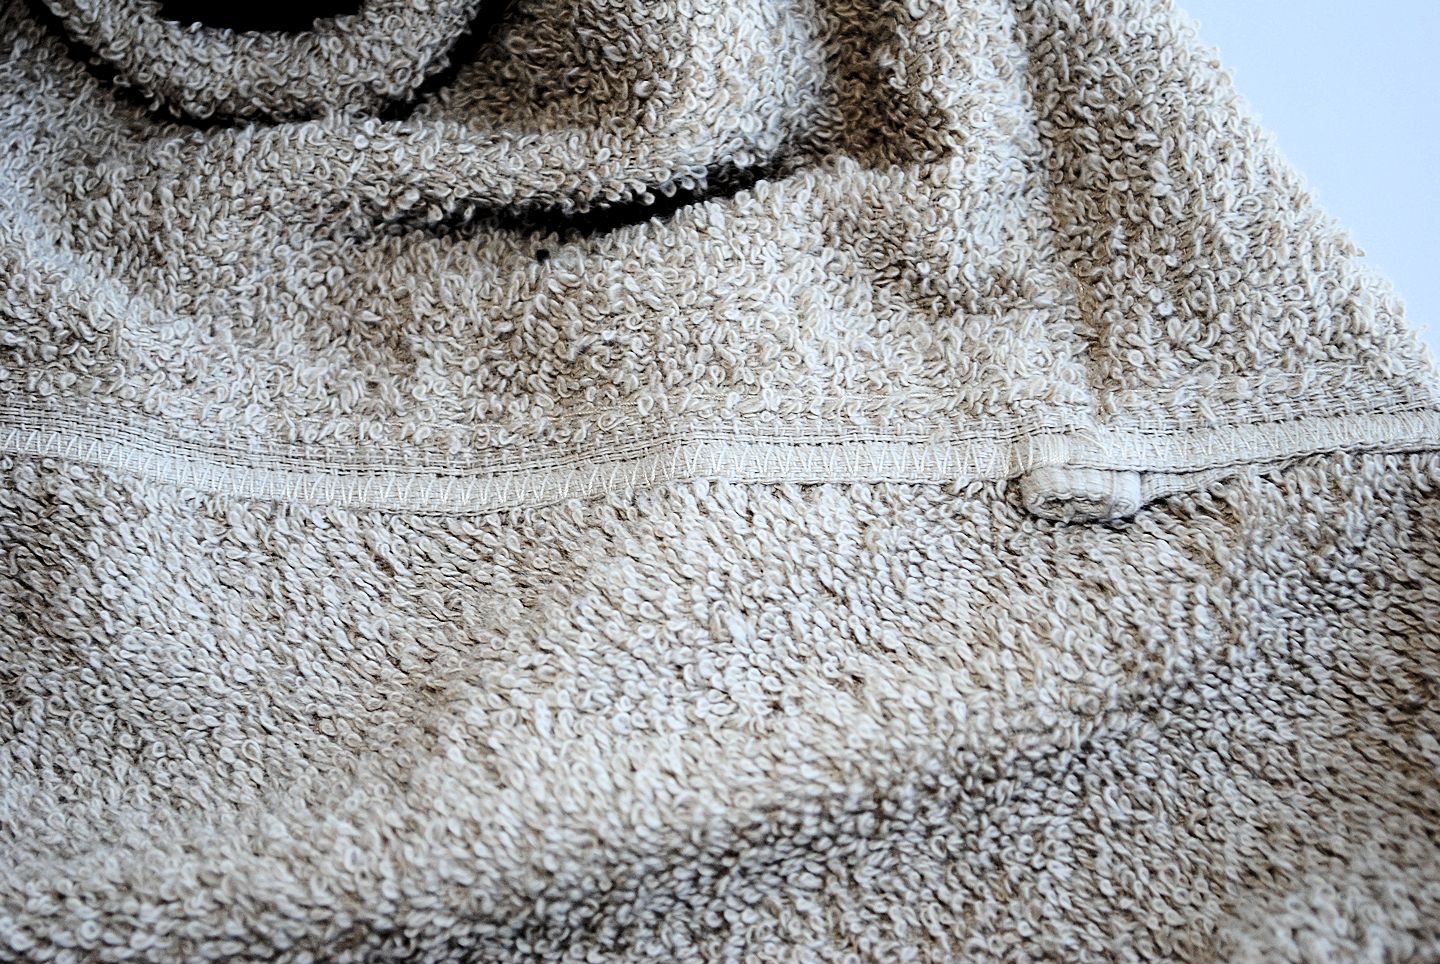
Now, center your head along that pleat and zig zag it in place, sewing the full length of the bottom of your head:
And that’s it! Isn’t it adorable?
Aren’t you glad you made it? Do you have other ideas for hooded towel tutorials that you would like to see me do?
I would love to hear from you! Visit me at Crazy Little Projects or on Facebook or Twitter.




I have just been thinking that I need to make my son another hooded towel or two for Christmas. The baby ones are getting too small…and he’s only 5 months old! ha! Thanks for the tute. The bear is darling.
Adorable idea! I will have to make one for my little girl! Thanks for the tutorial!
<3 Hannah via http://welivedhappilyeverafter.blogspot.com
o wow!! super cute!!
Love the bear towel! Very creative!
Need a baby shower present, will be making in pink! Thanks for great tutorial
This is darling! Thanks for the tutorial!
So cuuteee <3
I’ll share it ! thx
xoo
Awesome idea of making bear using towel…excellent idea.
can’t wait to make for my granddaughter. So cute.
Can’t wait to make this for my granddaughter. This is so cute.