
Hey Ya’ll! I’m Sarah from A Little of This, a Little of That.
I am SOOOO excited to be guest posting here at U Create today!
A few things about me…
- I’m a full time stay at home mom of two, with one on the way! I try to soak up all the time I can with my children. I feel like they are growing up much faster than I want!
- I live in a small Texas town, and love it! As a native Texan, all I can say is, Texas rocks!
- And of course, I love to CRAFT, Decorate, and Sew!
Over at my blog, you’ll find home decor crafts, DIY projects, sewing and much more. I would love for you to stop by! Today I’m going to give you a quick run down of how to make your own
Modern Monogram Quilt…

Supplies Needed
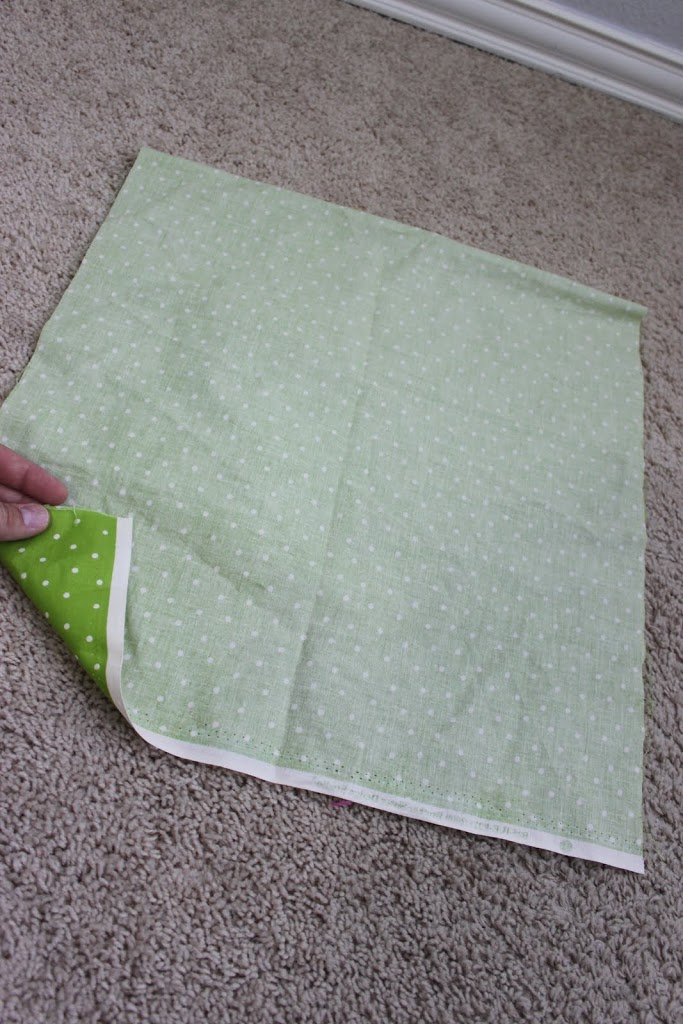
1 yard of fabric for background
1.5 yards of fabric for the backing
1 yard of fabric for the edges and binding
1/4 yard fabric for the monogram and lettering
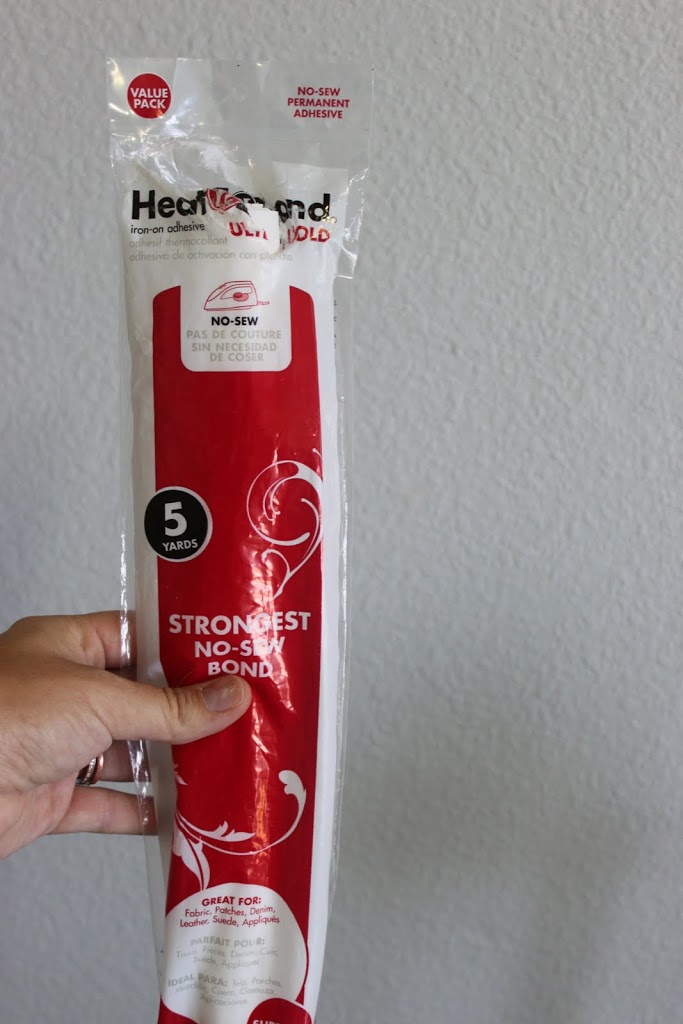
1/4 yard Heat n Bond for monogram and lettering
Sewing Machine
Scissors
Pins
Measuring tape
*This quilt can be made any size you like, just adjust measurements according to your taste*
The total finished size of my quilt is: 48″ wide by 50″ long
Steps to an awesome quilt!
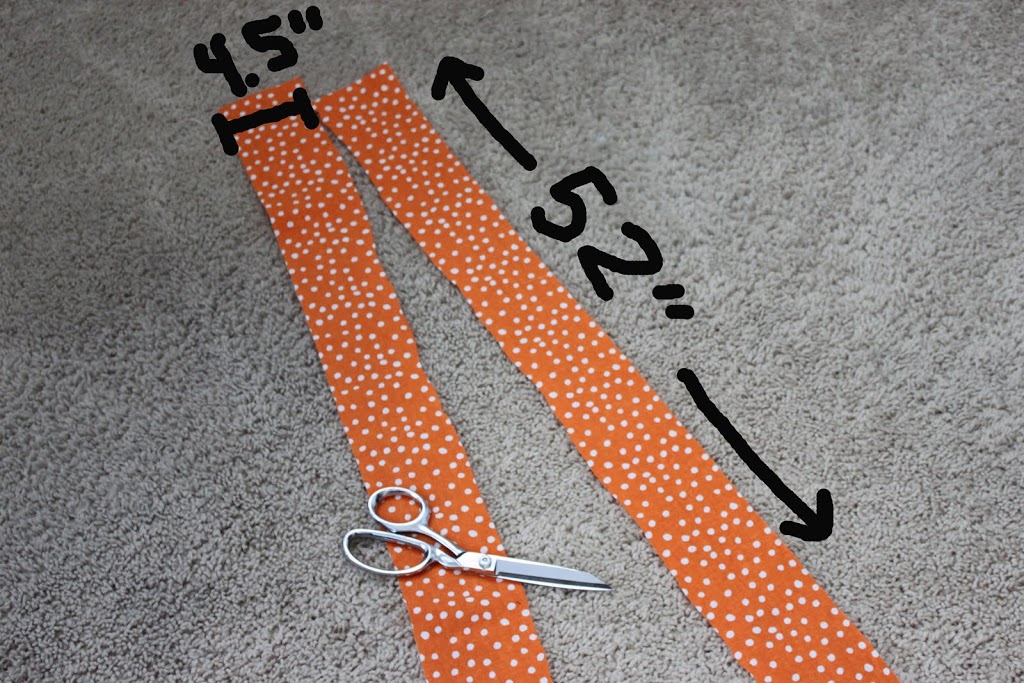
Cut 2 strips 4.5″x46″ for the top and bottom edges
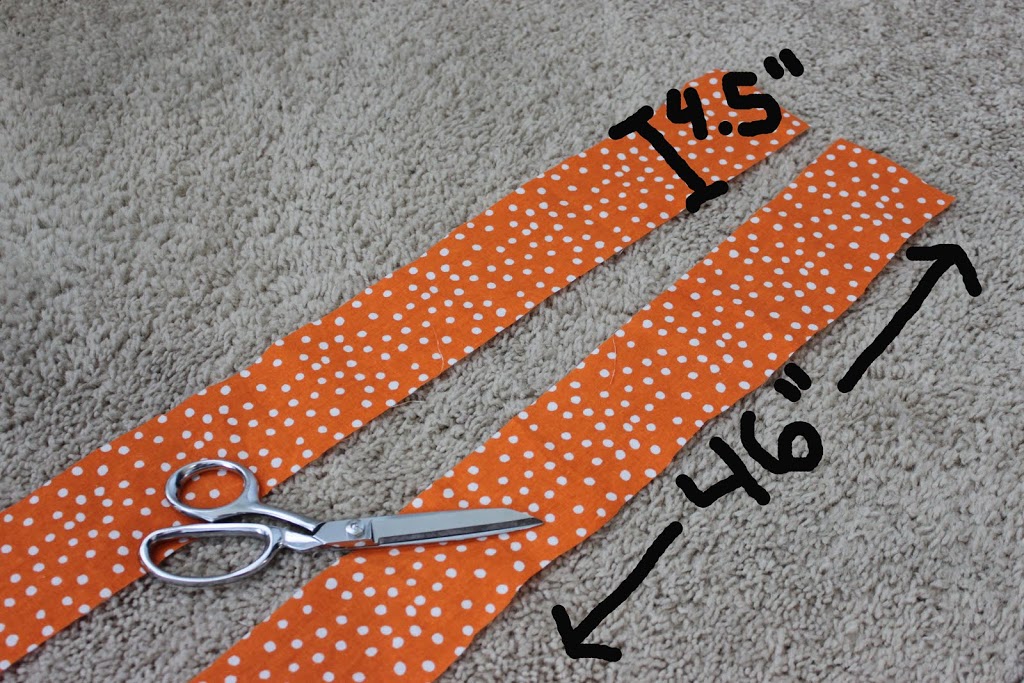
Cut 2 strips 4.5″x52″ for the left and right edges
Cut one piece for the middle section of your quilt measuring 45″ x 46″

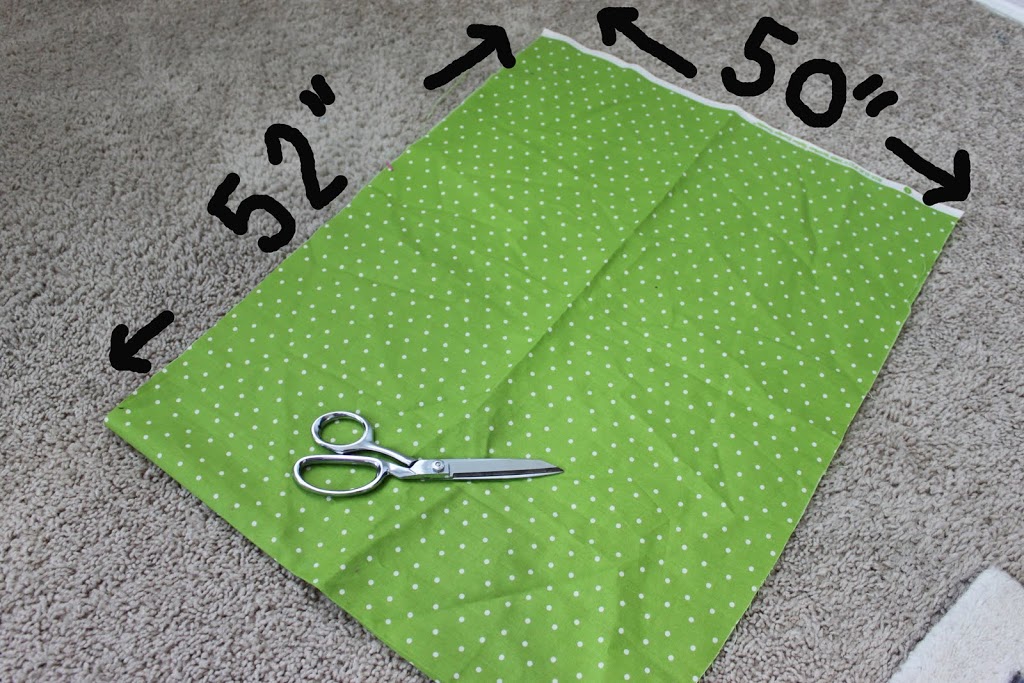
Cut one piece for the backing measuring 50″ x 52″
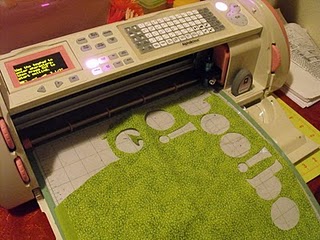
**Cut out your monogram-there are two ways to do this**
1. If you have a cricut or silhouette, you can use that to cut out your monogram and letters. I used my cricut; it was very easy and saved me time!
2. If you don’t have a machine to do it for you, simply print off a large letter, cut it out, and trace it on your fabric. Do the same for the lettering. It will take you a little longer, but it is totally possible to make this without a craft machine.
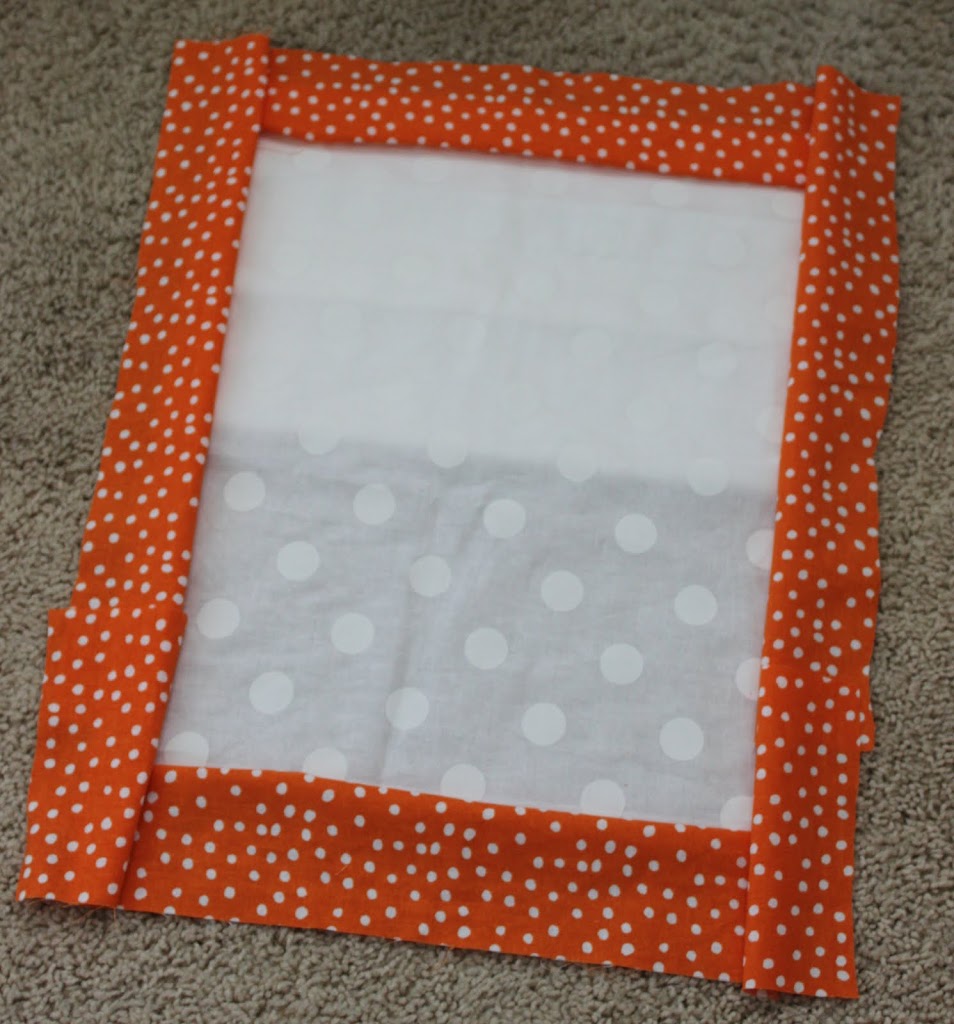
With right sides together, pin and sew your top and bottom edge pieces to your large middle piece.
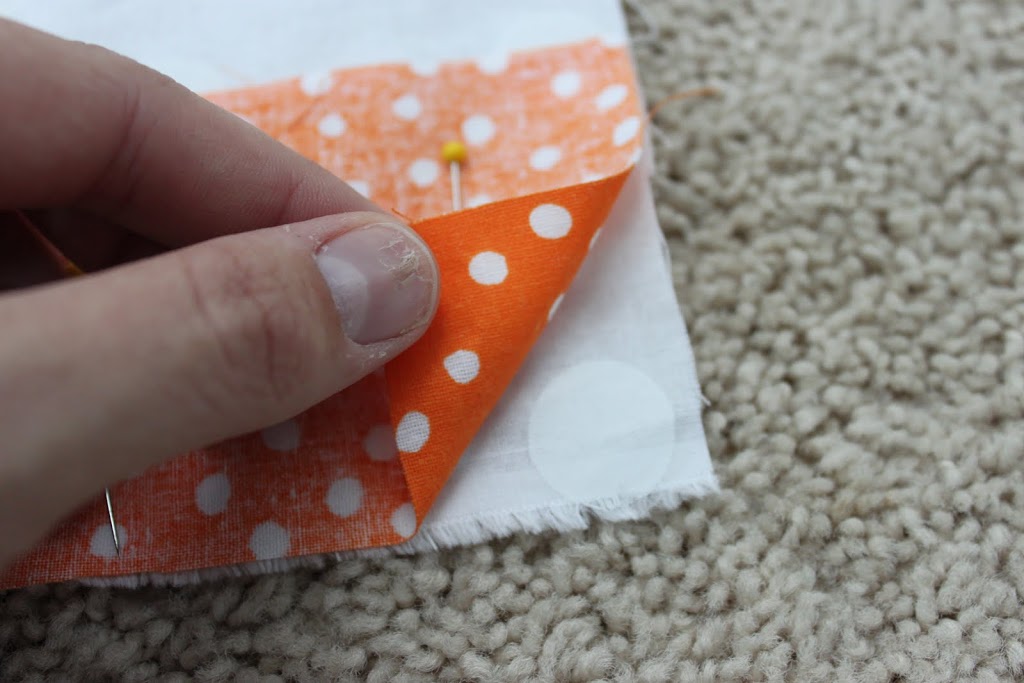
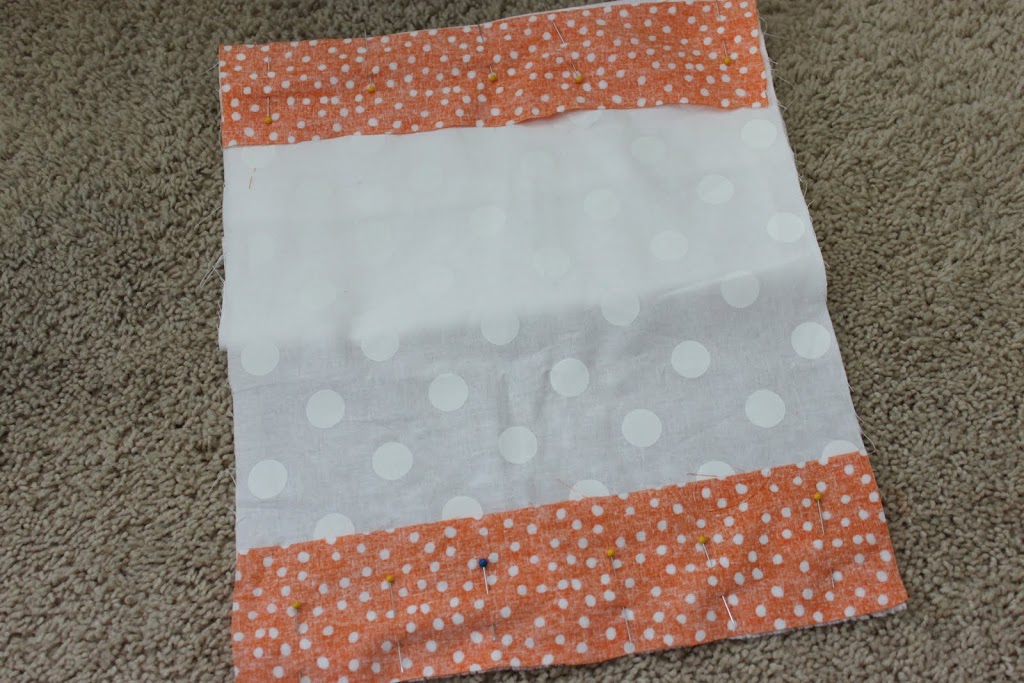
With right sides together, pin and sew your left and right edge pieces to your large middle piece.
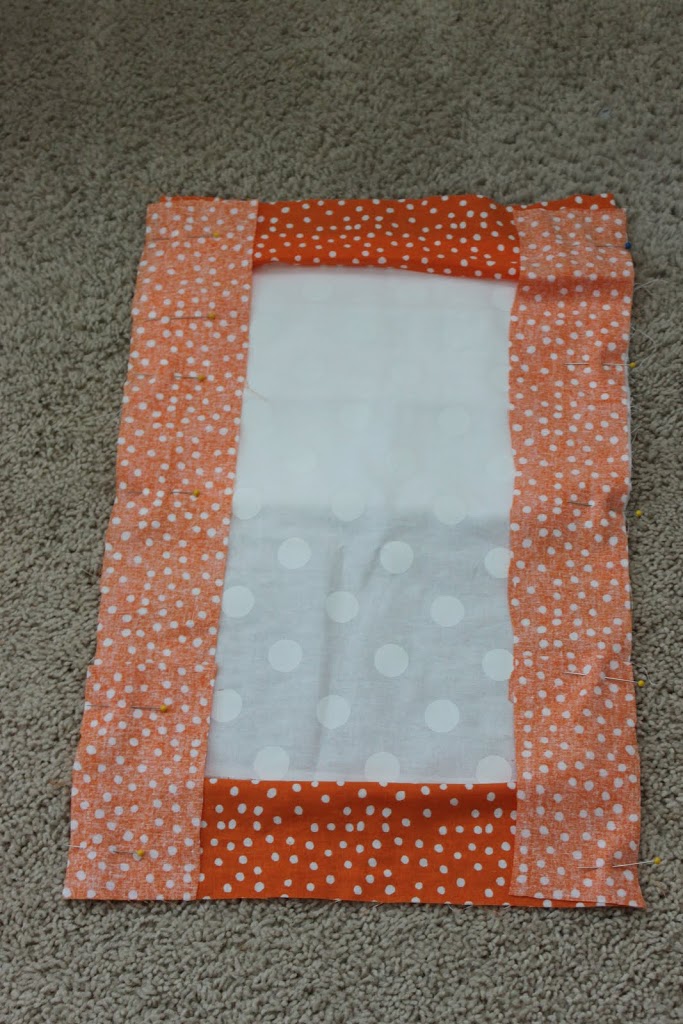
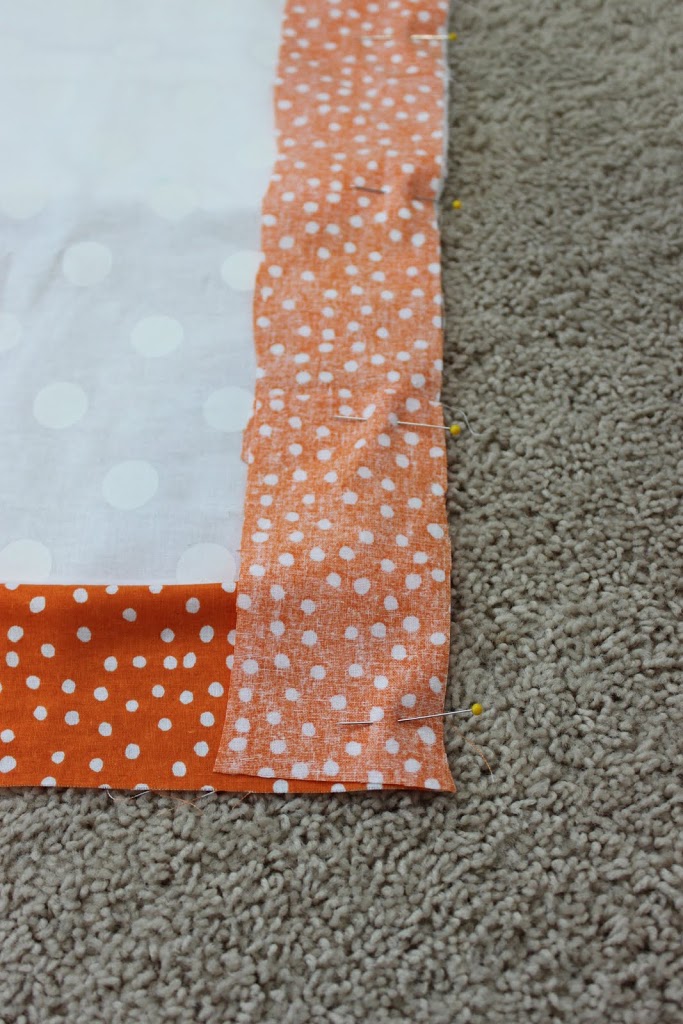
Your quilt top should now look this this!
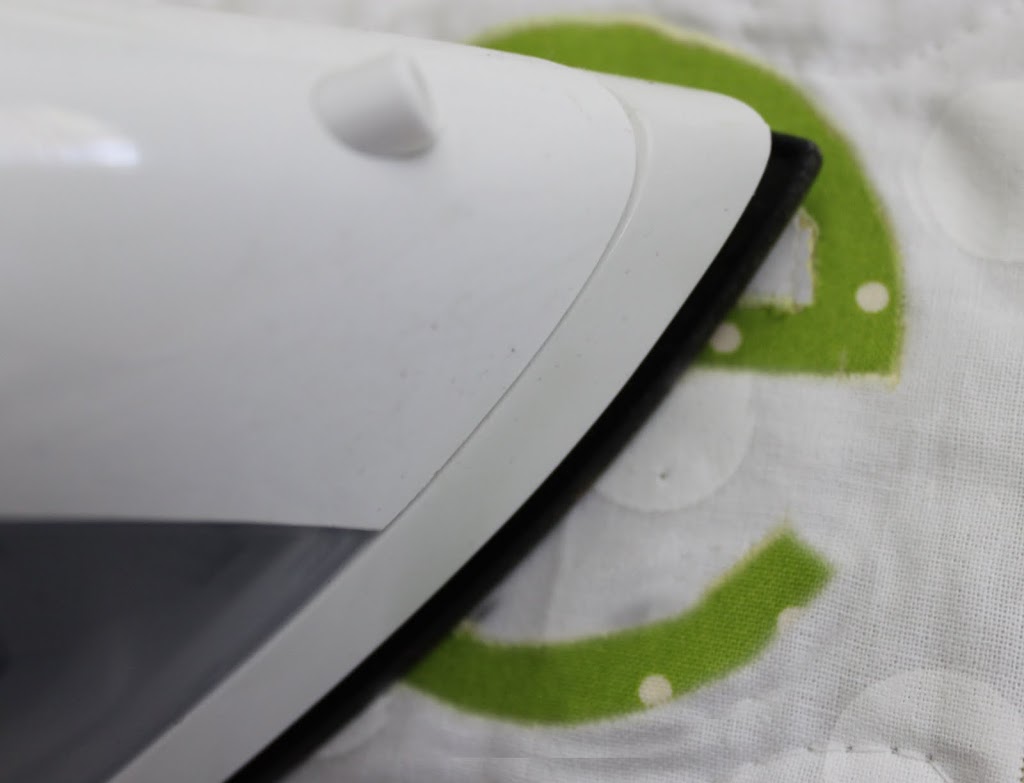
Apply heat-n-bond to the back of your monogram and lettering.
Peel off the paper backing, and place the letters on your quilt. After you have them positioned, iron them on.
Time to applique!
Set your sewing machine to “satin stitch” or a zig zag stitch that is really close together.
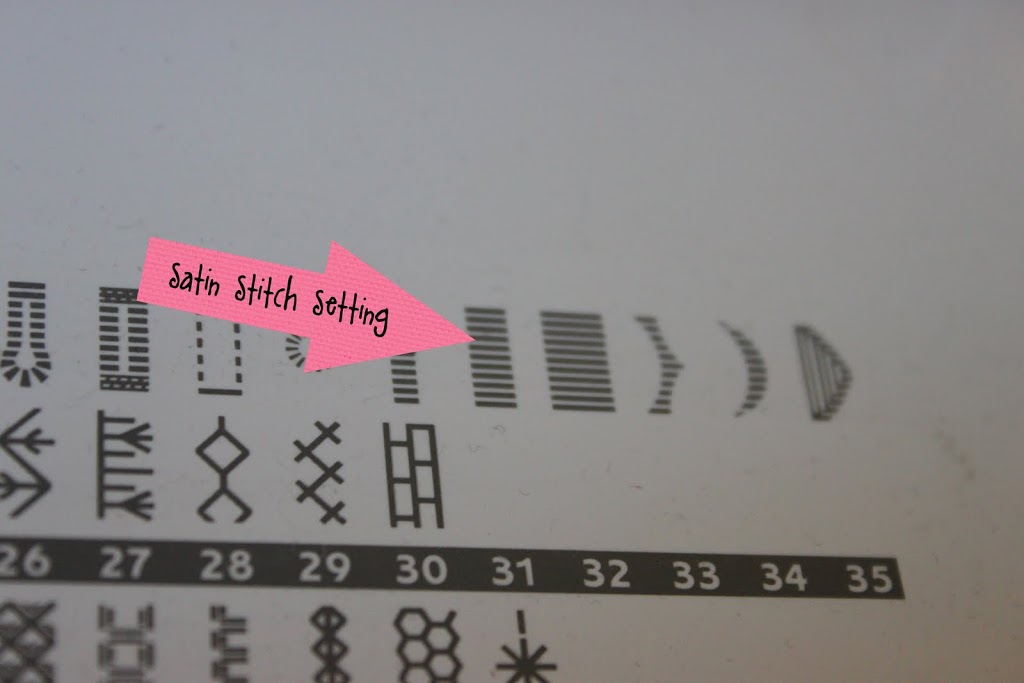
Applique all lettering and your monogram.
I highly recommend using stitch-n-tear underneath your appliques.
It will keep your fabric from puckering.

Now that you have appliqued all lettering to your quilt top, it’s time to assemble your quilt.
Lay your backing fabric out, with the right side facing the floor. (the wrong side should be facing up!)
Add a layer of batting

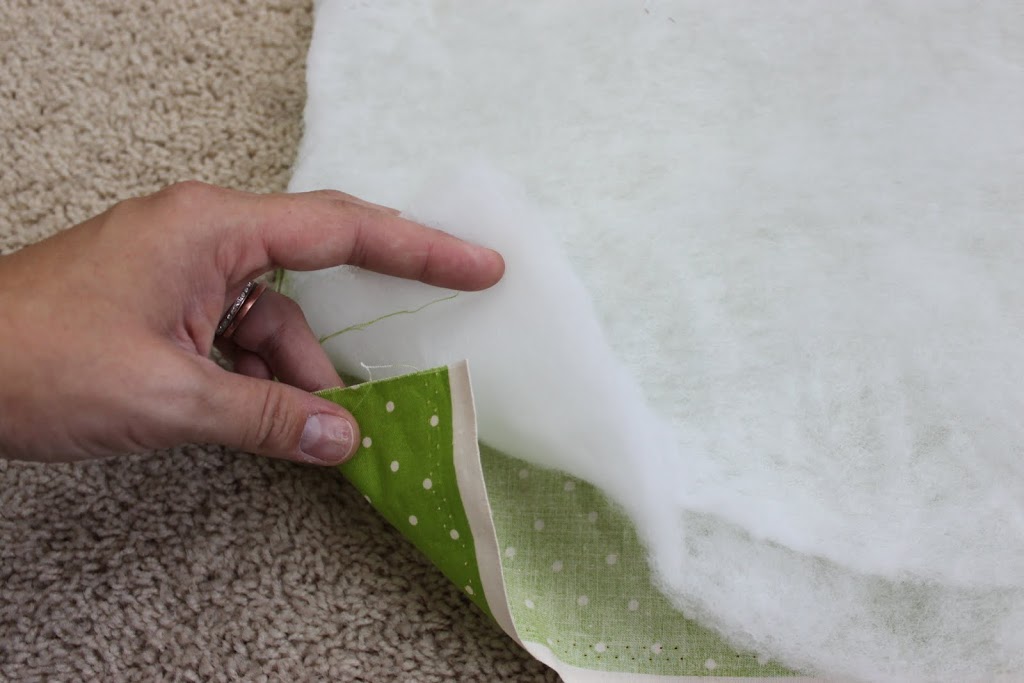
Lay your completed quilt top on top, right side up. (wrong side should be facing the batting)
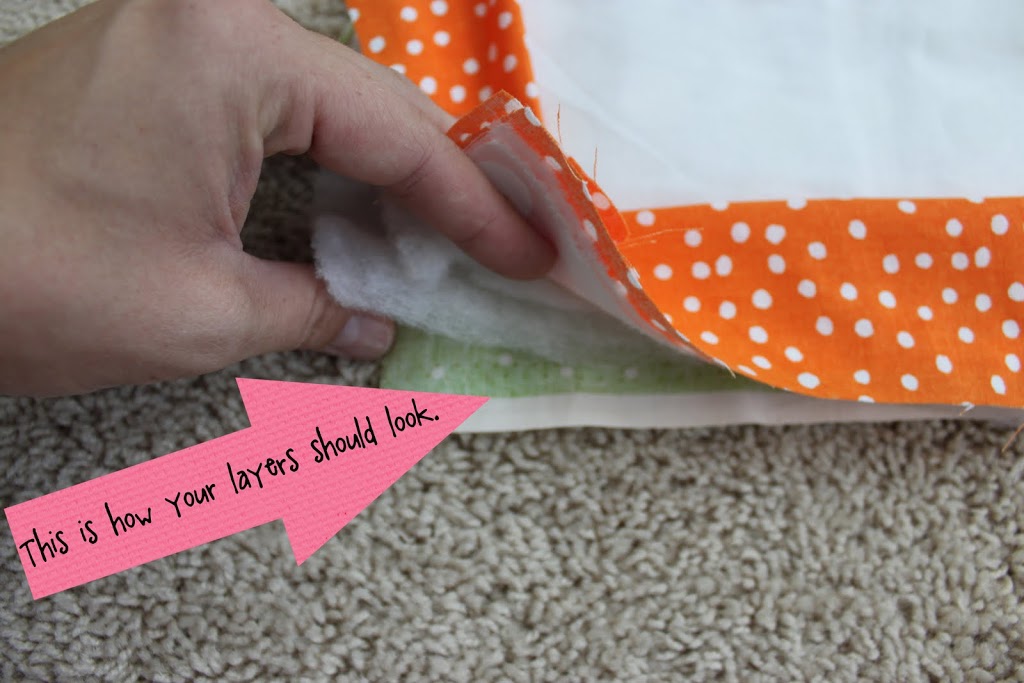
Use large safety pins to hold your quilt together. I used about 60 for my quilt. This will keep the fabric from moving as you quilt the top.
**Time to quilt the top. There are two ways to do this!**
1. Hand quilt. This takes too much time for me, but can be very pretty!
2. Use a special quilting foot to do “free motion” quilting on your sewing machine.
(This is what my quilting foot looks like; most quilting feet will look similar to this, no matter what brand sewing machine you have.)
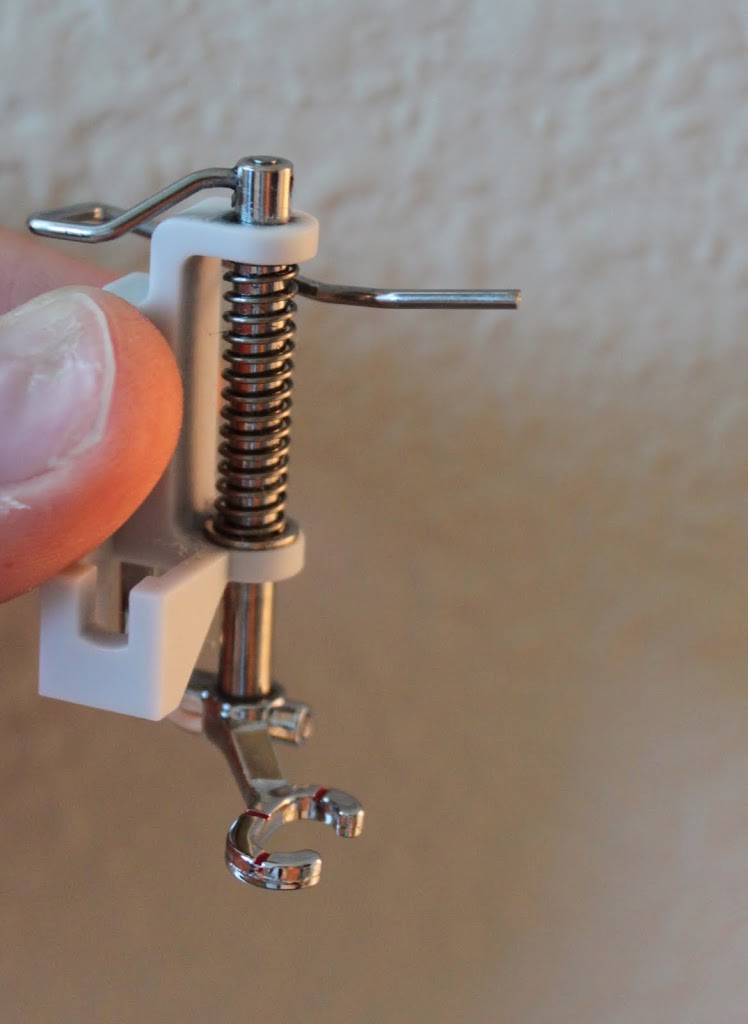
Free motion quilting basically means that you can quilt in any pattern you want. I do a swirl pattern all over my quilts.

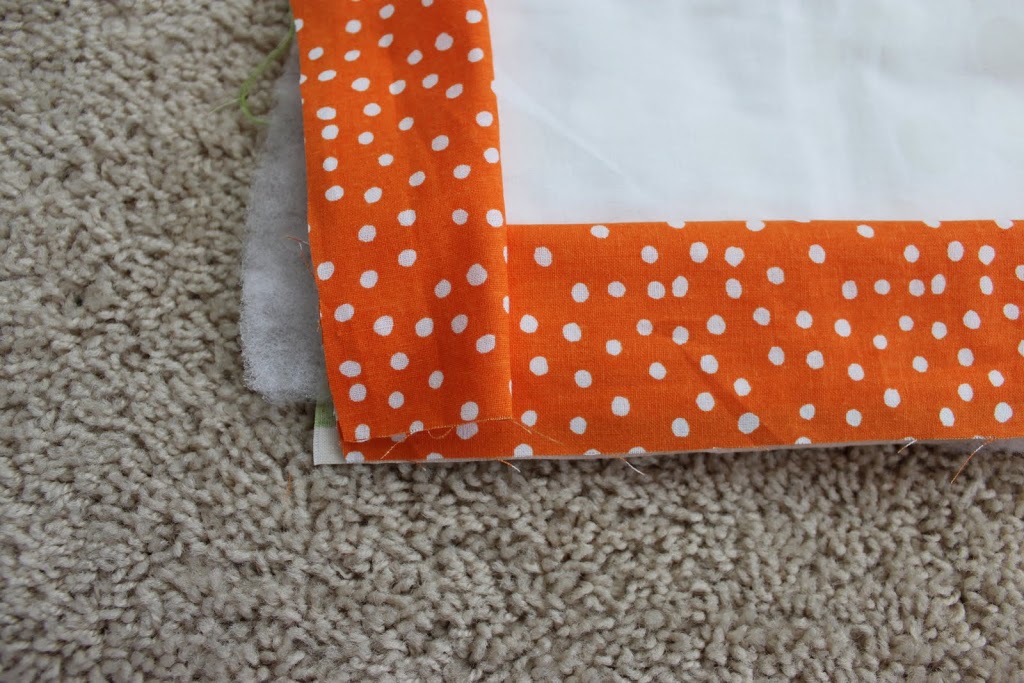
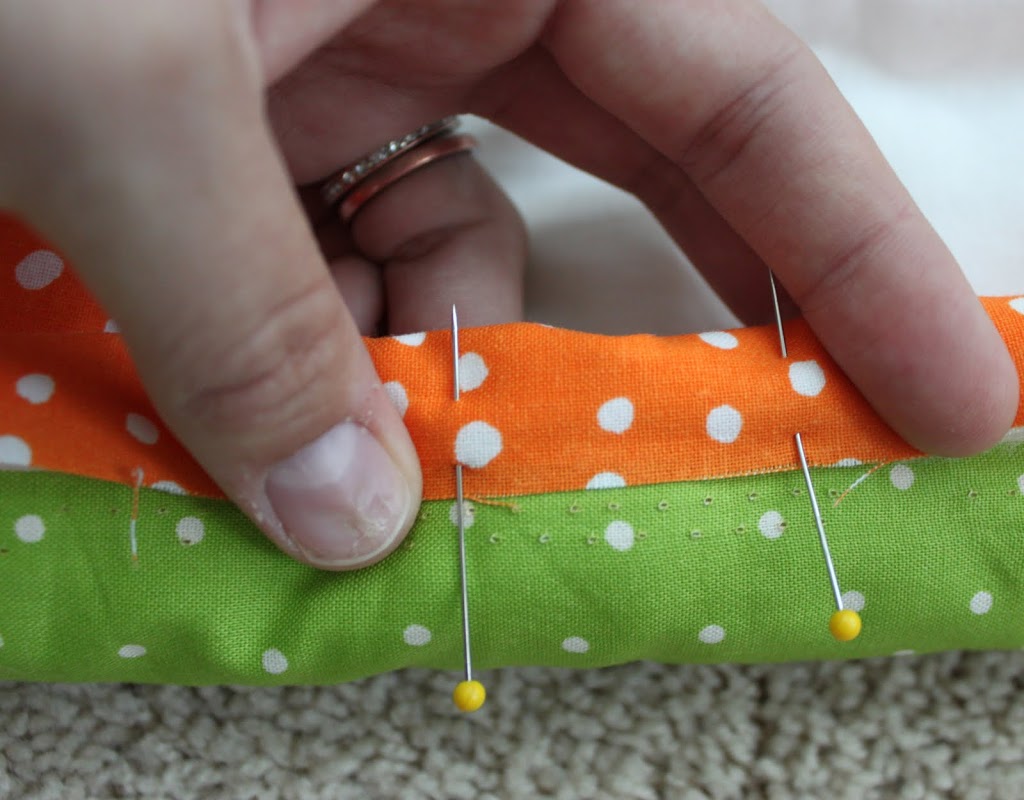
After you have quilted the top (which will take a while), it’s time to bind.
Fold under the top quilt edge once all the way around and stitch, like so:
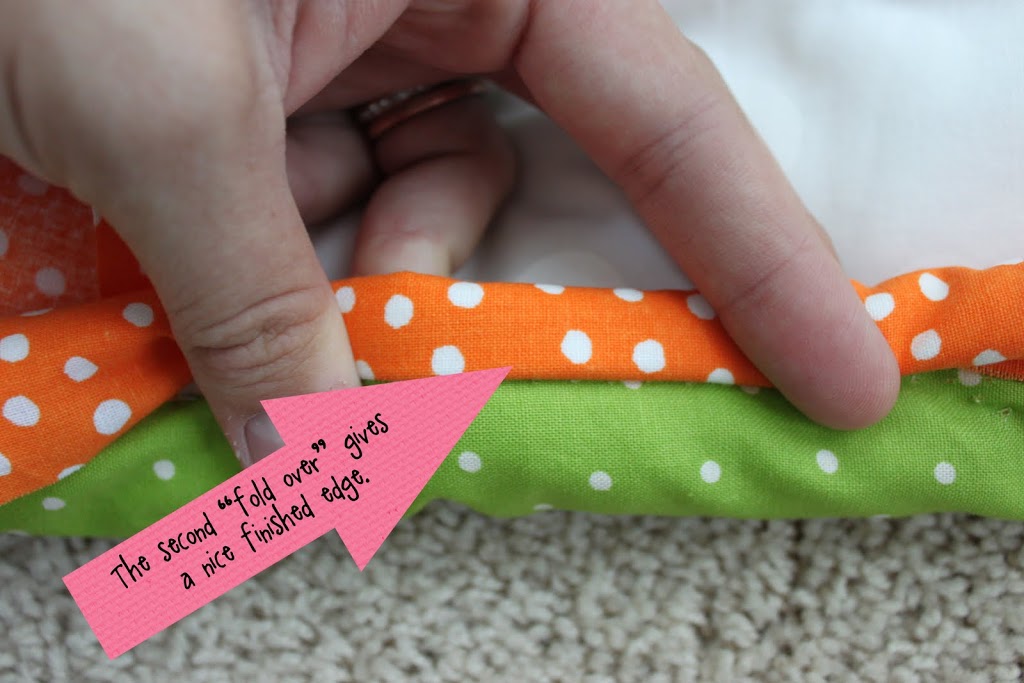
Fold under your edge again and stitch in place.
…and you’re done!

Make sure to visit A Little of This, A Little of That!


I am normally not a huge fan of traditional quilts but I LOVE this one!! Thanks for the tutorial!!
Great job. Thanks for sharing. I love the way you did this. I have been wanting to try cutting fabric with my cricut, but have been too chicken to try. I think you have inspired me. 🙂
Beautiful quilts. These would be lovely and original gifts.
I only wish that I could sew because I have never loved anything so much!!! I NEED to find someone who could make this for me!!! Thanks for sharing!!!
Super cute! Great idea for gifts.Thanks for sharing!!
I have a cricut, but haven’t been able to cut fabric… the blade just skips over it. What do you have it set on?
I had no idea that the Cricuit cut fabric! I’m super excited now! Must go look into this! Thank you! Your quilt is darling!
Absolutely love this quilt idea! Looks super cute and she did a great job!
Hey guys!
It is very easy to cut fabric on your cricut! First cut a 12×12 piece of fabric. Then cut a 12×12 piece of heat n bond. Use your iron to apply the heat n bond to the wrong side your fabric. When your fabric cools off, peel off the paper backing. Then, just stick the fabric on your cricut mat. The heat n bond on the back of your fabric is what allows it to stick to the mat without moving. Set your blade depth to 5, and you speed and pressure to max. You should have no problems! Make sure your mat is newer; if it’s not very sticky any more, that could affect your cutting.
LOVE!
So incredibly awesome! Love how clean and bright the monogram looks on the quilt!
Great tutorial! I love the end product so simple and clean. This would make a great gift. Thanks for sharing.
Can’t wait to try this! I had no idea you could cut fabric on the Cricut. Thanks for the tutorial!
I love this so much I plan on making one for my 4 kids, plus my 6 nieces and nephews!! Thanks SO MUCH!!!
this is great – what cricut cartridge did you use? i love the font!
Hi Sarah — Did you quilt right over the monogram letters? I have made a similar quilt based on this pattern and I am not sure how to quilt it without wrecking the effect of the monogram. Any suggestions?
just popped over from manic monday, great job, I just might add the monogram to my latest creation!!
May I say that this is one of the best tutorials I’ve seen. Very well illustrated and for new quilters that is a must. Thanks.
Thanks for sharing the tutorial. I made a quilt for my friend’s baby by using this idea. She loved it! Here’s the link to my blog post with pictures of the finished quilt if you want to check out what you inspired: http://oneenglishteacher.wordpress.com/2013/02/13/andersons-quilt/
Really cute quilt. I have minimal experience quilting and a 52 year old Kenmore sewing maching, but I may have to try this. The monigraming looks like a challenge. I don’t have a quilting foot, but will try to find one to work with my machine. Thanks for the tutorial.