U Create

It's a good day to create!

  • pinterest
  • facebook
  • instagram
  • twitter
  • rss
  • crafts
    • crochet/knit
    • jewelry
    • kids crafts
    • paper crafts
    • sewing
      • bags
      • boys-clothing
      • girls-clothing
      • women-clothing
      • pillows
      • quilts
  • home decor
    • bathroom
    • build it
    • frames
    • kids
    • kitchen
    • office
  • recipes
    • desserts
    • dinner
    • snacks
    • soups
  • parties
    • baby shower
    • birthday
    • games
    • gift wrapping
    • party decor
    • party favors
  • printables
  • holidays
    • Christmas
    • Easter
    • Father’s Day
    • Halloween
    • July 4th
    • Mother’s Day
    • New Years
    • St. Patrick’s Day
    • Thanksgiving
    • Valentine’s Day
  • gifts
    • baby
    • electronics
    • graduation
    • teacher gifts
  • About
  • Be My Guest
  • Advertise
  • Contact
  • pinterest
  • facebook
  • instagram
  • twitter
  • rss

6 May

Ruffled Fabric Romper Tutorial

 
Ruffled Romper Tutorial by Blooms and Bugs
 
Hi, I am Anshu from Blooms And Bugs. I write about sewing, especially for kids. Being a guest here at UCreate is a really big deal for me. It kind of feels like I have arrived.  I hope you will like this tutorial and make some of these for your little ones.
I have always loved rompers on kids. This is one garment that stays snug on them and still allows them all the freedom to run and play. Making one from ruffle fabric just kicks the style factor a couple notches higher plus the fabric is super stretchy and a knit aka no hemming or finishing the edges ( Yaay!!). I just can’t get over how beautiful it looks on the little girl here.  So lets get started on making one in your favorite color. 
 

Supplies:
  • Ruffle Fabric – half yard – for 2T size
  • Elastic thread
  • Grosgrain Ribbon in matching color – 1.5 yard
 
Approximate time: 2 hours
Complexity level: Beginner to Intermediate
Techniques used: Shirring, Making buttonholes
Approximate Cost: $12
Measurements:
  • Measure child around the  widest part of her body ( usually belly or butt): lets call this W: W1 = W+3 inches
  • Measure the length from chest to crotch: Lets call this L. L1 = L+6 inches
  • Measure child around her chest: Lets call this C. C1= C- 3 inches 


Construction:

1. Cut a ruffle fabric piece of width W1 X  length L1

shirring the ruffle fabric

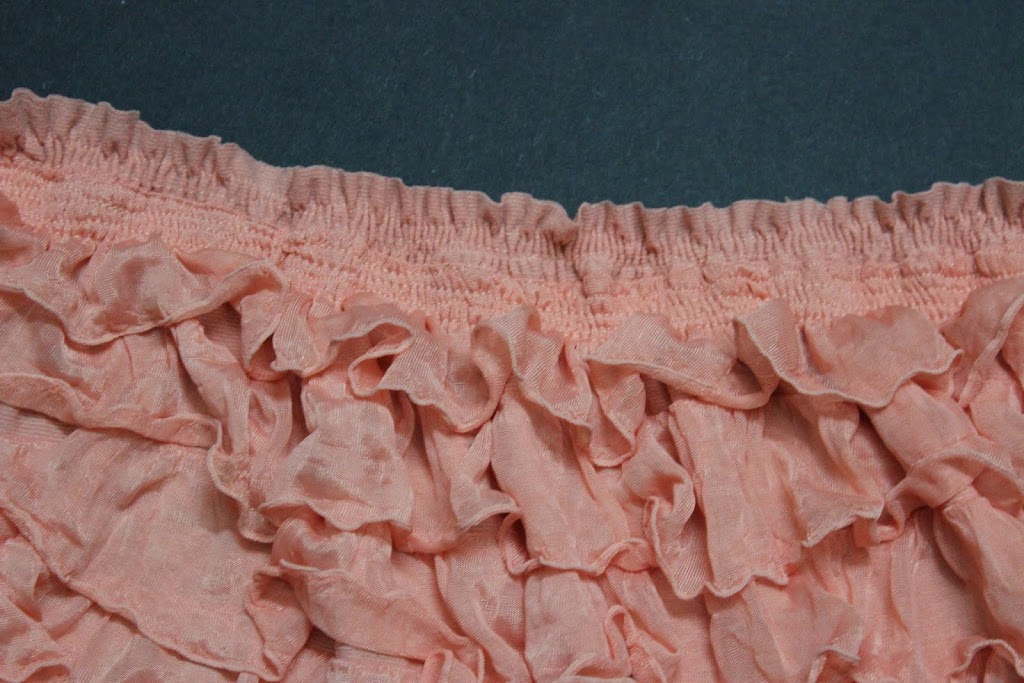
2. Now shirr along the top W1 edge. Pin or baste the ruffles down so they don’t get in your way while you shirr. Keep shirring until the W1 edge becomes equal to C1 in width. Here is a great tutorial on shirring.

sew along the length right sides together

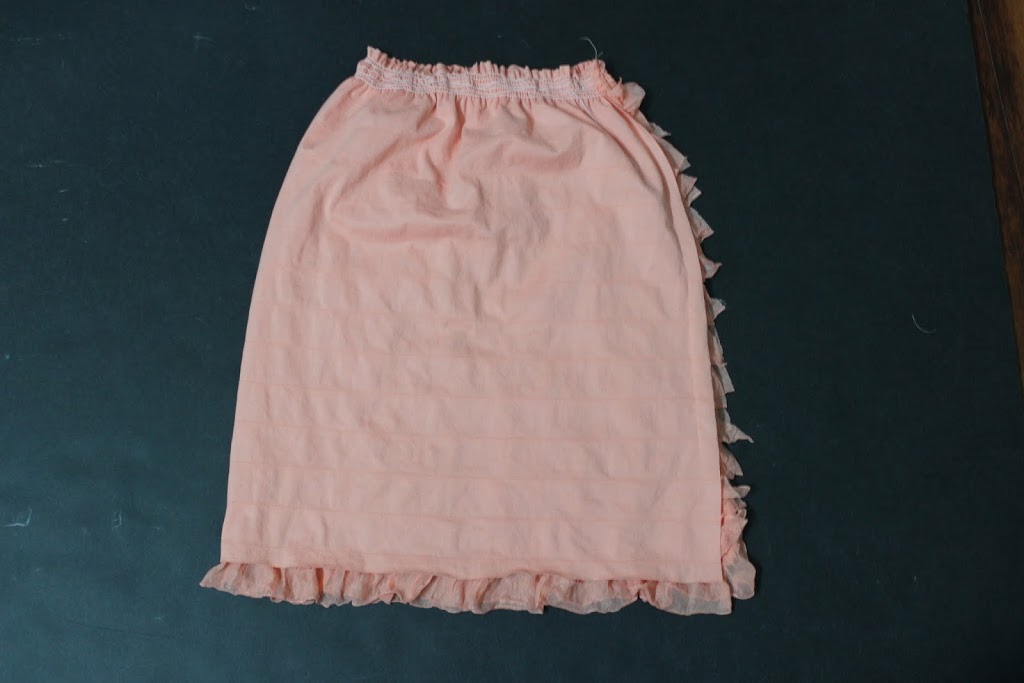
3. Sew together the L1 sides ( right sides together) but stop 3 inches before the end.

cut a slit in to make legs

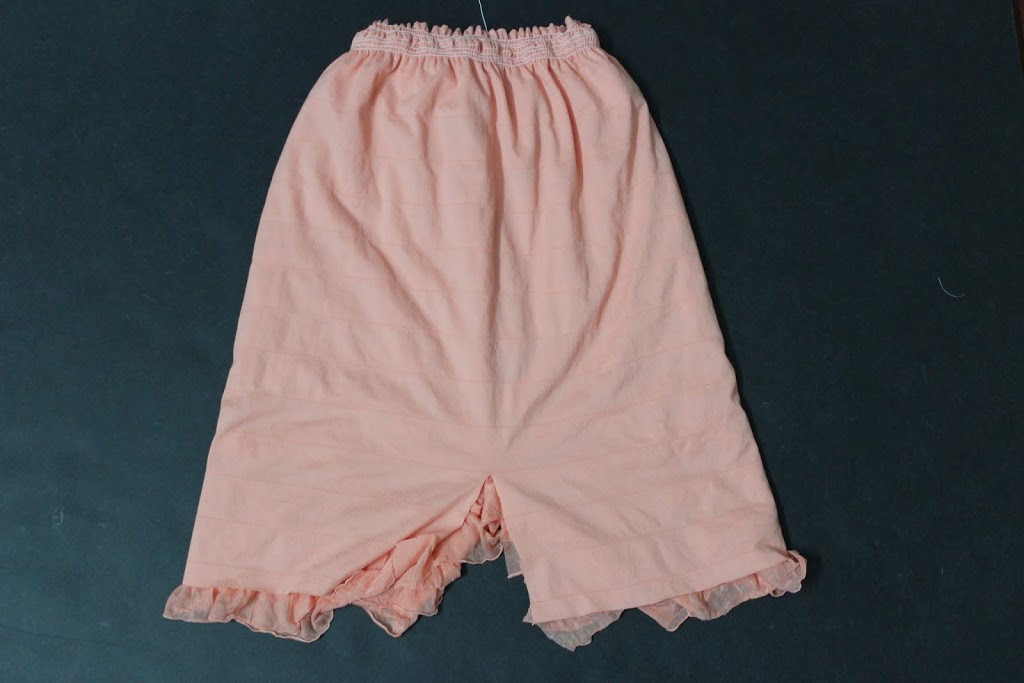
4. Rotate the seam along L1 such that it sits at the center of the back.Now cut a 3 inch slit starting at the lower edge of the front center. It should be equal and aligned to the un-stitched part you left in step above.

shir the leg openings

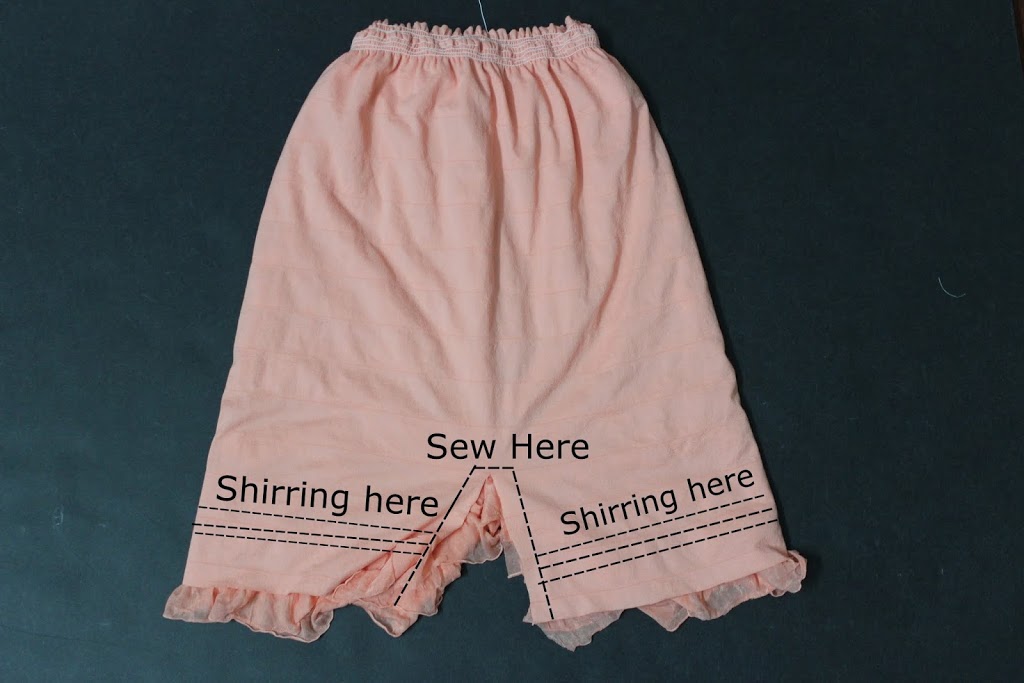
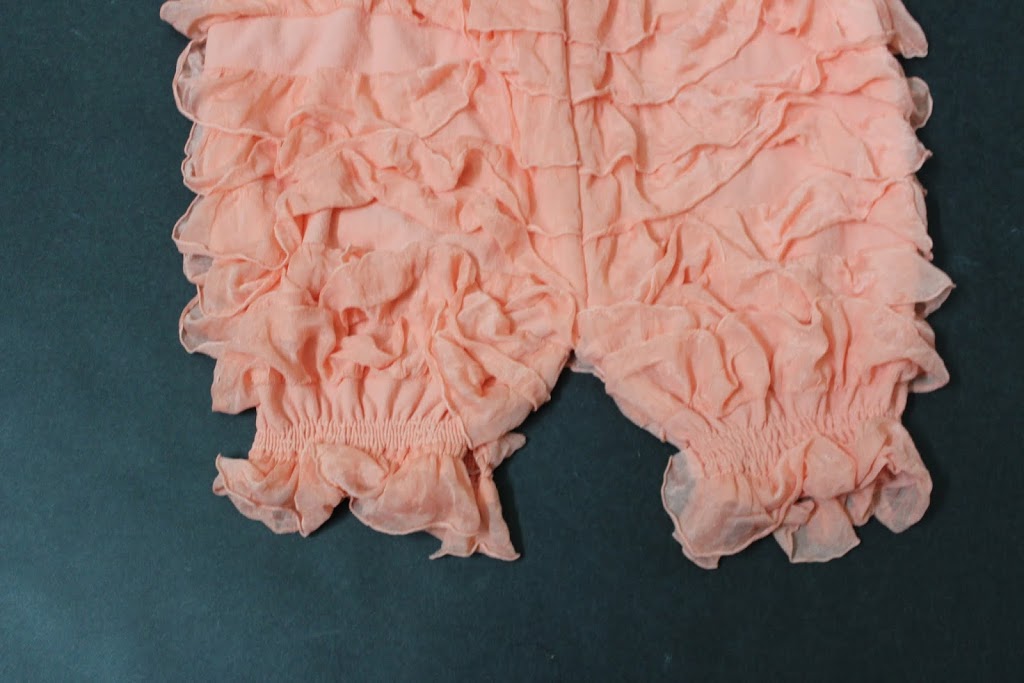
5. Now shirr each side of these slits about 1 inch above the lower edge. Sew about 3-4 rows of shirring. Align the front and back parts along the slit. Pin and sew ( right sides together) to make leg openings.

Adding shoulder straps

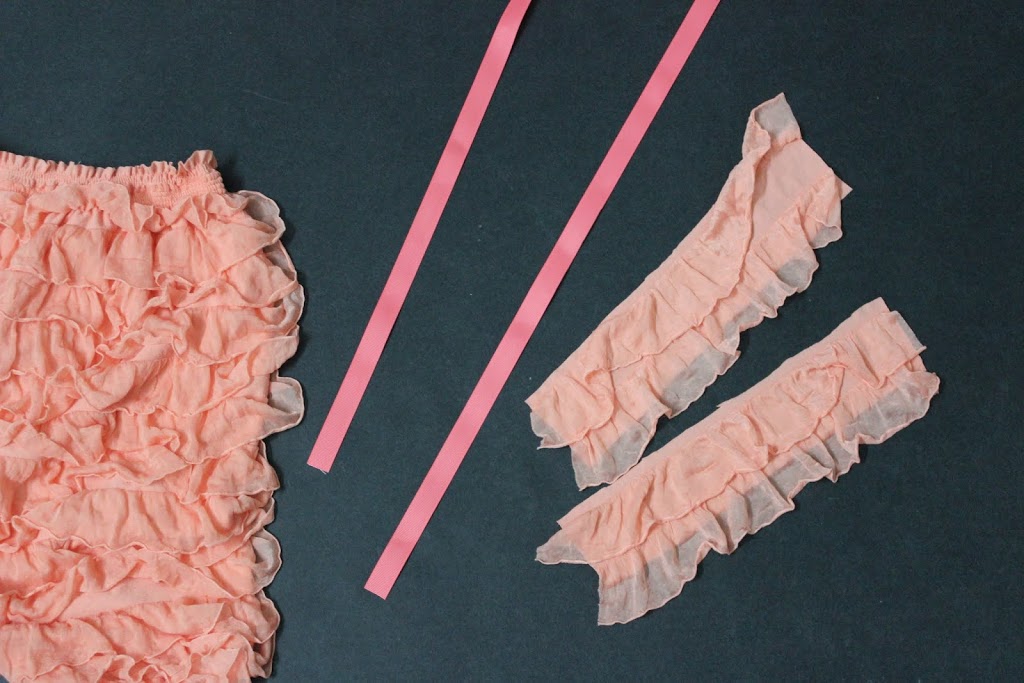
6. Cut two ribbon pieces 20 inches long each. Cut two pieces of ruffle fabrics. 3 inches long and 10 inches wide.

how to sew shoulder straps

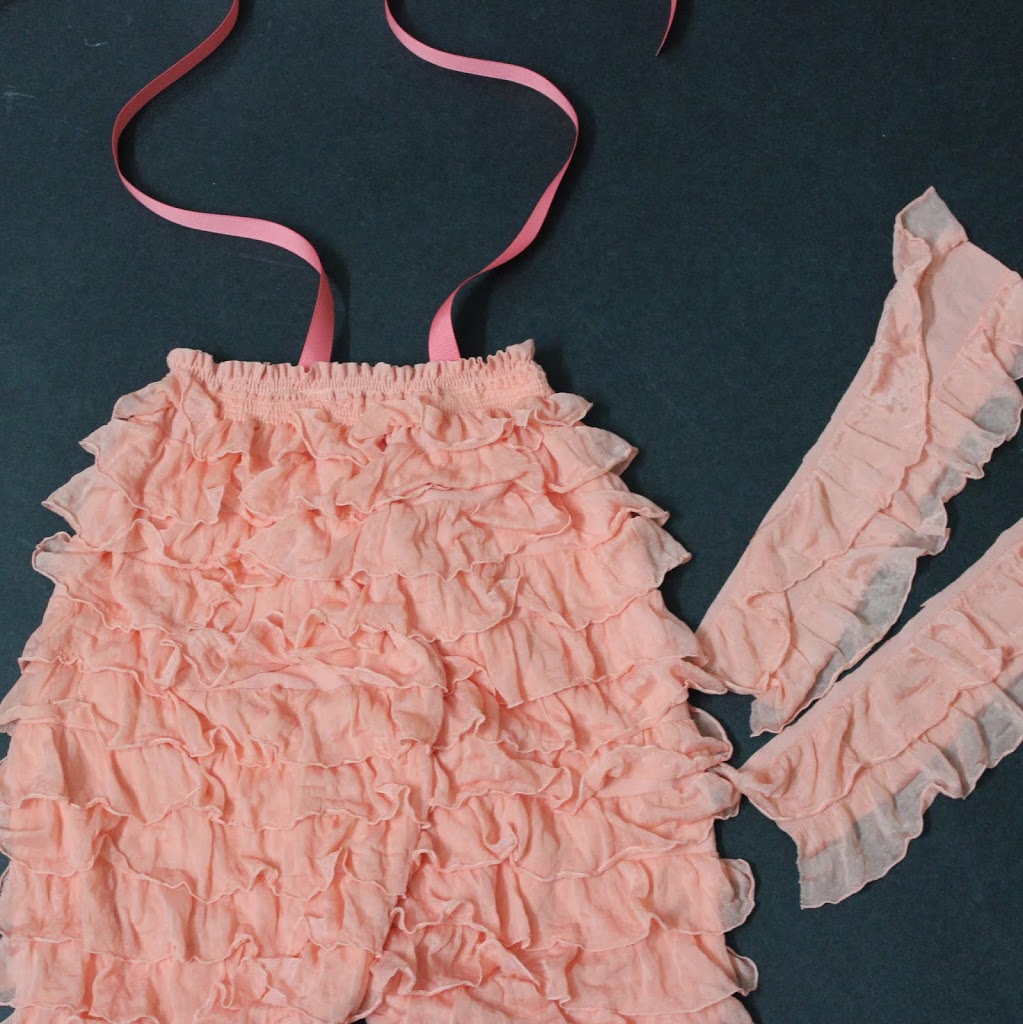
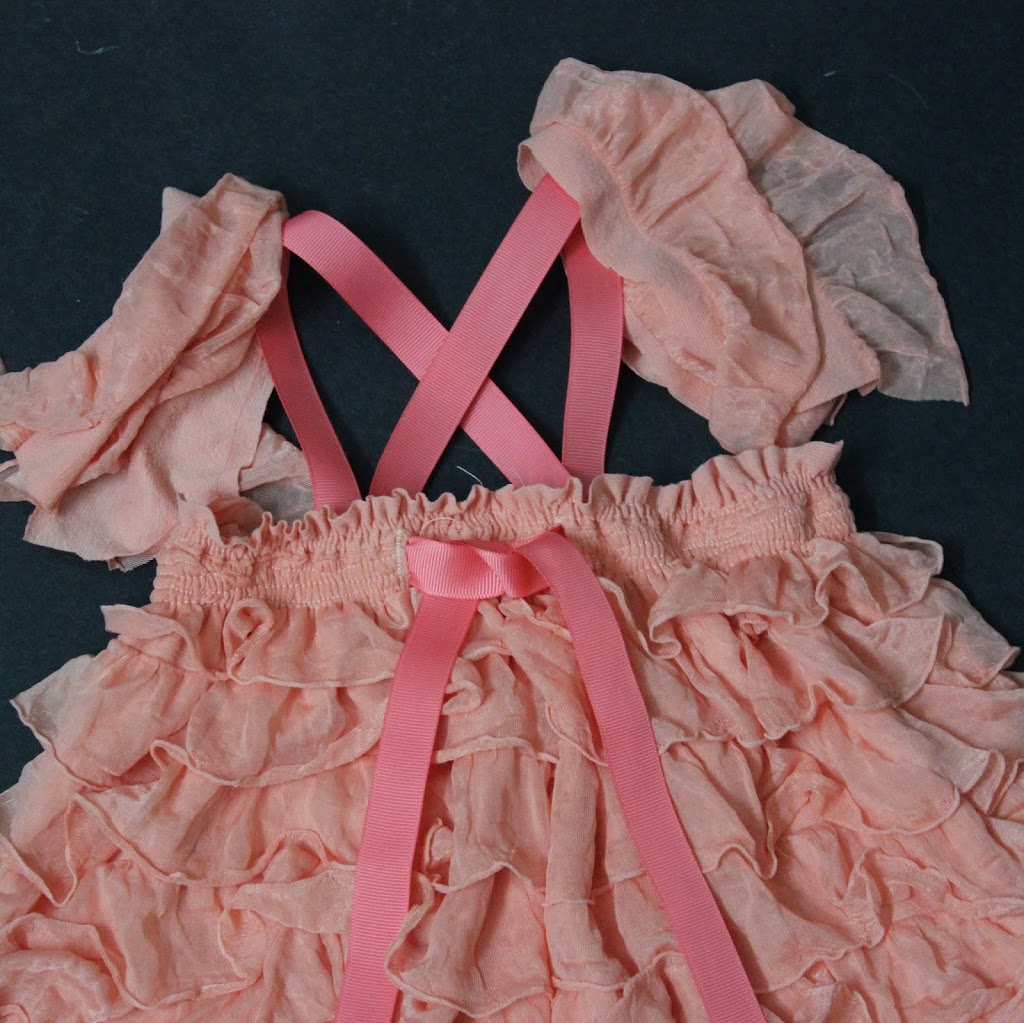
7. Sew one end of each ribbon 2.5 inches apart at the center front.

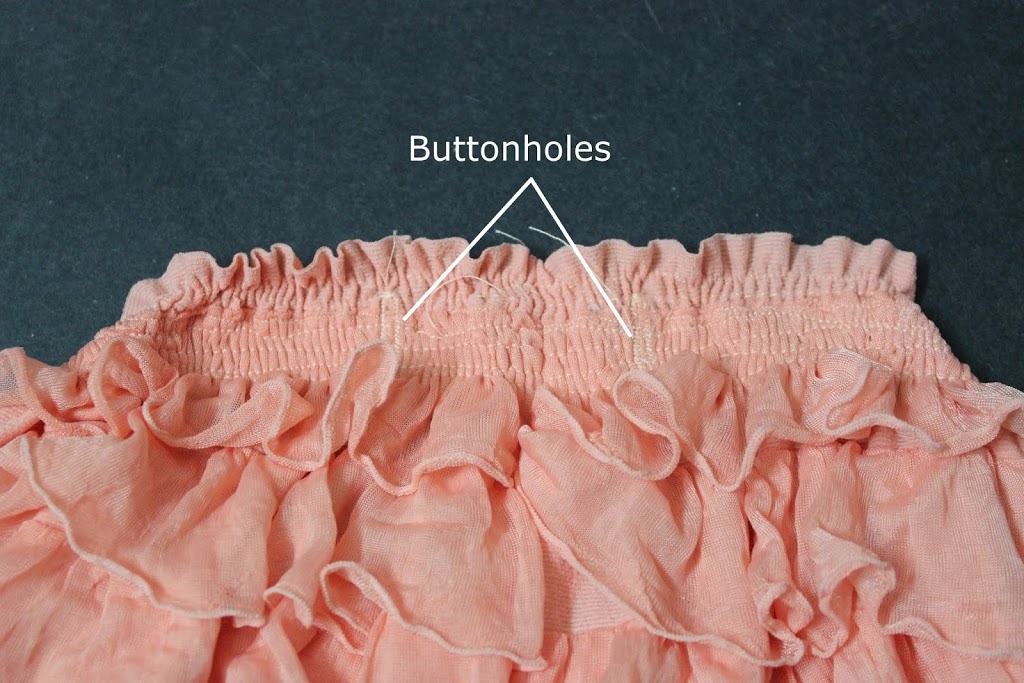
8. Now make two buttonholes 2.5 inches apart at the center back. ( I avoided making these buttonholes for a while because I wasn’t sure how they will turn out on ruffle fabric, along with all the shirring. Let me tell you, these were the easiest buttonholes to make. Here is a tutorial on buttonholes, but if you read your machine’s manual you can learn to make buttonholes very easily by yourself. So don’t worry. Go right ahead and make those buttonholes.) Thread the other ends of both ribbons through these buttonholes in a Cris-cross fashion.
At this point its best to try the romper on the child and mark the point on ribbon where it falls on the shoulder.

tying the ribbon at the back

9. Cinch and sew the center of these pieces at the points on the shoulder that you had marked. If you can’t measure the child, then my rule of thumb is to sew it 4 inches from the front.

ruffled romper sewing tutorial

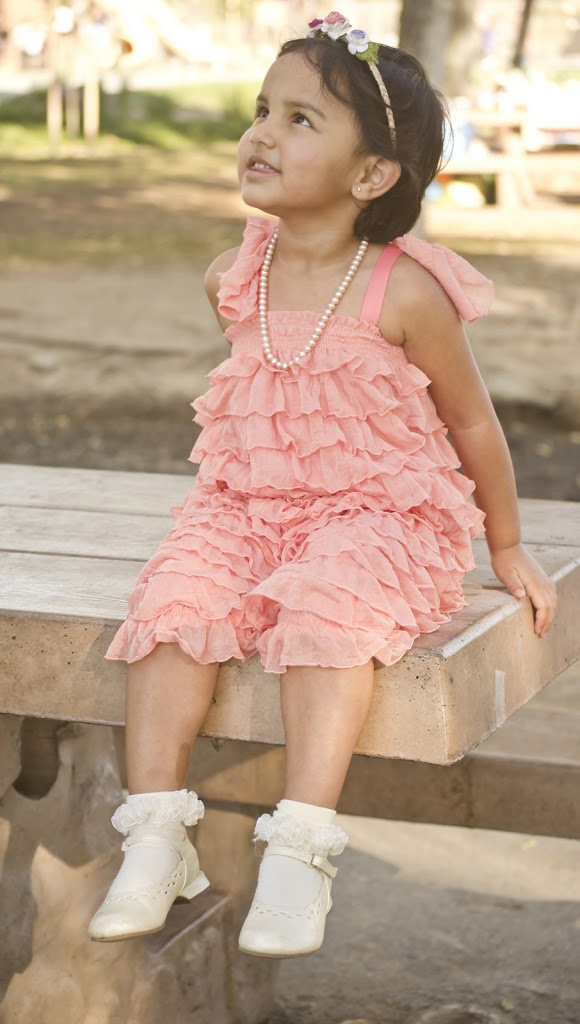
10. Put it on your child, tie a knot at the back and smile! Isn’t she the cutest thing ever?

how to make ruffled romper

Thanks Kari for having me here at UCreate. Visit me at Blooms And Bugs for more free sewing patterns and tutorials for kids and mommies.

Also find Anshu on Pinterest, Facebook, Twitter, and G+!

You may also like these

Heirloom Bloomers TutorialHeirloom Bloomers Tutorial4-in-1 Bucket Hat TutorialMessenger Bag TutorialMessenger Bag TutorialCircle Wrap-Around Ruffle Skirt TutorialPetal Top TutorialThe Petal Top Tutorial
Previous Post: The Creepy Bathroom Remodel
Next Post: Teacher Appreciation Gift for Guys

Comments

  1. gina says

    November 9, 2012 at 1:45 PM

    Gorgeous!!

    reply to this comment >
  2. Blooms And Bugs says

    November 9, 2012 at 1:46 PM

    Thanks Becky

    reply to this comment >
    • Kari Sweeten says

      May 6, 2013 at 2:18 PM

      Absolutely gorgeous romper and easy to follow tutorial! THANK YOU for being our guest!

      reply to this comment >
  3. Becky Marie says

    November 9, 2012 at 11:26 AM

    Oh my! This is beautiful!!

    reply to this comment >
  4. Pam says

    November 9, 2012 at 10:17 PM

    A beautiful romper, Anshu!!!

    reply to this comment >
  5. Annie says

    November 20, 2012 at 2:28 PM

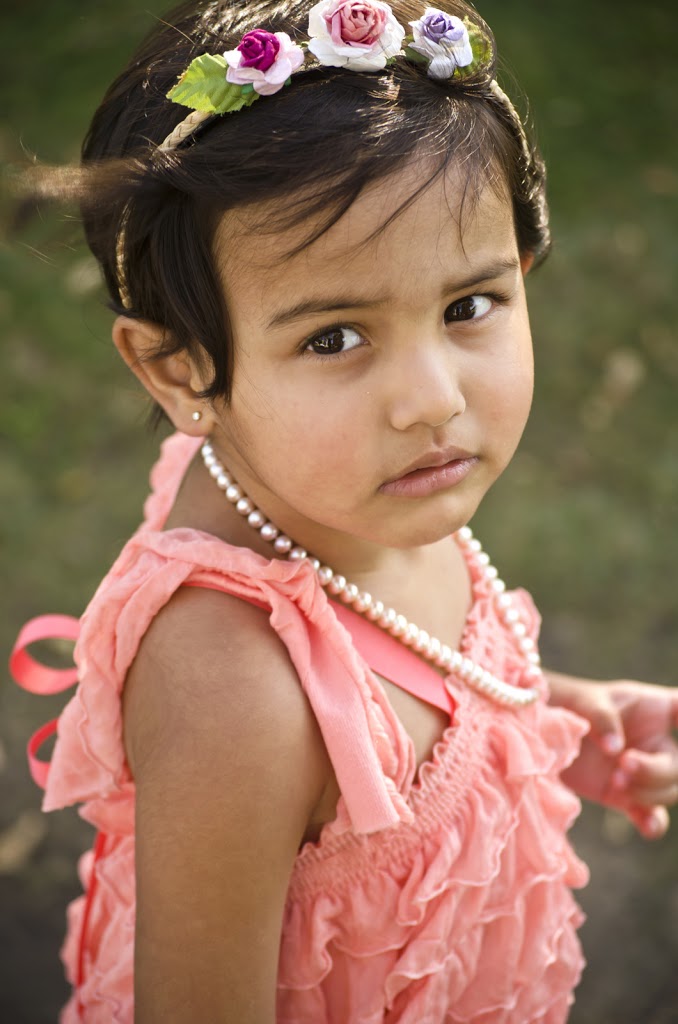
    Oh, this is so sweet! Gorgeous photographs too!

    reply to this comment >
  6. Kara @ Mine for the Making says

    November 27, 2012 at 5:49 AM

    GORGEOUS!!! as always 🙂

    reply to this comment >
  7. Jill says

    November 27, 2012 at 9:41 PM

    BEAUTIFUL!!! and a great tutorial!

    reply to this comment >

Leave a Comment Cancel reply

Your email address will not be published. Required fields are marked *

Recipe Rating


Popular Posts

Easter VIntage Art Printables at U Create

Vintage Easter Art Prints

Spring Coloring Poster and Page

St. Patrick's Day printable games - by U Create

St. Patrick’s Day Game Printables

St. Patrick's Day printable - more precious than GOLD tag - by U Create

St. Patrick’s Day GOLD Printable

16 Easter Craft Ideas for Kids

DIY Easter Crafts for Kids

St. Patrick's Day Coloring Page by U Create

St. Patrick’s Day Coloring Page

  • pinterest
  • facebook
  • instagram
  • twitter
  • rss
 
Privacy Policy
Back to Top

Copyright © 2023 U-Create • All Rights Reserved • Site Design by Emily White Designs