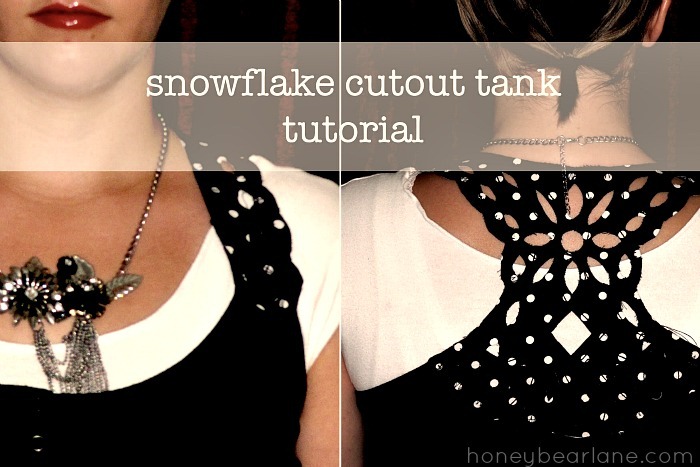
Hi there! My name is Heidi from Honeybear Lane and I am so super excited to be a guest on UCreate! This blog is seriously amazing (as you all know) and I think that Kari is just awesome for bringing all these craft tutorials together. Anyway, on to my tutorial!
I love this method, even though it’s kind of time-consuming, but it is so worth it when people ask you where you got your shirt and you can say that you made it!
Here’s what you need to get started:
Supplies:
Fat quarter of fabric
Heavy-weight fusible webbing (not super heavy but fairly durable)
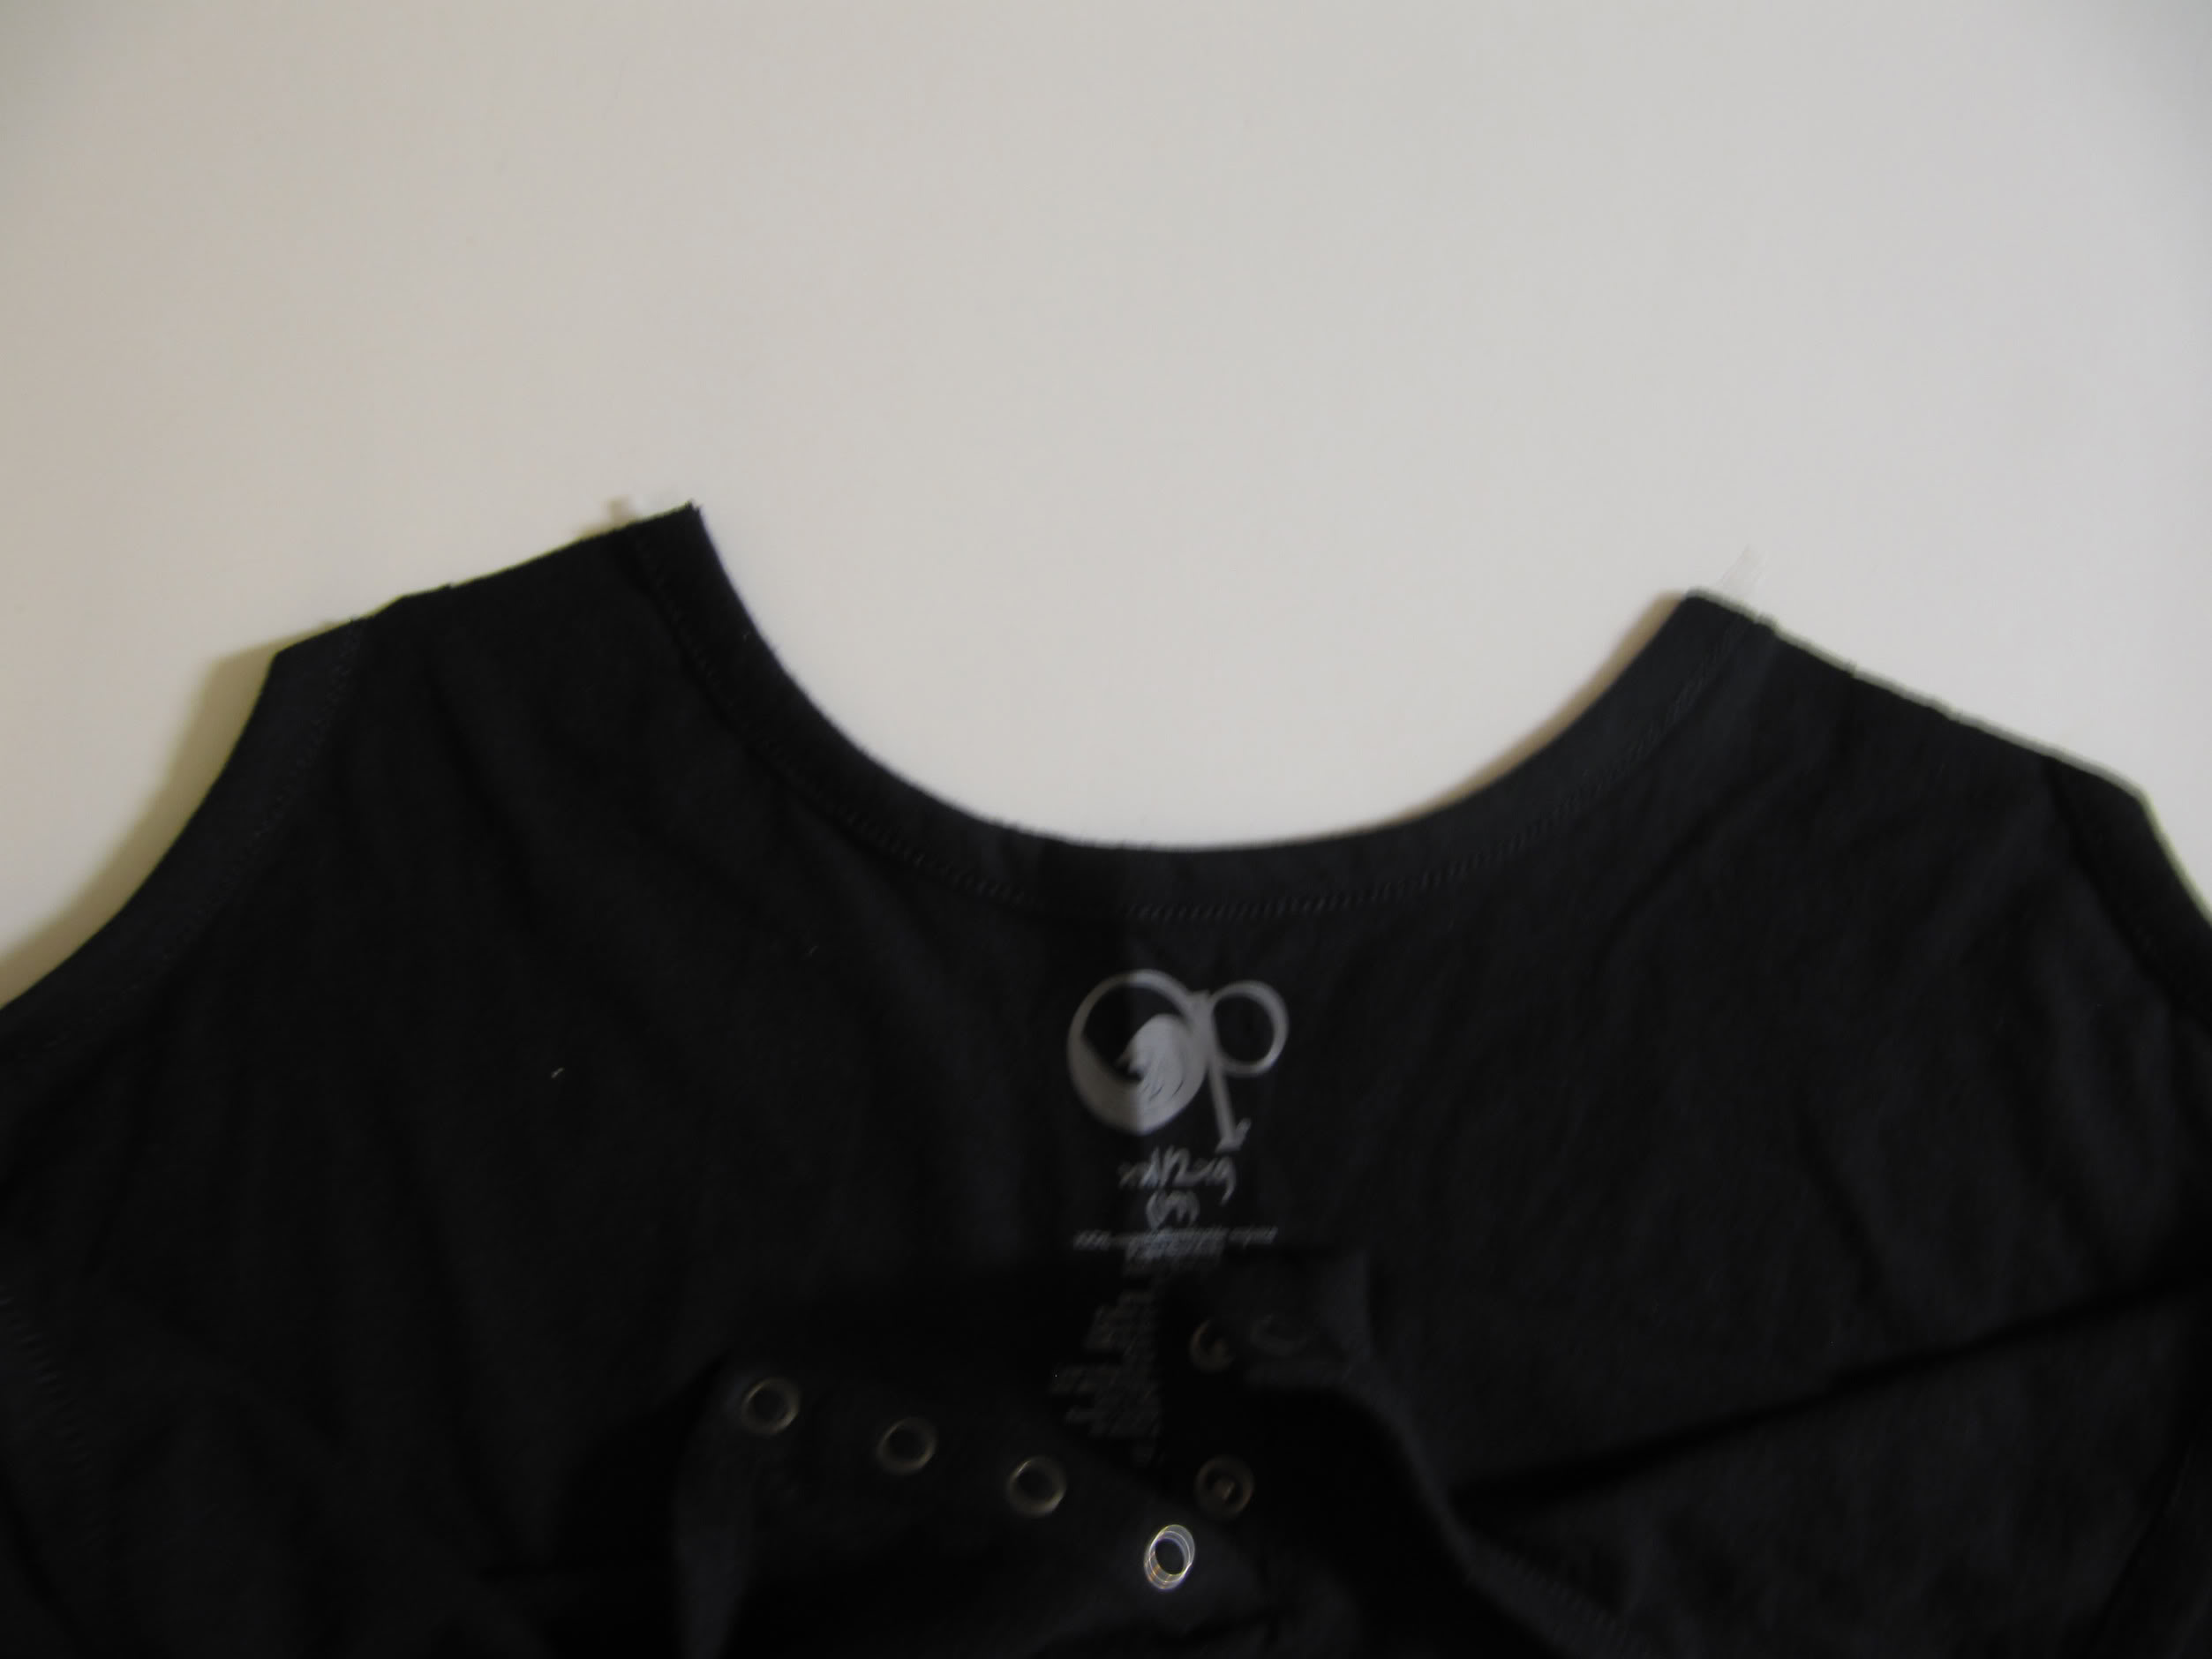
Tank top (I bought one at Walmart for like $5)
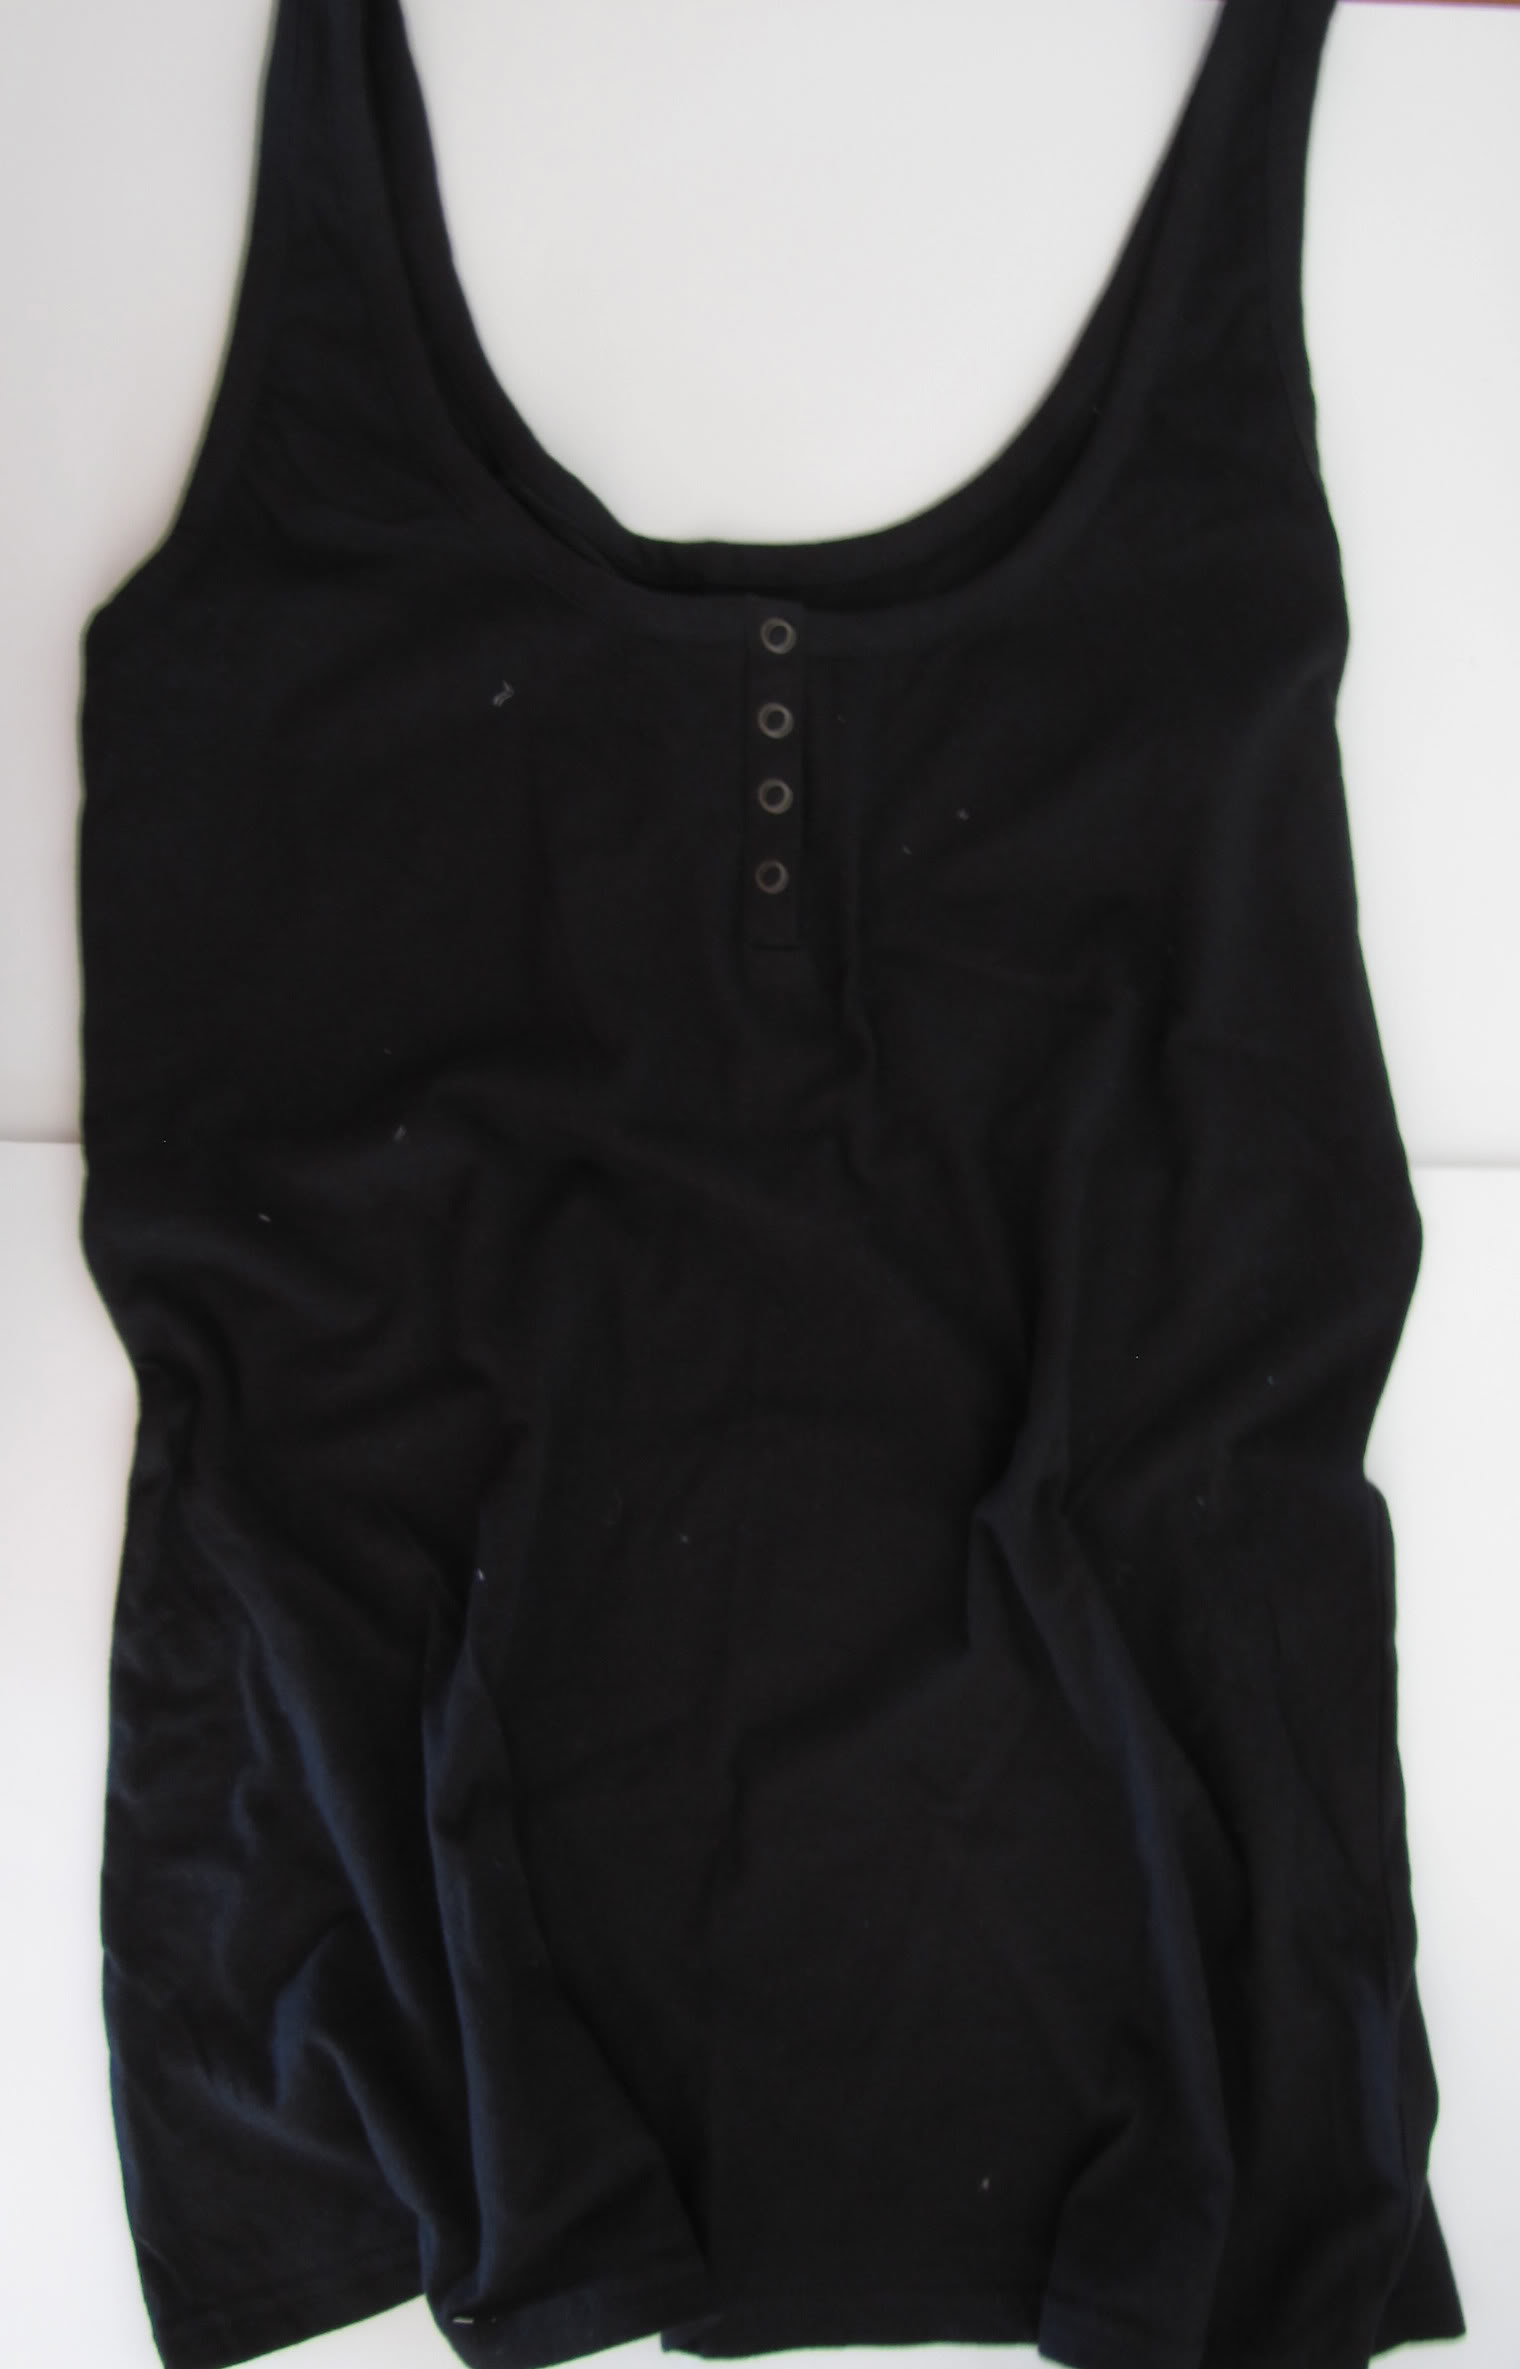 |
| Here’s the tank I bought: I got the largest size available so that it would be super long, like a tunic |
 |
| Here’s my fabric |
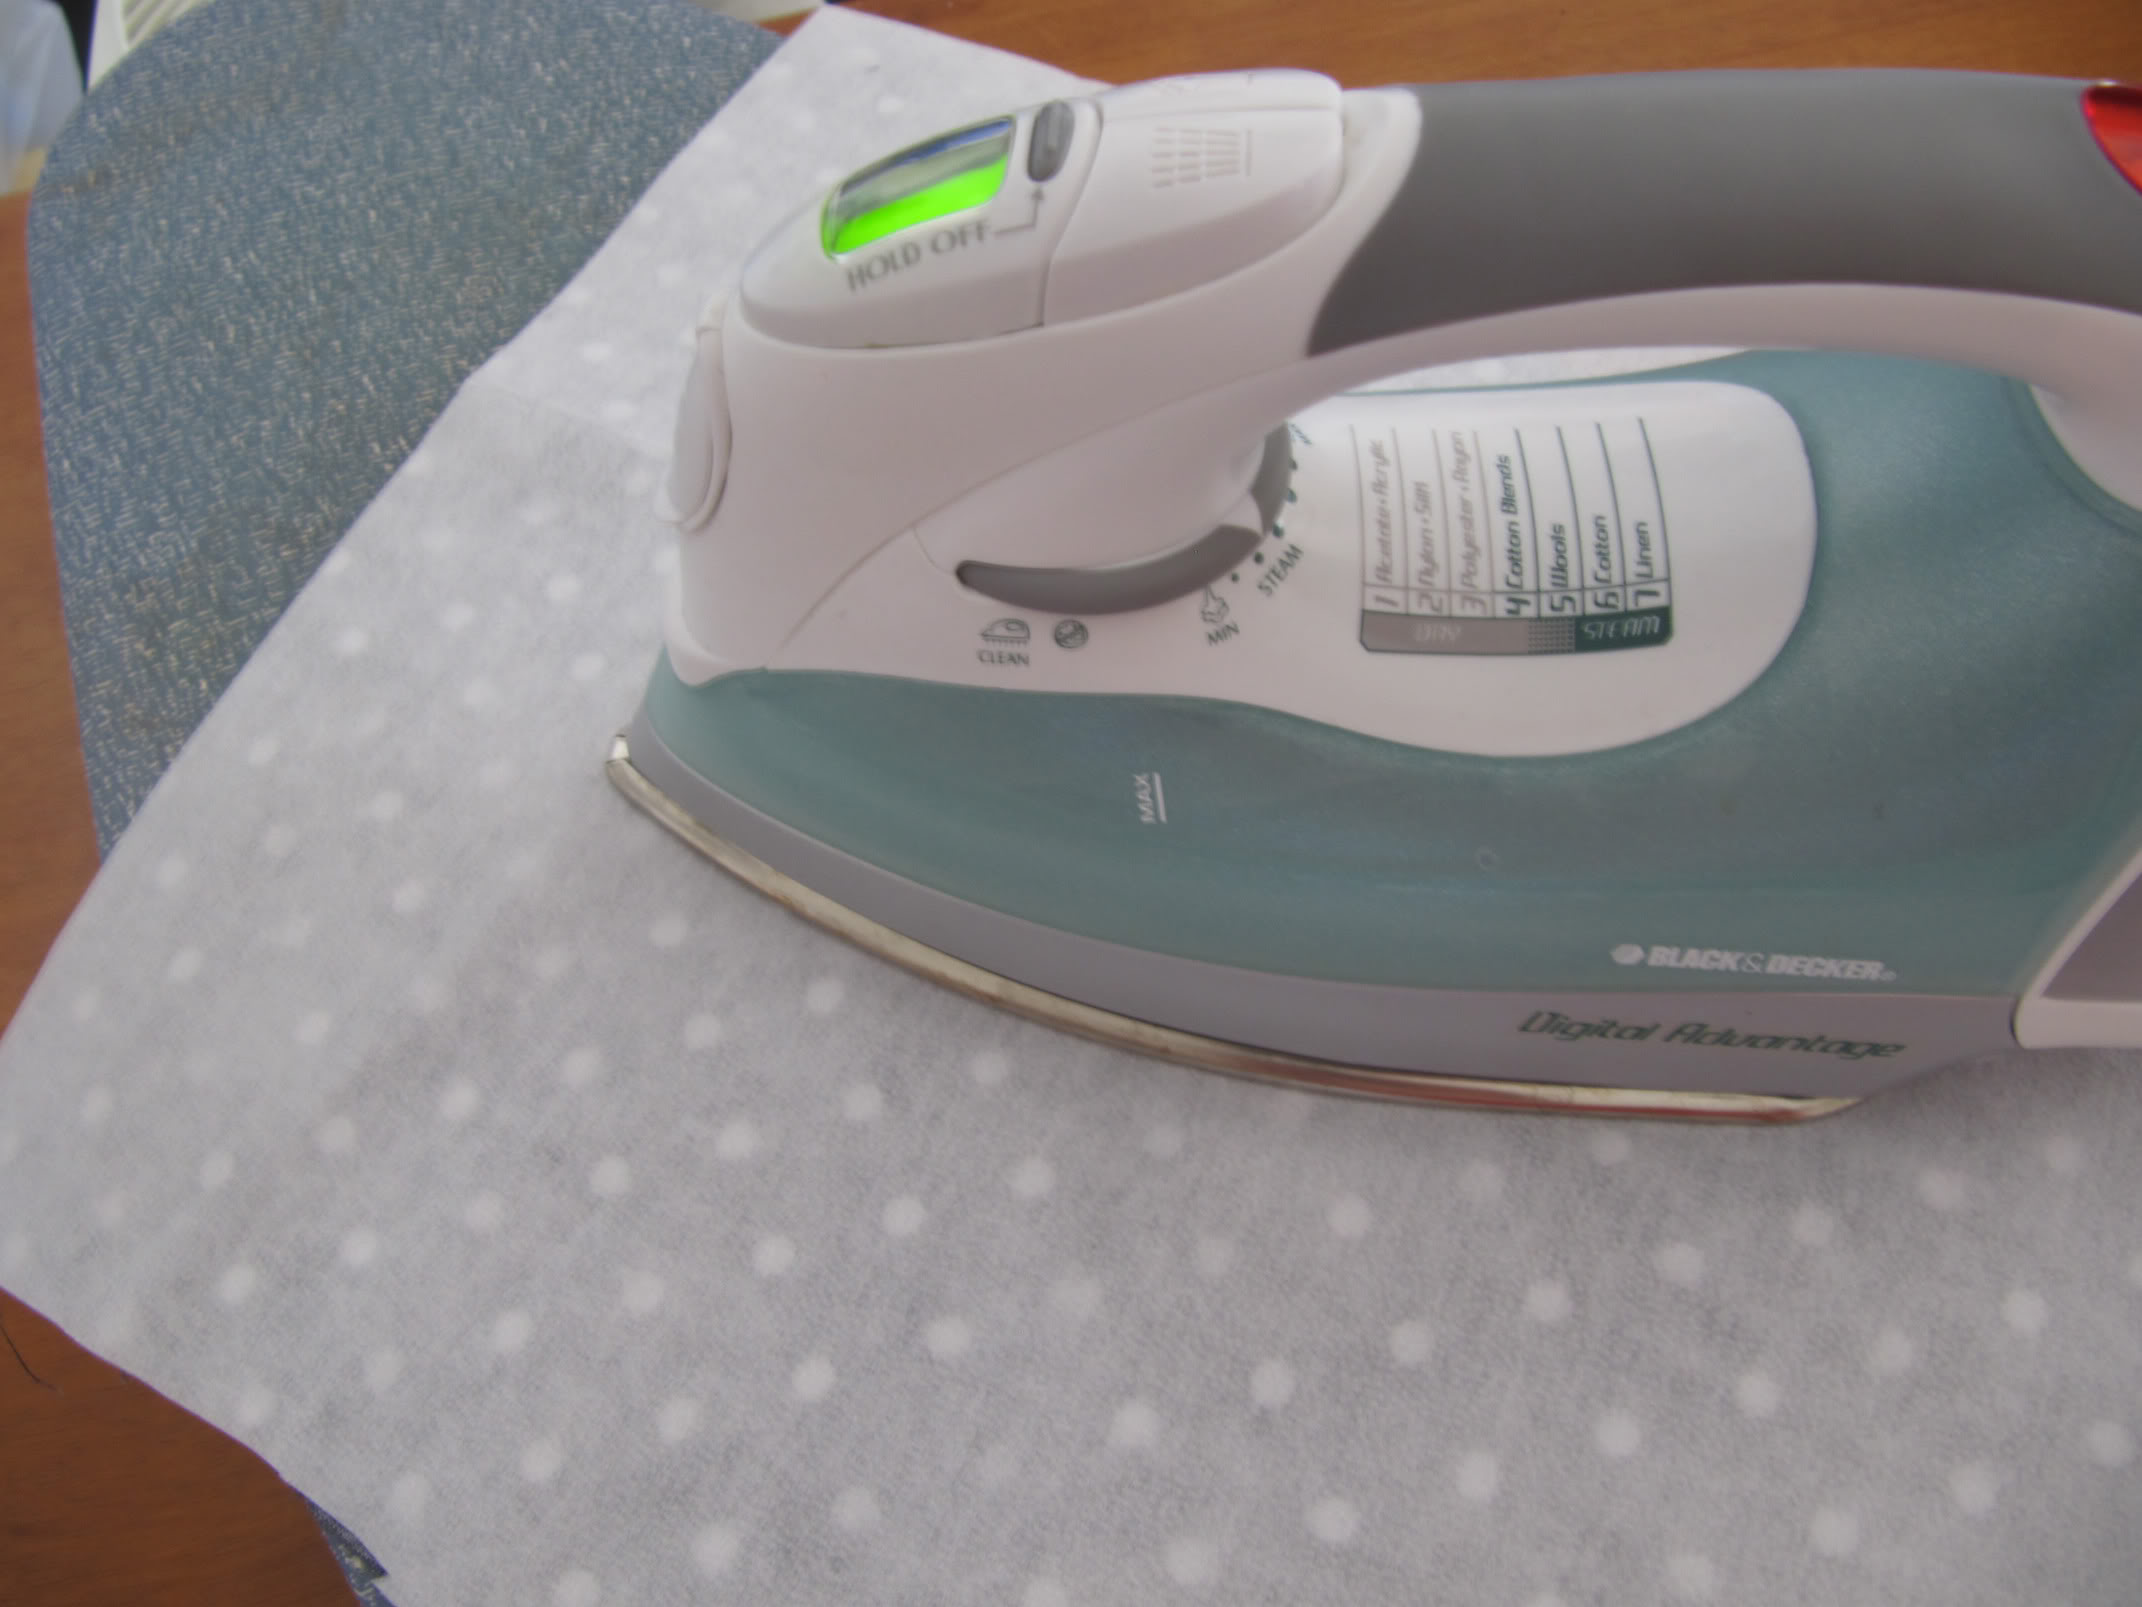 |
| Start by ironing the fusible webbing onto your fabric |
 |
| Fold the fabric in half, right sides together |
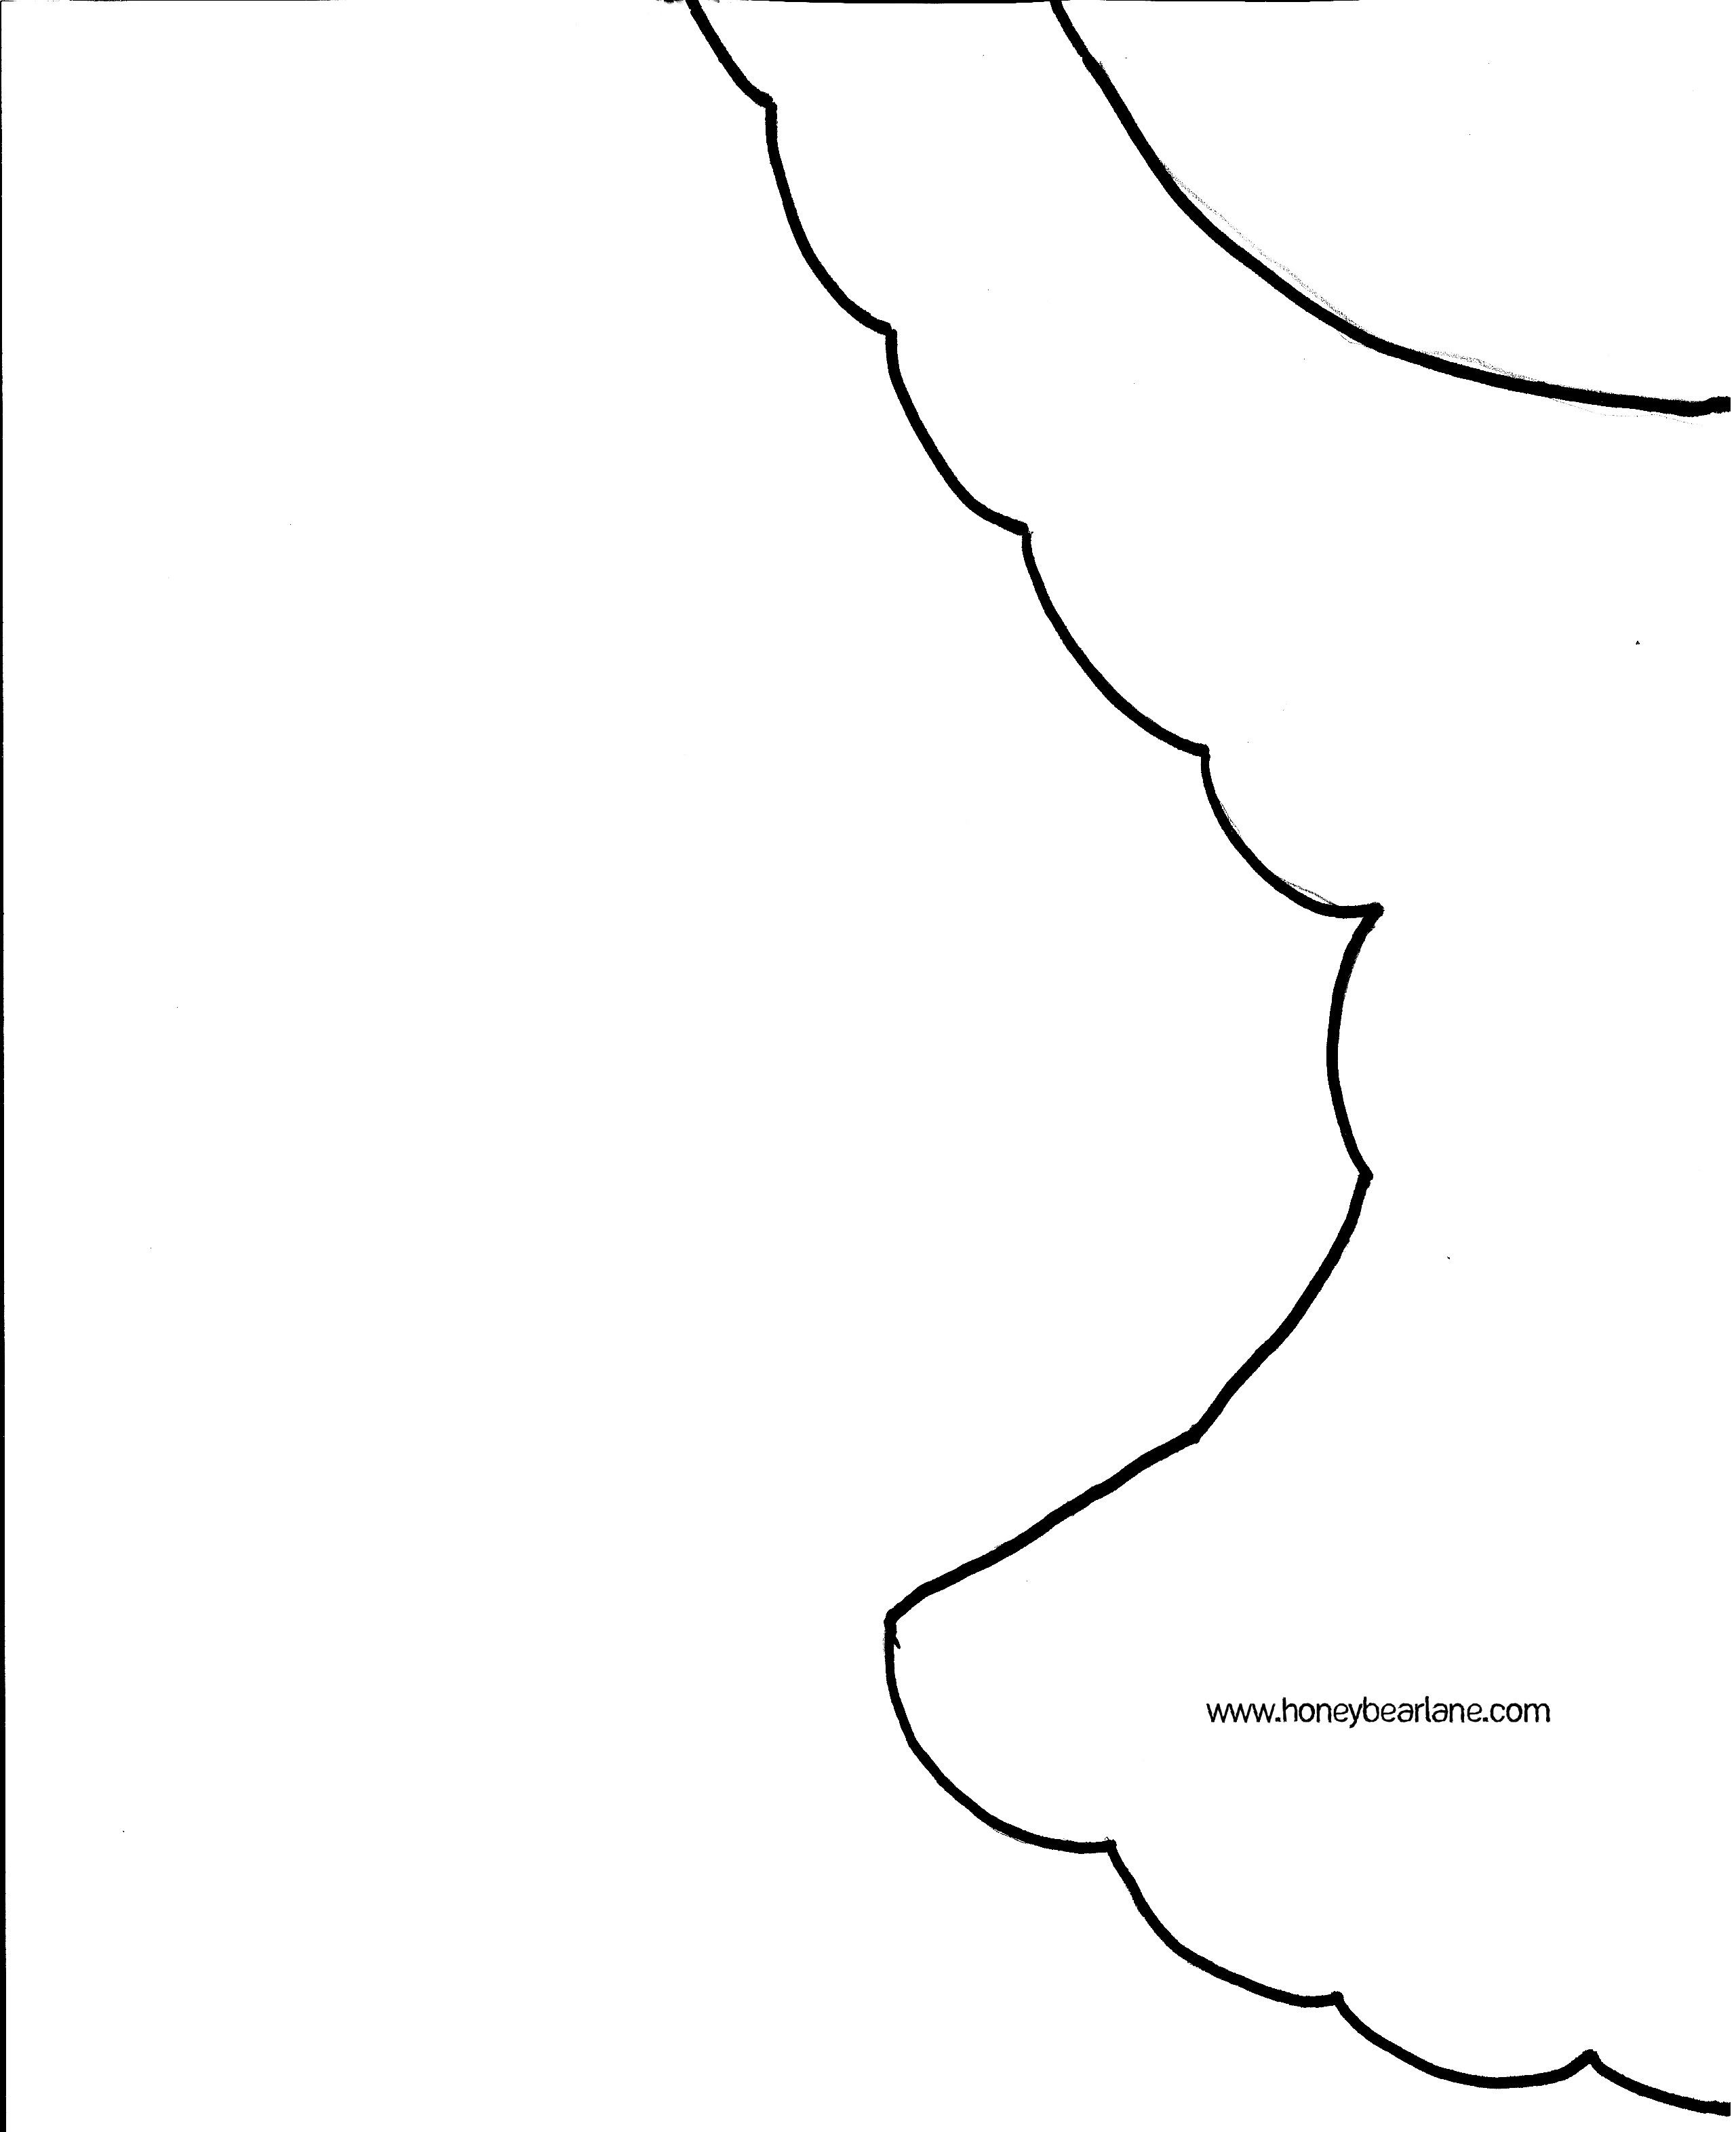 |
| Print this out if you don’t feel comfortable drawing your own (it should be a full 8.5×11 page) |
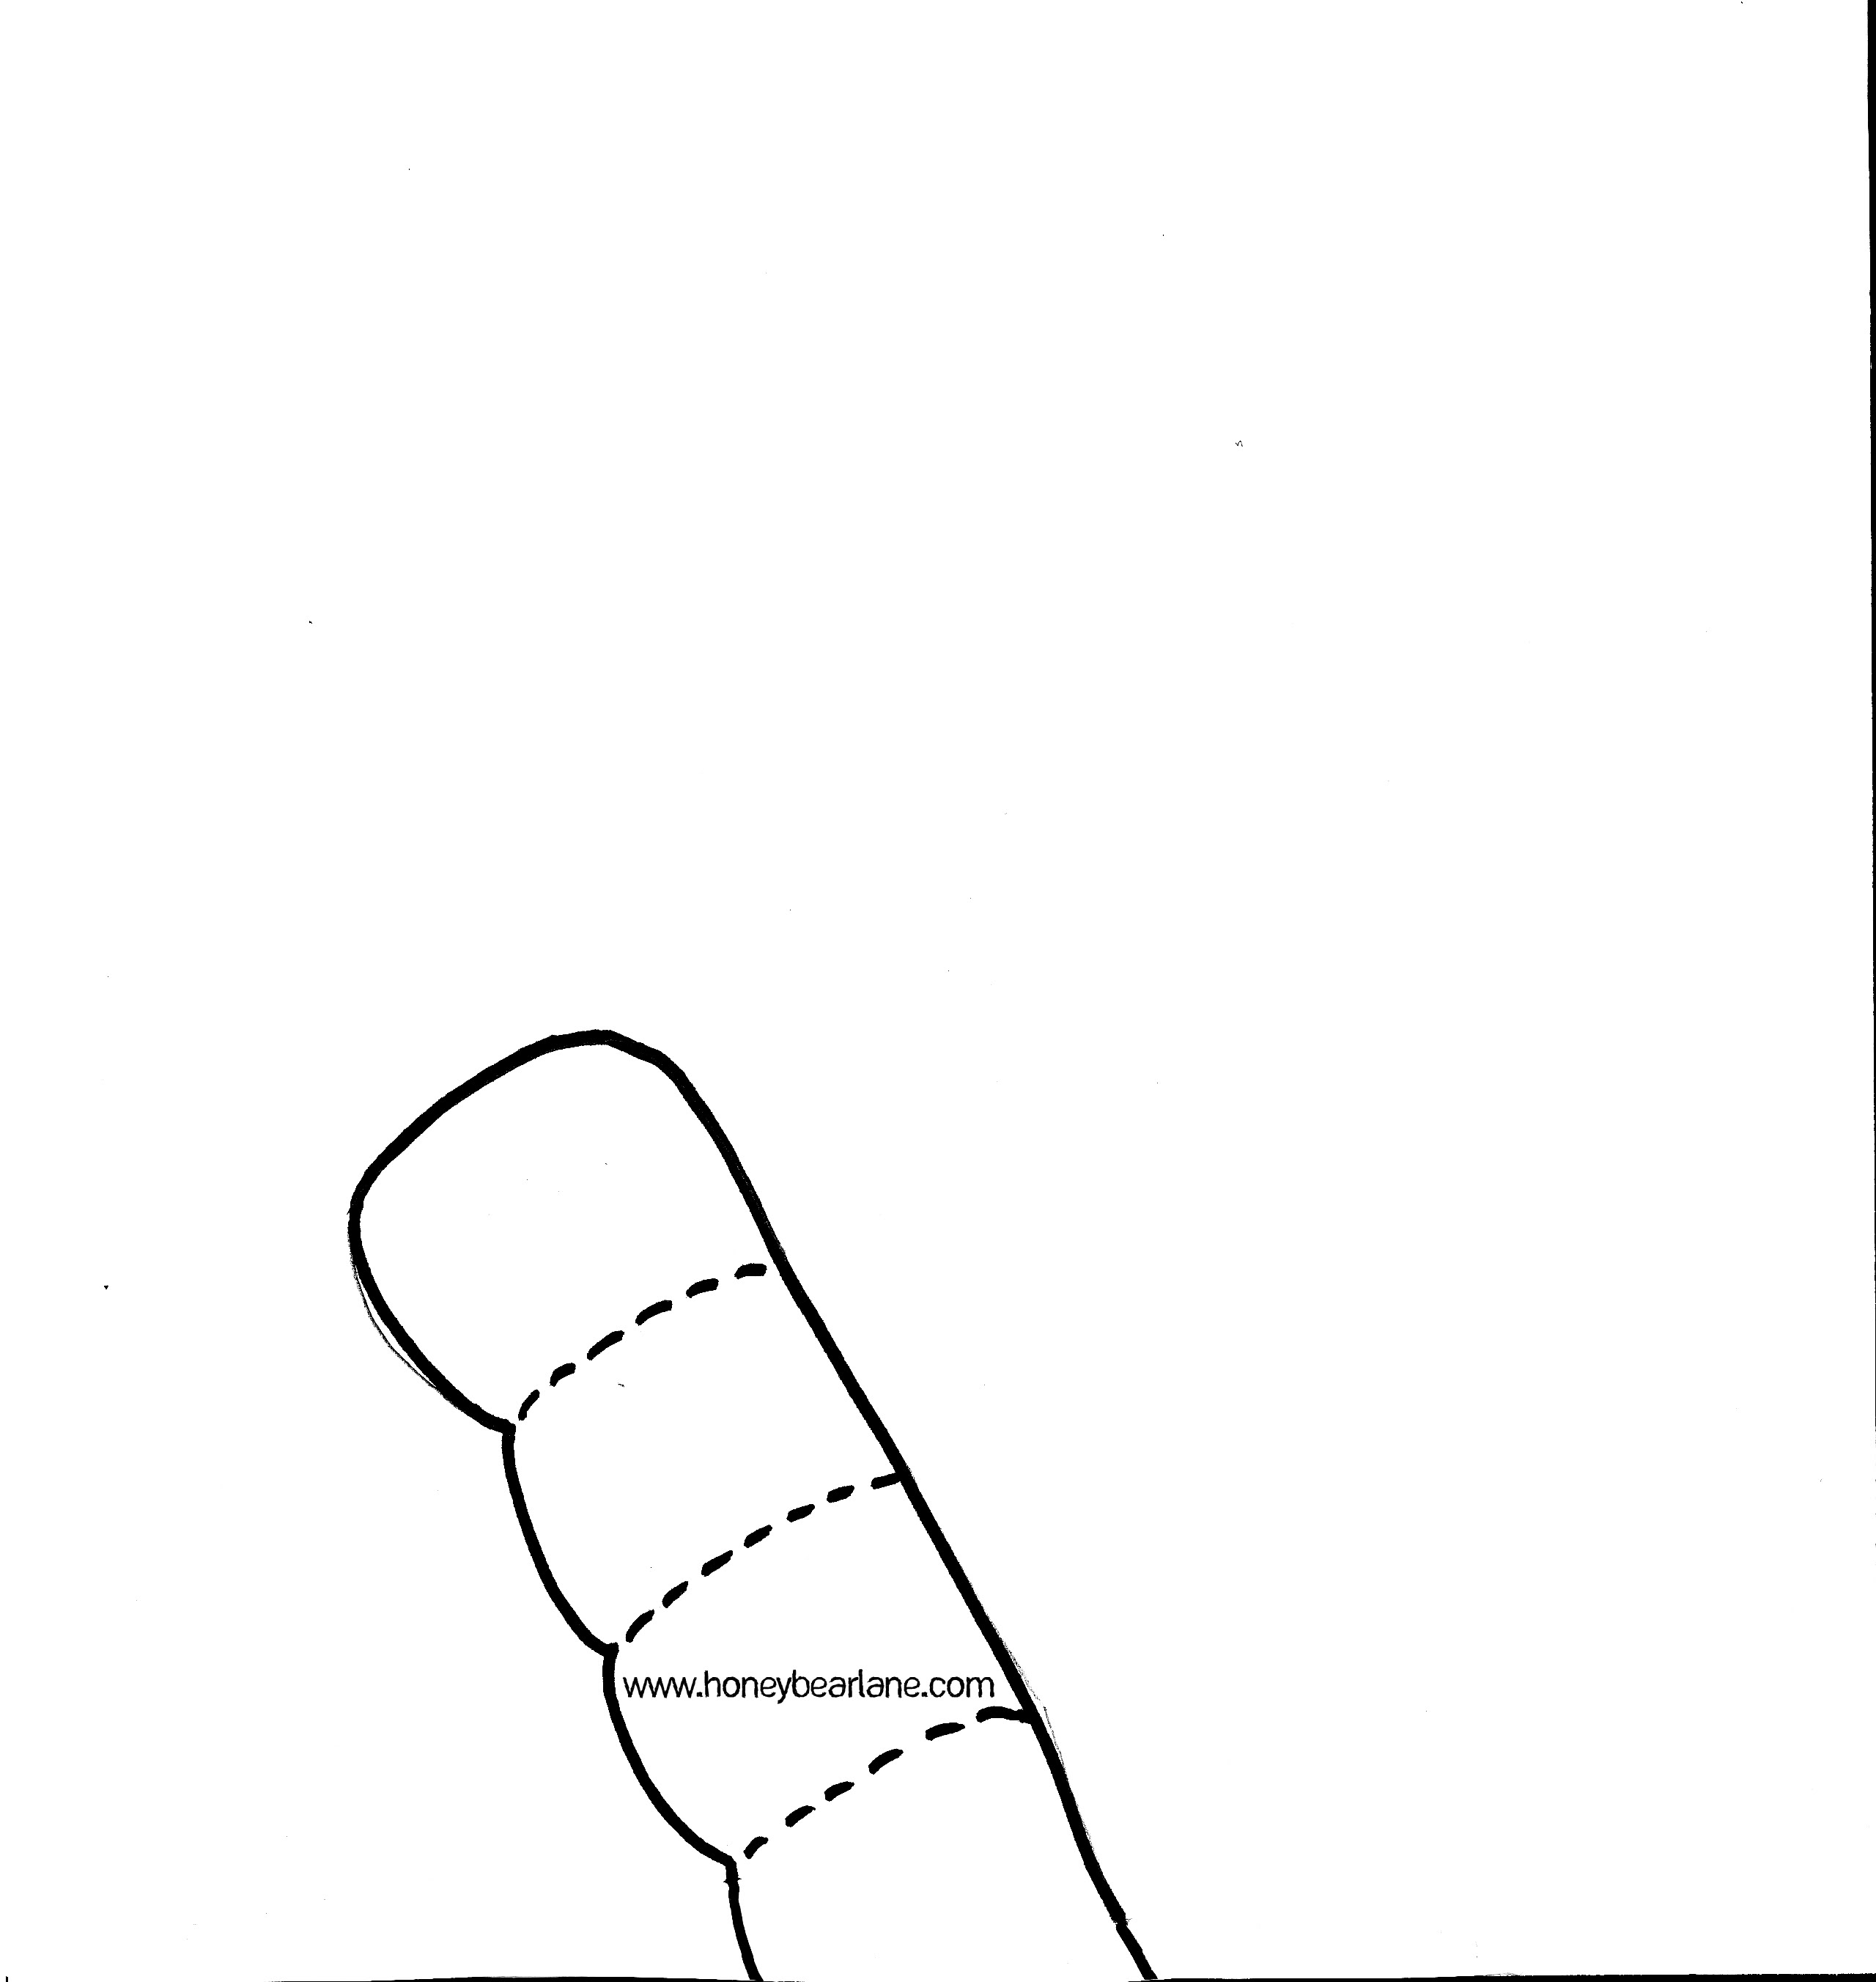 |
| Print this out too! It’s the straps…and you can cut on the dotted lines to adjust length (or add more) |
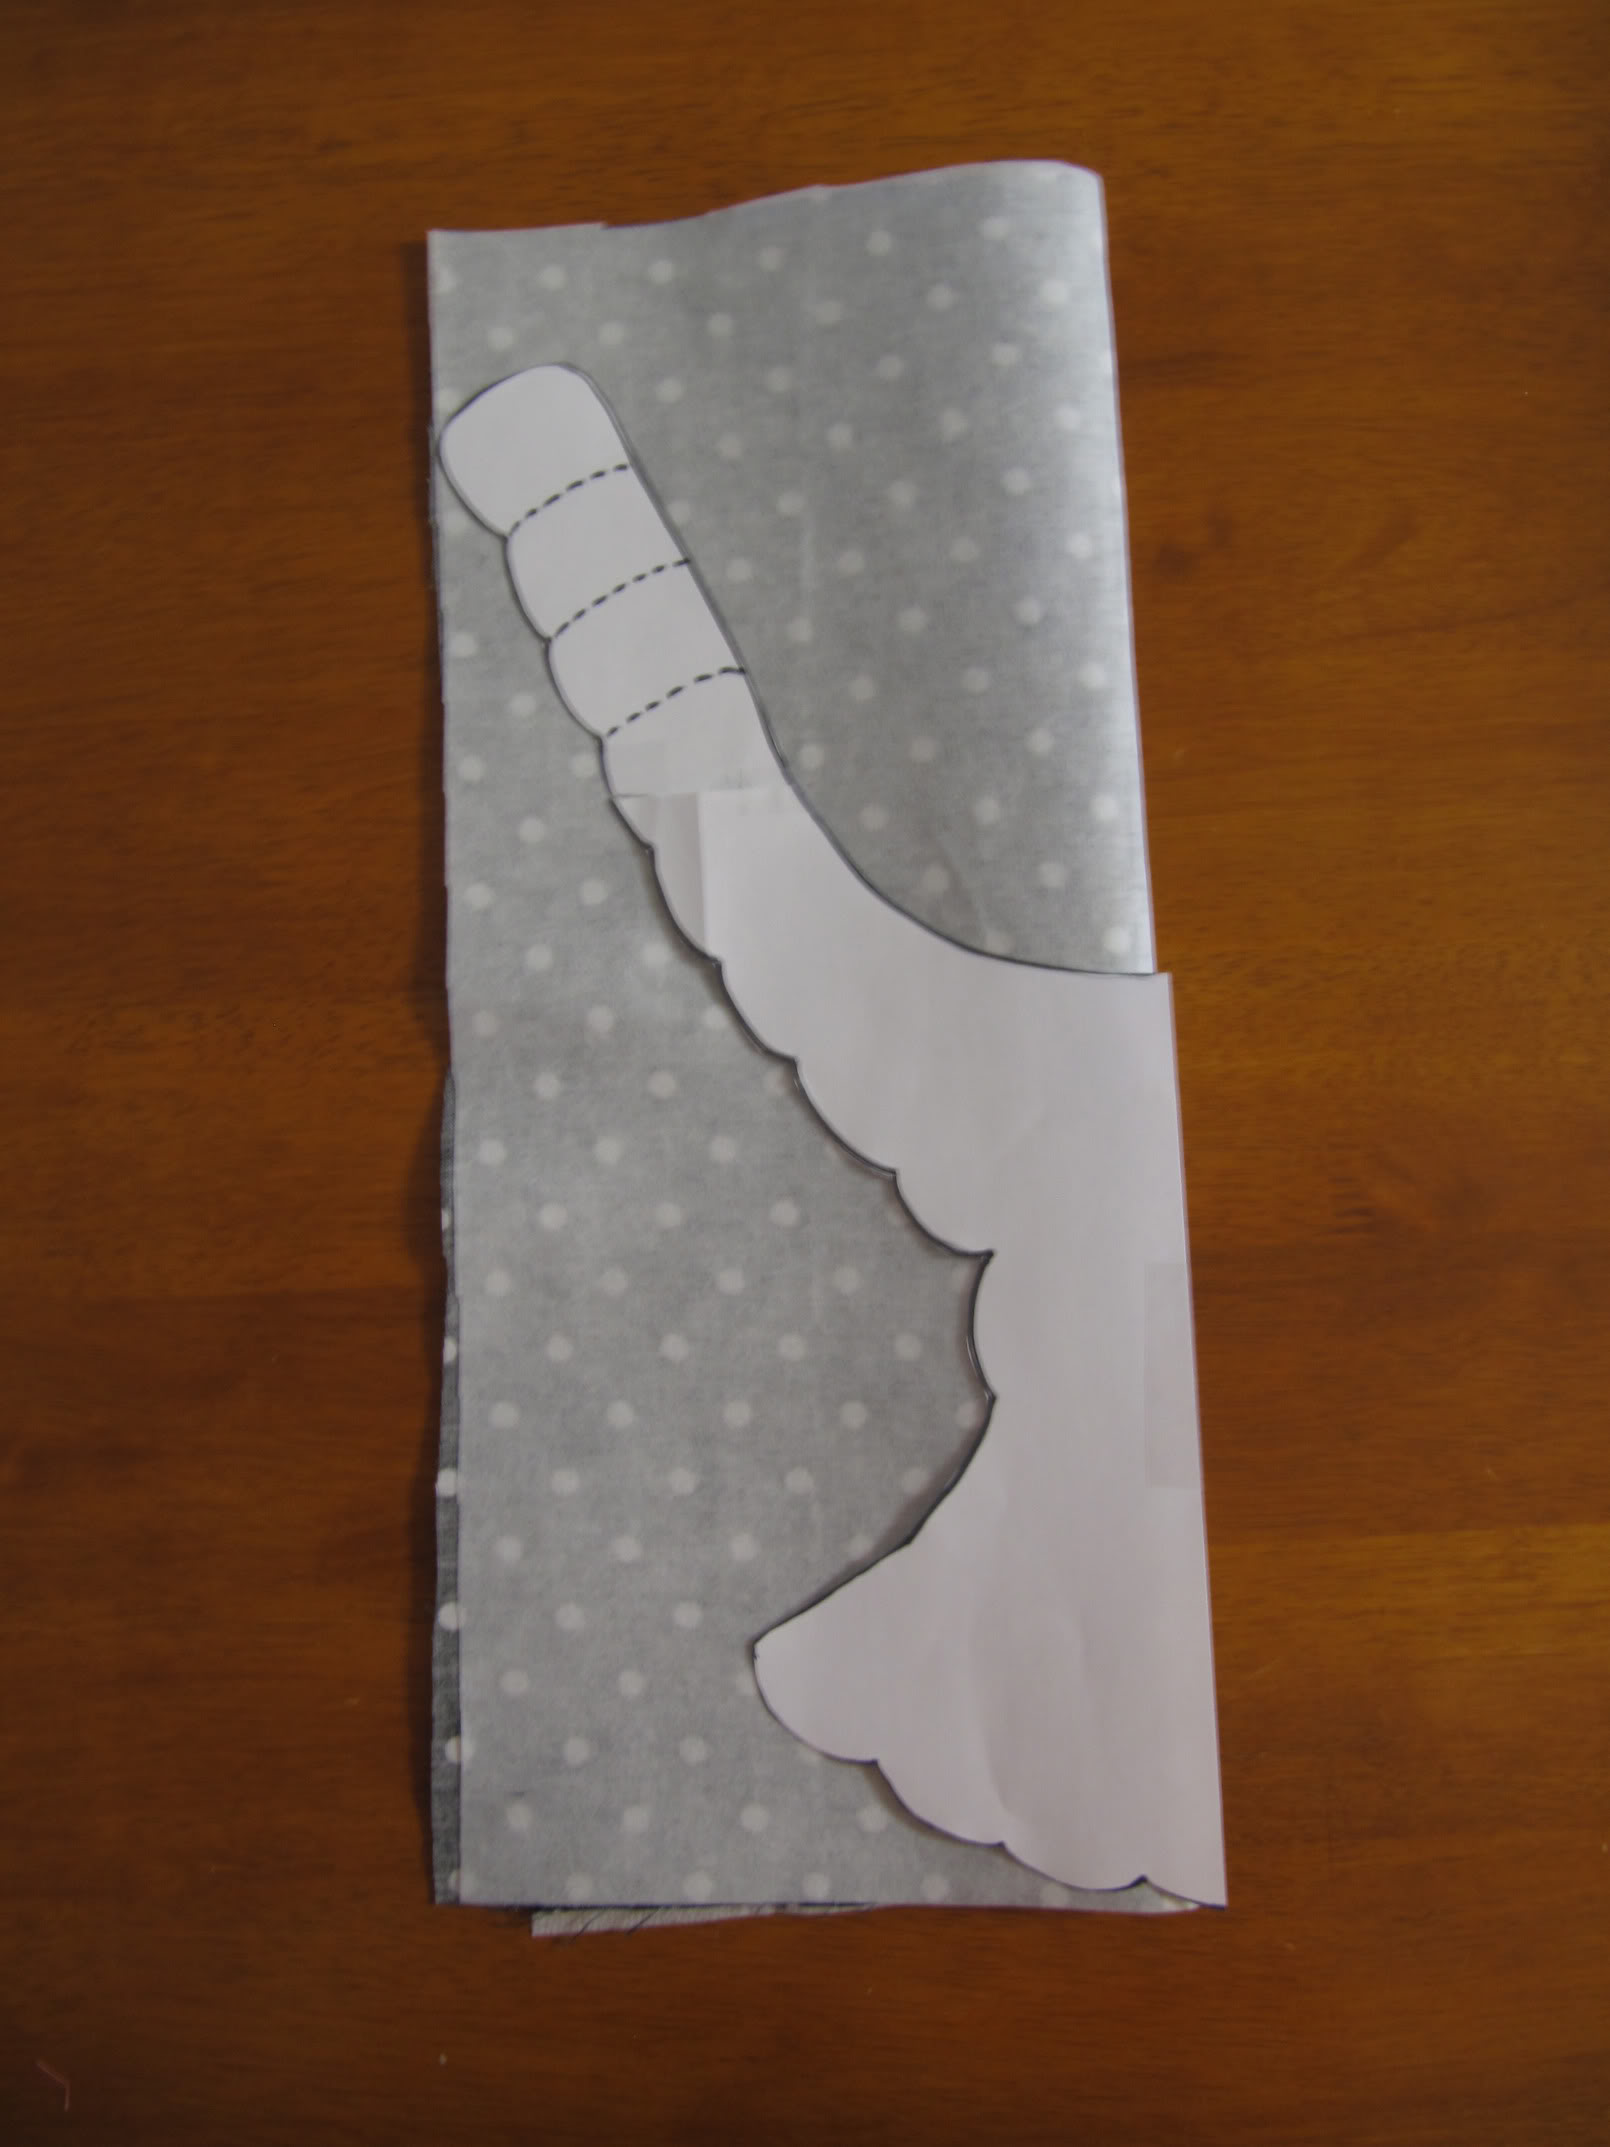 |
| Place your template on the folded fabric, the straight side along the fold. This is how you get a perfectly symmetrical cutout. |
 |
| I traced it with a fabric marker that washes out. Cut this shape out… |
 |
| …it will look like this! |
 |
| This is roughly what it will look like (but much cuter, don’t worry!) |
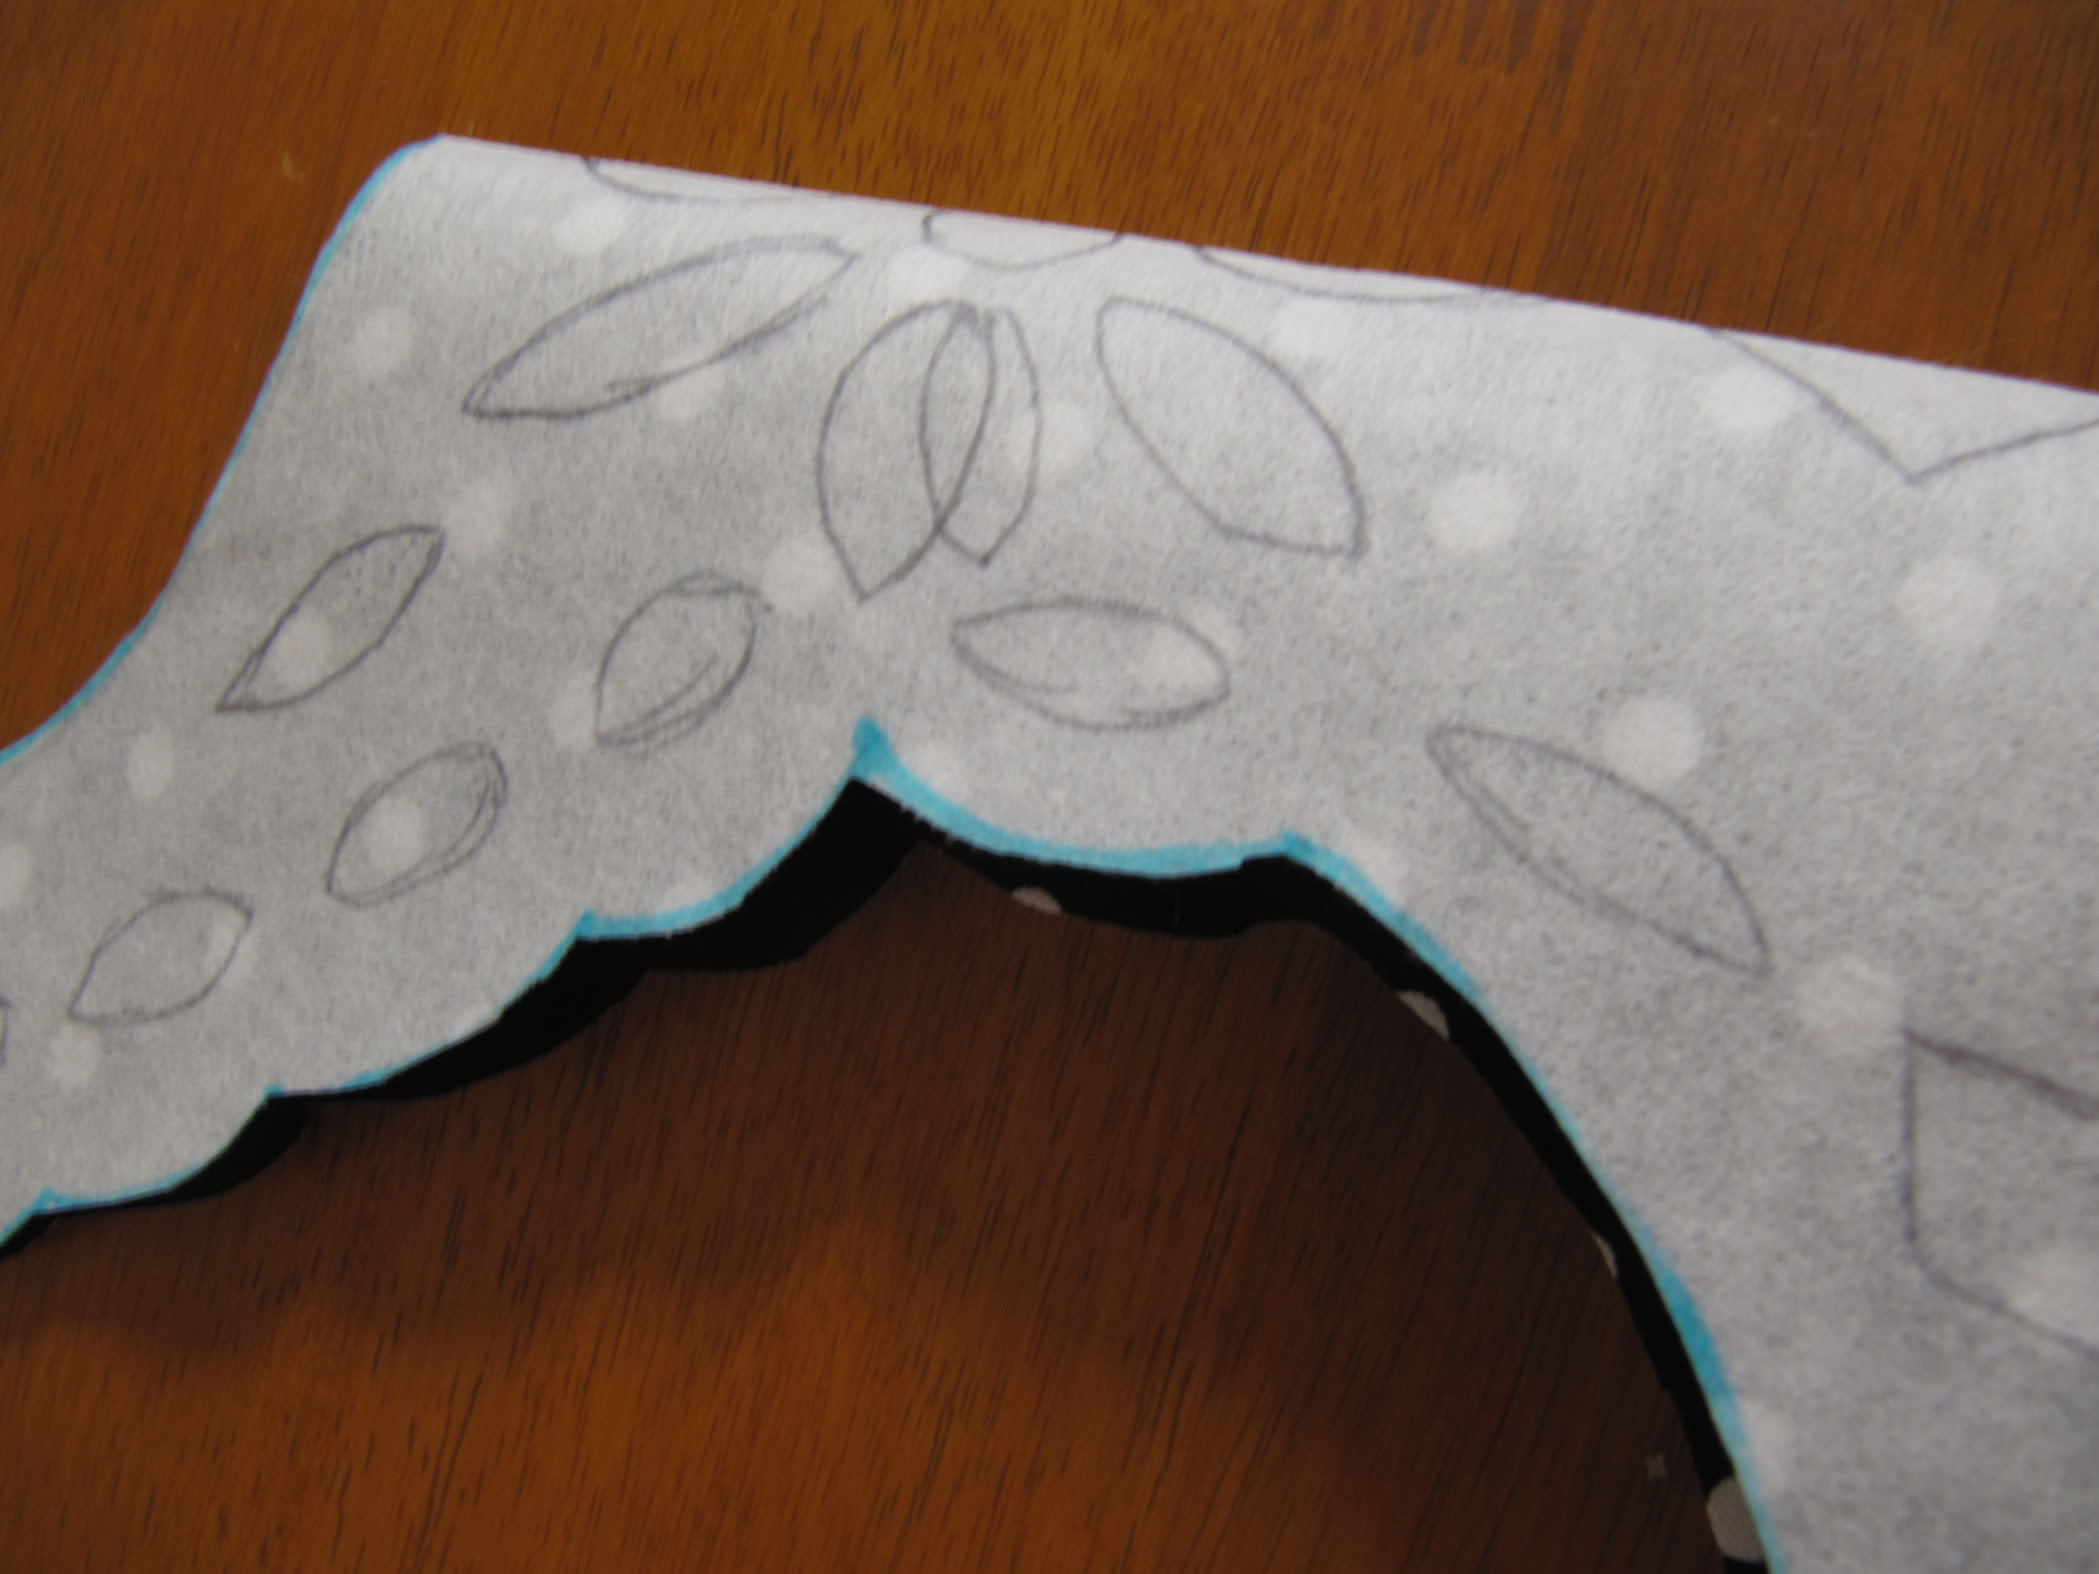 |
| Re fold your cutout and draw on your design. Draw the shapes on the fold so you can cut into the fold (remember doing paper snowflakes as a kid? It’s the same concept here.) |
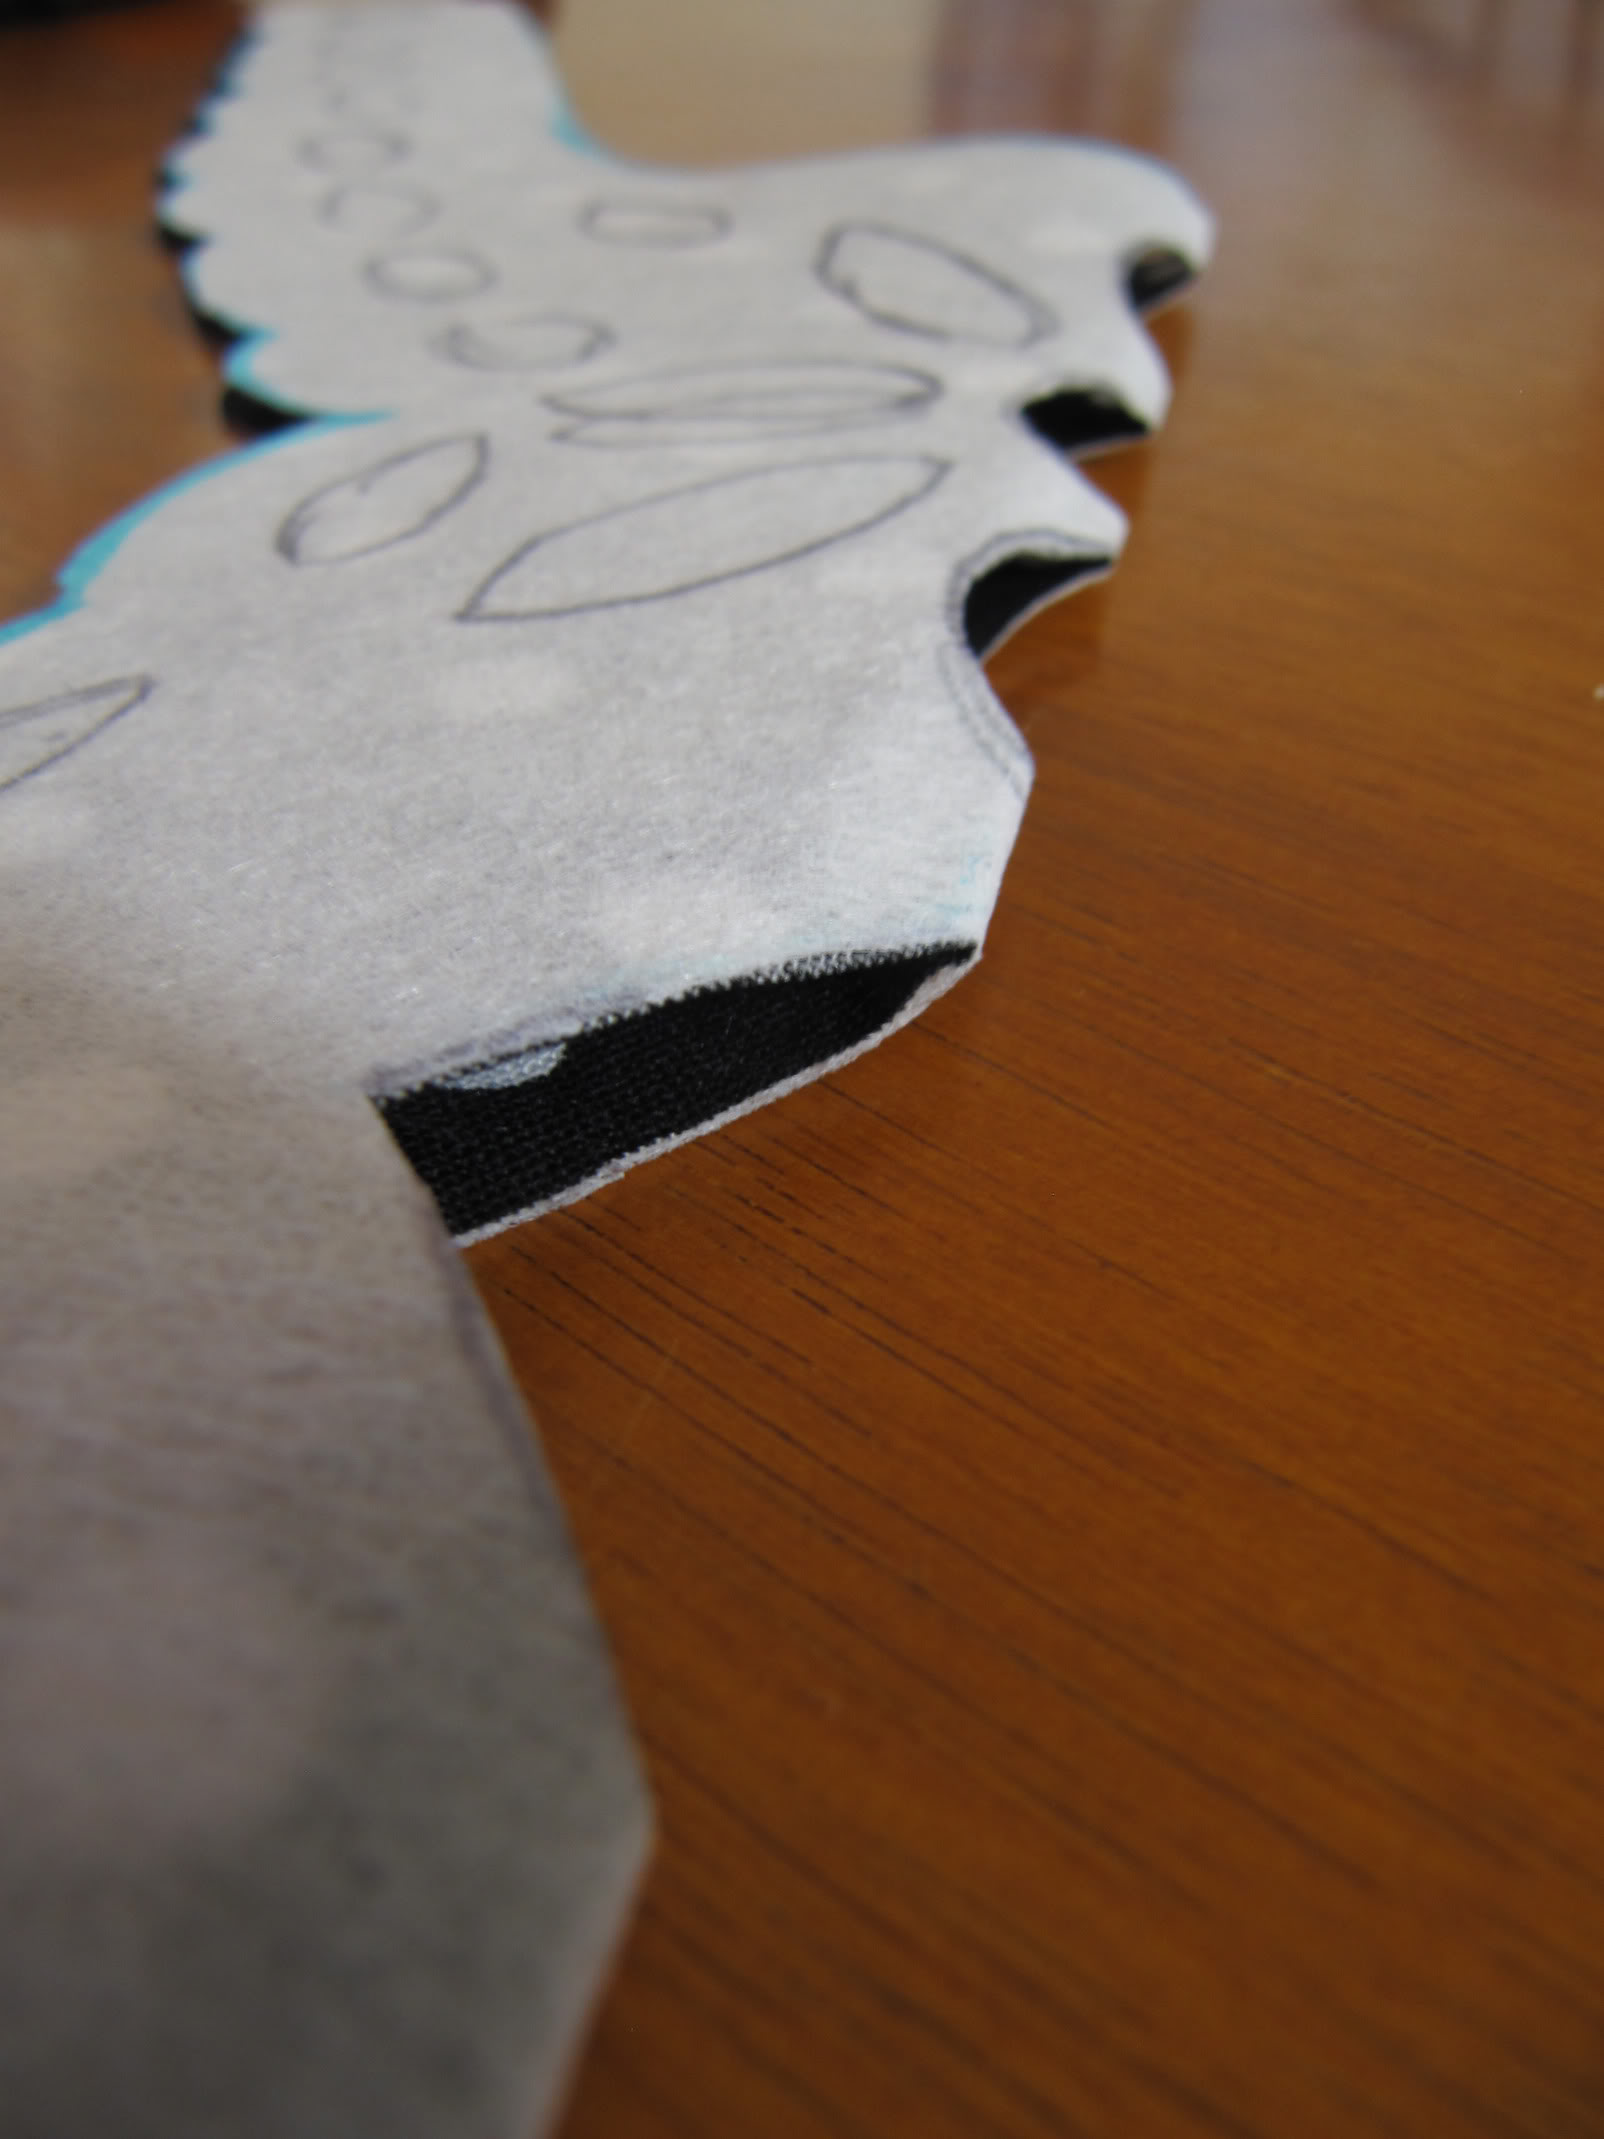 |
| You are going to do this with every shape you drew. You can use an exacto knife if you prefer, but it takes a LOT longer (believe me.) Basically you just fold the fabric down the mid-line of your shape and cut so that when you unfold it it’s symmetrical. Kind of like how you cut out heart shapes for Valentines. |
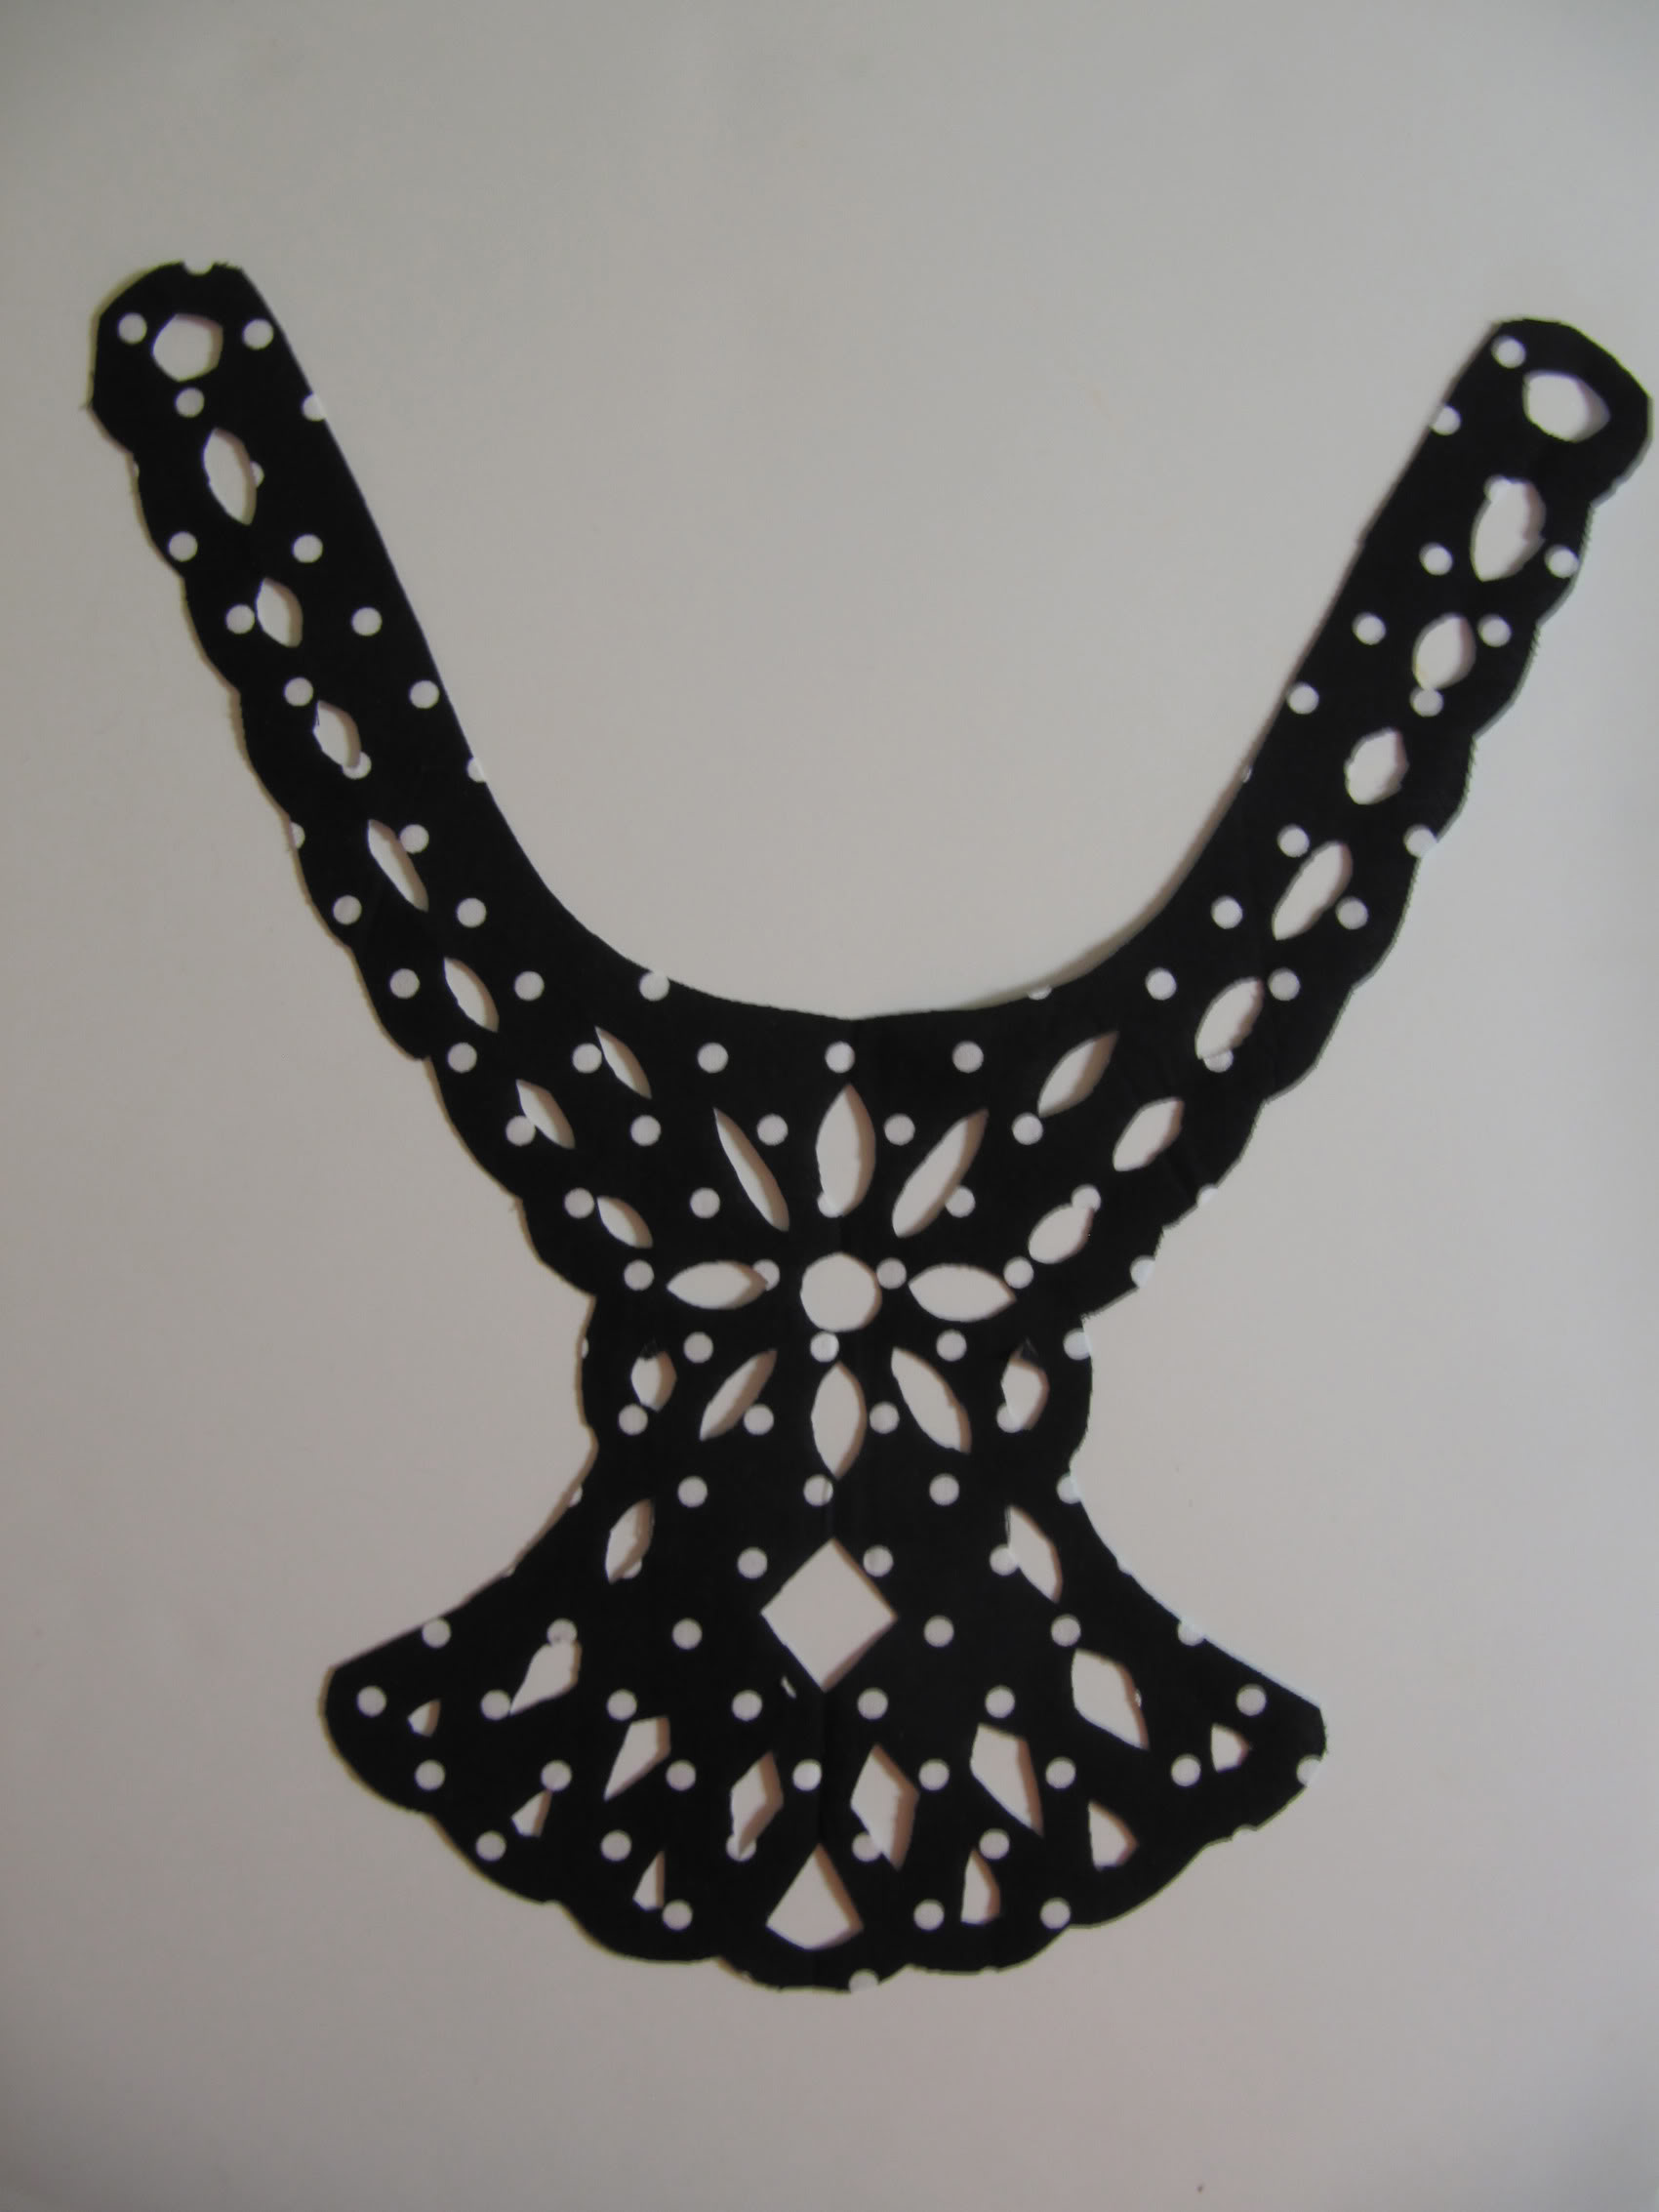 |
| See how pretty it looks when you’re done? |
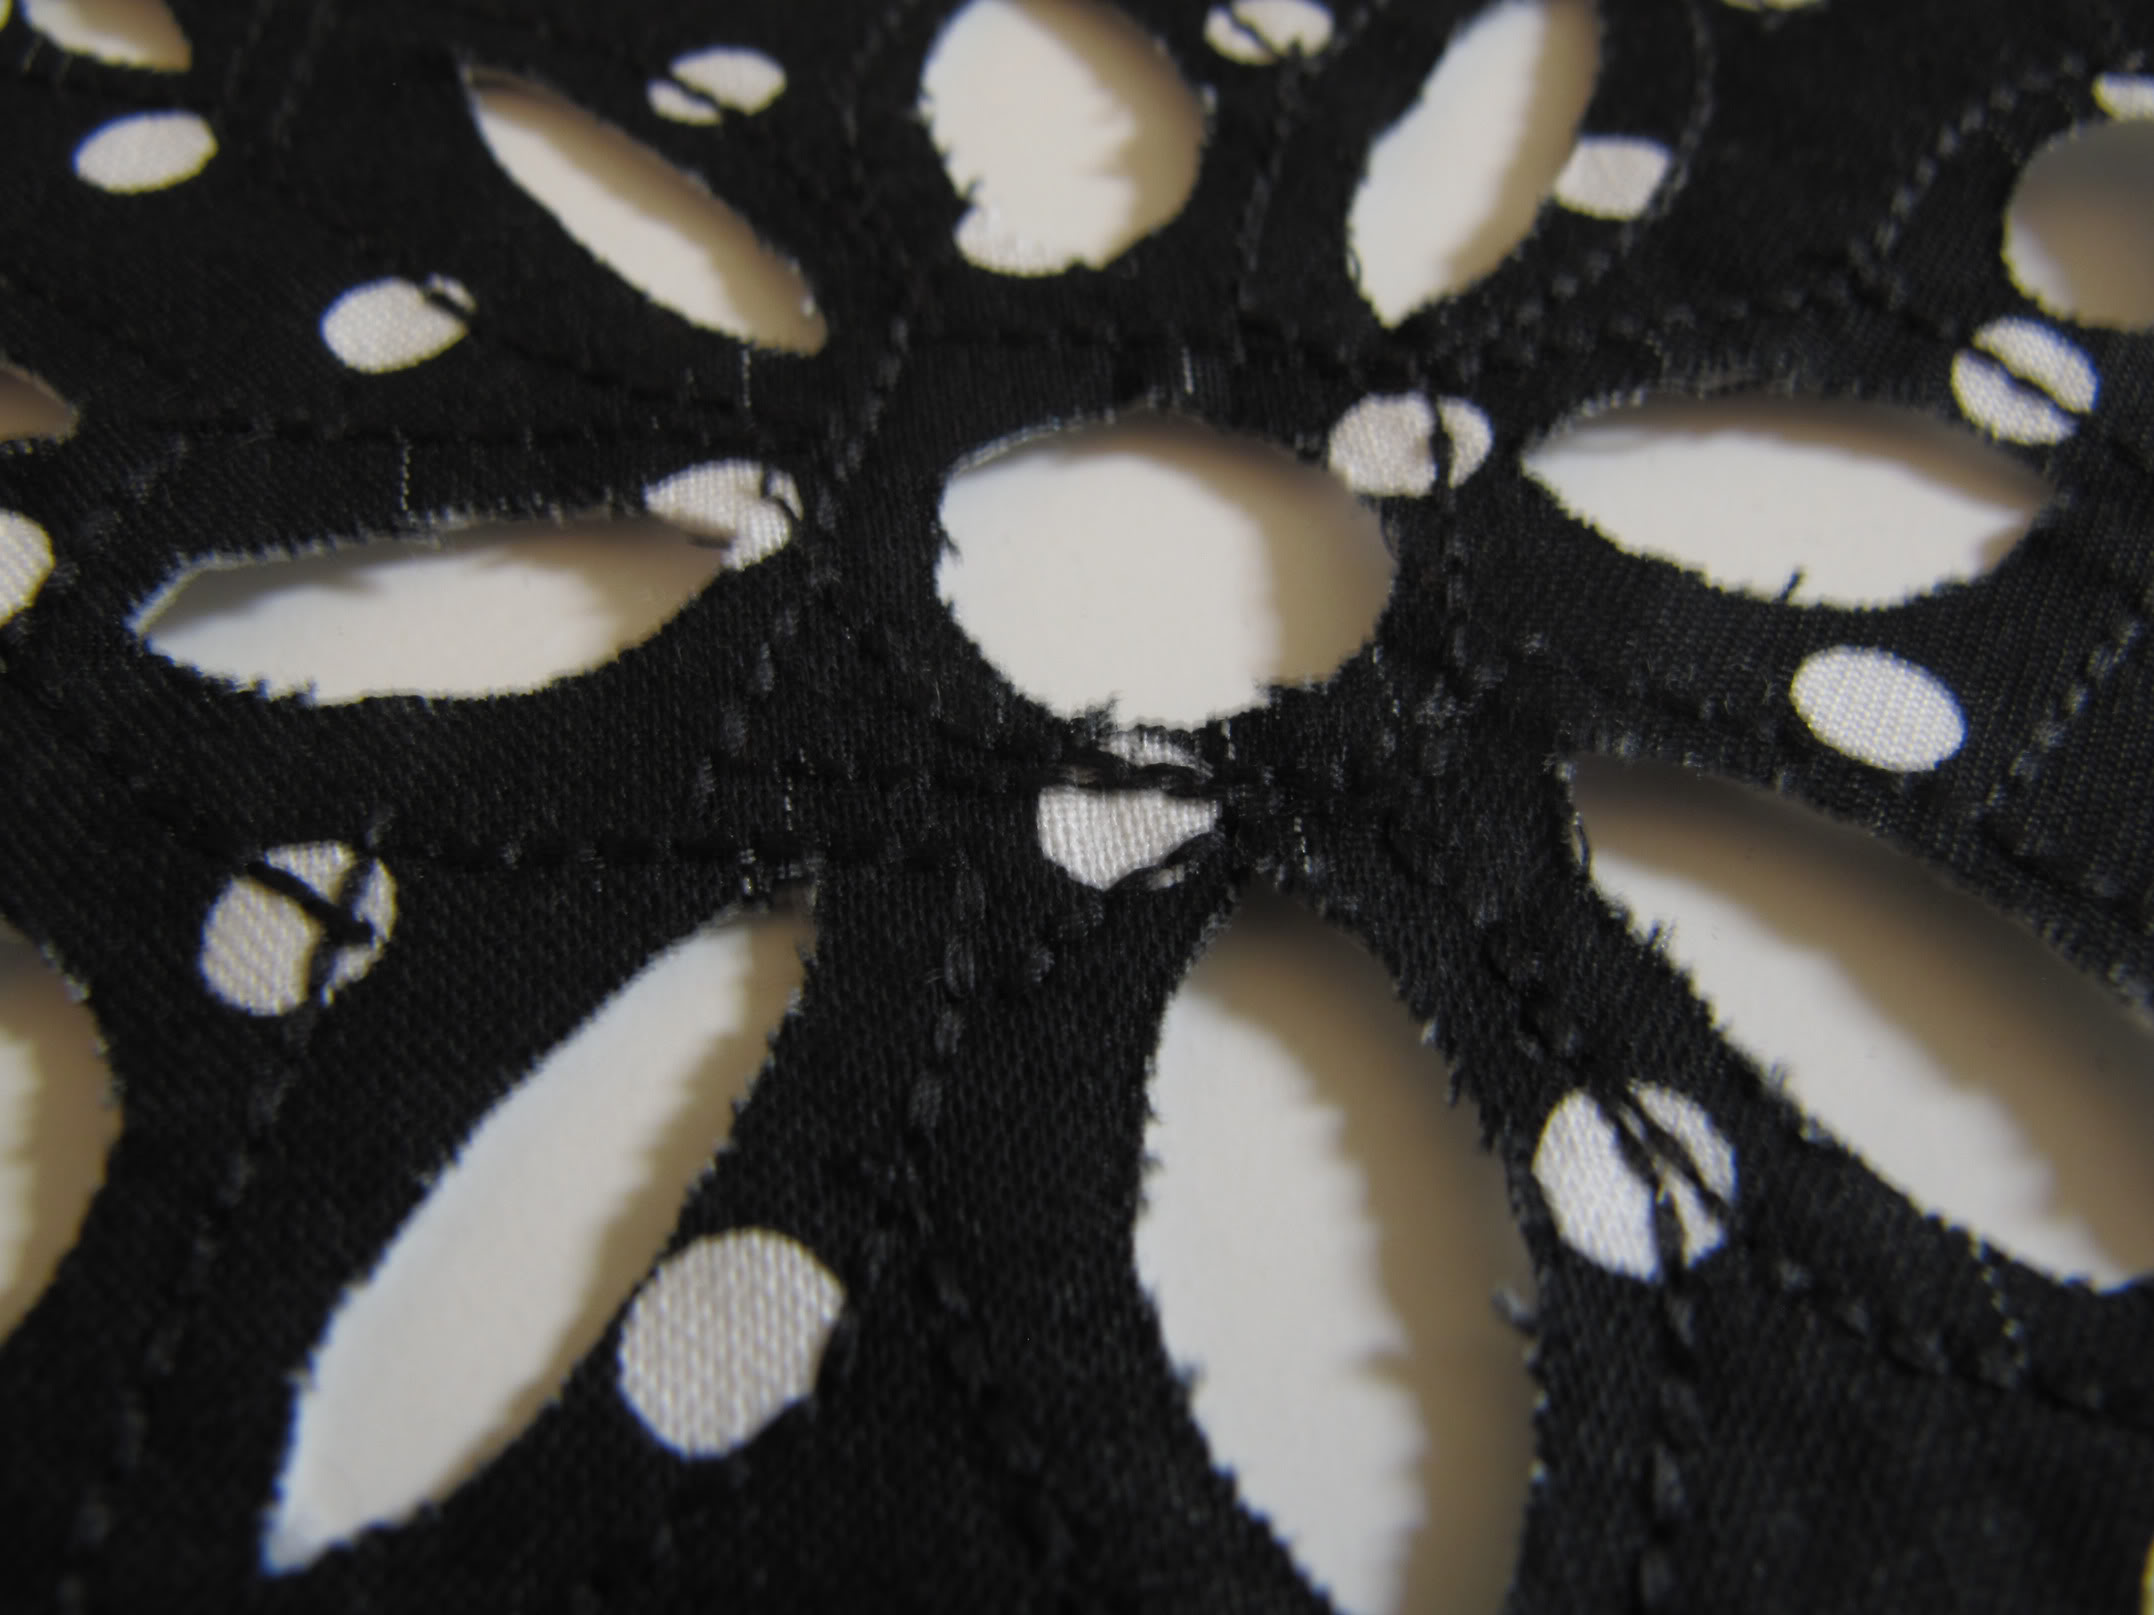 |
| Now for the long part: sewing around each cut. Basically that’s what you do…just sew about a 1/4 inch away from each cutout so that when it begins to fray in the wash, it won’t completely dissolve. The fusible webbing will help prevent it from fraying like crazy. |
 |
| This is what the back looks like…I think it would be cool to do white with a colored thread (although you can see all the mistakes!) |
 |
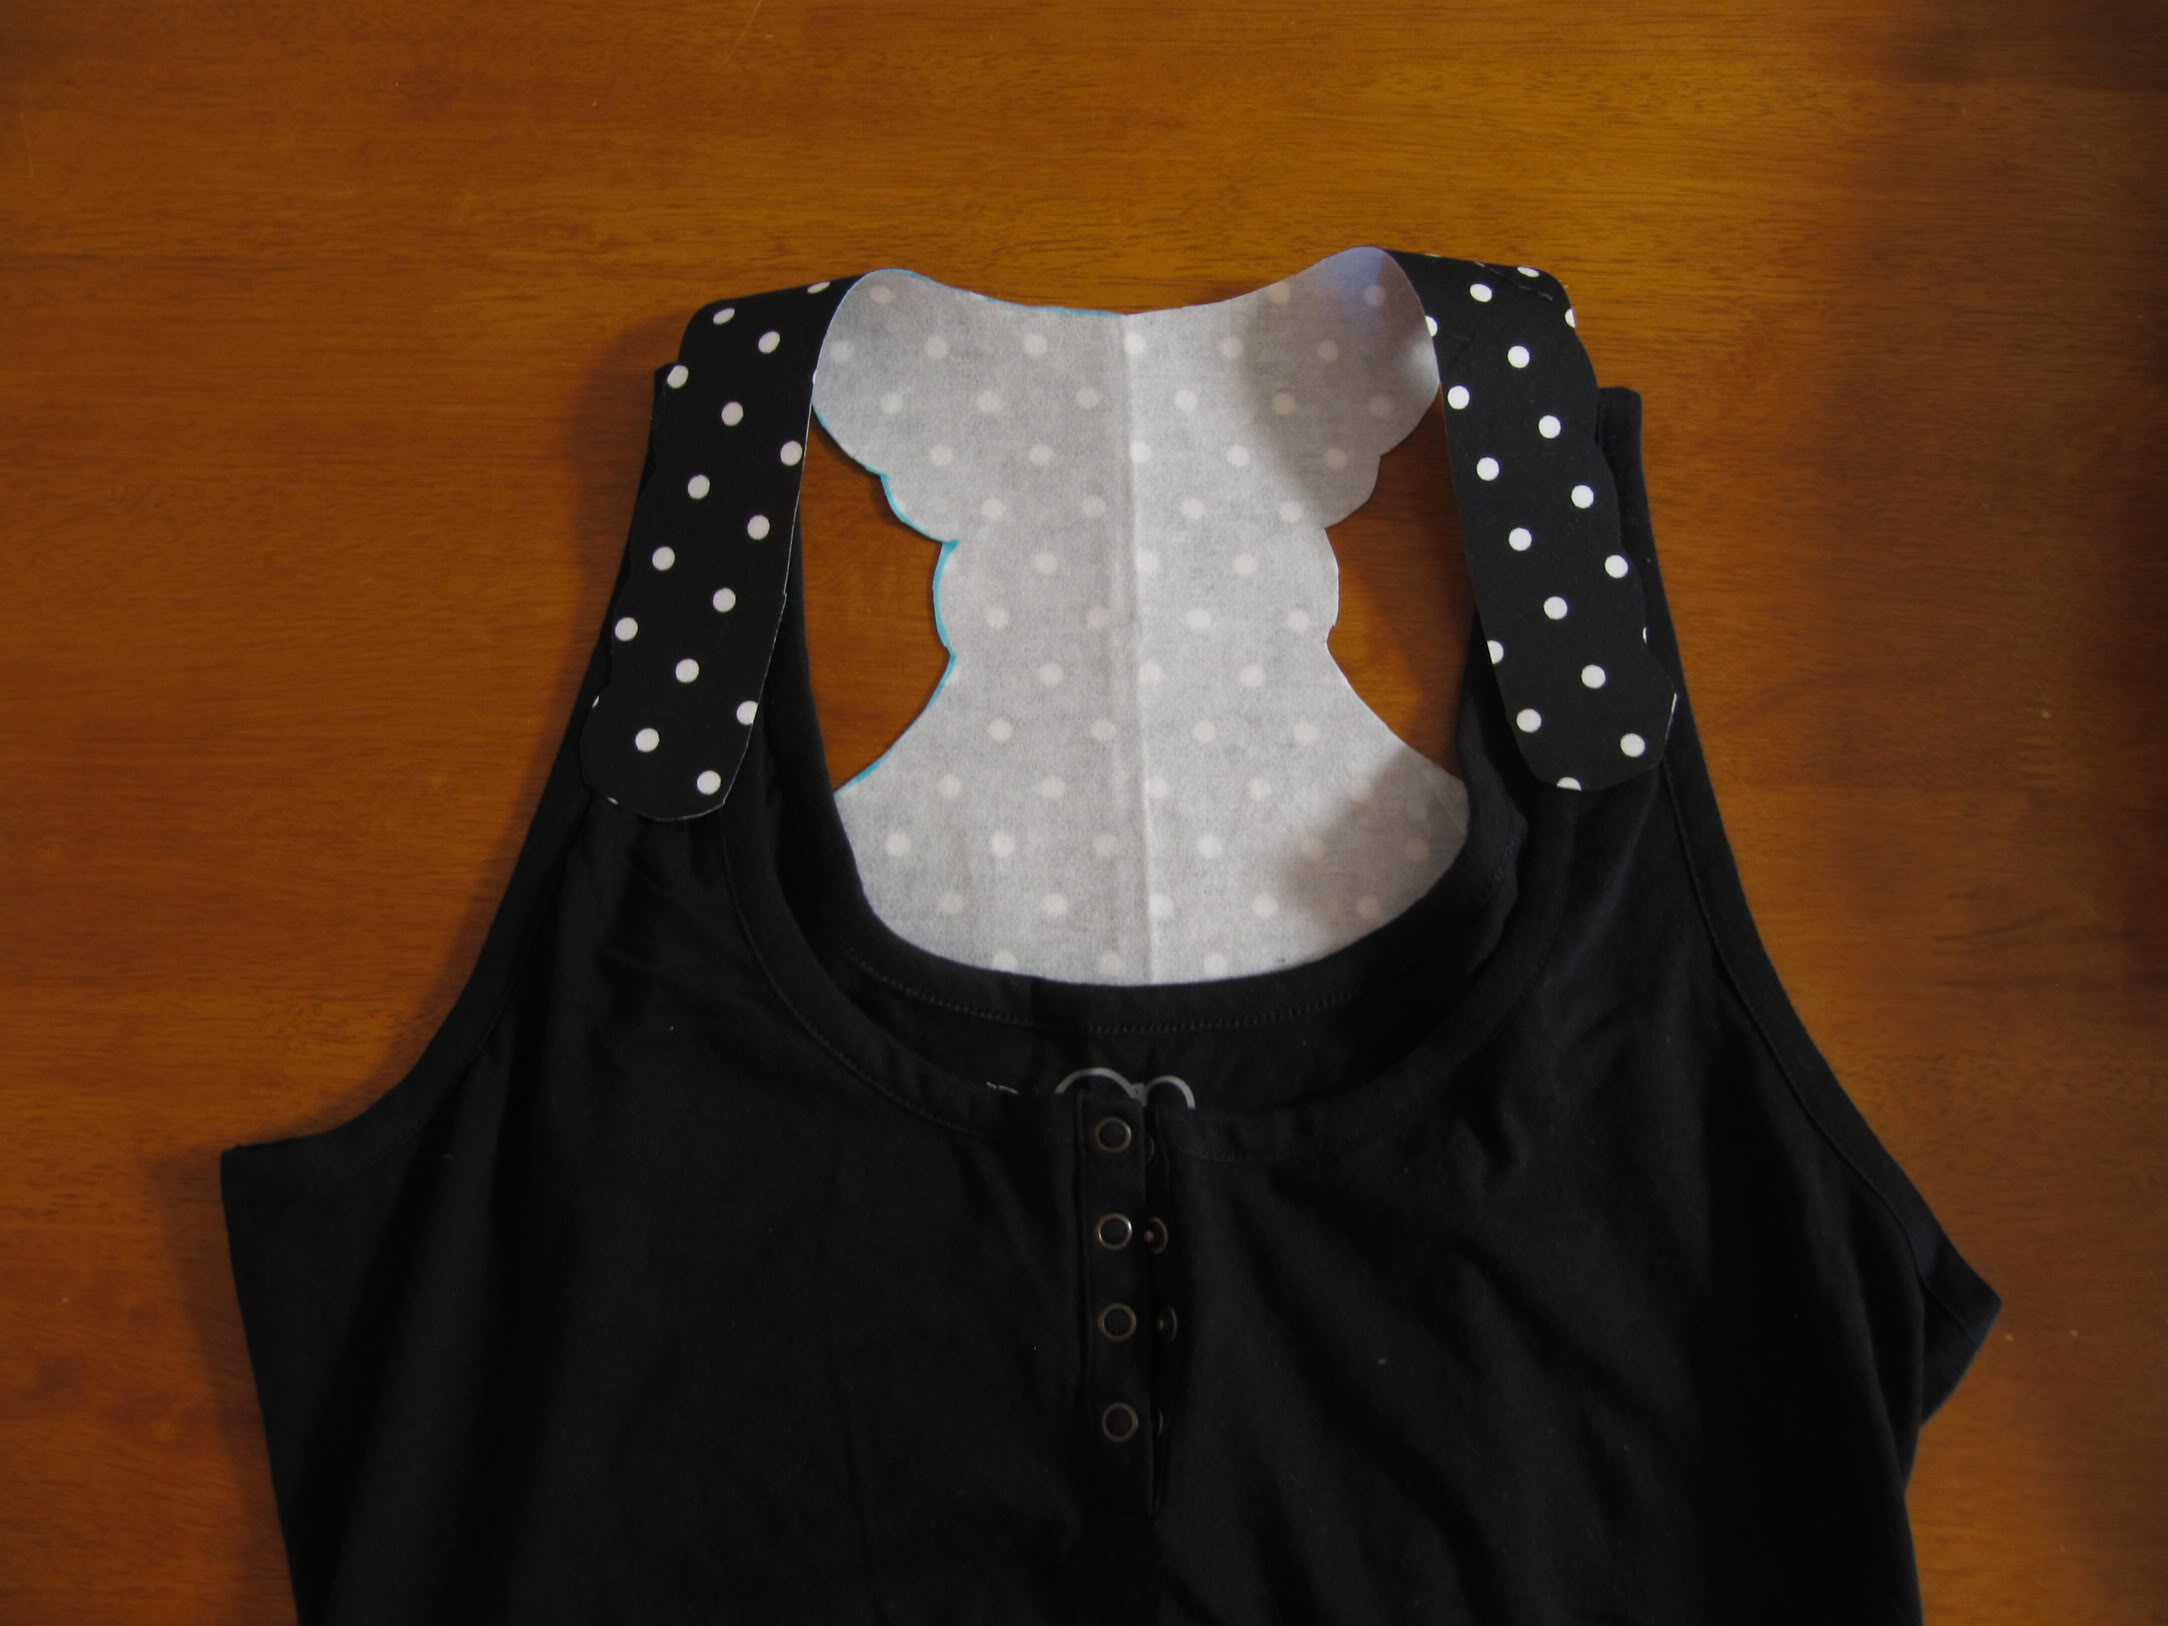
| Now it’s time to add the cutout to the tank: Place your cutout on your tank and use it as a guide to know where to cut. |
 |
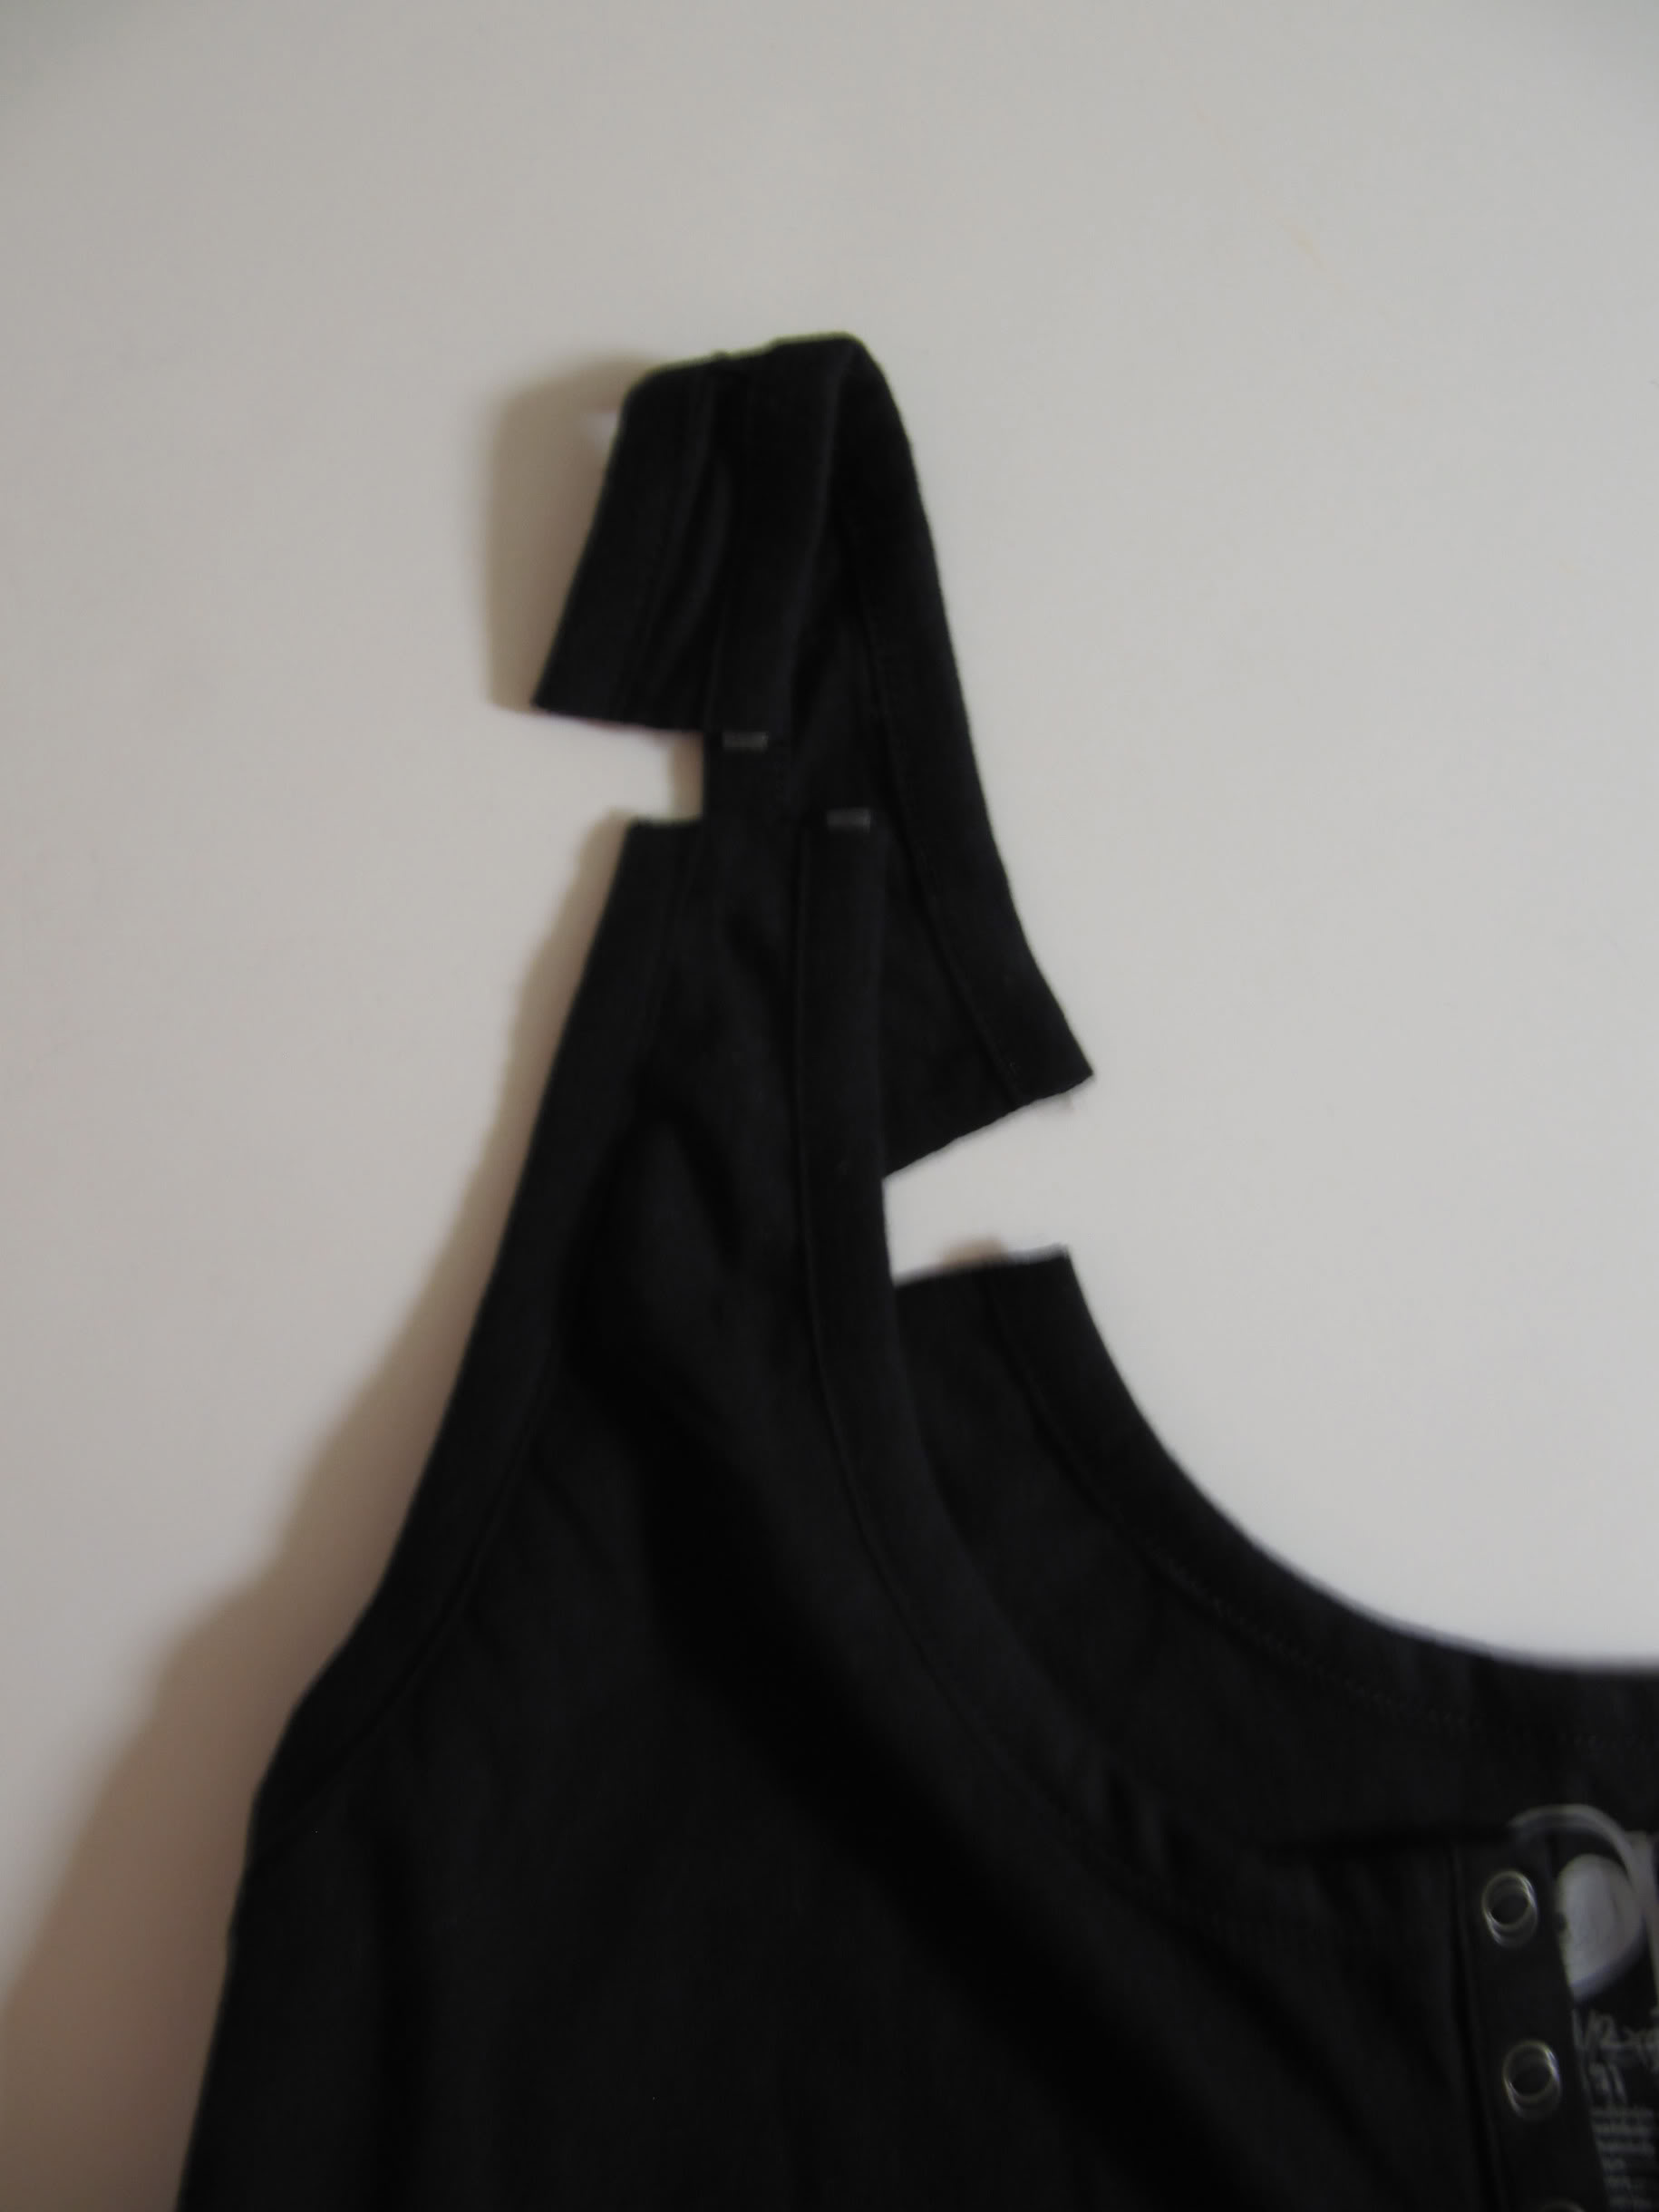
| Cut the straps off in the back roughly here |
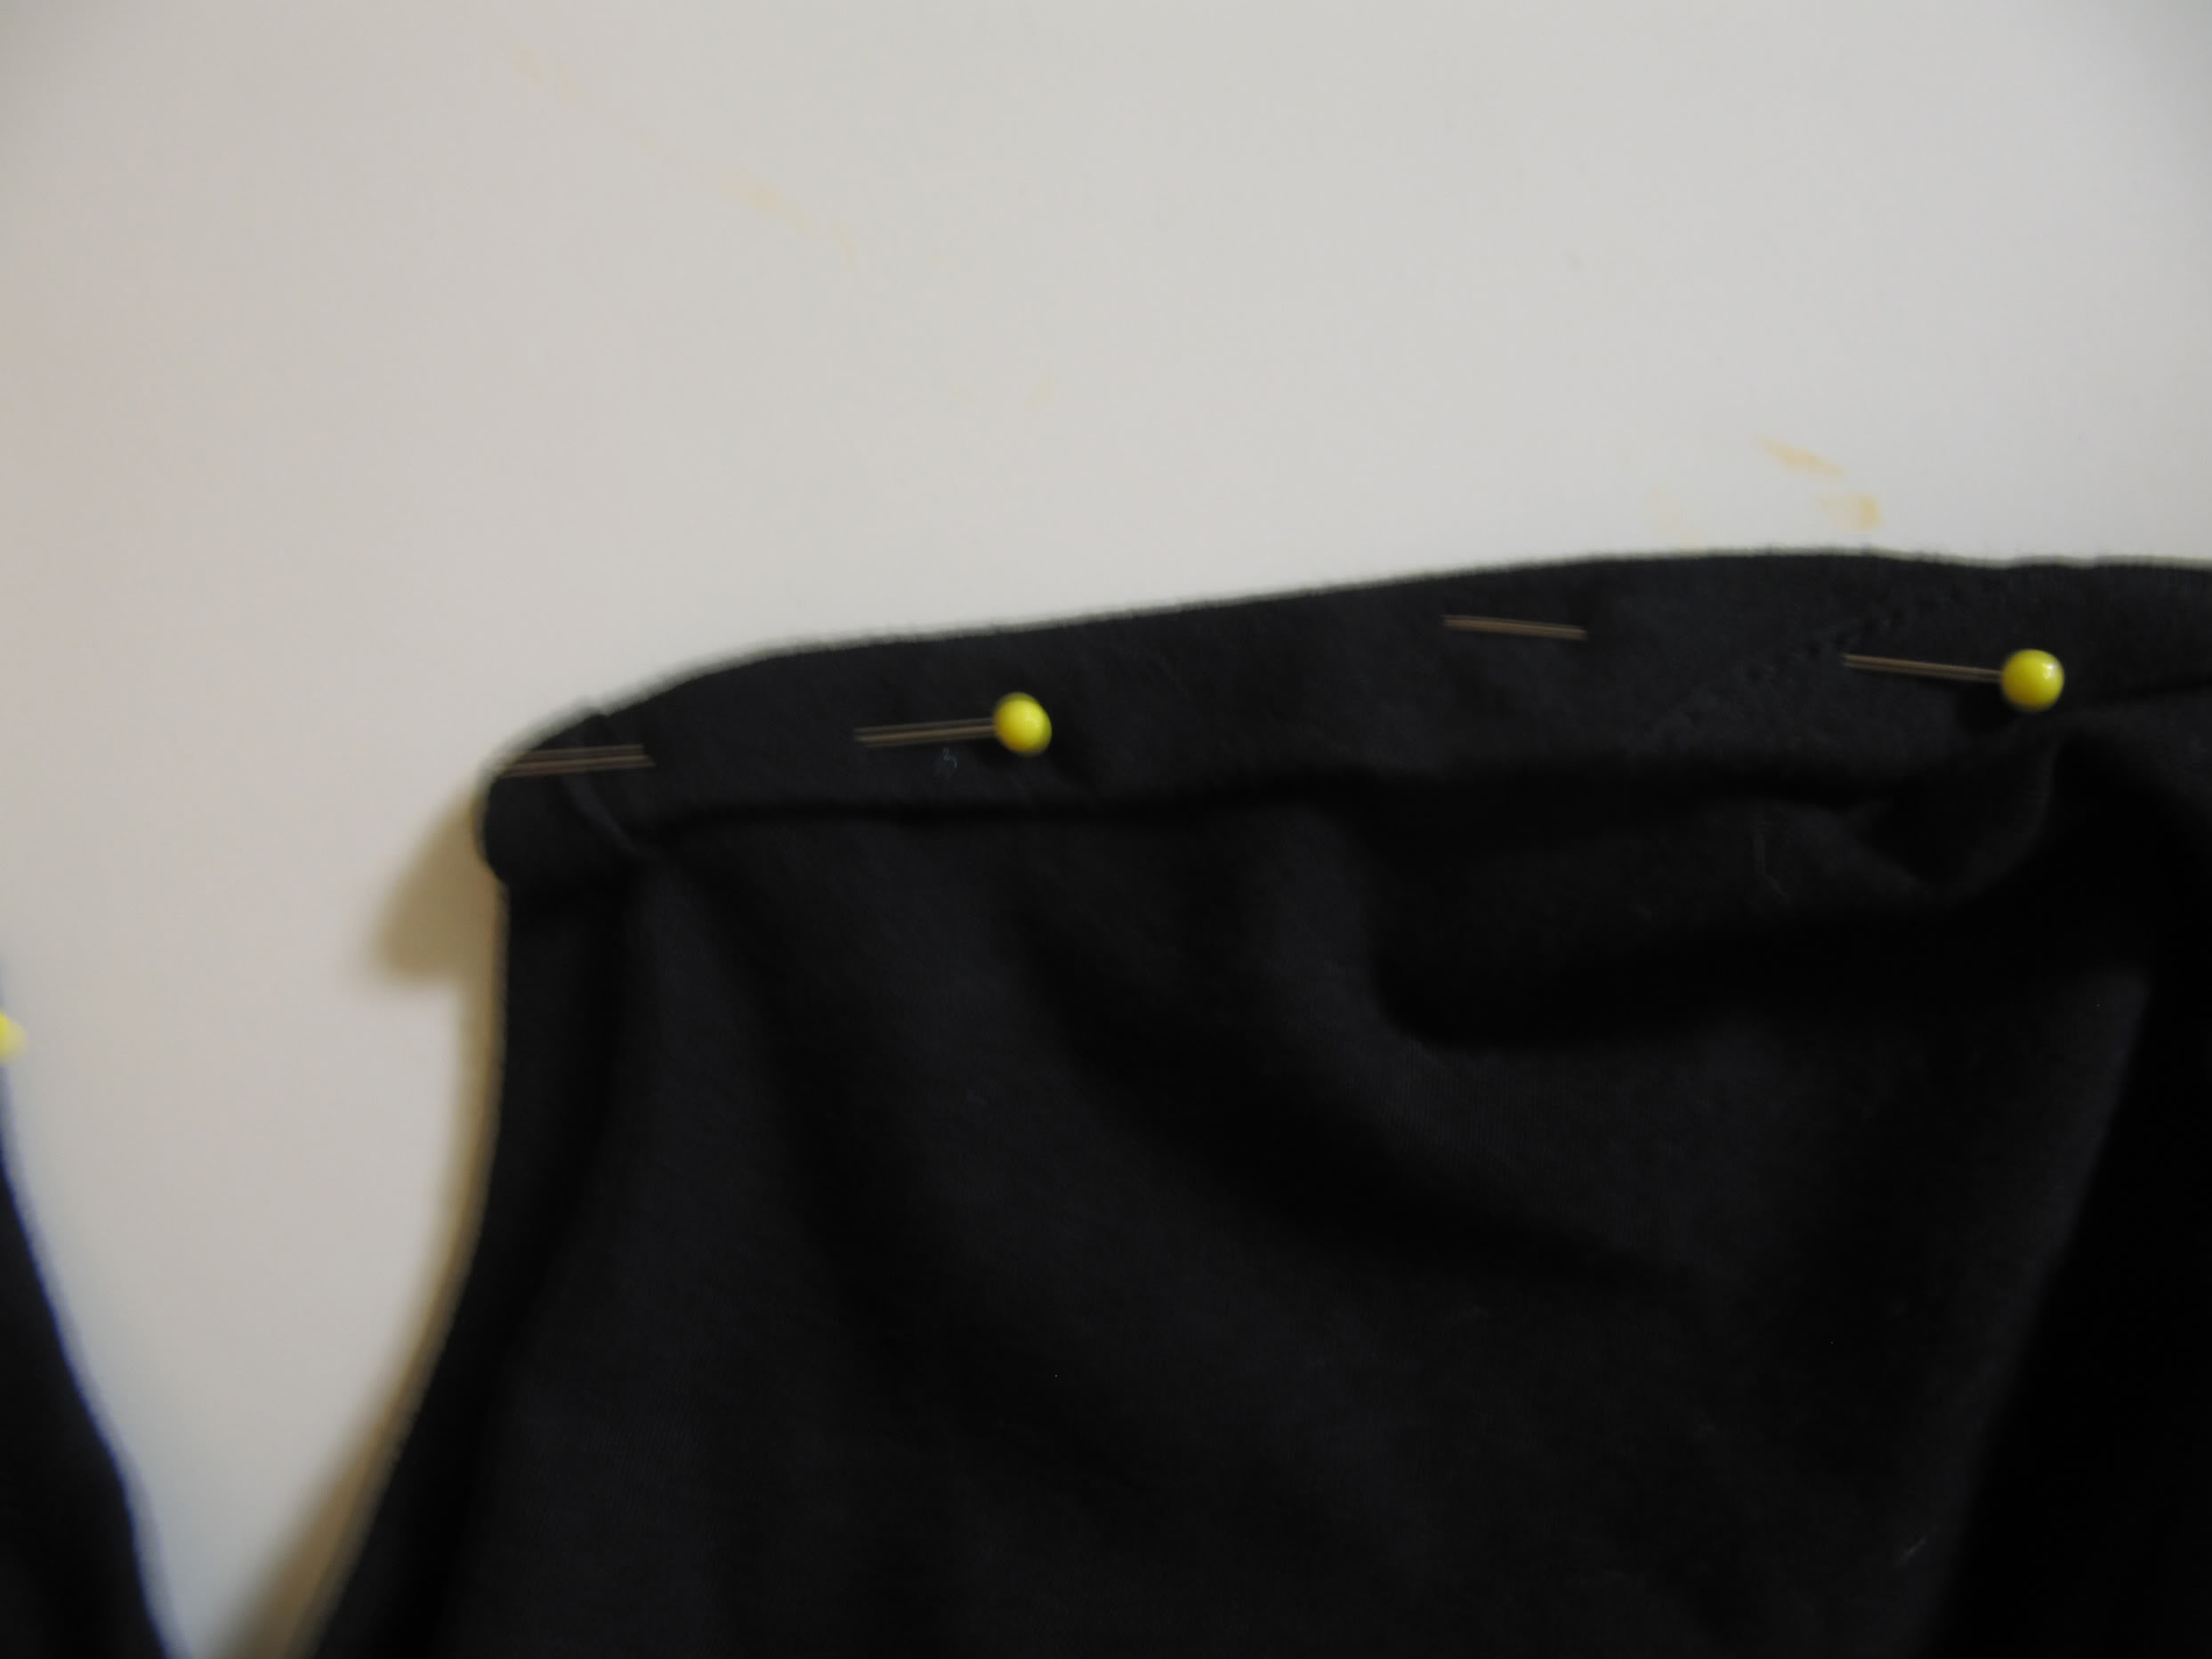 |
| Hem your raw edges by folding over twice and sewing |
 |
| Pin the cutout onto the back. Then, try on the shirt to see where you want the straps to be. |
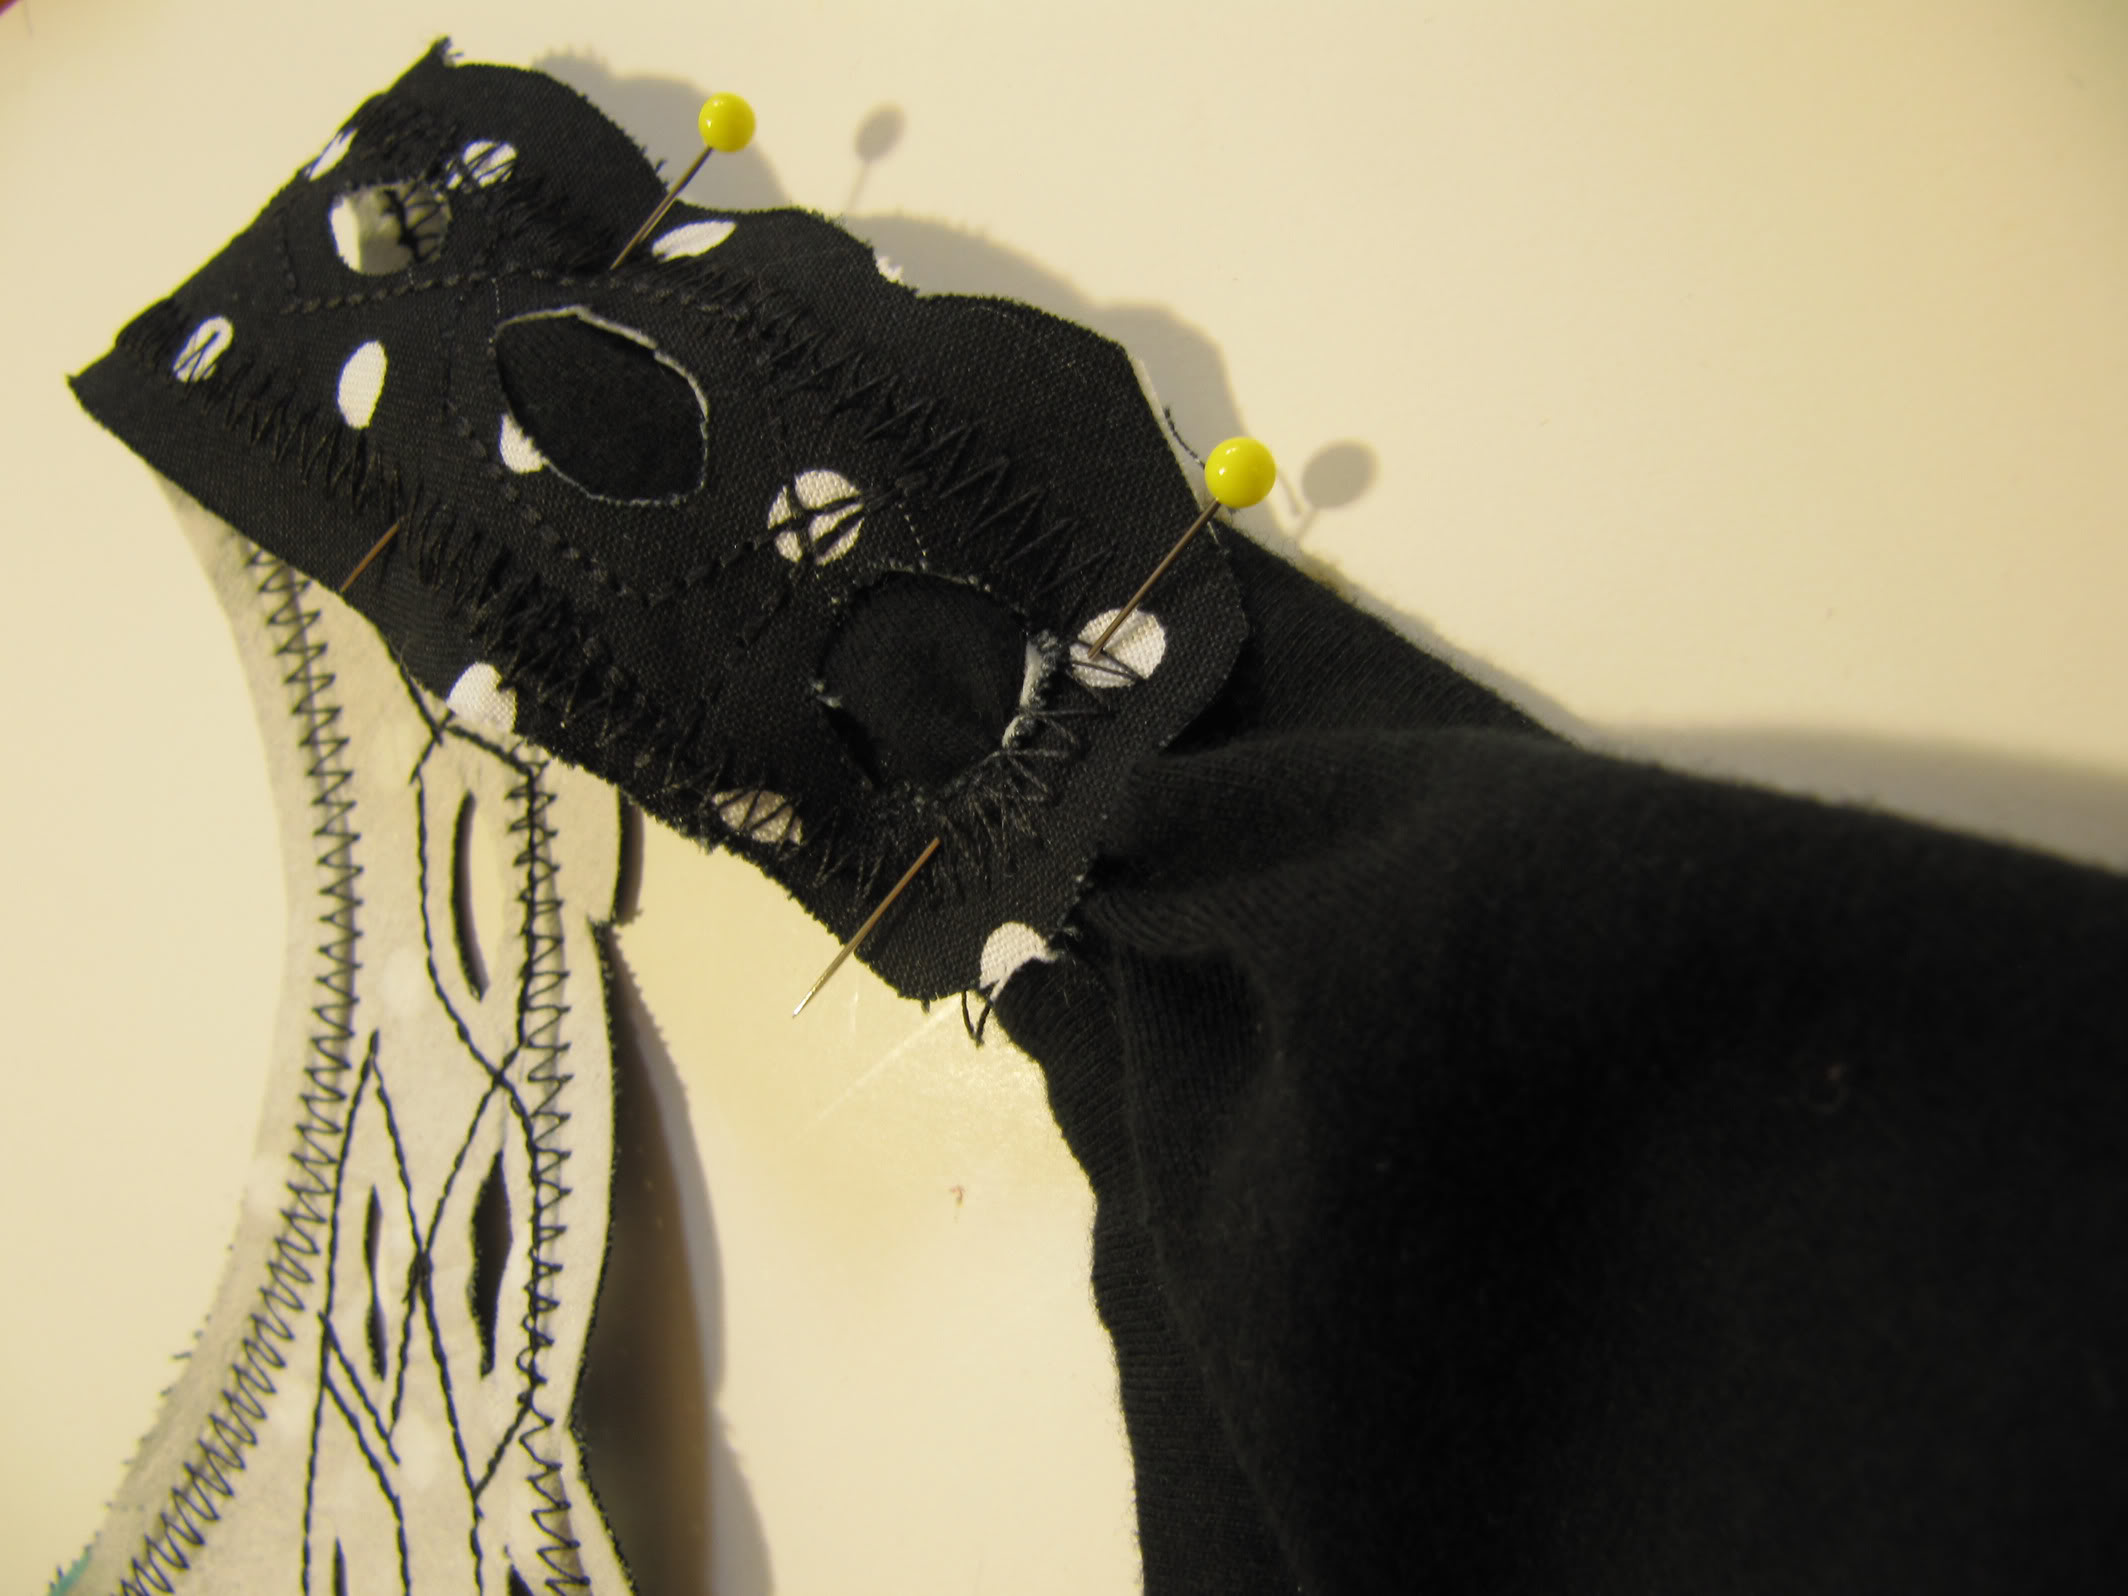 |
| Pin the straps onto the front…if they are too wide, it doesn’t matter…just squish the fabric a little so it fits. Sew where you pinned. |
 |
| And you are done! This is what it should look like. I took in the sides at the top near the armhole so it would fit me at the top but flow at the bottom. (Remember this was XXL size!) |
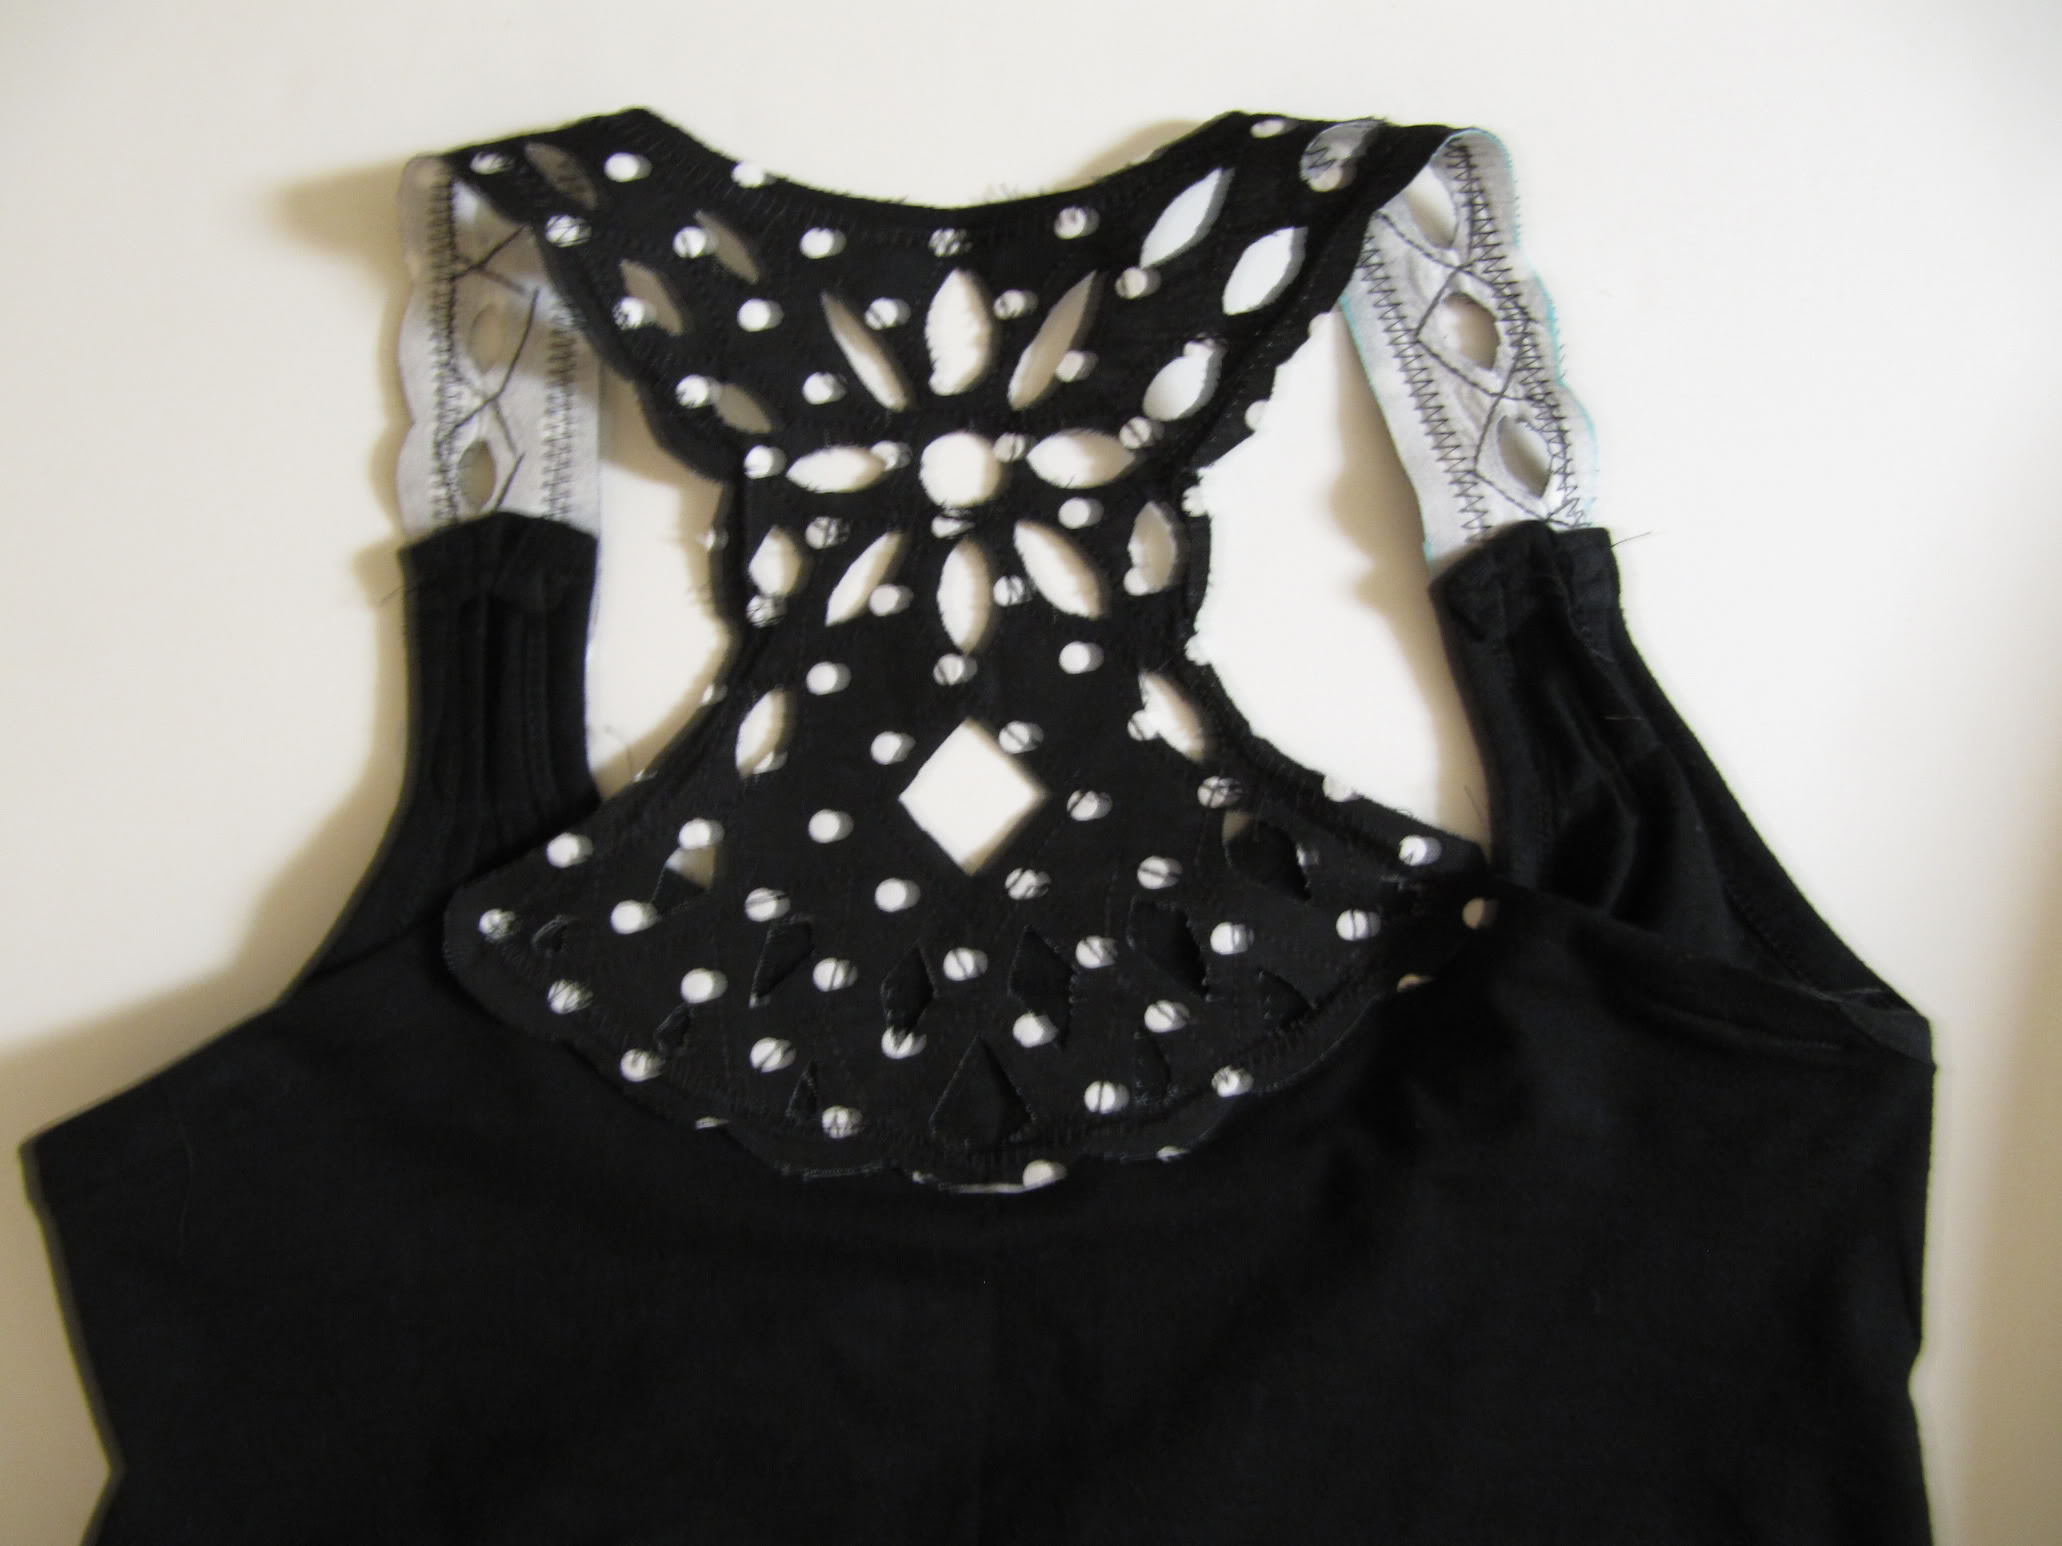 |
| Here’s the back |
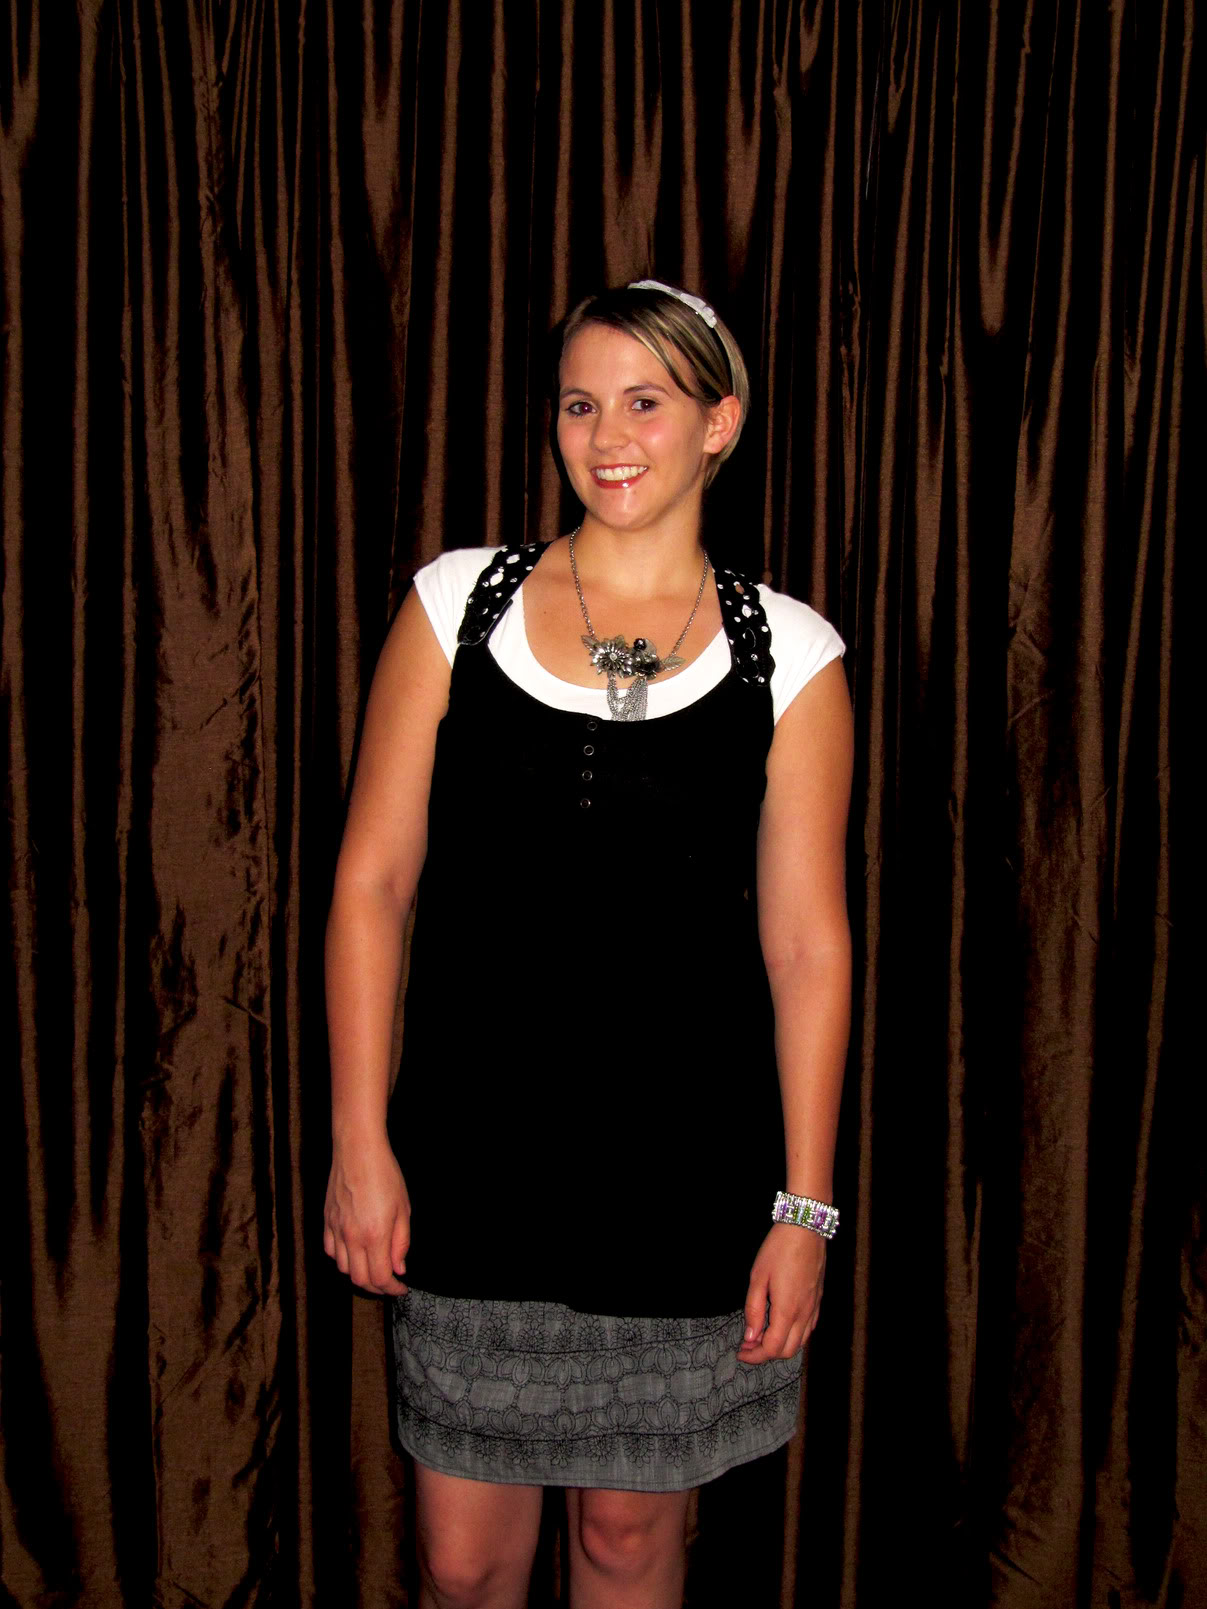 |
| Now add a cute skirt, accessories, and boots! |
 |
| And you got a hot new look! (And yes that is the world’s tiniest ponytail in my hair!) |
Thanks for reading my tutorial and I hope you’ll drop by my blog Honeybear Lane sometime! I love to do tutorials on my crafts and sewing projects, and if you’re into quilting, you might be pleasantly surprised to find a Puff Quilt tutorial!


AWESOME!
Love it! My SIL was wearing a cami/vest like this the other day and I fell in love with it. Adding this to my to do list. Thanks!
wonderful creation
I don’t see any pics 🙁
Oh no, the pics aren’t there. 🙁
I don’t see any pictures either. It just says “Photobucket bandwidth exceeded…upgrade to pro today”
I don’t see any pictures either.. Sad!
Soooo cute! I’m totally going to make one!
That is adorable! and so creative.
I see pics…weird! Maybe the problem is fixed now? Does anybody else see no pics now?
This is very cool!!! And the tutorial is perfect. Thanks for sharing.
This is stunning! So worth all the extra work!
Very creative and SO cool! LOve it!
That is so cool!
That is such a pretty re-fashion. Added to my enormous list of projects to try!
This is so cute! I’m in college and love ideas like this! Thanks.
Fabulousness! I am SO going to have to make one for myself!
I linked you up over at Craft Gossip.
–Anne
Wonderful –the tutorial was great and I will do it
Wow, that’s sooo cute! Well done!
So pretty!!! That turned out darling!
~Lori @ Paisley Passions
Join my Linky Party Thrilling Thursdays
Really cute! Congratulations and thanks a lot for the tutorial!
I LOVE this! I am totally going to try doing this! Thanks for the tutorial!